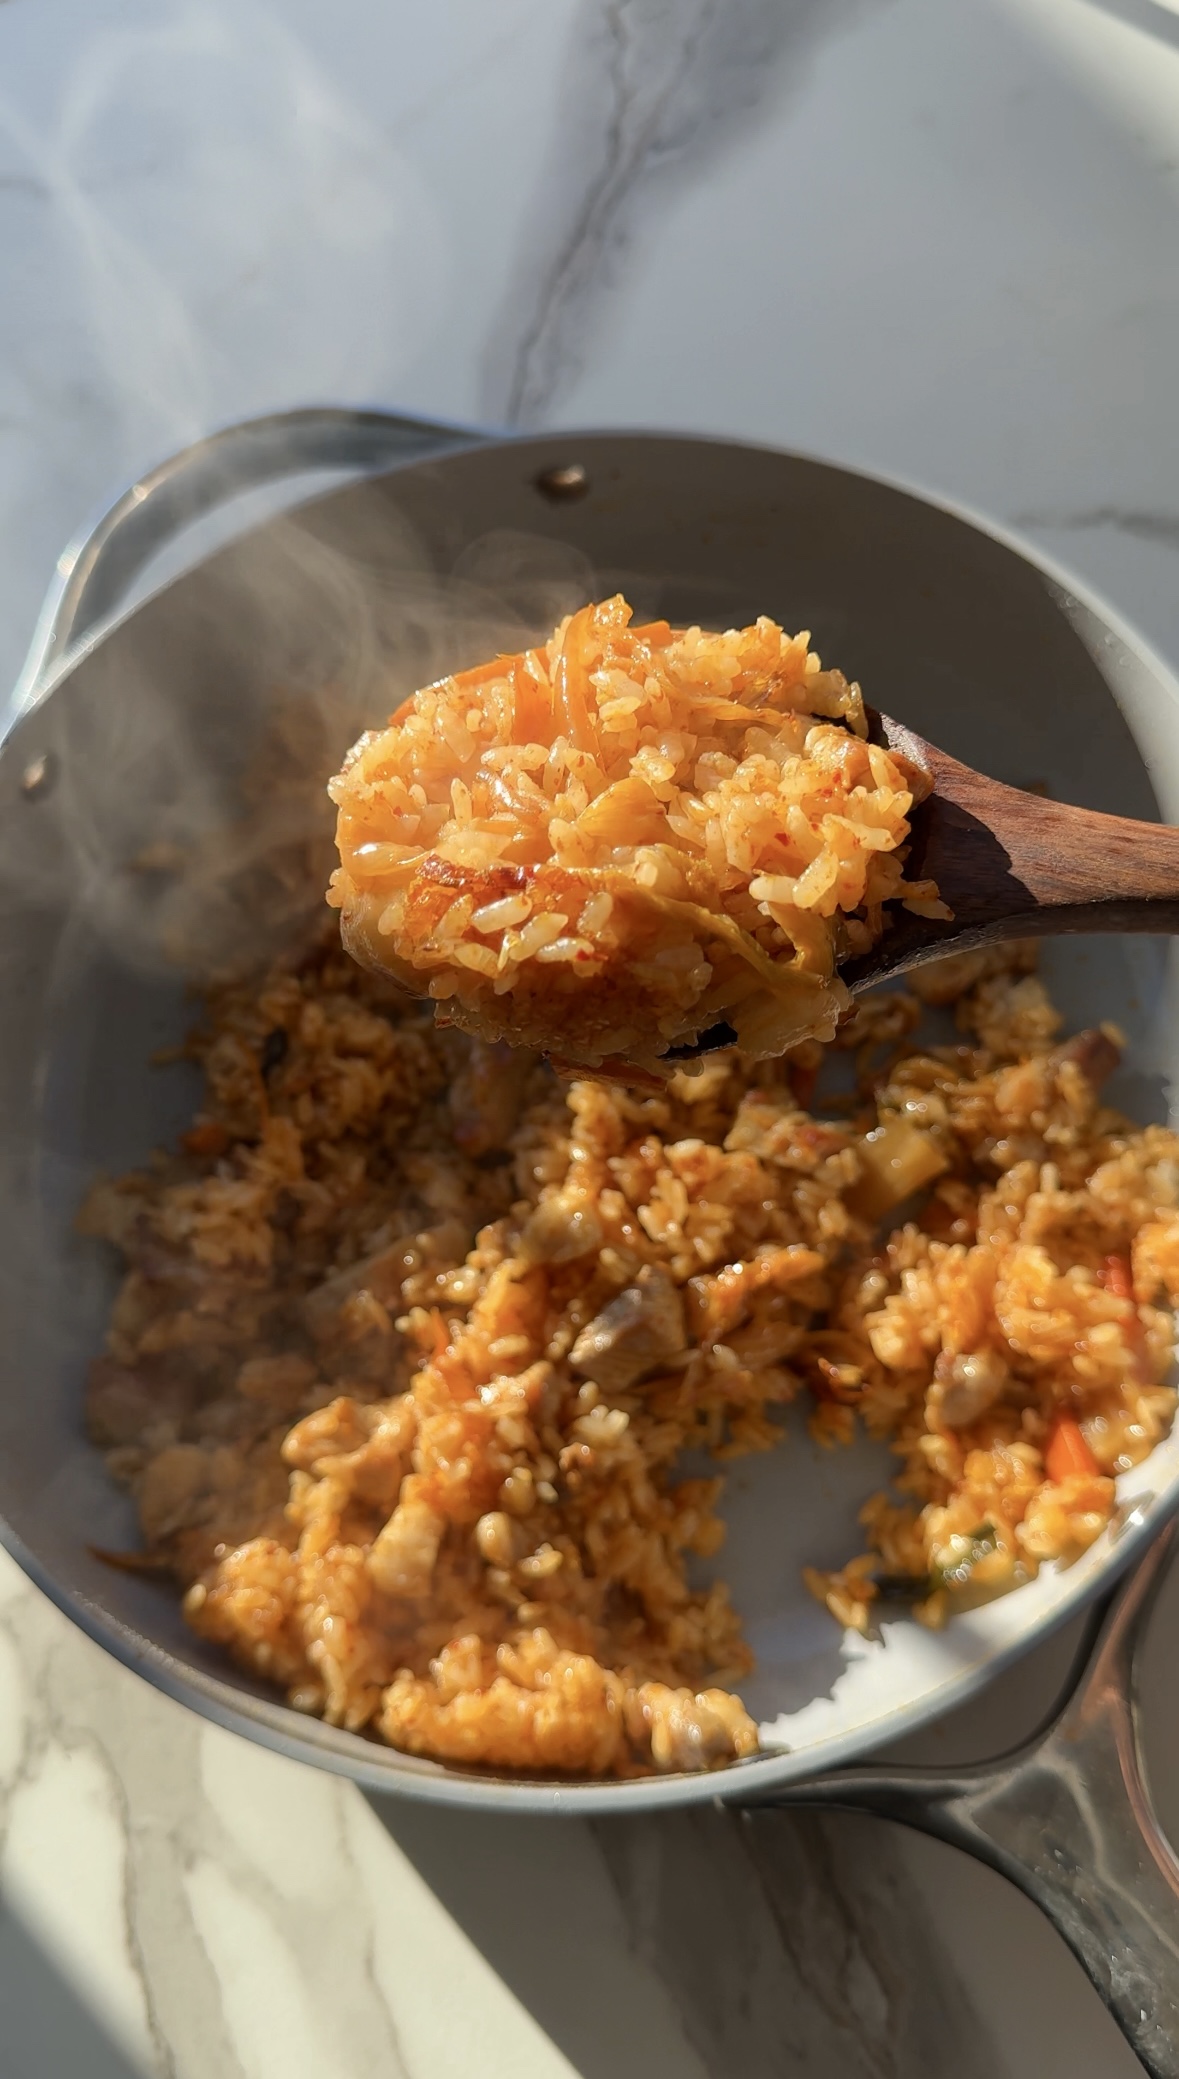
Kimchi fried rice, or kimchi bokkeumbap (김치볶음밥), is a beloved Korean comfort food that’s as simple as it is satisfying. It’s a dish born of practicality, making use of leftover rice and over-fermented kimchi to create something truly delicious. The tangy, spicy kick of kimchi turns ordinary ingredients into a bold, flavorful meal.
One of the reasons kimchi fried rice is so popular is its versatility. You can use whatever protein or vegetables you have on hand to make it your own. Some people opt for spam, tofu, or bacon, but I love using pork belly for its rich, fatty flavor that balances the acidity of the kimchi. The rendered pork belly fat adds another layer of umami, coating the rice in a glossy, savory finish that’s impossible to resist. It’s one of those dishes that works equally well as a quick weeknight meal or a way to impress guests with minimal effort.
The key to a great kimchi fried rice is using day-old rice, which is drier and holds its shape better when stir-fried. Freshly cooked rice can still work in a pinch, but the texture won’t have that same satisfying chew.
Another tip is to use well-fermented kimchi—its tangier flavor deepens the overall taste of the dish. Whether you keep it simple or go all out with add-ins like cheese, seaweed, or a drizzle of sesame oil, kimchi fried rice is the kind of dish that celebrates creativity and resourcefulness while delivering big on flavor.
What Rice to Use
Choosing the right type of rice can be confusing, especially with so many varieties available. From long-grain basmati to aromatic jasmine rice, each type has its own texture and flavor. In Japanese and Korean cooking, however, Japanese short-grain or medium-grain rice is almost always the go-to choice.
Short-grain rice, often labeled as sushi rice, is particularly prized for its soft and chewy texture, which pairs beautifully with traditional Japanese dishes. Medium-grain rice is a great alternative if short-grain isn’t available (I actually almost always use medium-grain myself because it’s generally cheaper where I live!). Both are ideal for recipes like this one.

Recommended Rice Cookers
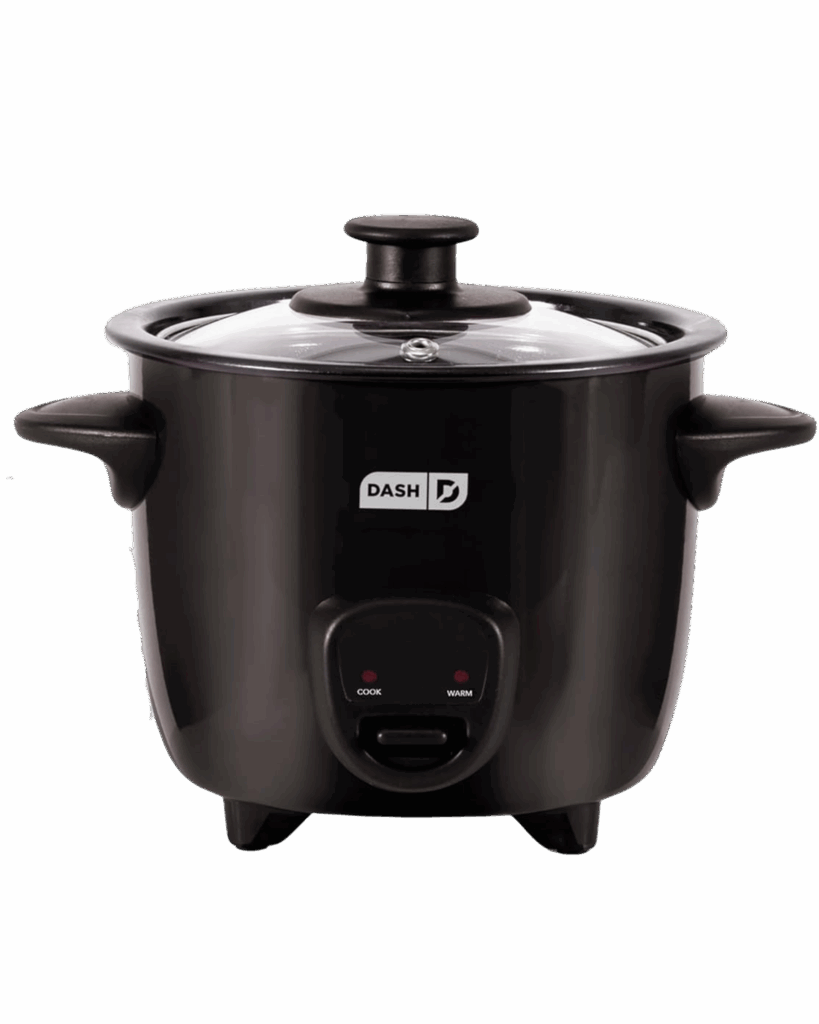
Do I need to have a fancy rice cooker to make this meal? NO! Just like anything, generally, the higher the quality, the better. But you can make my rice cooker meals in a cheap rice cooker, too!
Click the rice cooker photos to see my favorite rice cookers. I included a budget-friendly rice cooker I love! I use the Tiger 5.5-cup model shown. About 1/2 cup of Japanese short- or medium-grain rice makes 1 serving.
Key Features to Look For in a Rice Cooker:
- Steaming Basket or Tray: Allows you to steam vegetables or cook other ingredients while the rice cooks.
- Multiple Cooking Functions: Ensure it has settings for steaming, slow cooking, and possibly even baking.
- Non-Stick Inner Pot: Makes cleaning easier and prevents sticking.
- Timer and Keep Warm Function: Useful for planning meals ahead of time and keeping them warm until you’re ready to eat.

5.5 cups or 10 cups
2 cups

Easy 4-Ingredient Kimchi Fried Rice
- Total Time: 15 minutes
Description
Kimchi fried rice is a bold, flavorful stir-fry dish that combines crispy pork belly and tangy, spicy kimchi with rice, often topped with a fried egg.
Ingredients
- 1/2 lb pork belly, thinly sliced into bite-sized pieces
- 2 cups cooked Japanese short-grain or medium-grain rice (preferably day-old)
- 1 cup kimchi, chopped, plus 2-3 tablespoons kimchi juice
- 1 tablespoon toasted sesame oil
- Optional: 2 fried eggs (one per serving), green onions, finely chopped (for garnish)
Instructions
- Heat a large skillet or wok over medium heat. Add the pork belly and cook until it renders its fat and becomes crispy and golden, about 5–7 minutes.
- Stir in the chopped kimchi and kimchi juice and cook for 2–3 minutes, allowing the flavors to meld and the kimchi to release its juices.
- Add the cooked rice to the pan, breaking up any clumps with your spatula. Toss everything together until the rice is evenly coated with the kimchi juices and pork belly fat. Add a splash of additional kimchi juice for extra flavor, if desired.
- Drizzle the sesame oil over the fried rice and toss well. Let the rice sit undisturbed for 1–2 minutes to develop a slight crust for added texture, if you like.
- Optional toppings: Fry an egg to your preferred doneness (runny yolk is recommended!) and place it on top of each serving. Sprinkle with chopped green onions for freshness, and serve immediately.
- Prep Time: 5 minutes
- Cook Time: 10 minutes
Nutrition
- Serving Size: 2


I love kimchi fried rice! Back in the day my family actually had an exchange student from Korea and she got us to try it.
Hi Nolan – that’s a great memory! It’s delicious!
Absolute CLASSIC! Love Korean food
Woohooo! So good for sure 🙂 thanks Zachary!