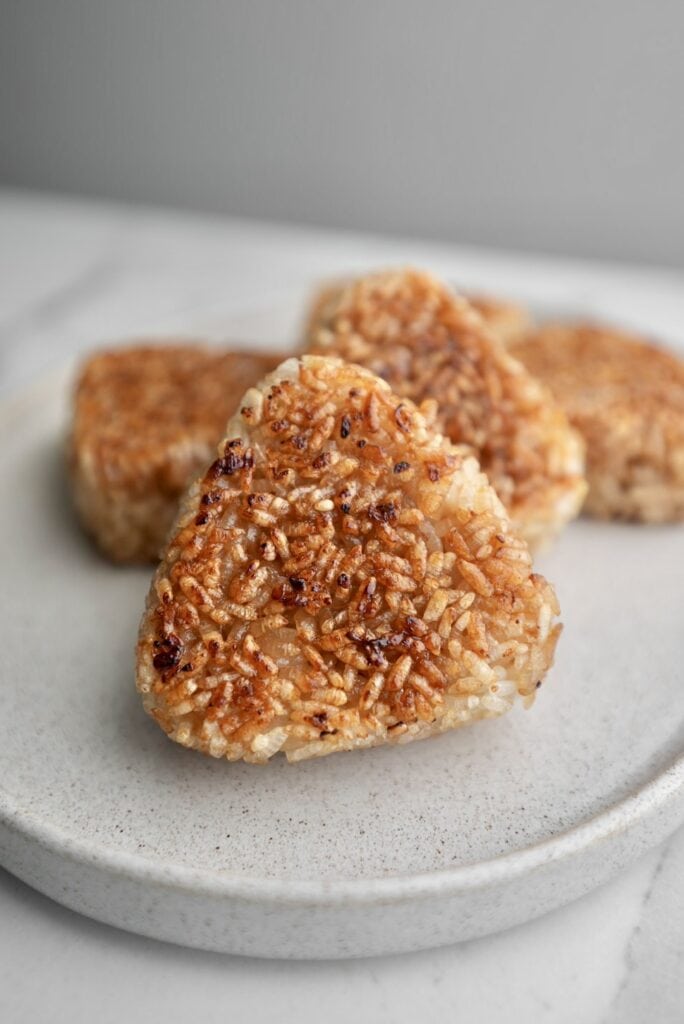
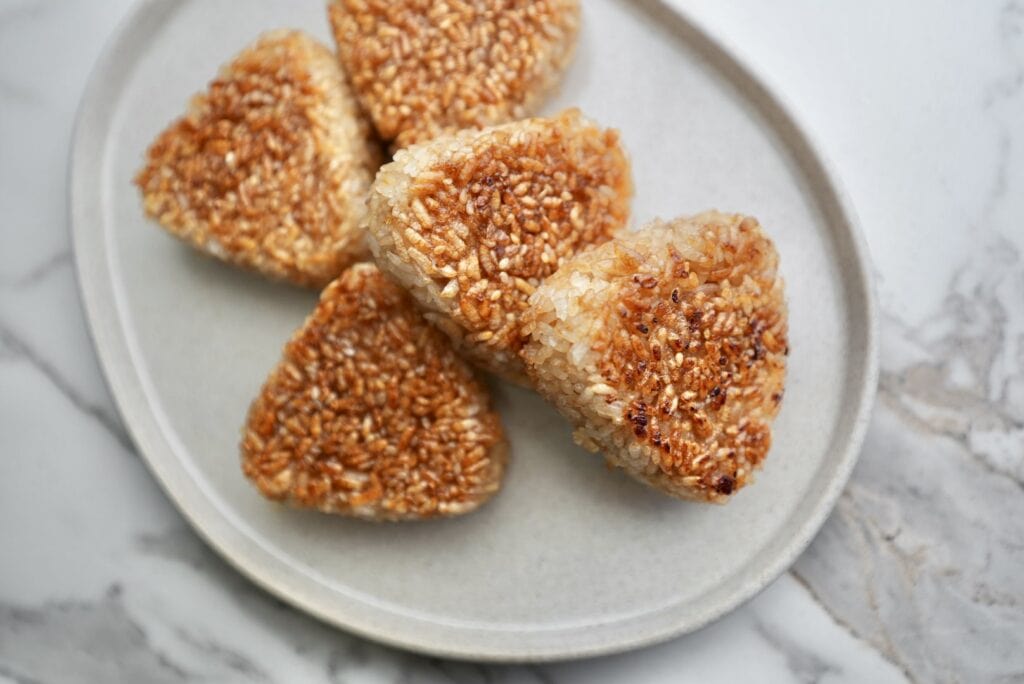
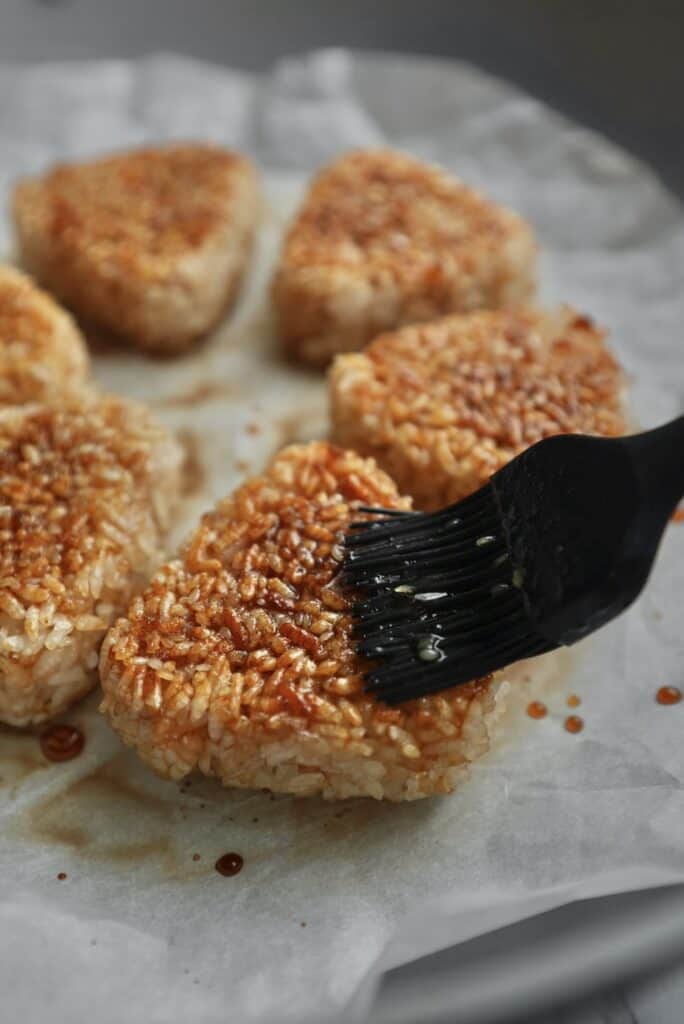
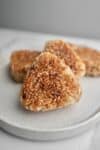
Yaki Onigiri, or Japanese grilled rice balls, are a little twist on traditional onigiri (Japanese rice balls). After shaping rice into a triangle or oval, the rice balls are grilled. The outside then becomes golden brown and crisp. They’re often brushed with a savory soy sauce-based glaze as they cook that creates a caramelized exterior while the inside stays soft and fluffy. The contrast in textures is what makes yaki onigiri so irresistible. If you love the crispy rice trend, then you’ll love yaki onigiri!
Growing up, my mom didn’t make yaki onigiri very often. She usually made classic onigiri because they’re quicker to prepare and perfect for lunch boxes, road trips, or an easy snack. I have so many memories of eating simple onigiri filled with ingredients like salmon or umeboshi, and they were always comforting. Grilling each rice ball takes a little more time and attention, so regular onigiri were much more common in our house.
Even though I didn’t grow up eating homemade yaki onigiri regularly, it’s something I’ve always loved ordering whenever I see it at Japanese restaurants, food stalls, festivals, or specialty shops.
While a plain soy-glazed yaki onigiri is delicious on its own, I especially love versions stuffed with fillings. So feel free to customize these how you like! Melty cheese is one of my favorites – the warm, gooey center paired with the crispy rice is such a good combo. Whether you keep it simple or fill it with your favorite ingredients, yaki onigiri is a comforting Japanese snack that’s well worth the extra few minutes on the grill.
Ingredients:
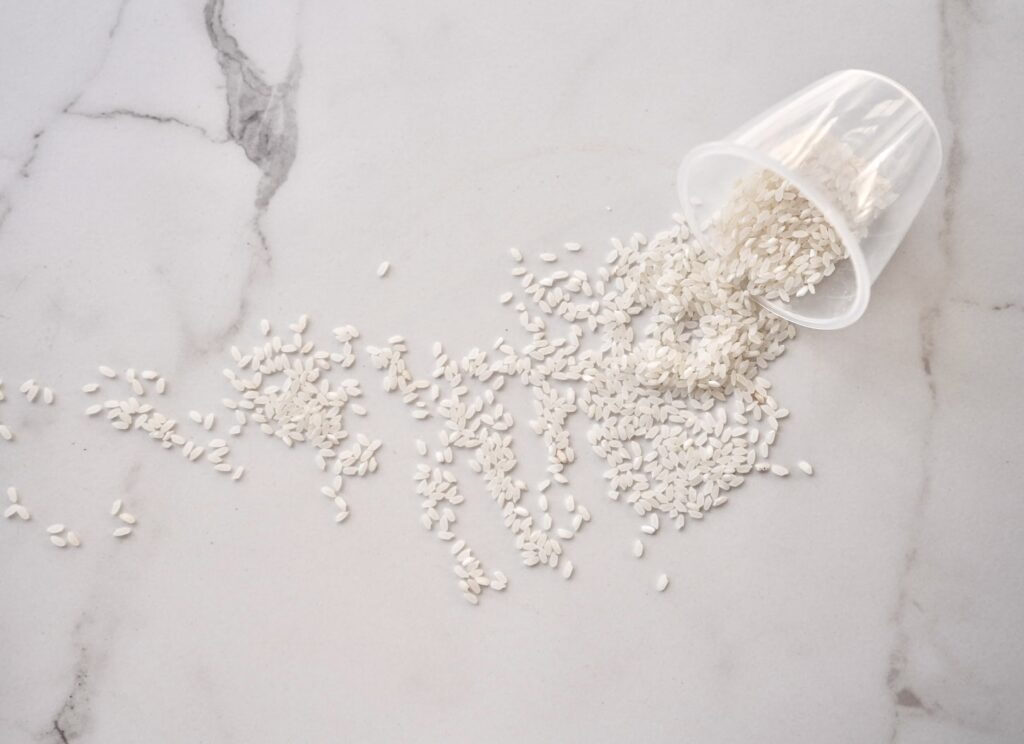
- Japanese Short-Grain or Medium-Grain Rice: Sticky rice that holds its shape when formed and crisps up beautifully when grilled. The type of rice you use for this dish is very important!
- Soy Sauce: Adds a light savory base flavor throughout the onigiri. Also creates a deep umami, caramelized coating when brushed and grilled.
- Salt: Enhances the overall flavor and helps balance the soy sauce.
- Sugar: Helps the glaze thicken slightly and caramelize for that signature golden crust.
What Type of Rice to Use
Choosing the right type of rice can be confusing, especially with so many varieties available. For this dish, however, I recommend Japanese short-grain or medium-grain rice.
Short-grain rice, often labeled as sushi rice, is particularly prized for its soft and chewy texture, which pairs beautifully with traditional Japanese dishes. Medium-grain rice is a great alternative if short-grain isn’t available (I actually almost always use medium-grain myself because it’s generally cheaper where I live!). Both are ideal for recipes like this one, where the rice’s stickiness helps meld the flavors into every bite.
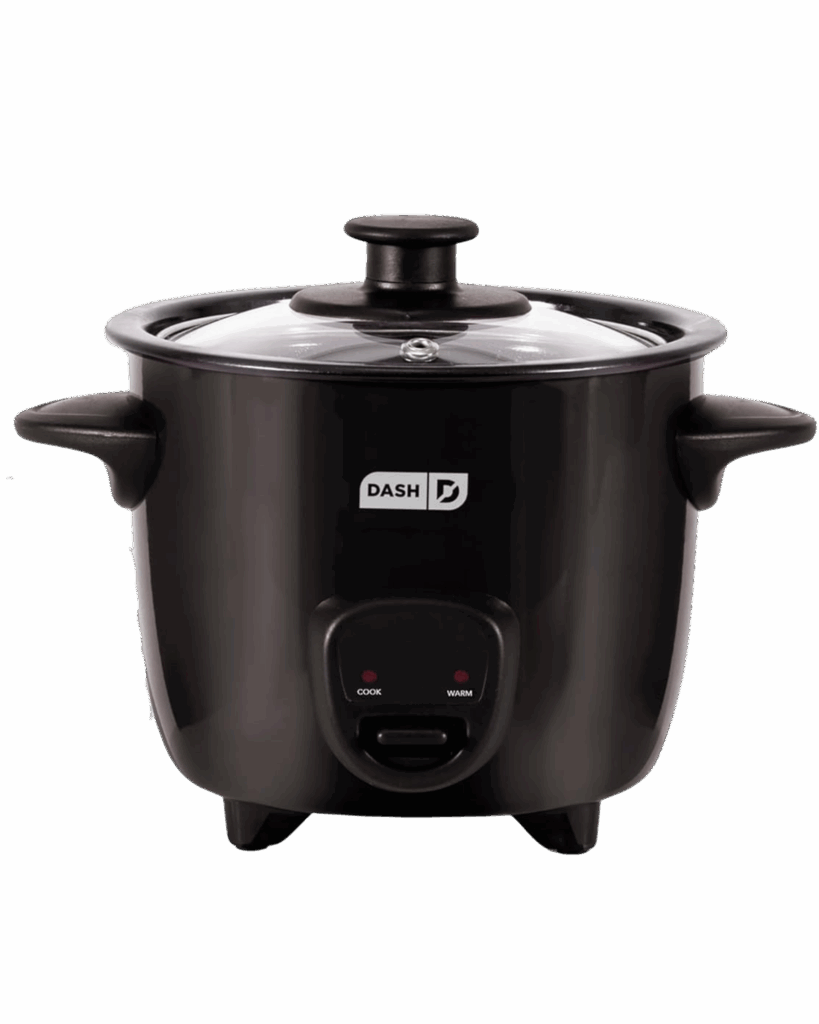
Recommended Rice Cookers
Do I need to have a fancy rice cooker to make rice? NO! Just like anything, generally, the higher the quality, the better. But you can make great rice in a cheap rice cooker, too!

5.5 cups or 10 cups
2 cups
Click the rice cooker photos to see my favorite rice cookers. I included a budget-friendly rice cooker I love! I use the Tiger 5.5-cup model shown. About 1/2 cup of Japanese short- or medium-grain rice makes 1 serving.
Key Features to Look For in a Rice Cooker:
- Timer and Keep Warm Function: Useful for planning meals ahead of time and keeping them warm until you’re ready to eat.
- Steaming Basket or Tray: Allows you to steam vegetables or cook other ingredients while the rice cooks.
- Multiple Cooking Functions: Ensure it has settings for steaming, slow cooking, and possibly even baking.
- Non-Stick Inner Pot: Makes cleaning easier and prevents sticking.

FAQs:
What kind of rice should I use?
Japanese short-grain rice or medium-grain rice is the best choice because it’s sticky enough to hold its shape. Do not use long-grain rice like jasmine or basmati, as it will fall apart!
Can I use leftover rice?
Yes, absolutely! Just make sure you reheat it first.
Do I need an onigiri mold?
No! You can easily shape onigiri by hand. Just wet your hands with water and sprinkle them with a little salt to prevent sticking. A mold simply makes the process faster and creates more uniform triangles.
Why do you cook the onigiri on parchment paper?
It’s not necessary at all! But the parchment paper prevents the rice from sticking to the pan while still allowing the outside to become crispy and golden.
Can I use a different glaze?
Absolutely! Teriyaki sauce, eel sauce, or even plain soy sauce all taste great on yaki onigiri.
Can I add a filling?
Yes! Fill the center with cheese, tuna mayo, cooked salmon, umeboshi (pickled plum), or your favorite filling before shaping the rice.
How do I store leftovers?
Store them in an airtight container in the refrigerator for up to 3 days. Reheat in a skillet, air fryer, or toaster oven to crisp them back up.
Can I freeze yaki onigiri?
Yes. Wrap each cooled onigiri individually and freeze for up to 2 months. Reheat from frozen in an air fryer, oven, or skillet until heated through.
Yaki Onigiri (Japanese Grilled Rice Ball)
- Total Time: 35 minutes
Description
Yaki onigiri are Japanese rice balls that are grilled until golden and crisp on the outside, then brushed with a savory-sweet soy glaze for a smoky, caramelized finish.
Ingredients
- 2 cups cooked rice
- 1 1/2 tablespoon soy sauce
- 1/2 teaspoon salt
- 1/4 cup soy sauce
- 1/2 tbsp sugar
Instructions
- Cook 2 cups of rice according to the package directions. Use the rice while it is still hot!
- In a bowl, add the warm rice, soy sauce, and salt. Using a rice paddle or spatula, mix with a Japanese chopping motion: cut down through the rice, lift, and turn it over gently instead of stirring or mashing. Repeat until the rice is evenly seasoned.
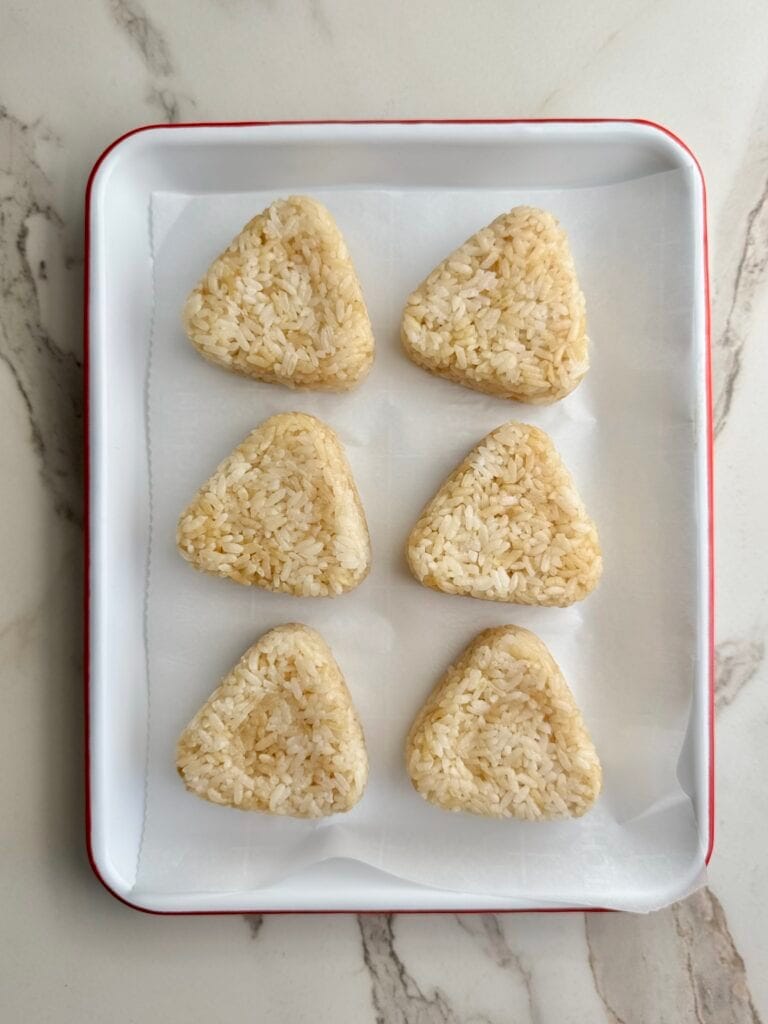
- Next, we are going to shape the rice into onigiri triangles (if shaping by hand, lightly wet your hands with water and sprinkle on a little salt to keep the rice from sticking). Make sure your rice is still hot/warm, but not so hot that you are burning your hands! I prefer using an onigiri mold because it keeps my hands less sticky and makes each triangle perfectly uniform. To shape by hand, scoop a portion of rice into your palm, press it gently into a triangle, and rotate it as you press the sides to form clean edges.
- In a small bowl, combine the soy sauce and sugar for the brushing sauce. Microwave for about 30 seconds, just until the sugar dissolves into the soy sauce. Alternatively, I also like to use teriyaki sauce or unagi sauce as well sometimes!
- Heat a pan over medium heat and line it with parchment paper. Place the onigiri on the parchment-lined pan and cook until browned on all sides. The parchment paper keeps the onigiri from sticking at all, so they’re easy to flip and handle.
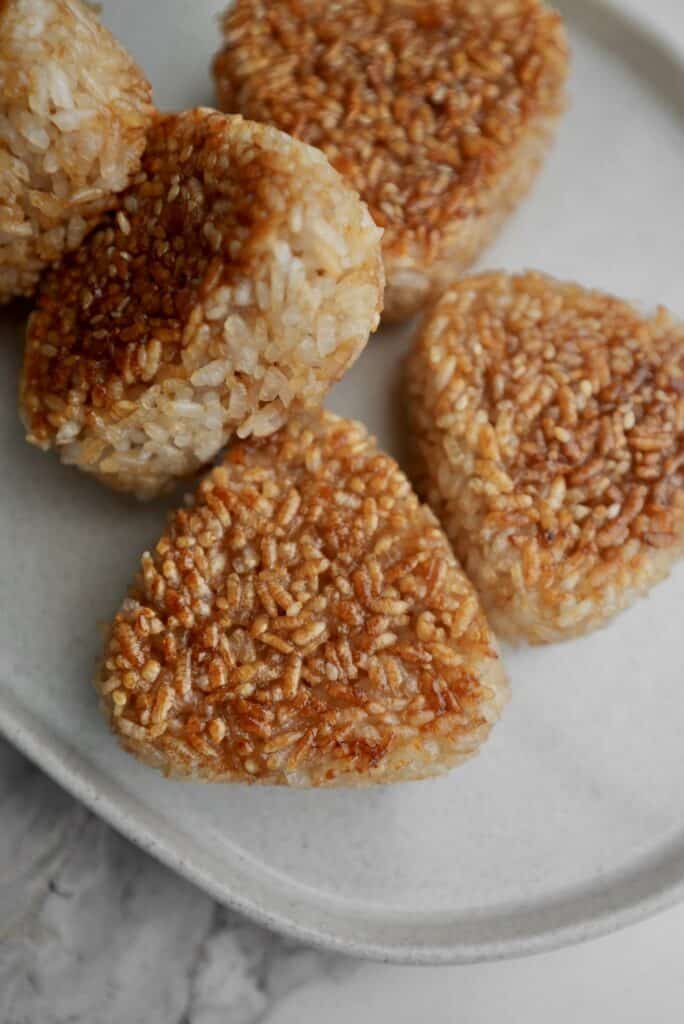
- Once the onigiri are golden, brush one side with the glaze then flip and cook for 30 seconds. Then flip, brush the next side with glaze, and cook for another 30 seconds. Enjoy hot!
- Prep Time: 5 minutes
- Cook Time: 30 minutes
Nutrition
- Serving Size: 6-8 onigiri


0 Comments