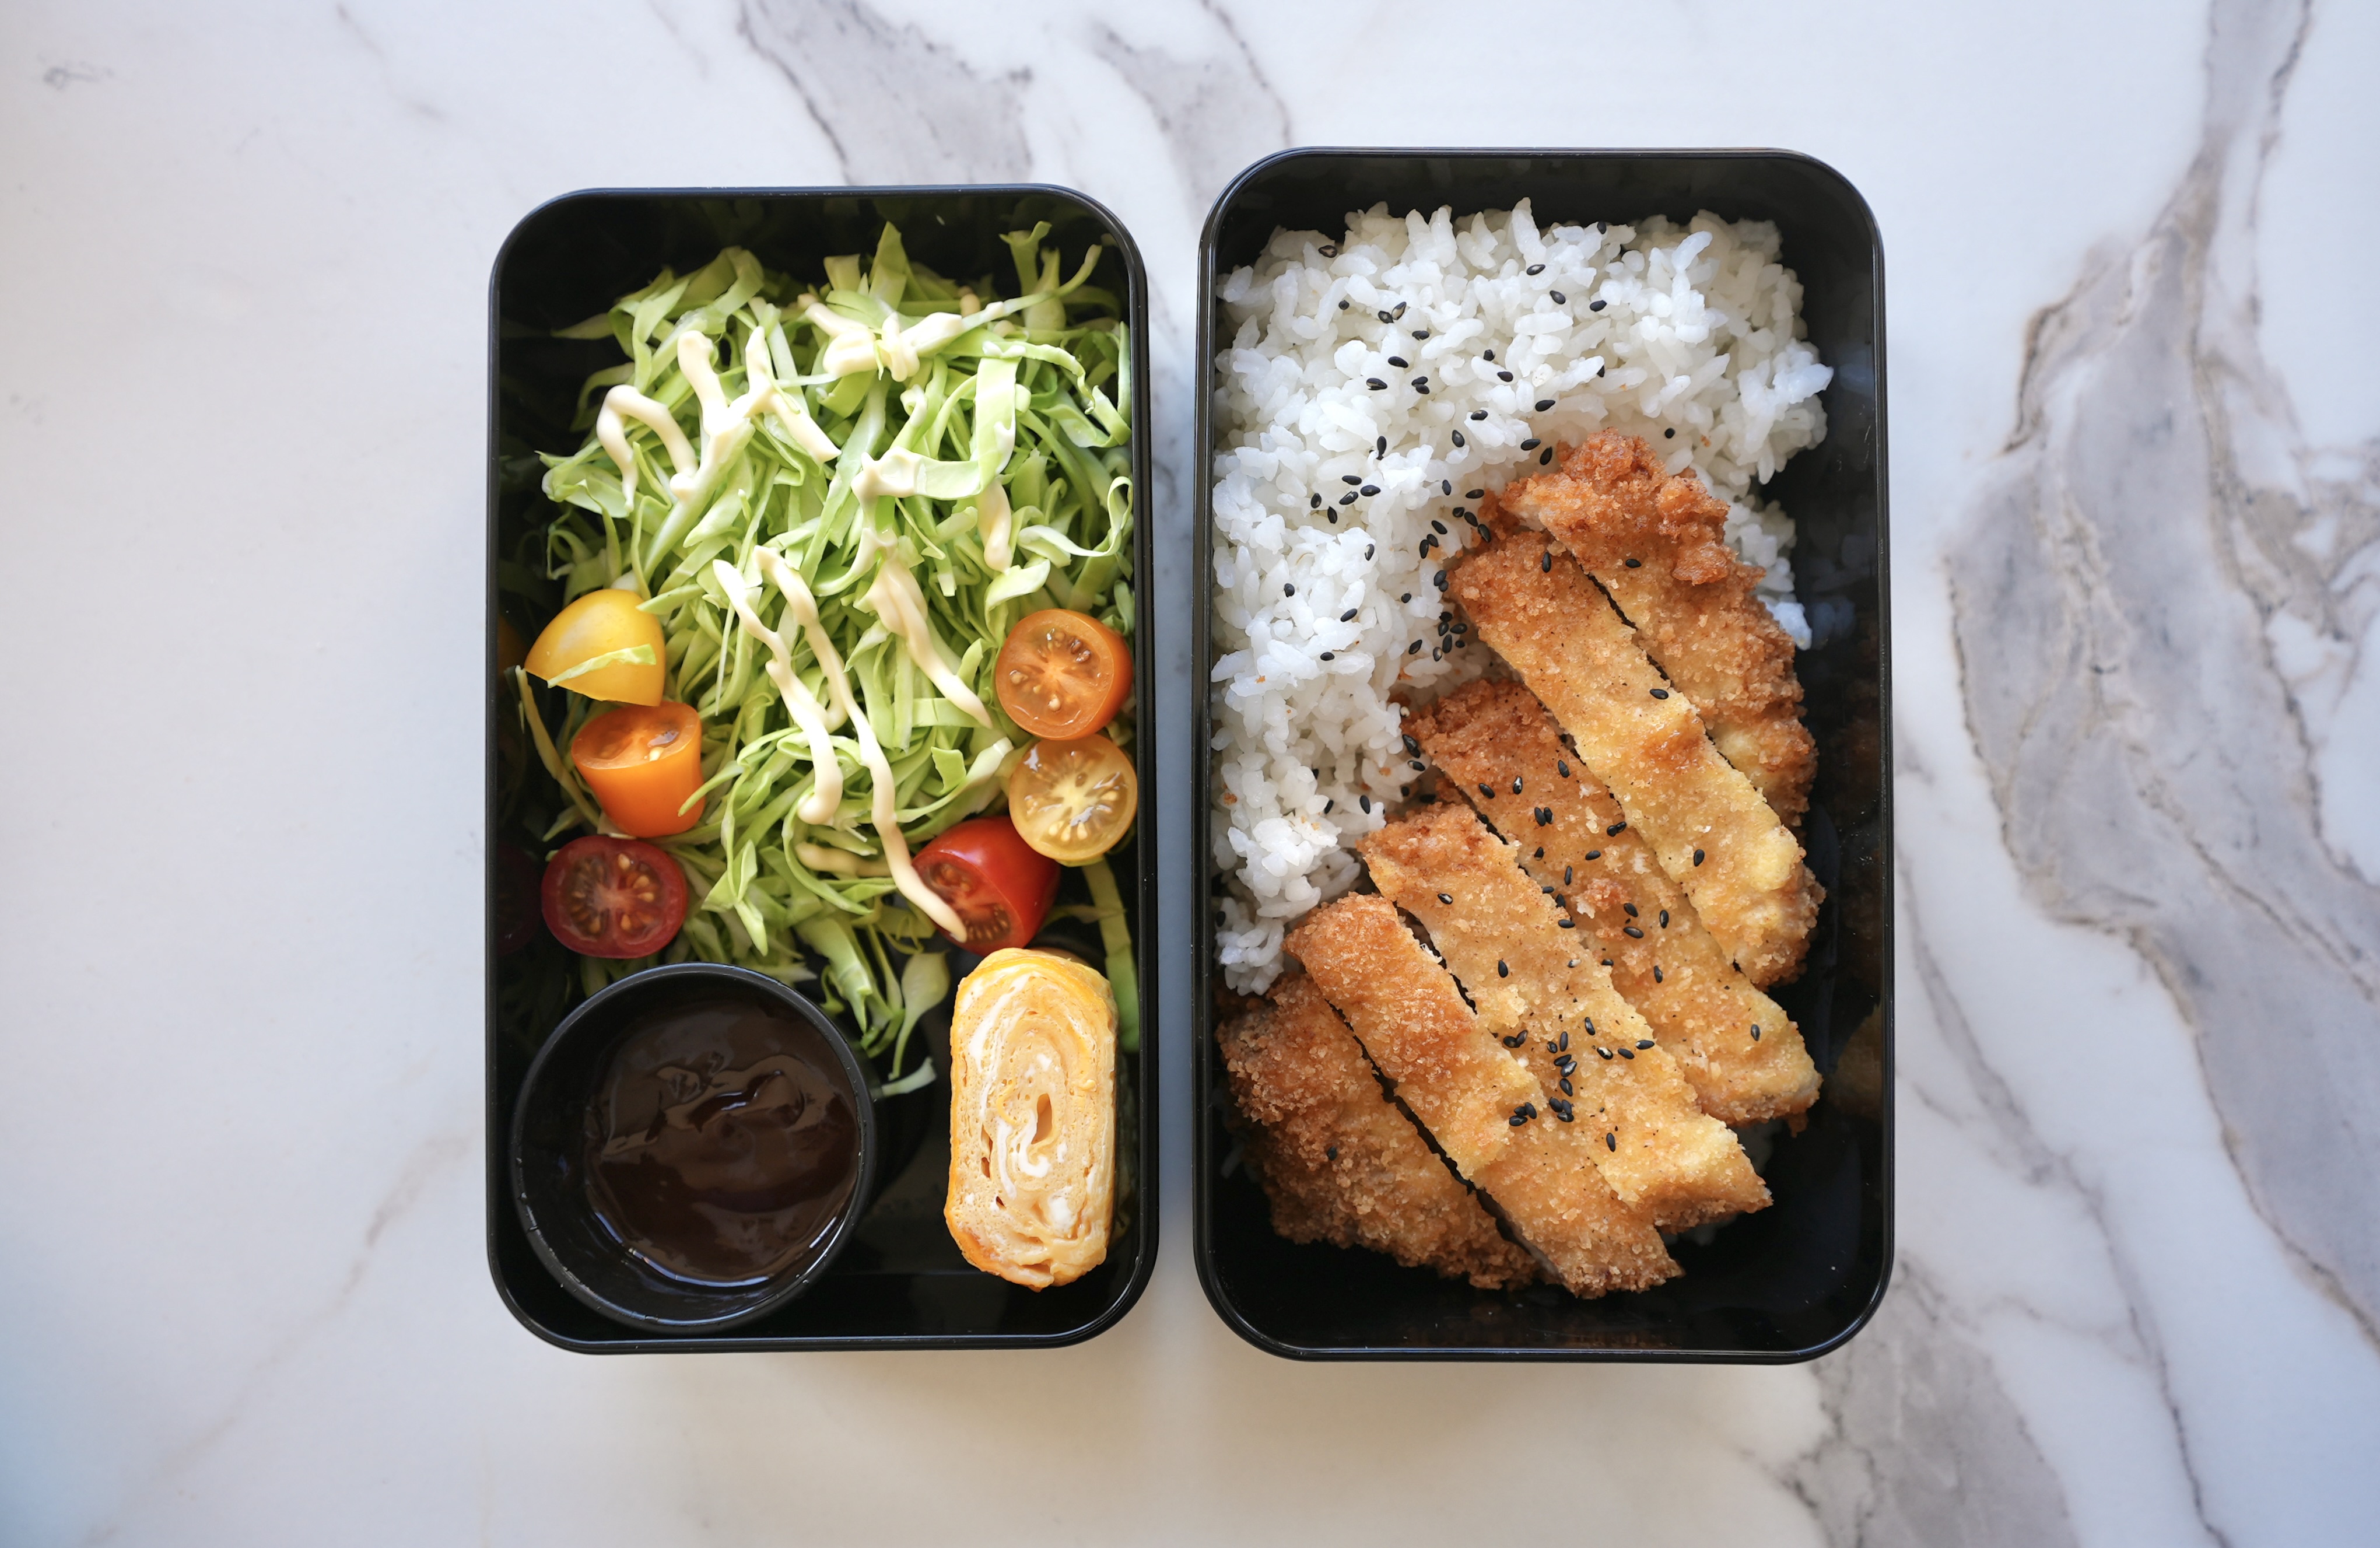
Tamagoyaki, the beautifully layered Japanese rolled omelet, is a staple in home-cooked meals and bento boxes. My mom used to pack these for me in my bento all the time growing up, and they were always one of my favorite parts of lunch. “Egg” in Japanese is “tamago” while “grilled” or “cooked” is “yaki,” thus Tamagoyaki (卵焼き) in Japanese means “grilled egg.”
These aren’t just regular eggs, though. In Japan, tamagoyaki is seasoned in many different ways depending on region, household, and personal preference, but most versions start with a few basic seasonings.
Typically, this includes dashi for umami, soy sauce or salt for savoriness, and sugar or mirin for sweetness, with the balance varying from cook to cook. From there, people often add their own twists, but those core ingredients form the foundation of most tamagoyaki. Once the eggs have been whisked together, they are cooked in thin layers in a rectangular pan.
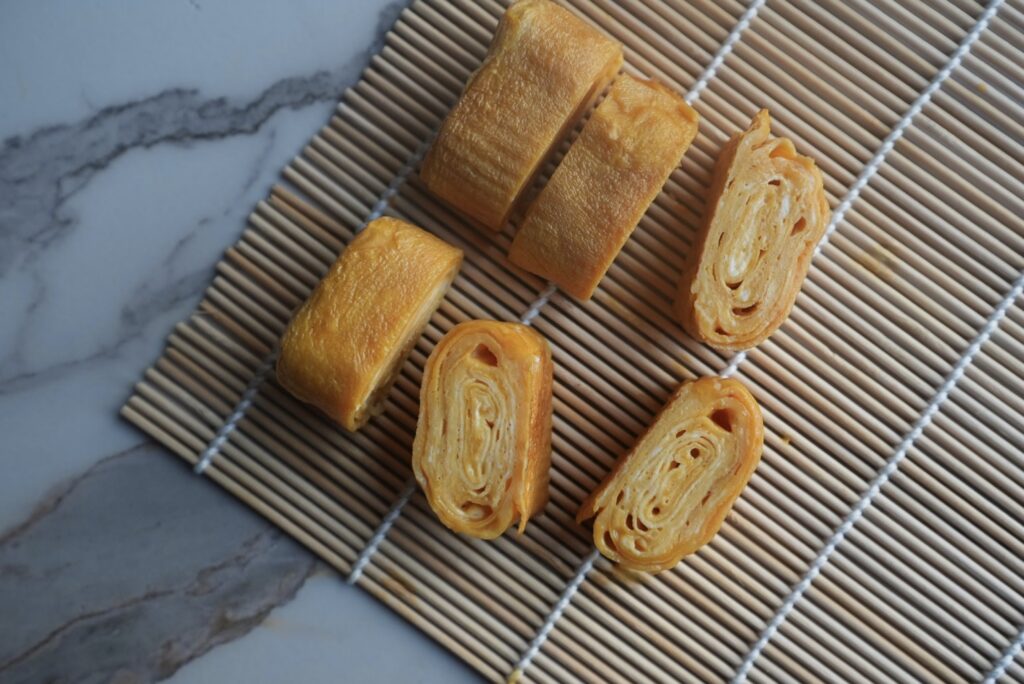
There’s something so comforting about the slightly sweet, savory egg, with its delicate layers rolled together into a perfect rectangular shape. Whether eaten fresh and warm or chilled in a packed lunch, tamagoyaki always brings back a sense of home for me.
Whenever I visit Japan, I love picking up tamagoyaki from convenience stores. They sell them cold, and surprisingly, they taste just as good that way – one of the few times I’ll actually eat eggs cold!
The texture of Tamagoyaki stays soft and slightly bouncy, and the flavors somehow become even more balanced after resting. It’s such a simple pleasure, but it always hits the spot, whether as a quick snack or part of a larger meal.
What Type of Pan Should I Use?
ngular or square tamagoyaki pan, called a makiyakinabe (巻き焼き鍋) in Japanese. These pans are specifically designed for rolling the thin layers of egg into the signature rectangular shape.
Tamagoyaki pans come in different materials:
- Nonstick pans: Great for beginners since the eggs won’t stick, making rolling much easier.
- Copper pans: Traditional and preferred by professional chefs because they heat evenly and create the best texture, but they require more care and seasoning.
- Cast iron pans: Hold heat well and can develop a natural nonstick surface over time, but they’re heavier and take longer to heat up.
If you don’t have a tamagoyaki pan, you can still make it in a small round nonstick pan. You’ll just end up with a more cylindrical shape instead of the classic rectangular roll. But for the best results, a proper tamagoyaki pan is definitely worth it!

How to Make Dashi: Japanese Cooking Stock
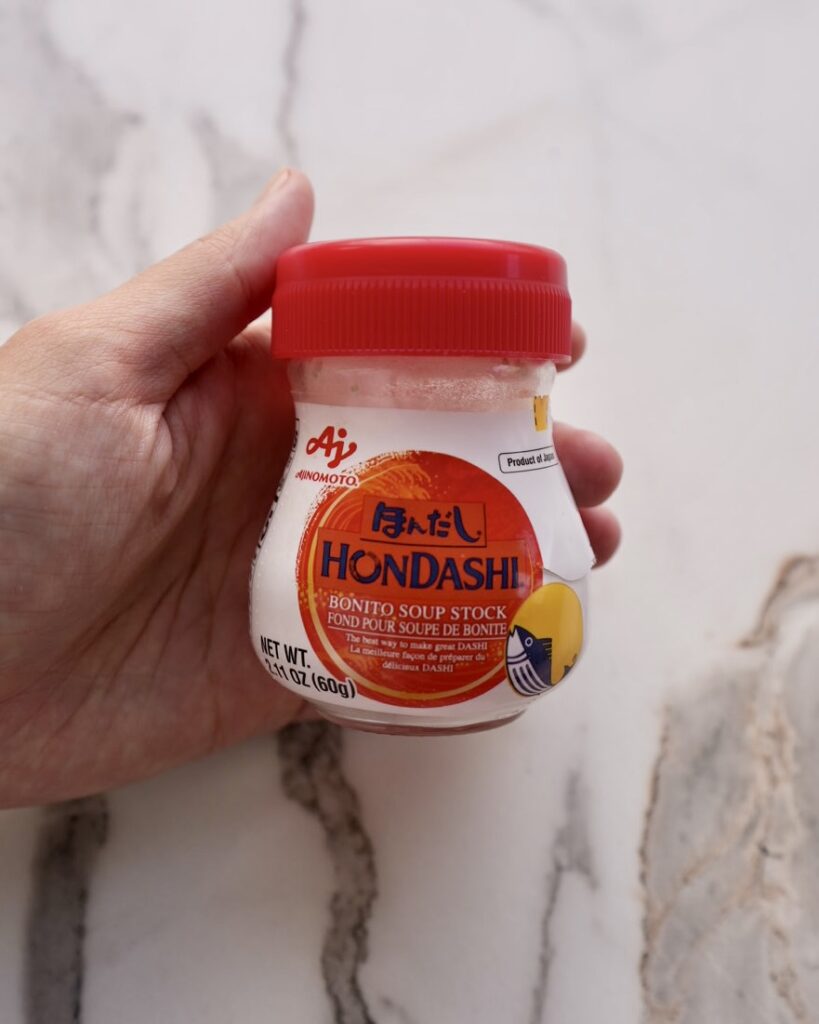
Tamagoyaki is frequently made with dashi. I’m going to share three main ways to make dashi, each with its own advantages in terms of flavor, ease, and time; however, for tamagoyaki I recommend just using hondashi (which, luckily, is the easiest method). I ordered them from most complex to simplest:
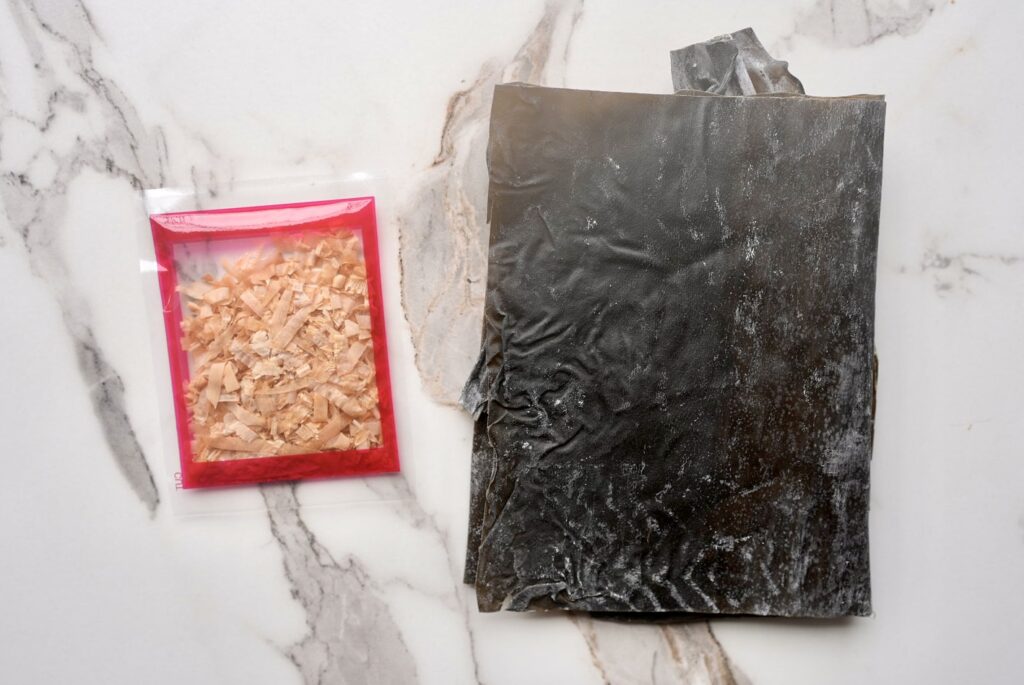
- Dashi from Scratch: Traditional dashi, made by simmering kombu (dried kelp) and katsuobushi (dried bonito flakes), is considered the best method. Soak the kombu in water, heat just below boiling, and add katsuobushi. This method is ideal for dishes with the purest flavor.
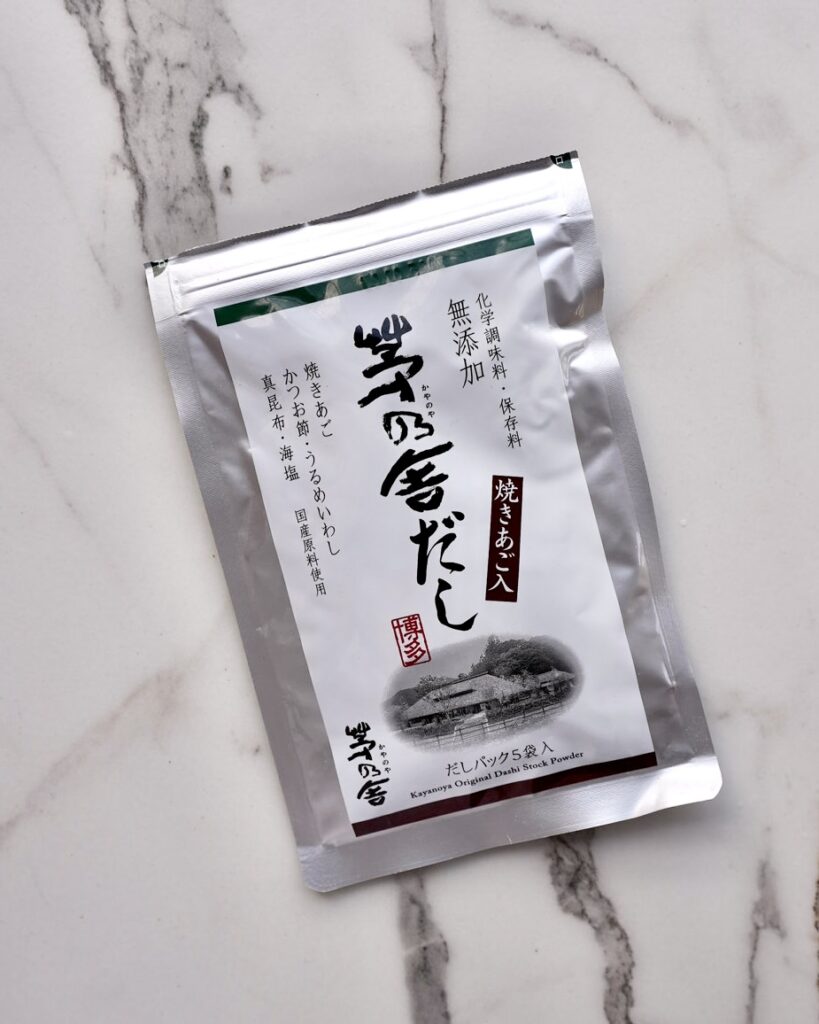
- Dashi Packets: Dashi packets, resembling tea bags, contain dried kombu, katsuobushi, and sometimes shiitake mushrooms or dried sardines. Just simmer the packet in water for a few minutes for a quick and flavorful broth. Buy dashi packets here from one of my most recommended dashi brands, Kayanoya.
- Instant Dashi (Hondashi): Instant dashi, often called , is a granulated or powdered form of dashi. Just a spoonful dissolved in hot water creates a quick and flavorful stock. This option is convenient and ideal for busy days. Buy hondashi here.
Making Dashi From Scratch
Dashi is a fundamental Japanese stock that forms the backbone of countless dishes. It provides a delicate yet deeply savory flavor known as umami.
Made traditionally from kombu (dried kelp) and katsuobushi (dried bonito flakes), dashi is prized for its ability to enhance other ingredients without overpowering them. It’s used in a wide variety of dishes, from miso soup and noodle broths to simmered vegetables, nimono, and even sauces and dressings, making it an essential component of authentic Japanese cooking.
Like I mentioned above, you can use shortcuts to make dashi (which I do all the time! Making it from scratch is a little more work than I am cut out for, especially on busy days). So here’s how to make it from scratch:
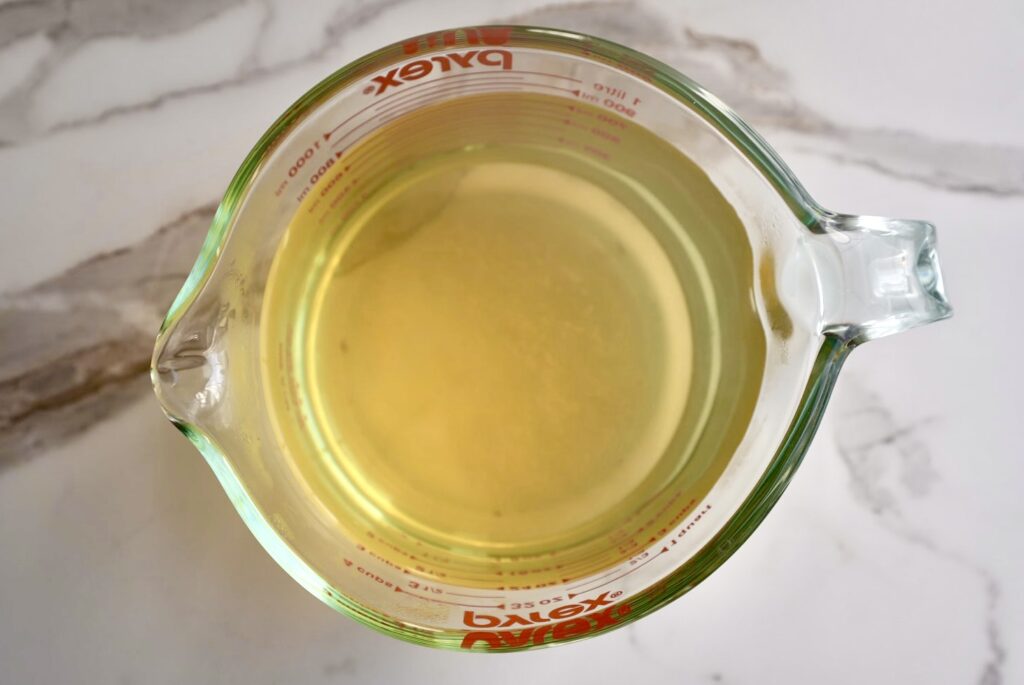
- Prepare Kombu: Soak the kombu in cold water.
- Heat the Water: Slowly bring the kombu water to just below a boil.
- Remove: Take out the kombu before the water boils to prevent bitterness.
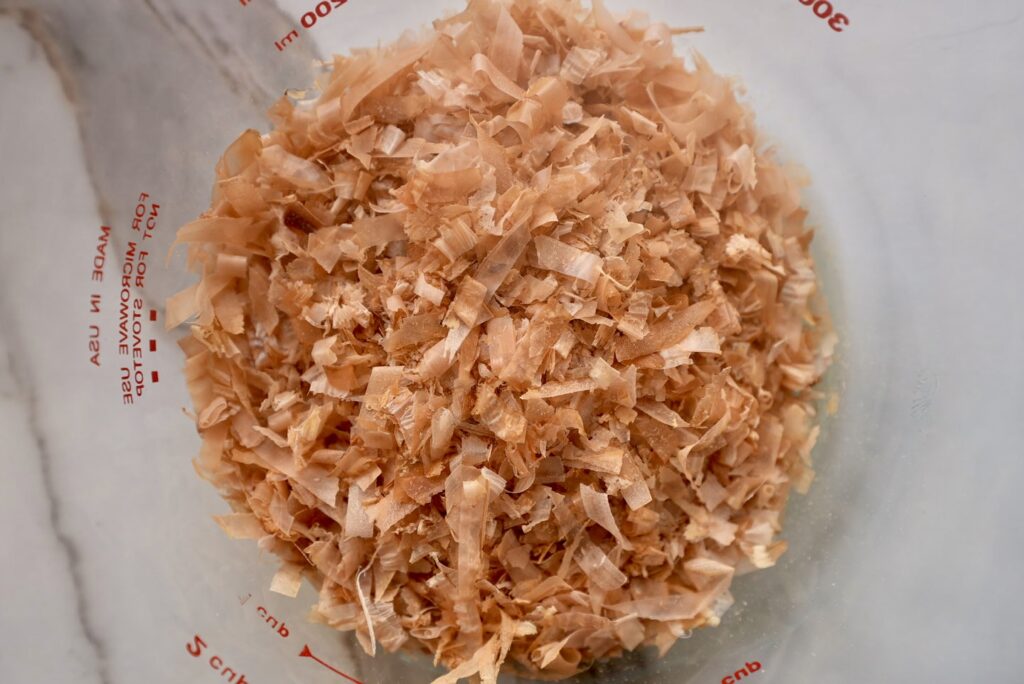
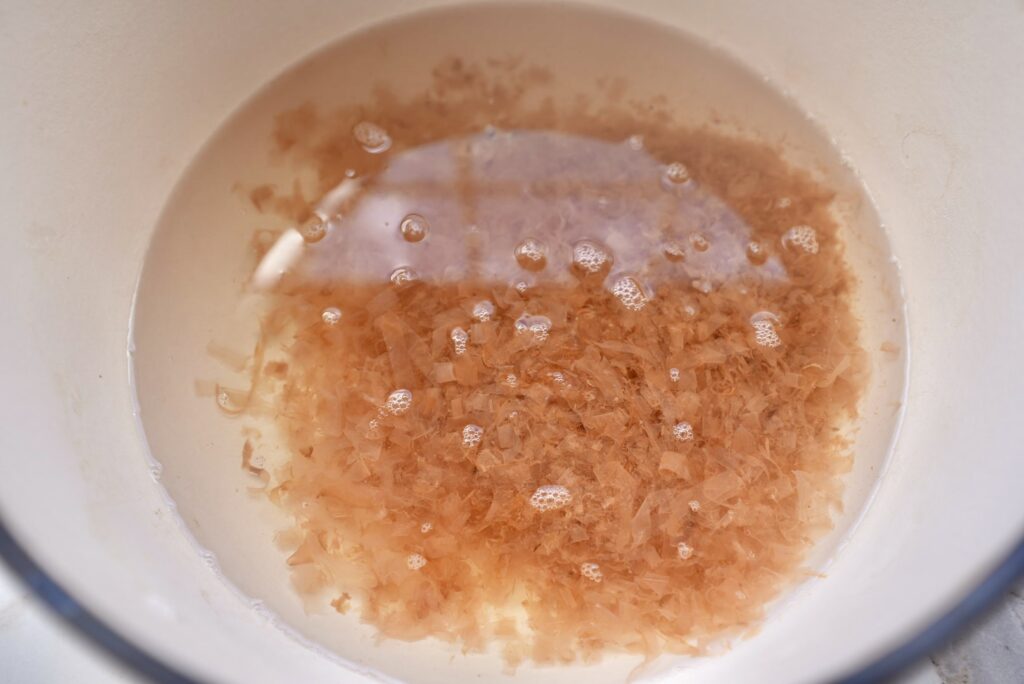
- Add Katsuobushi: Sprinkle in bonito flakes and let them steep for a few minutes.
- Strain: Remove the bonito flakes using a fine-mesh sieve.
Classic Tamagoyaki – 卵焼き (Japanese Rolled Omelette)
- Total Time: 8 minutes
Description
Tamagoyaki is a slightly sweet and savory Japanese rolled omelet, made by layering thin sheets of seasoned egg in a rectangular pan to create a soft, bouncy texture.
Instructions
- In a bowl, whisk together the eggs, hondashi, sugar, and soy sauce until well combined but not too frothy (to avoid air bubbles). If you want your eggs to be more uniform in texture, optionally pass the egg mixture through a fine-mesh sieve.
- Lightly oil a rectangular tamagoyaki pan (or a small nonstick pan) over medium-low heat. Wipe off any excess oil with a paper towel to prevent sticking. Keep the greased paper towel on the side.
- Pour a thin layer of the egg mixture (about 1/4 or 1/3 of it) into the pan, tilting it to spread evenly. Once the bottom is set but still slightly soft on top, use chopsticks or a spatula to roll it from the side furthest from you to the side closest to you.
- With the greased paper towel, grease the empty side of the pan again, then push the egg all the way back to the side furthest from you again.
- Pour another thin layer of the egg mixture (another 1/4 or 1/3 of the egg mixture).
- Lift the existing roll slightly so the new egg layer flows underneath it. Once set, roll it up again in the same direction as before.
- Repeat steps 4-6: continue adding layers and rolling until all the egg mixture is used. Adjust the heat if needed to prevent overcooking.
- Once done, transfer the tamagoyaki to a cutting board. Optionally, you can also place the tamagoyaki inside a bamboo mat to help further set it into a rectangular shape. Let it rest for a few minutes, then slice into even pieces. Serve warm or cold as part of a meal or bento box!
- Prep Time: 3 minutes
- Cook Time: 5 minutes
Nutrition
- Serving Size: 2


How common is this in Japan? Is it just eaten in bento boxes?
Hi Liana – it’s very common! You’ll find it in convenience stores and very commonly as a side dish. So yummy!
Your rolling technique was so helpful — mine finally came out with clean layers.
Hahaha it can take a little practice! Sounds like you got it down 🙂