Kimchi is a common traditional Korean and Japanese side dish that consists of fermented cabbage and other vegetables that are seasoned with Korean chili flakes (known as gochugaru).
Think of it like the Asian version of sauerkraut – but in my opinion, way better. Kimchi has a more complex flavor and pairs beautifully with all kinds of dishes. I love keeping a jar in the fridge for those times I realize I forgot to make a veggie side, because it goes with almost everything and instantly rounds out the meal.
I love it so much that I even eat it for breakfast sometimes, which many Americans might find strange. But it’s pretty normal to eat pickled foods for breakfast in Japan (where I grew up). I’ve also completely converted Jeff to the dark side of kimchi! He probably loves and eats kimchi more than I even do… which is saying a lot!
Kimchi is traditionally eaten on the side with any rice and meat combo, or cooked into fried rice or soup. Surprisingly, traditional kimchi is easy to make if you have a fermentation jar. It’s so worth it because it makes the pickling process so much smoother and odor-free (this is especially important since it’ll need to ferment in your kitchen)!
You can save quite a bit of money and have more control over the level of fermentation by making it yourself. How long you ferment it can impact how “pickled” it tastes. Plus, when you make it yourself, there’s no added preservatives!
A fermentation jar is also great for other pickled veggies, but Jeff and I mainly stick with kimchi and it’s totally worth the purchase for that alone. We probably make a new batch every 3-6 months depending on how much we make and eat.
Every time Jeff and I make kimchi, we give some to my mom and grandma (who are both Japanese). And usually my sisters, too, if we have enough and are feeling generous! But I’ve converted one of my sisters into making her own homemade kimchi, so now she also has her own fermentation jar!
What is Lacto-Fermentation?
Before the technology of refrigeration, lacto-fermentation was a primary way of preserving vegetables before they spoiled. By covering vegetables in a salty brine, you create an environment where bad bacteria cannot survive, and healthy bacteria flourish. The good bacteria slowly pickle the vegetables in the brine.
This process is how true pickles are made, even though today, it is common to use vinegar for a quicker workaround.
In lacto-fermentation, the healthy bacteria create natural probiotics that are amazing for gut health and overall digestion. Health benefits also include a stronger immune system, weight management, reduced inflammation, and heart health. Many believe that people from Korea and Japan are so healthy in part because fermented foods (kimchi being one of them) are integral to their diet.
If you enjoy kimchi or want to support your gut health, give homemade kimchi a try! Fermenting your own can quickly pay off – just one or two batches can cover the cost of a fermentation jar, especially compared to store-bought prices.

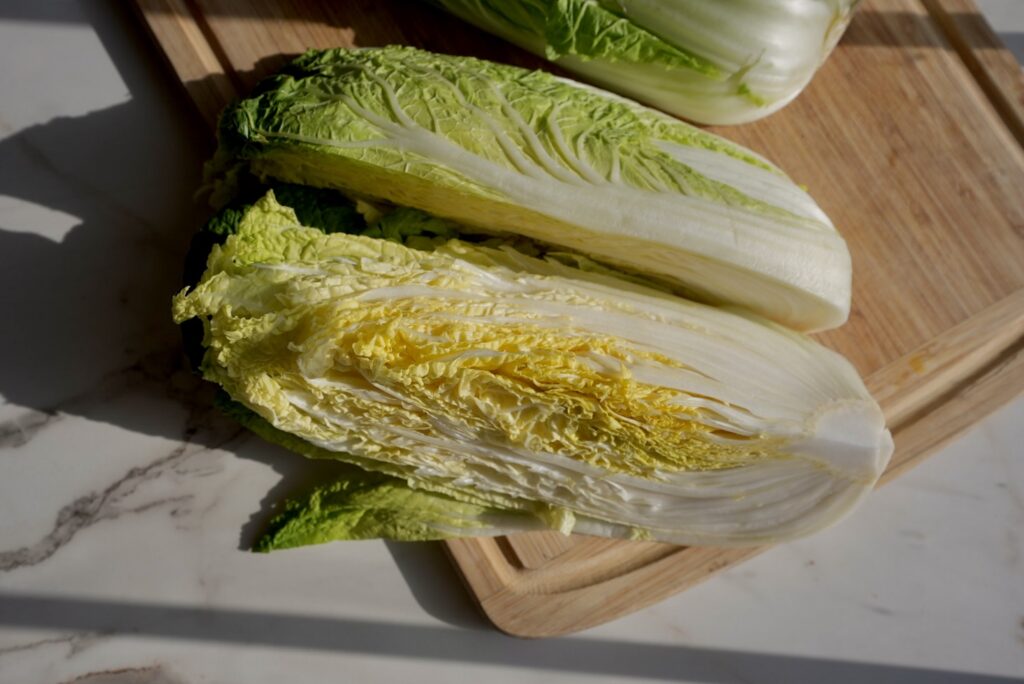
Why Napa Cabbage is the Best Choice for Kimchi
When it comes to making traditional kimchi, napa cabbage is the star of the show. This elongated, pale green cabbage has tender, crinkly leaves and a mild, slightly sweet flavor. It’s different from the more common round green cabbage.
Napa cabbage soaks up flavor incredibly well while still holding its texture, making it ideal for fermentation. Its delicate leaves allow the seasonings – like gochugaru, garlic, and ginger – to penetrate deeply for a bold, complex taste.
Unlike regular cabbage, which can be a bit tougher and more bitter when raw, napa cabbage is juicier, and more absorbent. It also gives the final product that signature kimchi texture! Tender yet slightly crisp – never rubbery or dense.
While green cabbage can technically be fermented too, napa is the traditional base for classic kimchi.
Kimchi Components
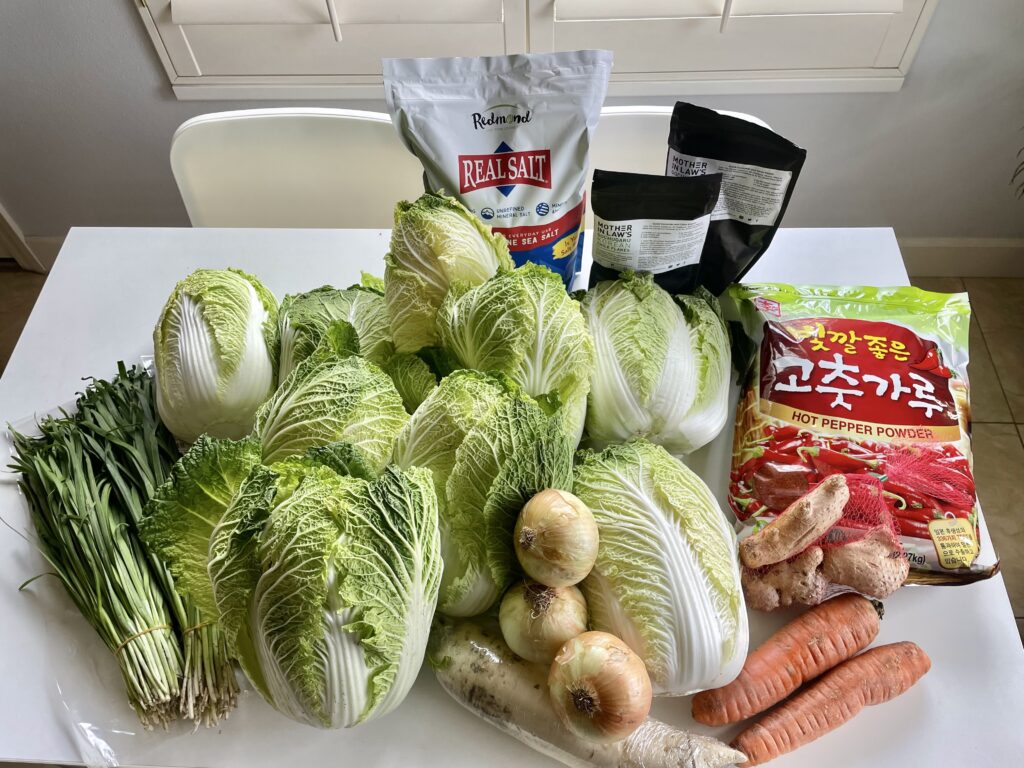
While there are hundreds of regional and seasonal varieties of kimchi, most include a few core components. Apart from napa cabbage, traditional kimchi (which is what this recipe is) uses a combination of the following ingredients:
- Radish: Daikon radish is often used along with or instead of cabbage.
- Chinese chives: Long, thin chives with a garlic flavor.
- Green onion: Adds a fresh, sharp flavor to kimchi.
- Ginger: Provides a spicy, aromatic note to the kimchi
- Carrots: Sometimes added for color and sweetness.
- Garlic: Adds to a complex, savory, umami flavor
Simply chop up all the vegetables, throw in a few spices, mix it, and cover with a salty brine. You generally want to ferment your kimchi at room temperature for 1-3 weeks. Go shorter for a less pickled flavor, and longer for more pickled. It all just depends on your desired level of fermentation. I personally usually do about 1 1/2 weeks.
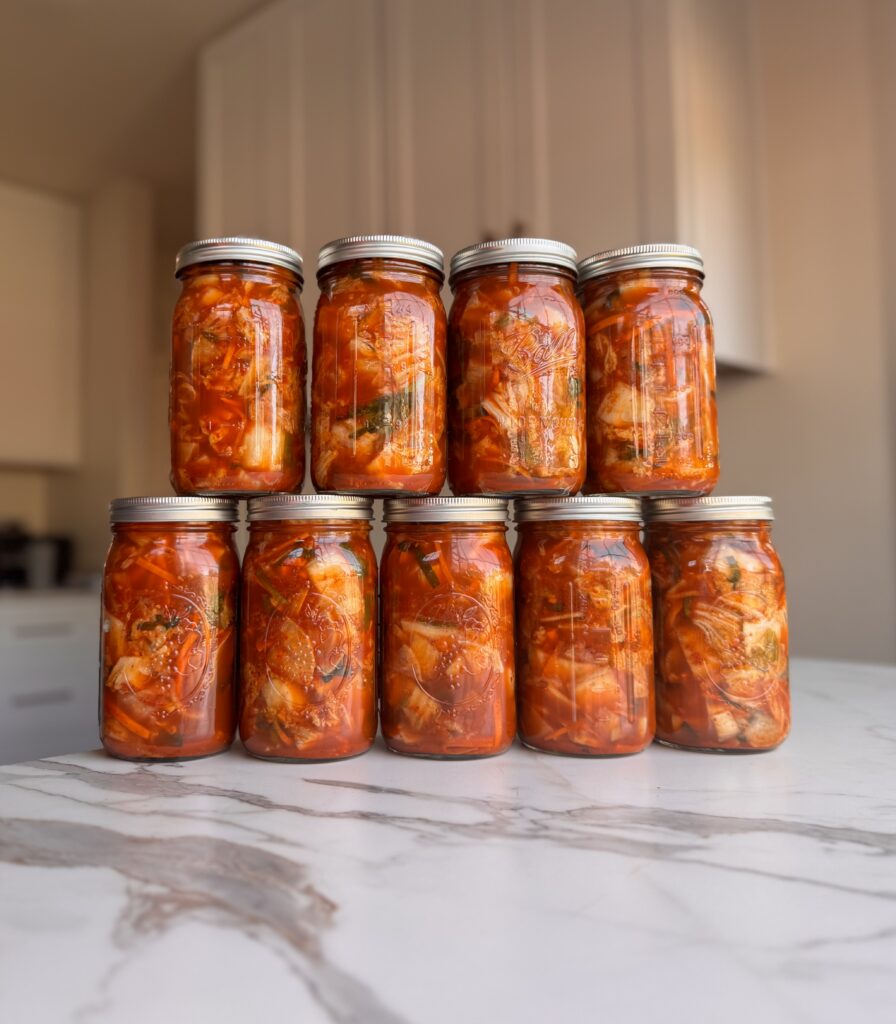
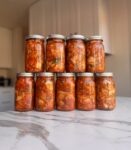
After the fermentation finishes, I store the kimchi in mason jars in my refrigerator for about 6 months, sometimes even longer. The key is to keep the kimchi fully submerged in brine to prevent spoilage. Over time, it will become more sour and funky. Still safe to eat, but the flavor definitely evolves!
If your kimchi’s texture becomes mushy or there’s mold on the surface (not just bubbling or strong smell), it’s time to toss it. Otherwise, older kimchi is great in cooked dishes like kimchi fried rice or kimchi jjigae.
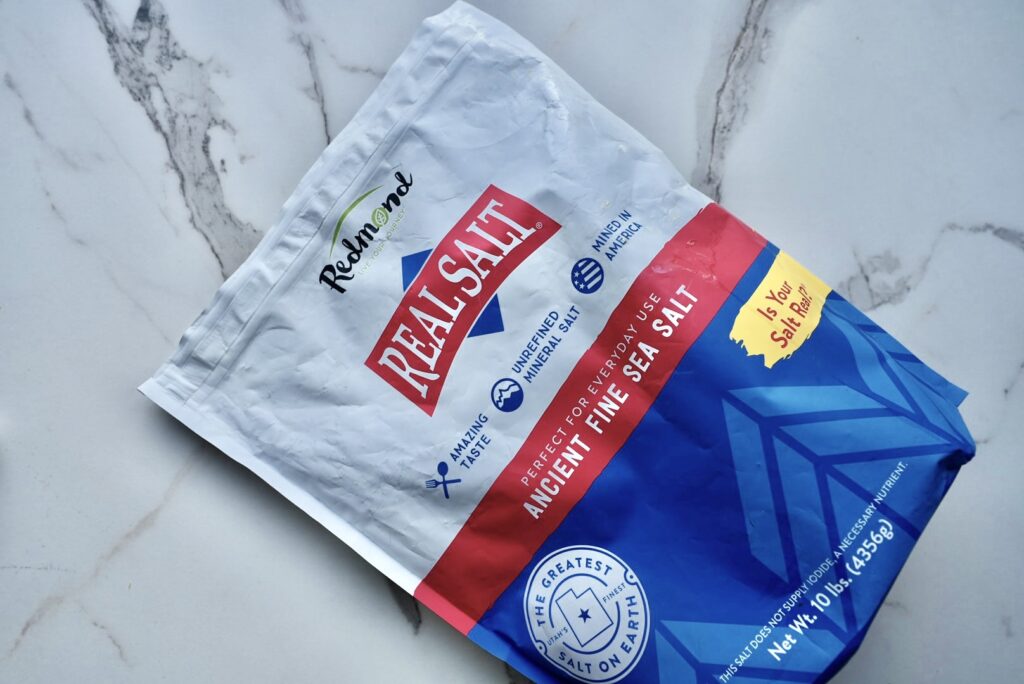
What Salt Should I Use?
For the best kimchi, it’s important to use unrefined sea salt. Unrefined salt is free from additives such as iodine and anti-caking agents, which can interfere with fermentation and alter the flavor. It also retains trace minerals that contribute to a cleaner, more balanced taste.
The coarse texture of unrefined salt helps draw moisture from the vegetables slowly and evenly. This allows for a better crunch and more consistent fermentation.
I always have a large bag of my favorite unrefined sea salt in my pantry because it’s nice to have in bulk (not just for kimchi but for baking and cooking!). It’s an additive-free salt rich in natural trace minerals. Plus, I currently live in Utah and love that it was harvested sustainably from an ancient sea bed right here in Utah!
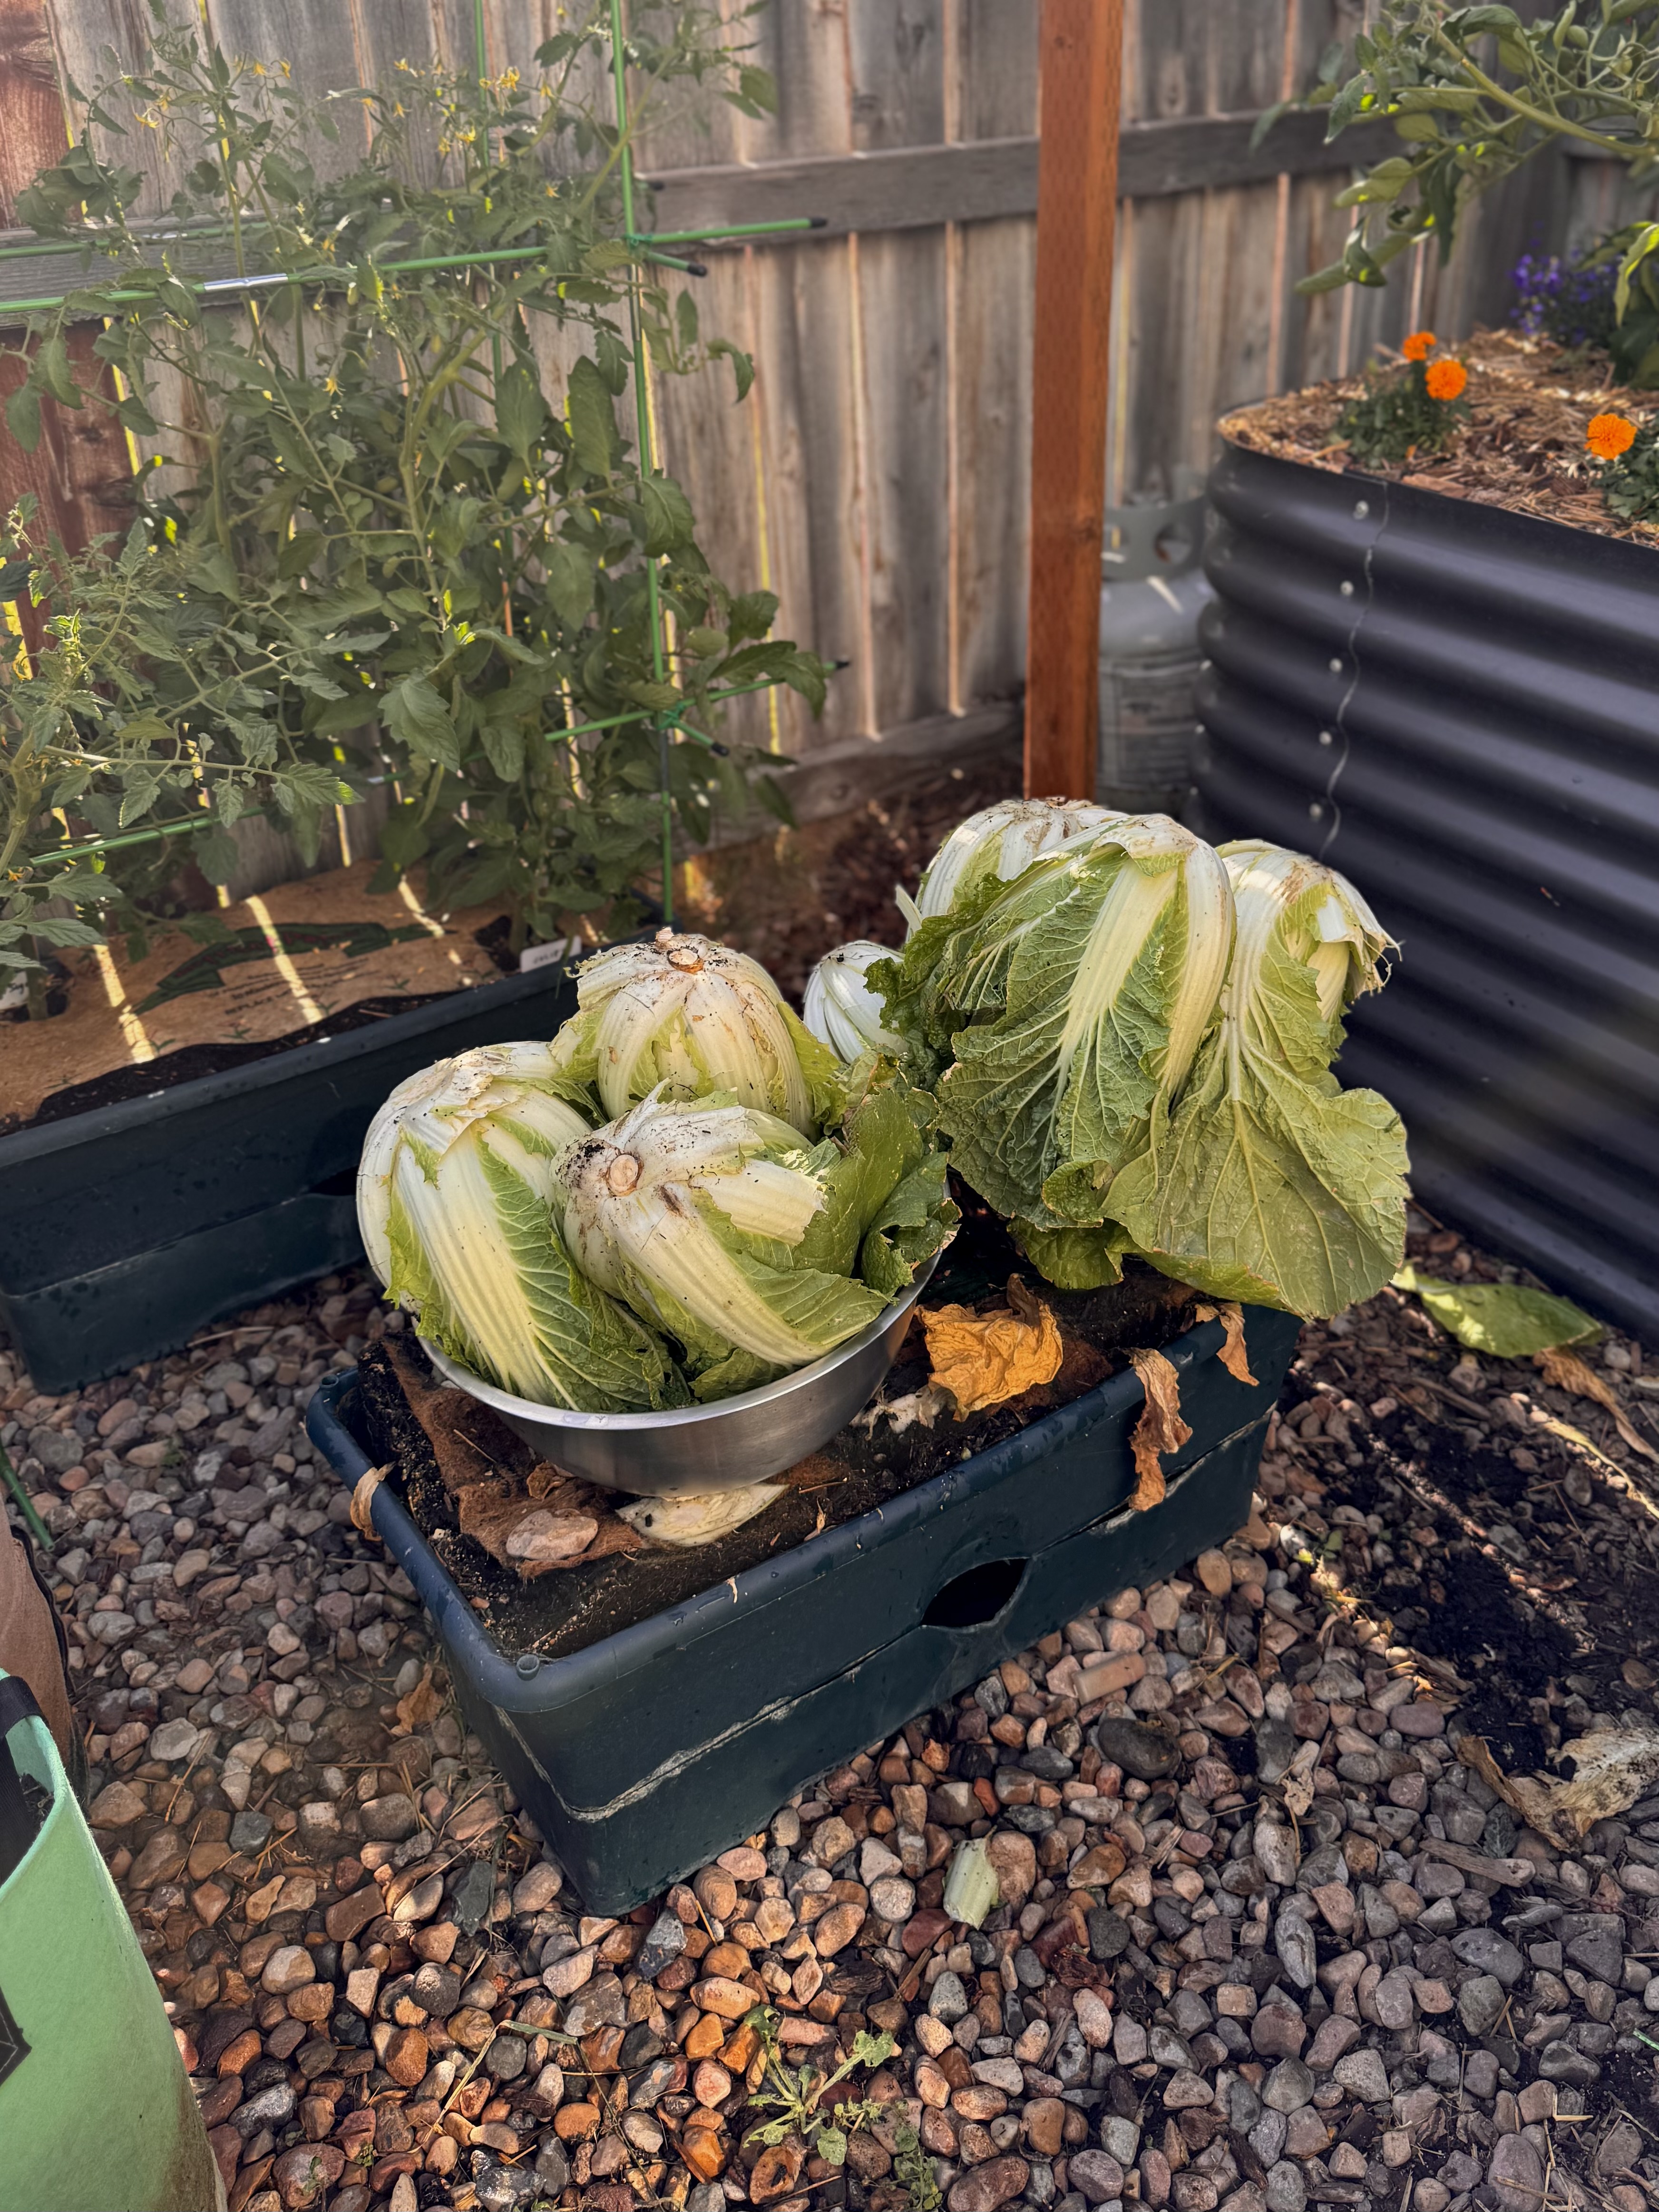
From Garden to Table: Home-Grown Kimchi
One of the reasons I love making kimchi at home is that so many of the ingredients come straight from our garden. Jeff (my husband) and I are big fans of growing our own vegetables, and over the years we’ve grown all of the staple vegetables in kimchi.
There’s something especially satisfying about fermenting a batch of kimchi using veggies you’ve nurtured from seed to harvest!
If you’re interested in gardening or want to try growing some of your own kimchi ingredients, Jeff shares a lot of helpful tips on his gardening page. Check it out if you’re even a little bit garden-curious. He also dives more into lacto-fermentation at the link below.
Homemade Kimchi
- Total Time: 6 hours
Description
Homemade kimchi is a tangy, spicy, and pungent dish made by fermenting napa cabbage, radishes, carrots, onion, and other vegetables with a mixture of gochugaru (Korean chili powder), garlic, ginger, and salt.
Equipment:
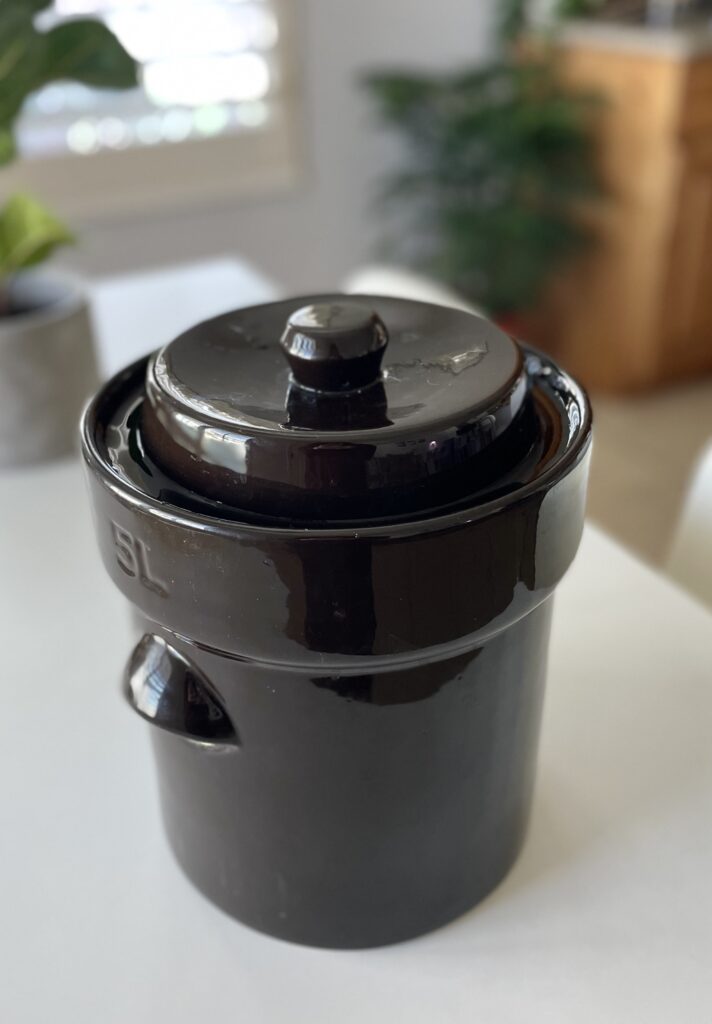
- Fermentation jar (must be at least 5 liters. You can also use Ziploc bags, Tupperwares, or jars – whatever you use, just make sure that your kimchi is properly sealed while fermenting so that it doesn’t spoil!)
- 9-10 32 oz. wide-mouth mason jars for storing
Ingredients
- Water
- 1 cup sea salt, unrefined
- 2 heads of napa cabbage
- 2 cups daikon radish, sliced thin and cut into half-moon shapes
- 3 cups carrots, julienned
- 1/2 onion, thinly sliced
- 3/4 cup Chinese chives, cut into 1 inch pieces
- 12 garlic cloves, minced
- 3 tablespoon ginger, minced
- 2/3 cup gochugaru (Korean chili flakes)
- 1 tablespoon granulated sugar
Instructions
- To a large bowl (feel free to divide all the ingredients accordingly and separate into different bowls if you don’t have a large enough bowl), add 1 gallon of water and the sea salt.
- Cut your washed cabbage into fourths and reserve about 5-6 leaves of the cabbage for later (this is important, don’t forget!). Place the cabbage leaves into the salt water and allow to brine for 4 hours. Make sure the cabbage is completely submerged (I use the weights from my fermentation jar to hold it down).
- While your cabbage is brining, begin chopping your vegetables and mincing your garlic and ginger. Add them all into a large bowl.
- When your cabbage is done brining, reserve about 2 cups of the brine and set aside for later (don’t forget this step!).
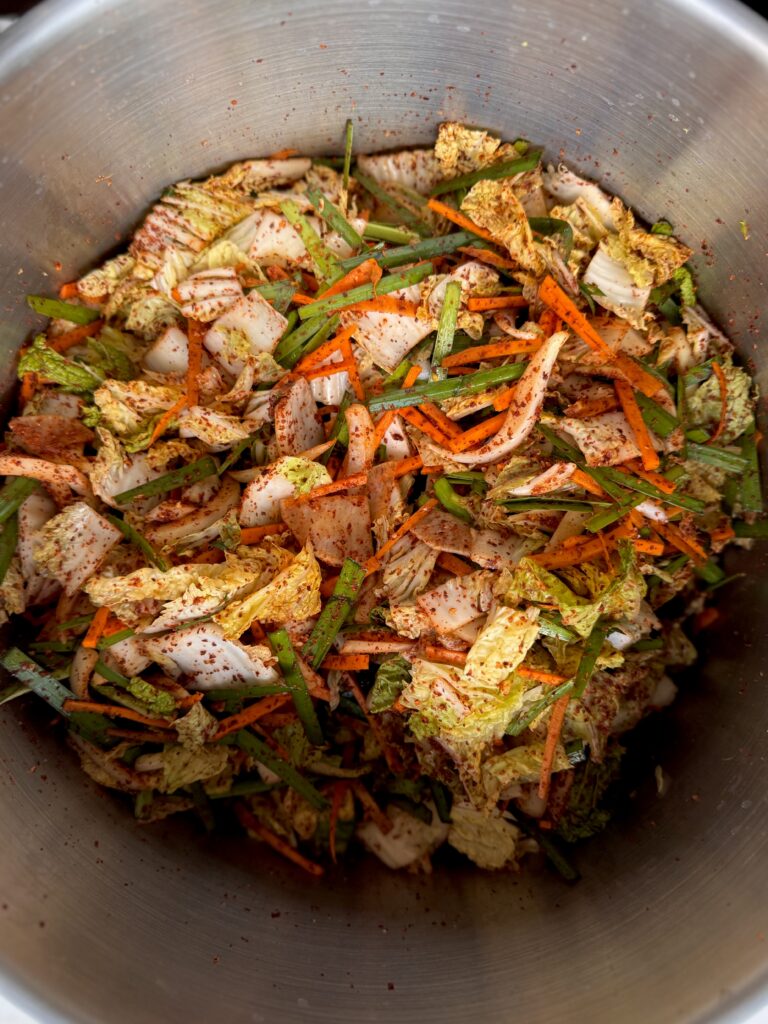
- Chop your cabbage into bite-sized pieces and add to the bowl with the other vegetables.
- Add the gochugaru and sugar and mix well to ensure all the vegetables are coated in the gochugaru.
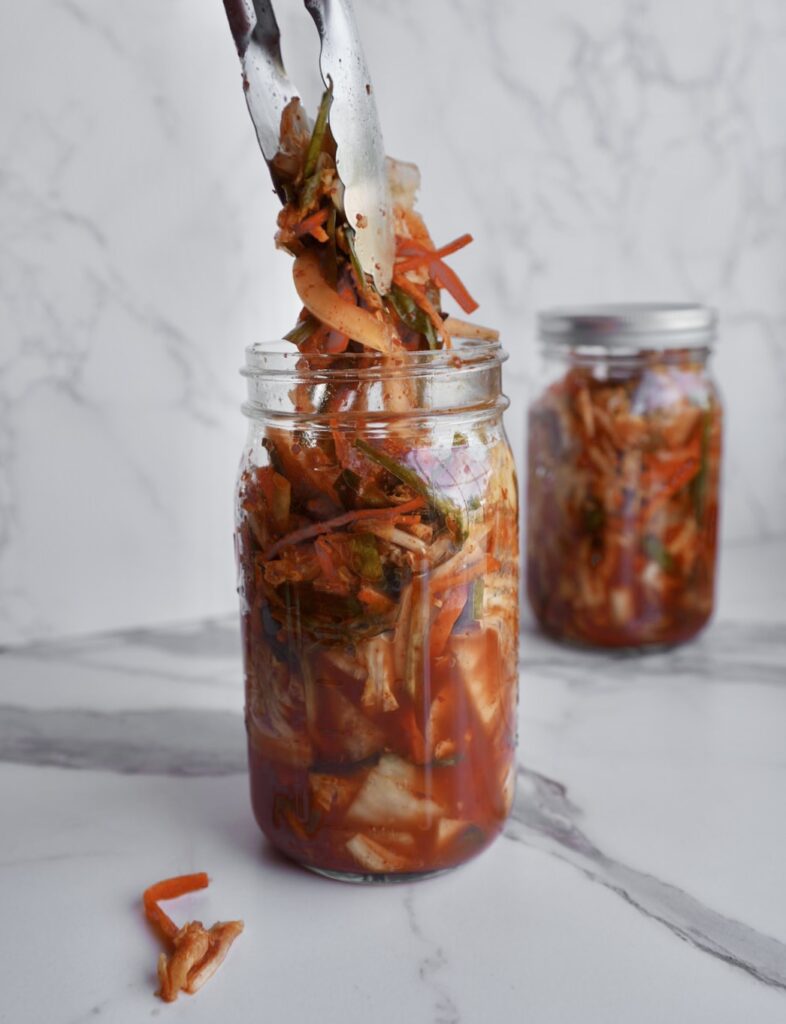
- Use a pair of tongs to transfer all of the vegetables to your fermentation jar, using a stomper to periodically press down the vegetables to ensure they are packed in.
- Using the reserve cabbage leaves from earlier, place them on top of the packed-in vegetables. This ensures the vegetables stay coated in the brine that will go on top.
- Place the weights from the fermentation jar on top, and pour in your reserve brine from earlier.
- Seal the fermentation jar (for mine, this includes pouring about 1/2 inch of water into the little moat area around the lid) and wait 1-3 weeks before opening and consuming. Note that the longer you allow it to ferment, the more pickley the flavor will become.
- Store in jars in your refrigerator for up to one year.
- Prep Time: 6 hours


Making my own Kimchi is my favorite thing!! So much better than store bought. Do you make any same day kimchi? The stuff you don’t have to ferment as much?
Hi Hugo! I agree – it’s so good! You can make this recipe and eat it same day, it just won’t be as pickley in taste. I also have a tomato kimchi recipe on my site as well that you can try out 🙂
This fermented quickly. Just five days, but I hear you can even do 2-3 weeks if you want it super pickley. Tasted better than anything store-bought!
Hi Lilliana – that’s awesome! I usually do 1 week but 2-3 wks is great if you love the pickled, tangy flavor for sure 🙂
Great recipe! I love that it’s GF. Hard to find in store bought kimchi. Thank you.
That makes me happy to hear! Thanks for sharing, Hannah!
Love your websote
Thank you, Christy!
Hi! Thanks so much for this recipe! I am ready to try it but just wanted to ask, is that chili spicy? I don’t want it to be spicy so what shall I do? Thank you
Hi Helga – it truly depends on the gochugaru that you buy! But with the amount that I have in this recipe, it’s not spicy in my opinion!
Hi thank you for sharing . Do you not burp the bottles during fermentation
Hi Lavisha, if you are using a fermentation crock (like the one I have photos of in this blog post), you do not need to burp it because it releases air bubbles for you. However, if you are using a jar, I recommend burping it. Great question!