Onigiri (おにぎり), also known as Japanese rice balls, are a beloved staple in Japanese cuisine. Made by shaping seasoned rice – often with a tasty filling in the center – into a triangle, circle, or oval, onigiri are then wrapped with a sheet of nori (seaweed).
The word onigiri comes from nigiru, which means “to grasp” or “to hold,” describing the hand-formed nature of these portable snacks.
One of my personal favorite flavors is salmon with mayo, which I always grab when visiting a konbini in Japan.
Konbini (コンビニ), the word for convenience store in Japanese, are a unique and essential part of everyday life in Japan. Far more than a place to grab snacks, Japanese konbini are known for their high-quality, affordable meals, lightning-fast service, and surprising variety.
From buying a rain poncho to printing documents to buying a hot bento, Japanese convenience stores truly embody the word “convenience”. Not to mention the food is higher quality than the U.S. and has more nutritious options.
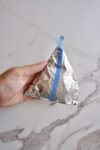
Japanese konbini onigiri are cleverly wrapped in a way that keeps the nori crisp and separate from the rice until you’re ready to eat. The nori is tucked between plastic film that act as a barrier, preventing it from touching the rice and becoming soggy. When you pull the side tabs to unwrap it, the plastic slides out and lets the nori wrap around the rice. It’s a simple but genius design that ensures each onigiri tastes fresh, even hours after it’s been made.
In this post, I’ll show you how to wrap onigiri just like they do at konbini – so your homemade version stays fresh, crisp, and ready to eat wherever you go.
Common Onigiri Fillings:
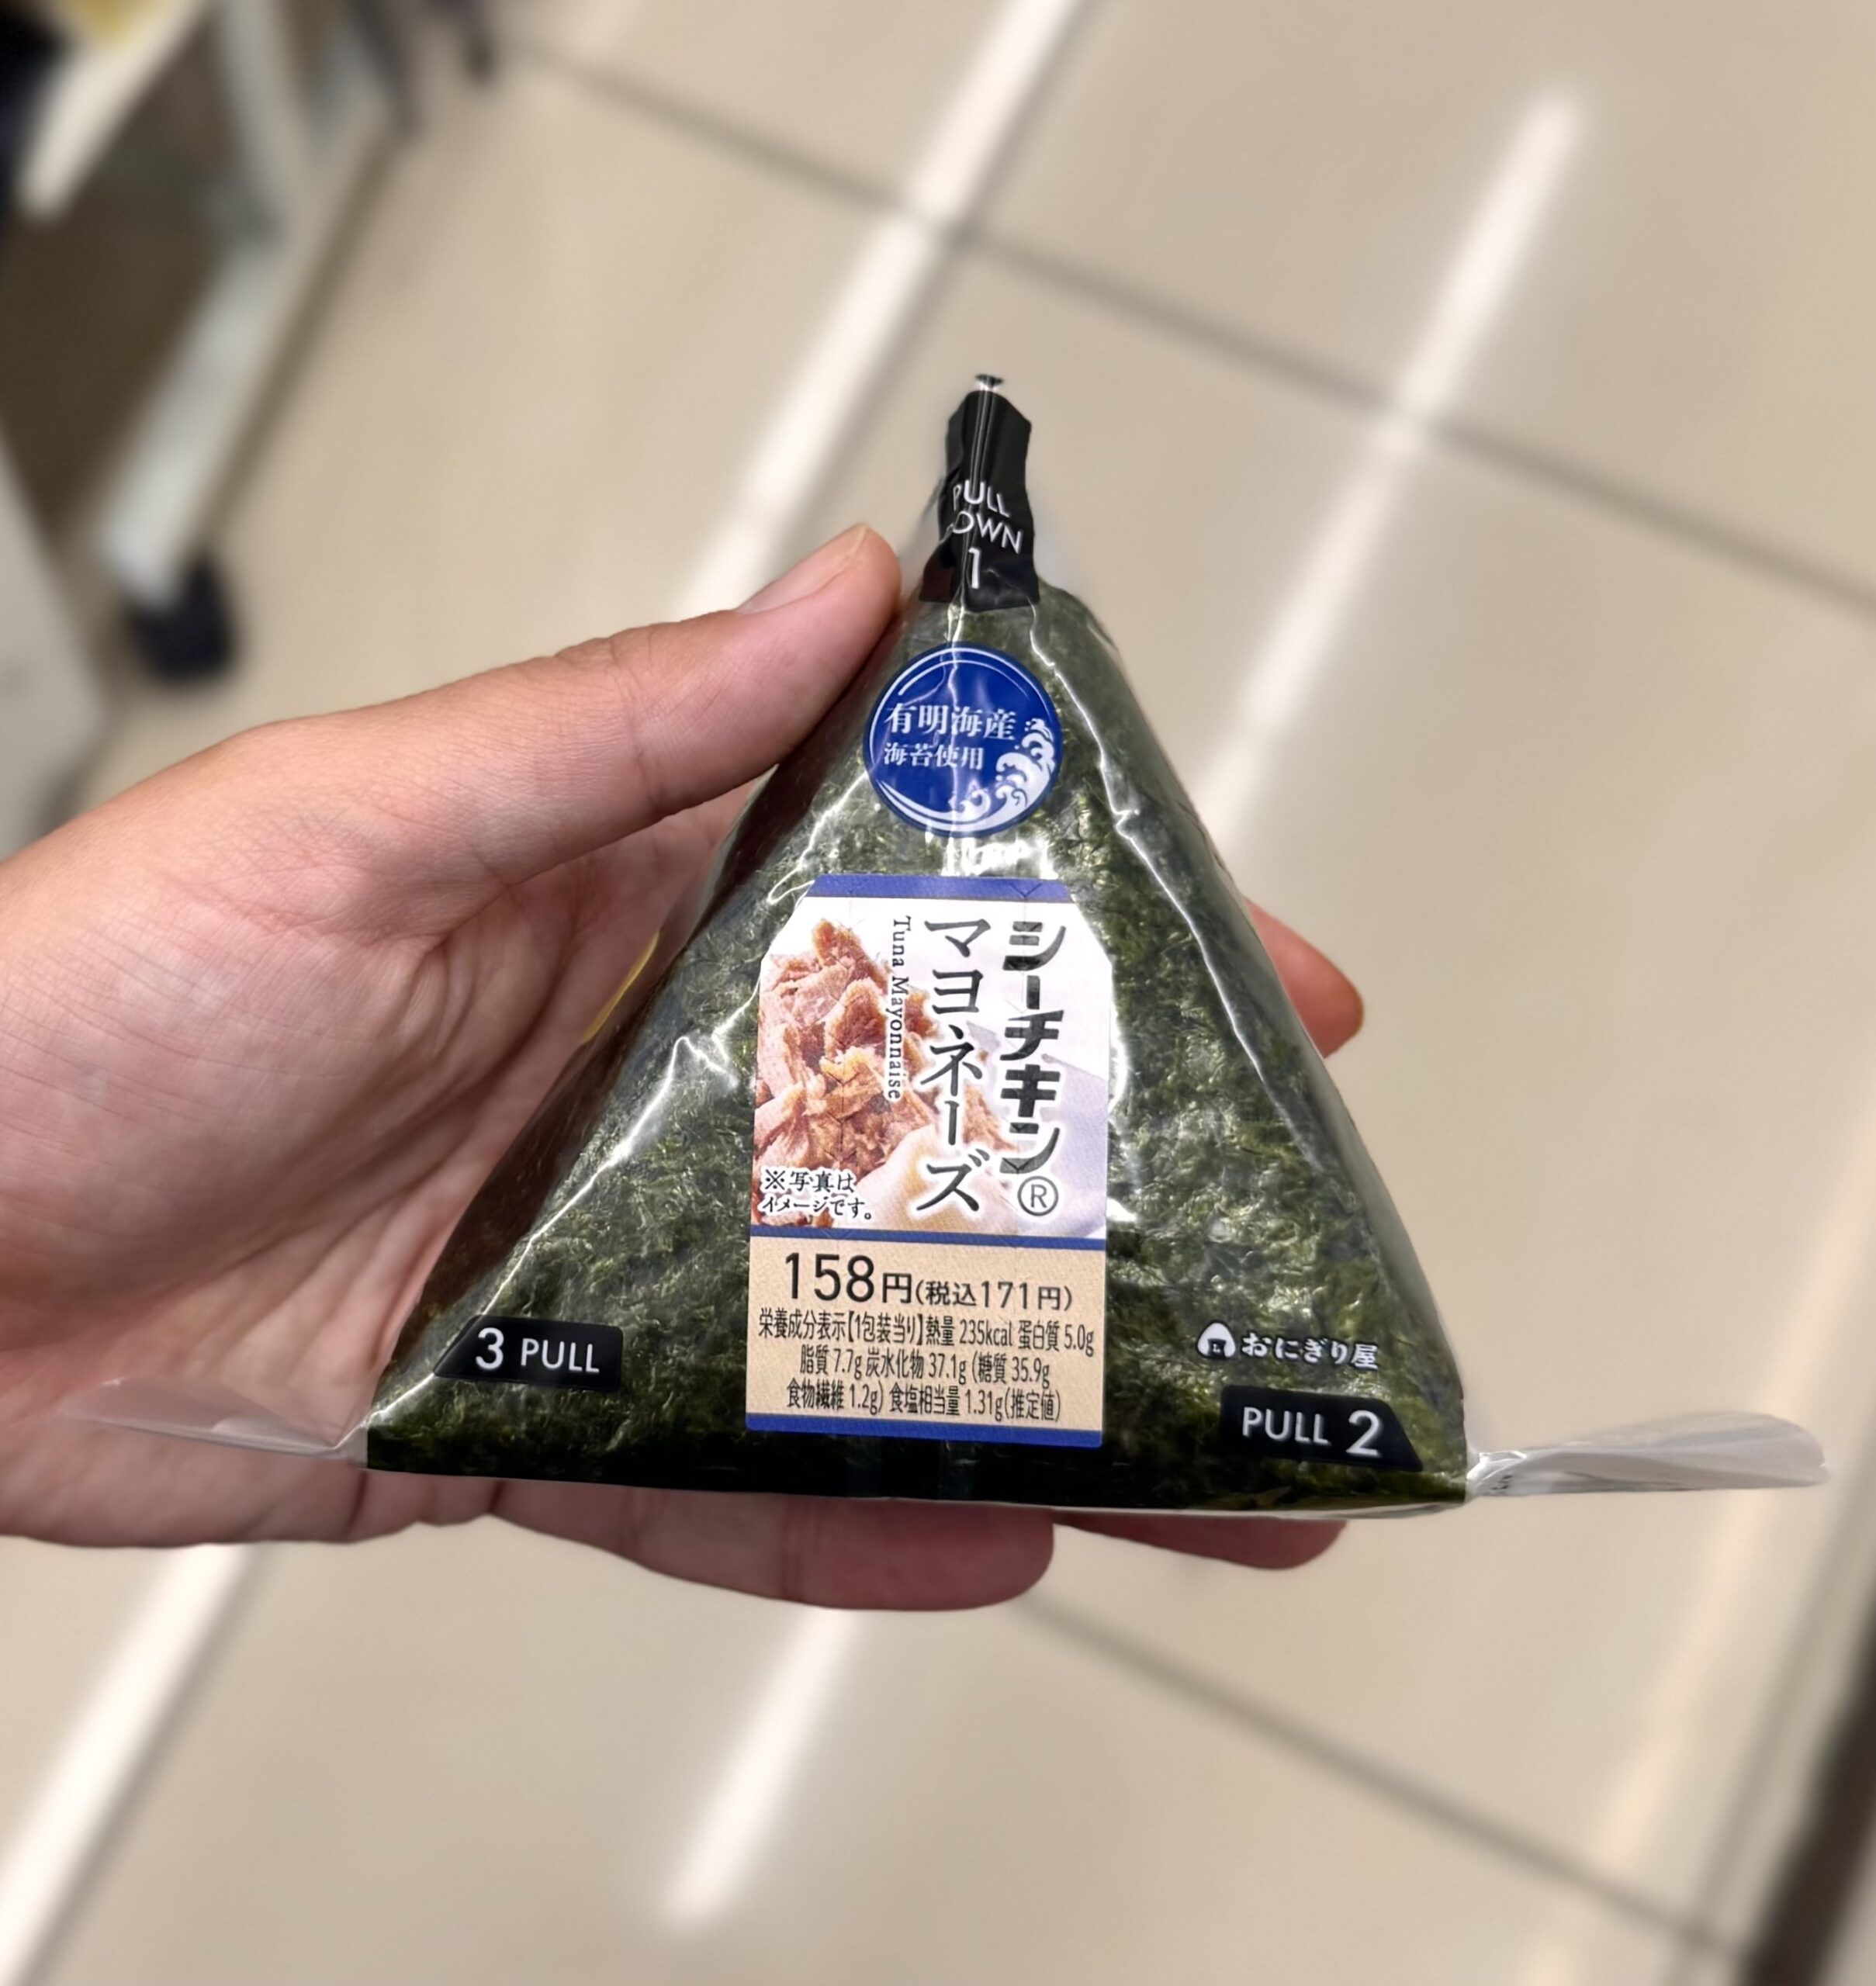
When it comes to onigiri fillings, seafood is one of the most popular choices, but the possibilities are endless. Pictured is a tuna mayo-filled onigiri at a Japanese convenience store.
Here are some other popular seafood fillings for onigiri that you’ll see in Japan:
- Umeboshi (梅干し) – Pickled plum; tart, salty, and a traditional favorite
- Shiozake (塩鮭) – Salted grilled salmon, often flaked
- Tuna Mayo (ツナマヨ) – Canned tuna mixed with Japanese mayo; very popular at konbini
- Mentaiko (明太子) – Spicy cod roe, often raw or lightly cooked
- Chicken Karaage – Fried chicken chunks (some onigiri even include the whole karaage piece)
How to Wrap the Onigiri Like Japanese Convenience Stores

Here’s a step-by-step tutorial (with photos above) of how to wrap onigiri like Japanese convenience stores do!
It’s fairly simple, just make sure to follow the instructions closely.
- Fold nori in half hamburger-style and set aside.
- Place foil vertically in front of you.
- Center nori on foil, shiny side down, fold at the bottom.
- Fold top and bottom of foil over the nori (tri-fold), gently. Flip foil over.
- Stick a vertical strip of tape down the center, with 1 cm hanging off the top. Flip foil back to nori side.
- Place onigiri about 2/3 up the foil, centered.
- Fold foil up over the onigiri.
- Fold top left and right corners down to form a triangle.
- Flip over. The tape tab should be at the top. Done!
What Type of Rice to Use
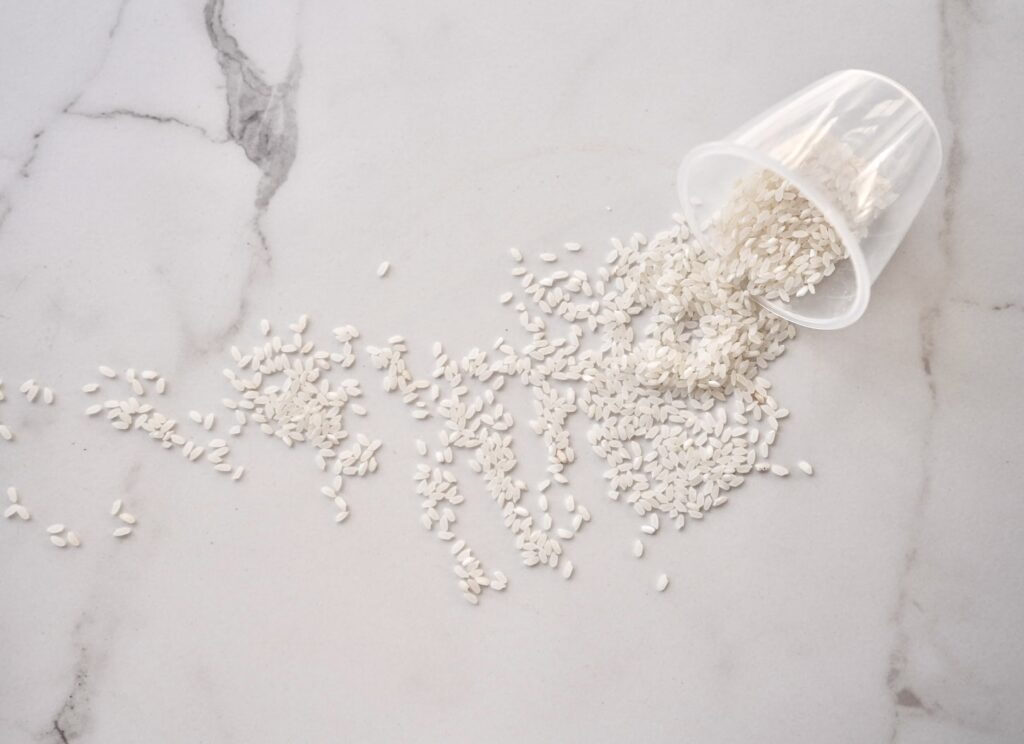
Choosing the right type of rice can be confusing, especially with so many varieties available. In Japanese cooking, however, Japanese short-grain or medium-grain rice is almost always the go-to choice.
Short-grain rice, often labeled as sushi rice, is particularly prized for its soft and chewy texture, which pairs beautifully with traditional Japanese dishes. Medium-grain rice is a great alternative if short-grain isn’t available (I actually almost always use medium-grain myself because it’s generally cheaper where I live!). Both are ideal for recipes like this one, where the rice’s stickiness helps meld the flavors into every bite.
Recommended Rice Cookers
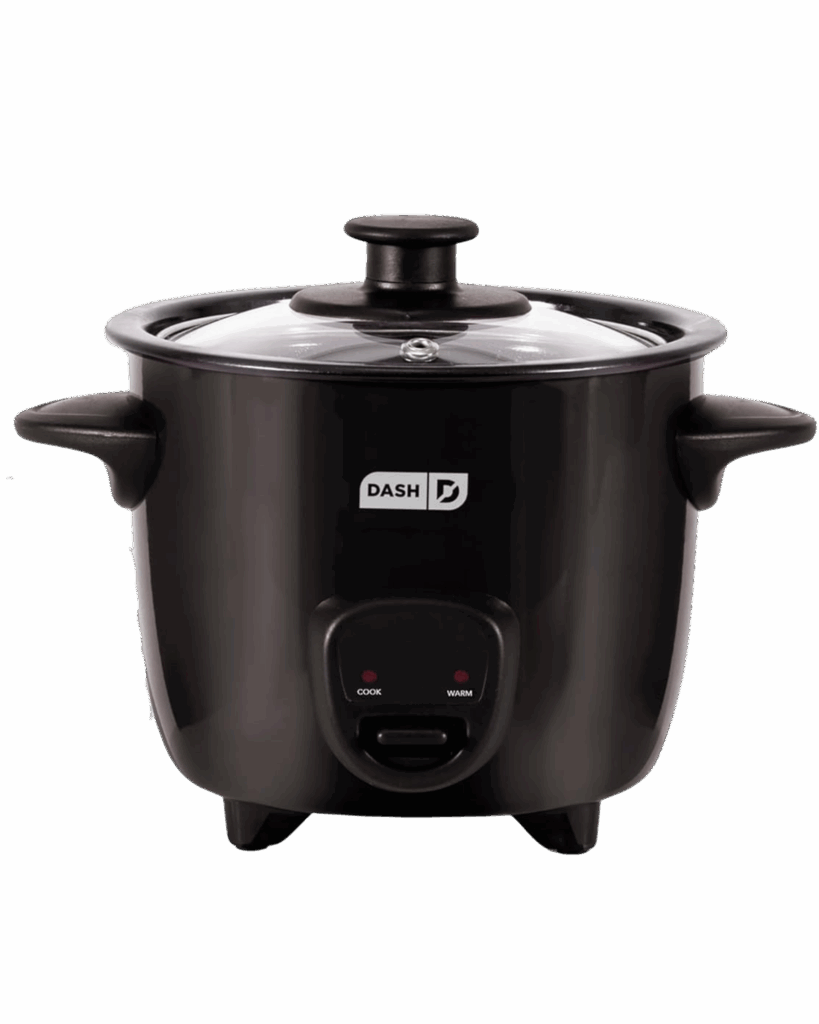
Do I need to have a fancy rice cooker to make this meal? NO! Just like anything, generally, the higher the quality, the better. But you can make my rice cooker meals in a cheap rice cooker, too!
Click the rice cooker photos to see my favorite rice cookers. I included a budget-friendly rice cooker I love! I use the Tiger 5.5-cup model shown. About 1/2 cup of Japanese short- or medium-grain rice makes 1 serving.
Key Features to Look For in a Rice Cooker:
- Steaming Basket or Tray: Allows you to steam vegetables or cook other ingredients while the rice cooks.
- Multiple Cooking Functions: Ensure it has settings for steaming, slow cooking, and possibly even baking.
- Non-Stick Inner Pot: Makes cleaning easier and prevents sticking.
- Timer and Keep Warm Function: Useful for planning meals ahead of time and keeping them warm until you’re ready to eat.

5.5 cups or 10 cups
2 cups
How to Wrap Onigiri Like Japanese Convenience Stores
- Total Time: 35 minutes
Description
This konbini-style onigiri is wrapped just like the ones you’ll find in Japanese convenience stores, with a clever method that keeps the seaweed crisp until the moment you’re ready to eat.
Perfect for meal prep, lunchboxes, or a grab-and-go snack, it’s a fun and practical way to enjoy homemade onigiri anytime.
Ingredients
For the Onigiri:
- 1-2 sheets of sushi-sized seaweed (nori)
- 1 cup rice (must be Japanese short-grain or medium grain rice because it is sticky), cooked
- 1/2 tsp salt
Fillings Ideas
*Each is enough for one single onigiri:
- 1 tablespoon tuna + 1 tablespoon Japanese goma dressing, mixed
- 1 tablespoon salmon + 1 teaspoon cream cheese + 1/2 tablespoon Kewpie, mixed
- 1 tablespoon pickled vegetables/fruits: Umeboshi, Kimchi, Takuan, etc.
What You’ll Need:
- Tin foil (cut to about 2.5x the length of your nori sheet that’s been cut in half – see instructions for further details)
- Tape
Instructions
- Begin by seasoning your rice with the salt.
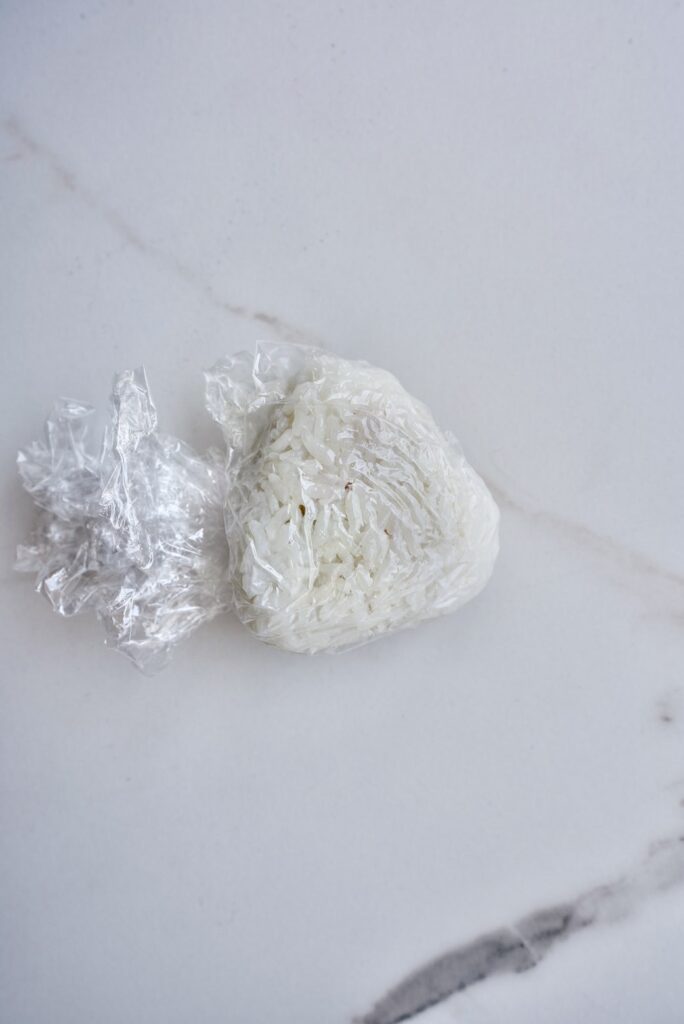
- Cut a sheet of plastic wrap, about 8 inches x 8 inches.
- Place a small handful of rice (about 1/3 of the rice) in the center of the plastic wrap, spreading it out in a thin layer. Be careful not to smush the rice down!
- Place your fillings directly on top of the rice in the center, leaving some rice on the bottom, top, and sides.
- Grab the left and right sides of the plastic wrap over the onigiri, wrapping it snugly.
- Cup one hand in an L-shape (this forms the base of the triangle). Use your other hand to press the top into a point while gently squeezing the sides with your L-shaped hand.
- Rotate and repeat the light pressing motion until you get a firm, compact triangle. Don’t squeeze too hard: You want the rice to hold its shape but not be smashed – it should still have a bit of fluffiness.
- Fold your nori sheet in half hamburger-style (short edge to short edge) and set it aside.
- Place a sheet of aluminum foil vertically in front of you (long sides up and down). The foil should be about 2.5 times the length of your nori. Center the folded nori on the foil, shiny side down (this ensures that the rough side will adhere to the rice when you’re ready to eat it).
- Complete a tri-fold over the nori: Fold the left third of the foil down over the nori, then fold the right third over. Be gentle so you don’t fold/tear the nori. Only the foil should be folding.
- Flip the entire foil sheet over so the folded foil seam is now on the back side.
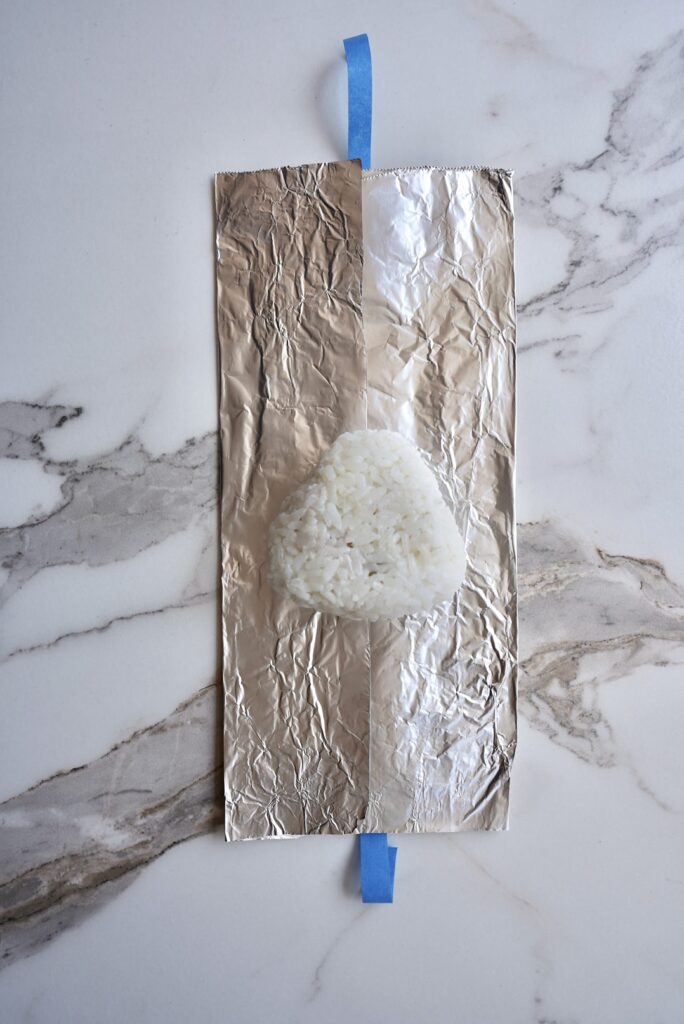
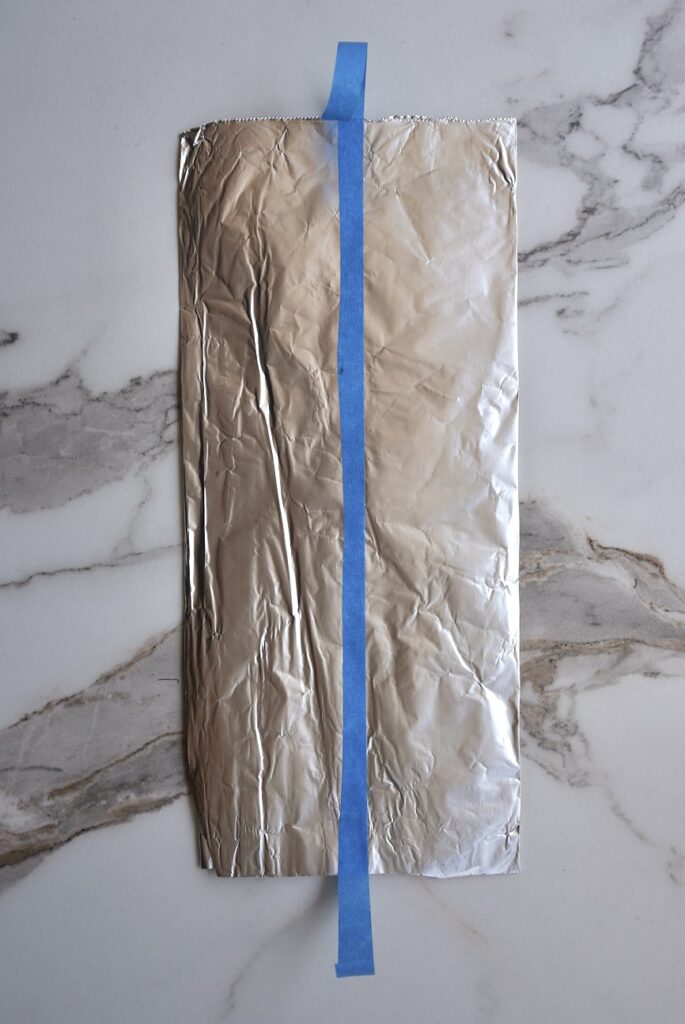
- Place a strip of masking tape vertically down the center of the foil. The tape should be about 1 centimeter longer than the foil, with that extra bit hanging off the top to create a pull tab.
- Flip the foil back over so the nori side is facing up. About two-thirds of the way up the foil, place your onigiri in the center.
- Fold the bottom portion of the foil up and over the onigiri, completely covering it.
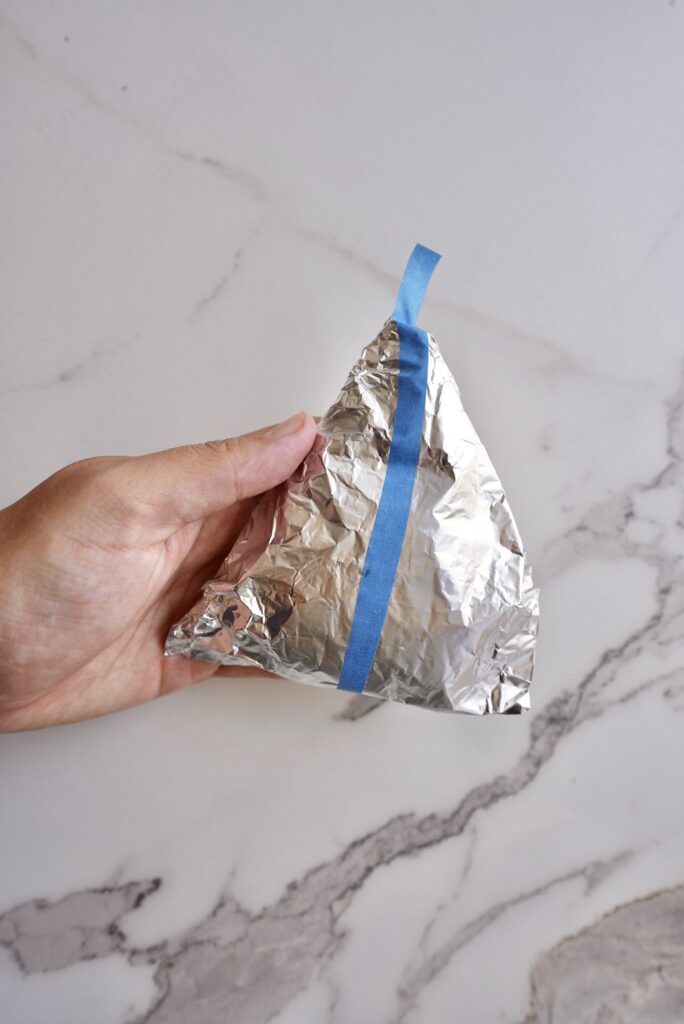
- Fold the upper left and right corners of the foil down and inward, wrapping the onigiri into a triangle shape. The extra centimeter of tape should now be visible in the center.
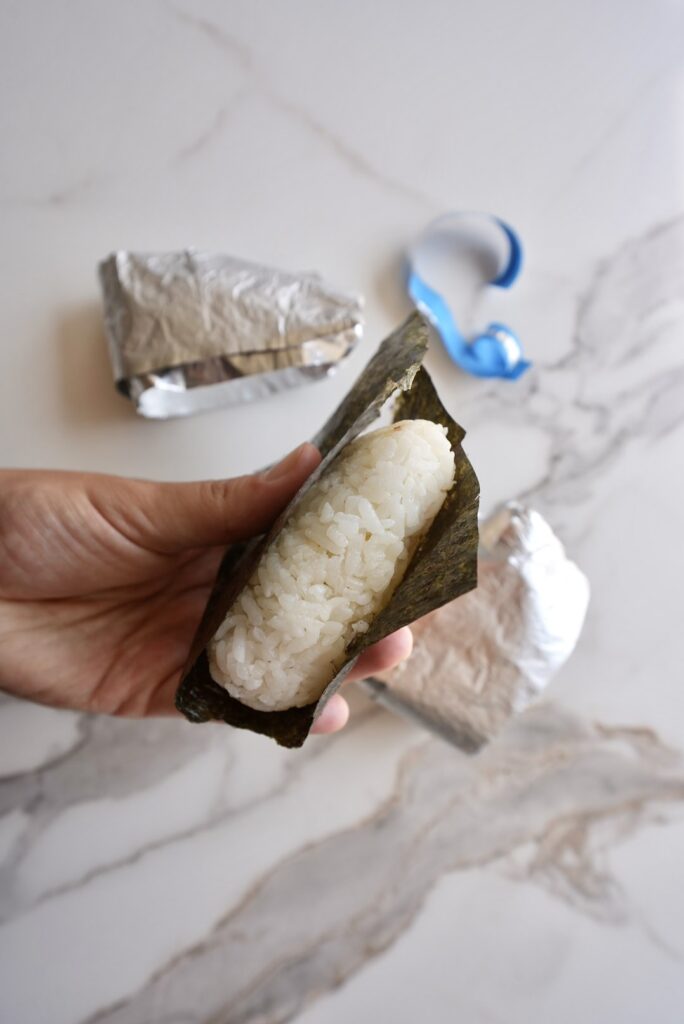
- Flip the wrapped onigiri over. You should now have a neatly packaged onigiri with a pull tab sticking out from the top. When you’re ready to eat, pull the tape tab straight down to tear through the foil, then gently pull the left and right sides of the foil away to unwrap the onigiri. The seaweed will now wrap around the rice!
- Prep Time: 15 minutes
- Cook Time: 20 minutes
Nutrition
- Serving Size: 3 onigiri


Ok it is so legit you can package them like that! How long would you say it takes to put the wrapper on?
It’s very convenient for sure! I’d say the first time can be a learning curve. Maybe 15 minutes? But once you get the hang of it, just a few minutes 🙂
This was a throwback to the Japanese convenience stores! I miss it everyday! Thank you for sharing this 🙂
Aww I do too! Thanks for your review, Ashlynn!
This is so fun!
Haha thanks Becky! Glad you enjoyed it!