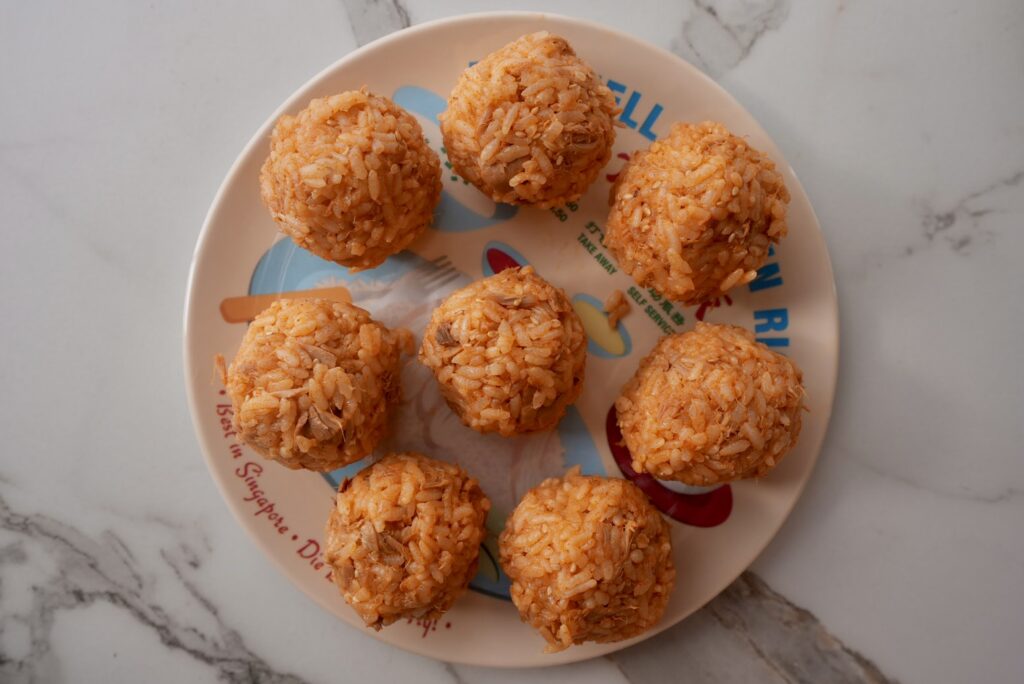
These Spicy Tuna Onigiri are the perfect snack or meal to eat. Growing up, my mom would pack onigiri for us to eat at school, on picnics, roadtrips, and more. They never get old!
Onigiri, or Japanese rice balls, are simple yet deeply nostalgic. You’ll find them everywhere in Japan, from convenience stores to homemade bento boxes. Traditionally, they’re filled with salty or savory ingredients like pickled plum, salmon, or kombu, then wrapped in nori (seaweed).
My version keeps that comforting, grab-and-go spirit but adds a spicy, creamy tuna filling that’s as addictive as it is easy to make.
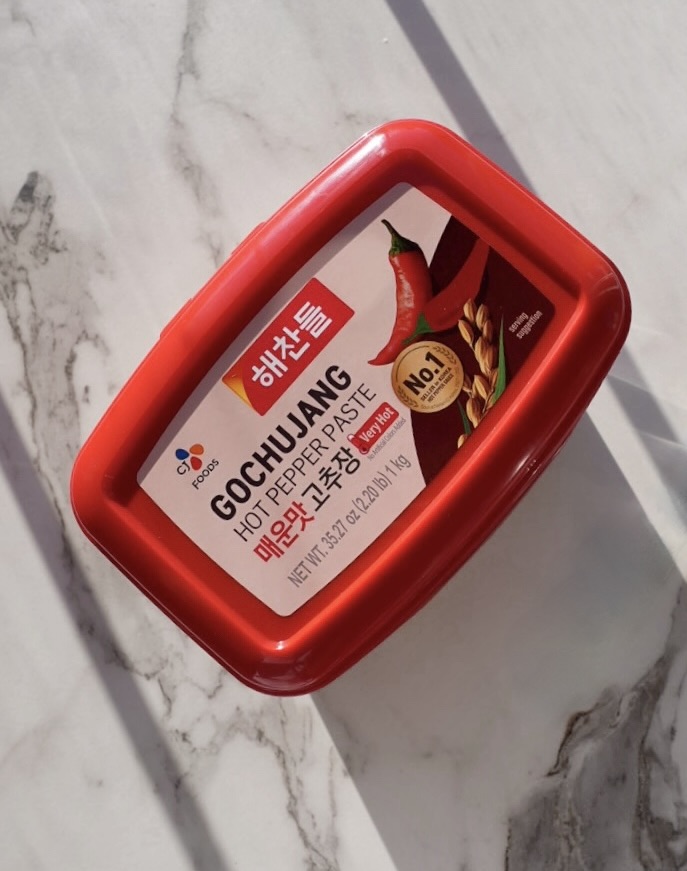
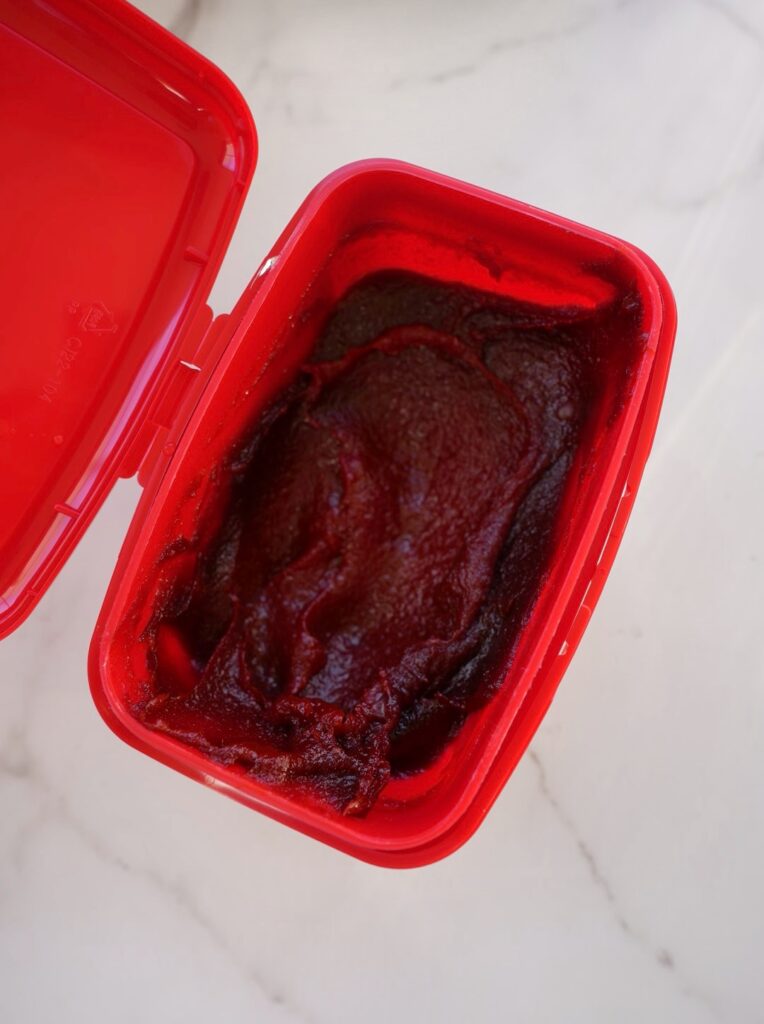
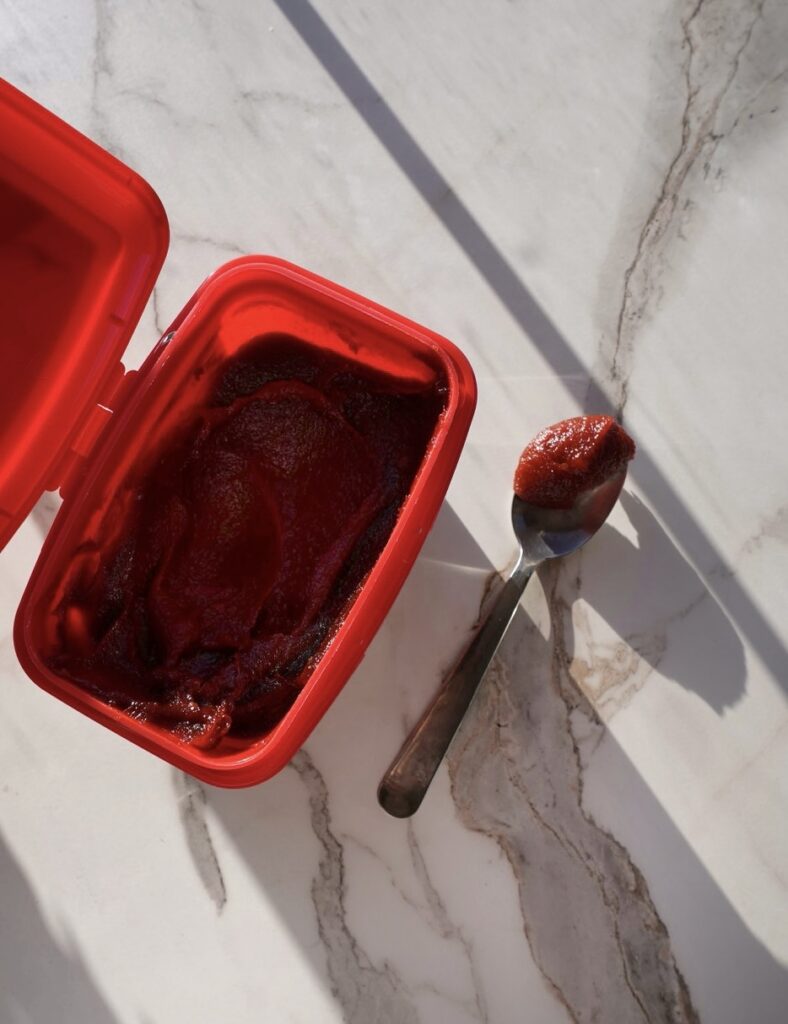
The filling comes together with canned tuna, a spoonful of gochujang for heat, and creamy Kewpie mayo to balance everything out. The gochujang adds a subtle smokiness and depth, while sesame seeds bring a nutty crunch that ties the flavors together.
Once stuffed inside warm, seasoned rice and wrapped in seaweed, you get that perfect balance of soft, spicy, and slightly crisp with every bite. Also, feel free to omit the seaweed if you’re not into it!
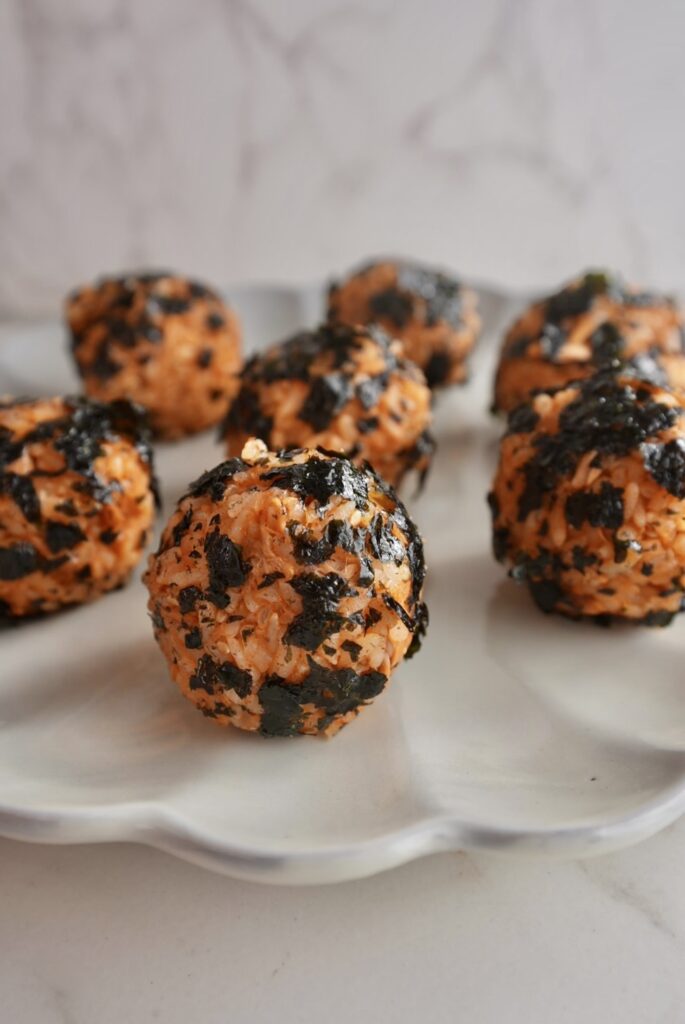
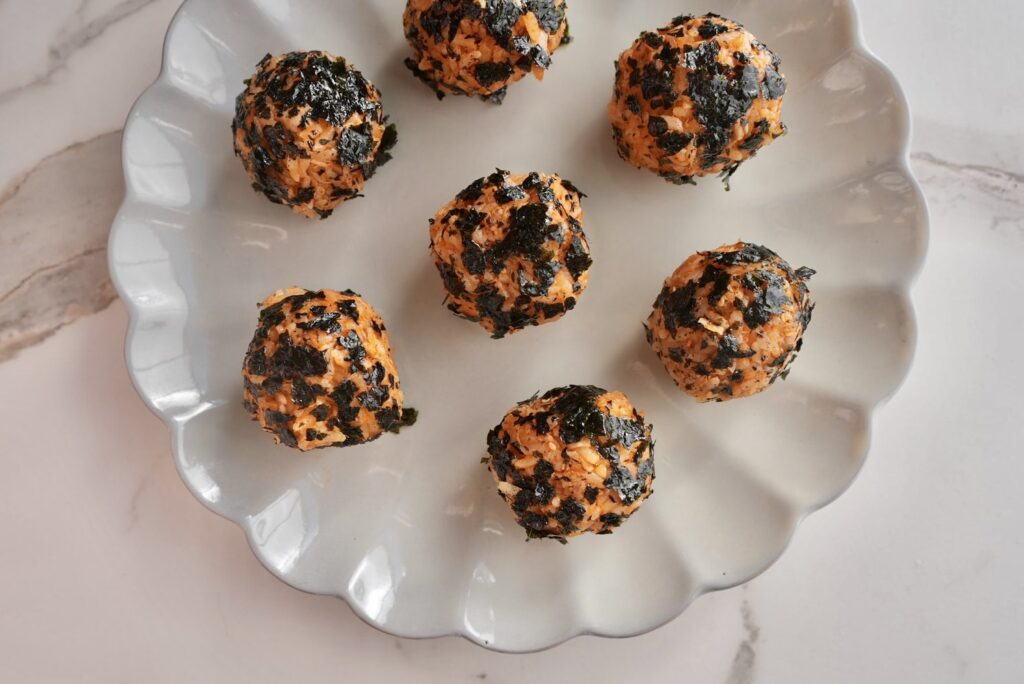
I especially love making these in October because their dark nori wrapping gives them such a fun, Halloween-ready look. Jeff said he thinks they look like little bats!
But honestly, these Spicy Tuna Onigiri are too good to save just for spooky season. They make an amazing lunch, snack, or quick dinner any time of year, and they’re portable enough for picnics, meal prep, or road trips.
So how do you make them? Let’s dive into it!
What is Onigiri?
Onigiri, also known as Japanese rice balls, are a staple of Japanese home cooking and convenience store culture. They’re made by shaping warm rice – usually seasoned with salt – into a triangle, ball, or cylinder, often with a savory filling tucked inside.
Common fillings include salted salmon, pickled plum (umeboshi), or tuna mayo, though there are endless variations depending on region and taste.
Wrapped in a sheet of nori (seaweed) for easy handling, onigiri are the ultimate portable snack. Simple, comforting, and satisfying. They’re a symbol of care in Japanese culture, often found in homemade bento lunches or given to loved ones as an easy, heartfelt meal. Despite their simplicity, onigiri carry a lot of warmth and nostalgia, embodying the beauty of everyday Japanese food.
Growing up, my mom would pack us onigiri all the time whether it was for school, a roadtrip, or a picnic.
What Type of Rice to Use
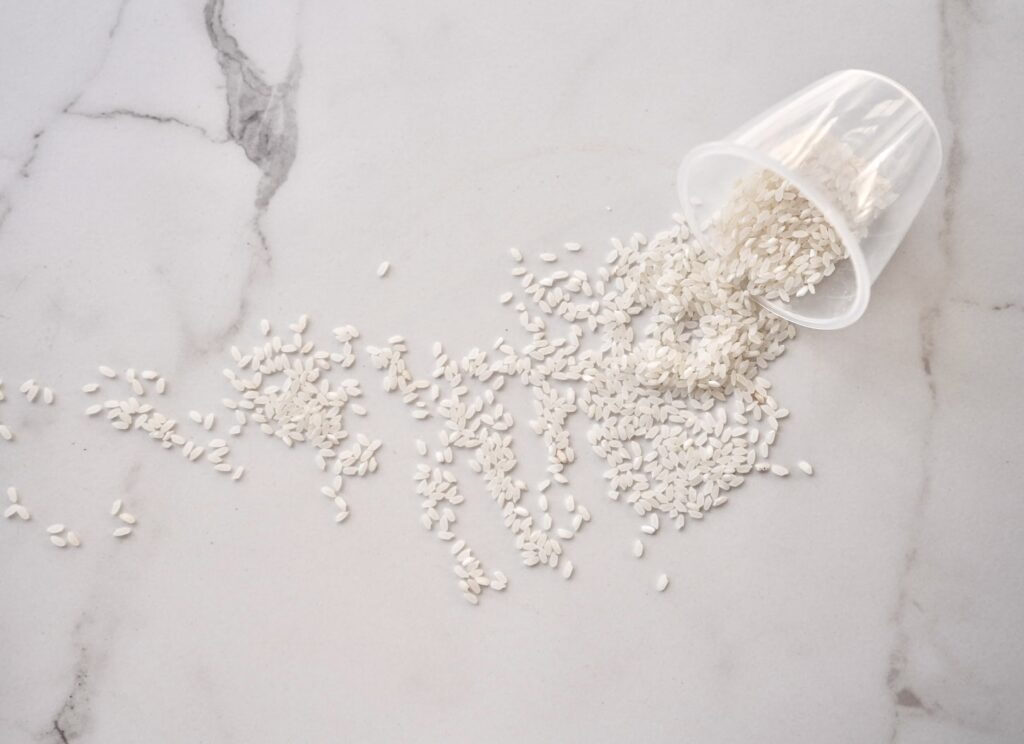
Choosing the right type of rice can be confusing, especially with so many varieties available. In Japanese cooking, however, Japanese short-grain or medium-grain rice is almost always the go-to choice.
Short-grain rice, often labeled as sushi rice, is particularly prized for its soft and chewy texture, which pairs beautifully with traditional Japanese dishes. Medium-grain rice is a great alternative if short-grain isn’t available (I actually almost always use medium-grain myself because it’s generally cheaper where I live!). Both are ideal for recipes like this one, where the rice’s stickiness helps meld the flavors into every bite.
Recommended Rice Cookers
Do I need to have a fancy rice cooker? NO! Just like anything, generally, the higher the quality, the better. But you can make great rice in a cheap rice cooker, too!

5.5 cups or 10 cups
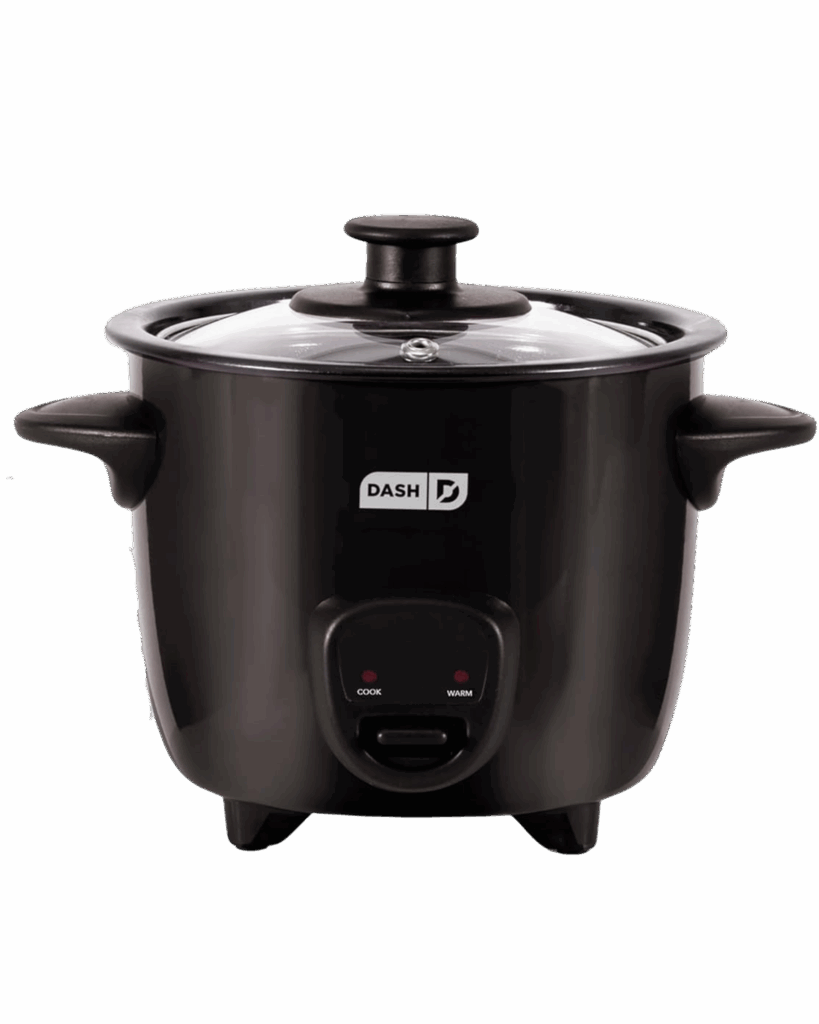
2 cups
Click the rice cooker photos to see my favorite rice cookers. I included a budget-friendly rice cooker I love! I use the Tiger 5.5-cup model shown. About 1/2 cup of Japanese short- or medium-grain rice makes 1 serving.
Key Features to Look For in a Rice Cooker:
- Timer and Keep Warm Function: Useful for planning meals ahead of time and keeping them warm until you’re ready to eat.
- Steaming Basket or Tray: Allows you to steam vegetables or cook other ingredients while the rice cooks.
- Multiple Cooking Functions: Ensure it has settings for steaming, slow cooking, and possibly even baking.
- Non-Stick Inner Pot: Makes cleaning easier and prevents sticking.
How Long Does Onigiri Stay Good For?
Onigiri is best enjoyed fresh, but how long it stays good depends on how it’s stored:
- At room temperature: If you plan to eat it the same day, it can sit out for about 4-6 hours as long as it’s in a cool, dry place. Many people wrap it in plastic wrap or store it in a sealed container to keep the rice from drying out.
- In the fridge: Onigiri can last up to 2-3 days, but the rice will firm up and lose its soft texture. To revive it, lightly microwave it for 15-20 seconds with a damp paper towel on top before eating.
- In the freezer: You can freeze onigiri (without the seaweed) for up to 1 month. Wrap each rice ball tightly in plastic wrap and place them in a freezer bag. When ready to eat, reheat in the microwave until warm and wrap with fresh nori before serving.
For the best texture and flavor, though, onigiri is always at its peak the day it’s made.
Ingredients:
- White Rice: The base of onigiri. Soft, slightly sticky short-grain rice that holds its shape perfectly when molded.
- Kewpie Mayo: A Japanese-style mayonnaise that’s creamier and richer than regular mayo, adding smoothness and umami to the filling.
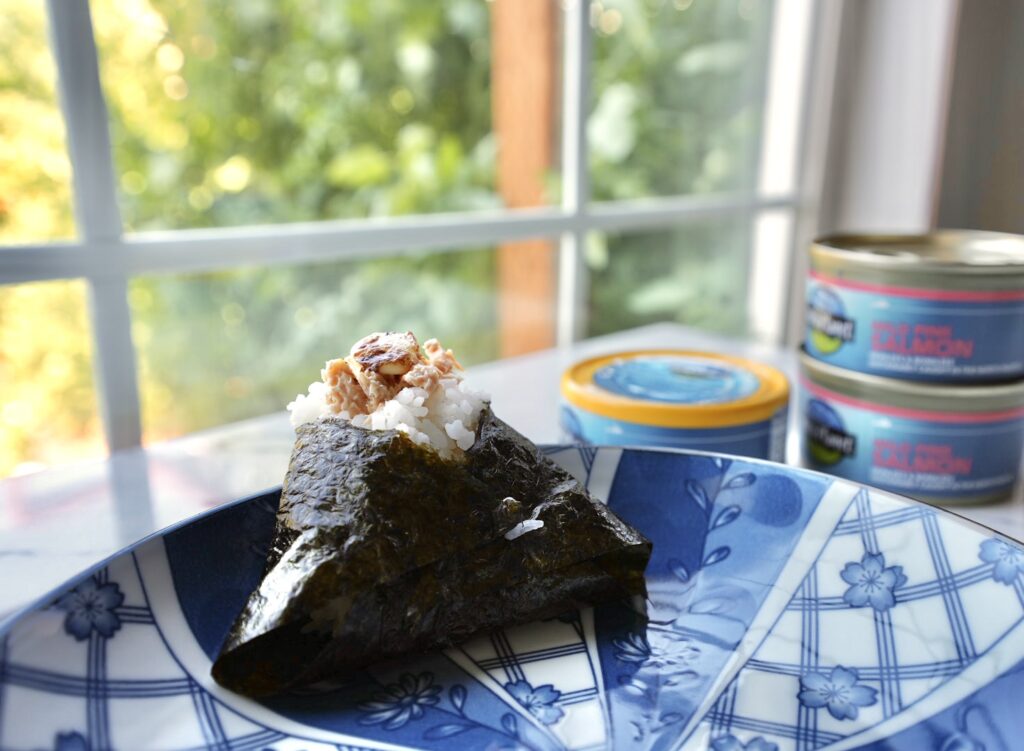
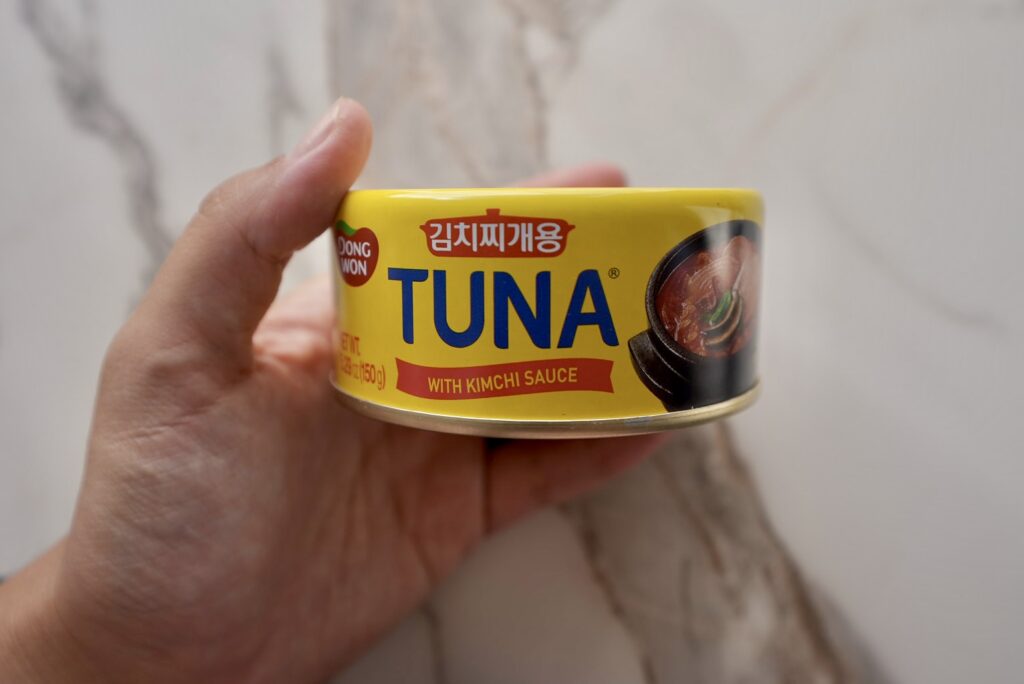
- Canned Tuna: A convenient and protein-packed filling that pairs beautifully with the creamy mayo and spicy gochujang. I love using Korean canned tuna, but anything works great!
- Gochujang: A Korean fermented chili paste that brings a deep, savory heat and a hint of sweetness to the mix. I’ll touch on this more below.
- Roasted Sesame Seeds: Add a nutty aroma and delicate crunch, tying all the flavors together and enhancing the overall texture.
- Seaweed (Nori): Provides that signature salty, slightly crisp outer layer. Feel free to omit it if you don’t like seaweed!
The Best Tuna to Use
I like using Korean canned tuna for this recipe because it’s often packed in oil and lightly seasoned, which gives the filling extra richness and flavor. It blends especially well with gochujang and Kewpie mayo! Together, it creates a perfectly balanced spicy and savory bite.
Korean canned tuna is often seasoned and packed with flavor right out of the can. Unlike most Western canned tuna, which is typically plain and packed in water or oil, Korean varieties often come infused with ingredients like soy sauce, chili, sesame oil, or even vegetables such as onions and peppers. This gives them a richer, more savory taste and a softer, more flavorful texture. It’s especially popular for mixing into rice dishes, stews, or spicy sauces.
That said, any type of canned tuna works great. So use whatever you have on hand or prefer. The seasonings do all the heavy lifting, so you’ll still end up with delicious, flavorful onigiri.
What is Gochujang?
Gochujang adds an incredible depth of flavor with its signature blend of heat, sweetness, and umami. Made from red chili peppers, fermented soybeans, glutinous rice, and salt, gochujang brings a spicy kick. This thick, vibrant red paste has a unique fermentation process that gives it a slight tang and an earthy quality, similar to that of miso or soy sauce but with a touch of sweetness from the glutinous rice.
In Korean cooking, gochujang is a beloved staple, used in everything from stews and marinades to dipping sauces. Its versatility has made it popular in fusion dishes, adding a unique Korean twist and depth to many cuisines.

Halloween Spicy Tuna Onigiri (Japanese Rice Balls)
- Total Time: 30 minutes
Description
These Spicy Tuna Onigiri combine creamy Kewpie mayo, gochujang heat, and savory tuna wrapped in seaweed for a flavorful, handheld Japanese and Korean-inspired snack.
Ingredients
- 1 cup rice (must be Japanese short-grain or medium grain rice because it is sticky), cooked
- 1 can (approx. 140-150 g) tuna (I love using Korean canned tuna, but any type works)
- 2 tbsp Kewpie mayo
- 1 tbsp gochujang
- 1/2 tbsp roasted sesame seeds
- 2–3 packs roasted seaweed snacks
Instructions
- Rinse the rice until the water runs clear, then cook according to package instructions. Let it cool slightly until warm but not hot to the touch.
- In a small bowl, combine the rice tuna, Kewpie mayo, gochujang, and roasted sesame seeds. Mix until rice is thoroughly coated and turned and even orange color.
- Wet your hands with water and sprinkle them lightly with salt to prevent sticking. Take a scoop of the rice (about 1/3 cup) and gently mold the rice into a triangle or round shape, pressing lightly so it holds together.
- Into a plastic bag, add the roasted seaweed. Seal the bag and use your hands to crush the seaweed into little tiny pieces.
- Add the rice balls into the plastic bag one by one. Being careful not to crush the rice ball, coat it in the seaweed bits.
- Enjoy immediately or store in an airtight container for up to a few hours at room temperature. For longer storage, wrap tightly and refrigerate.
- Prep Time: 10 minutes
- Cook Time: 20 minutes
Nutrition
- Serving Size: 2-3


0 Comments