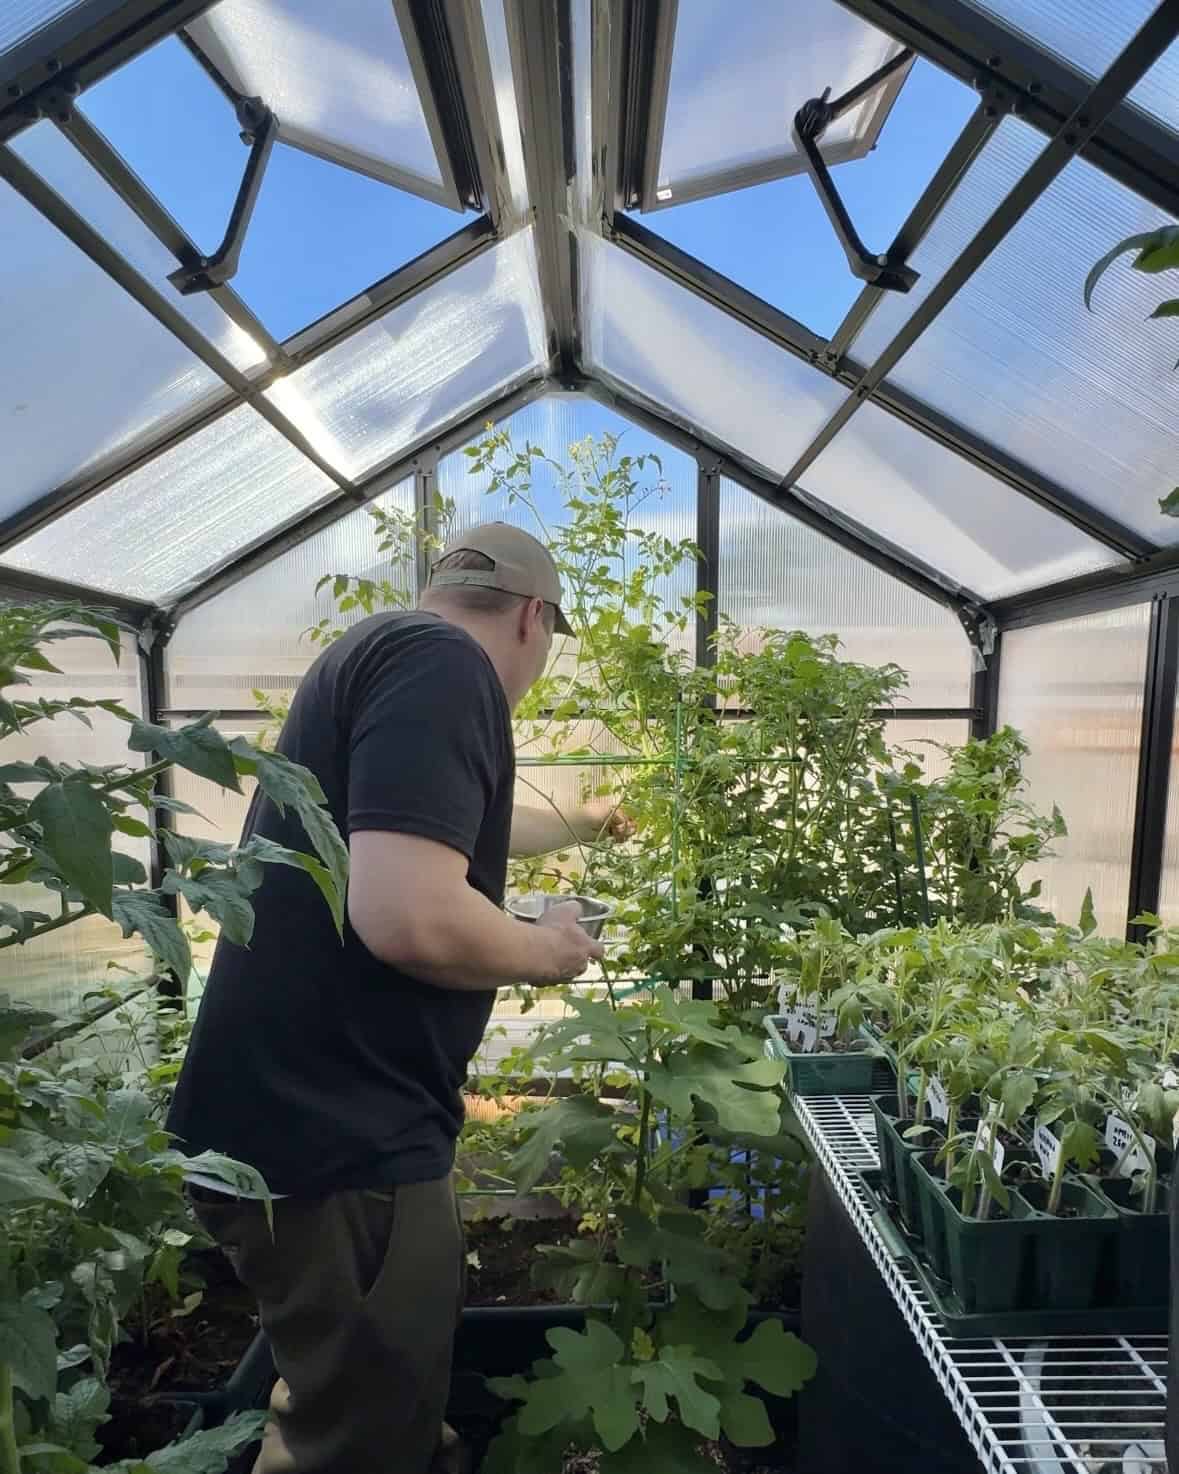
Hey all! Real Farmer Jeff here.
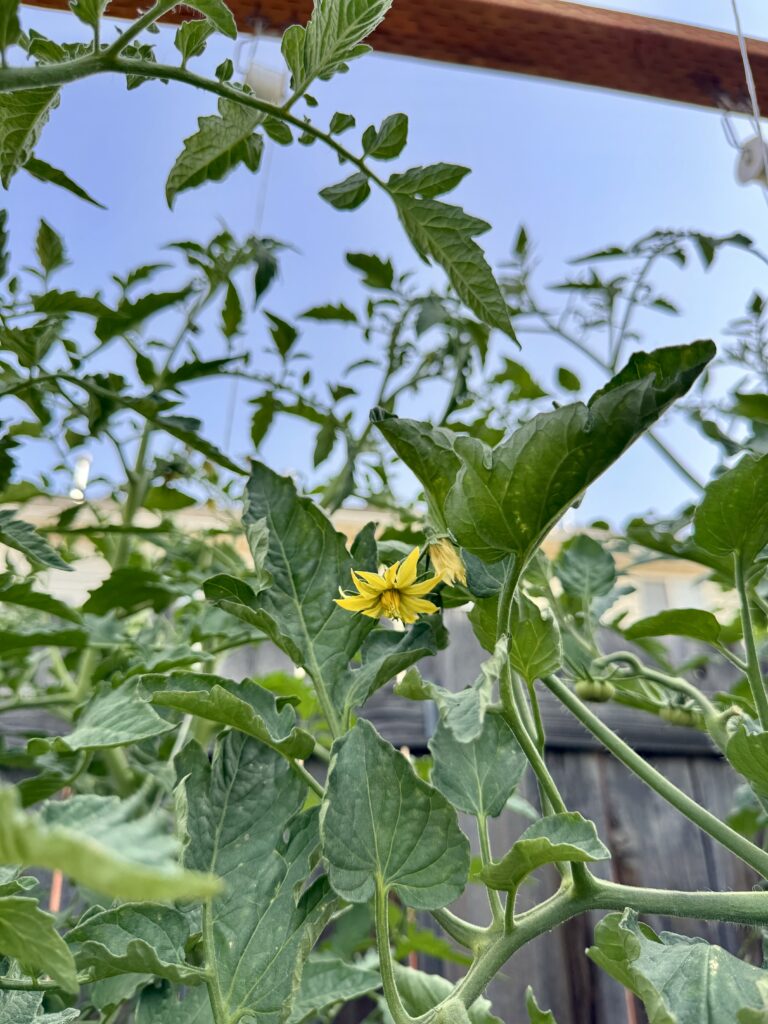
Tomato flowers are self-pollinating, but they still need movement to release pollen. This can come naturally from buzzing bees or wind. However, conditions may not be ideal in various situations that include, gardening indoors or not having sufficient wind or pollinators.
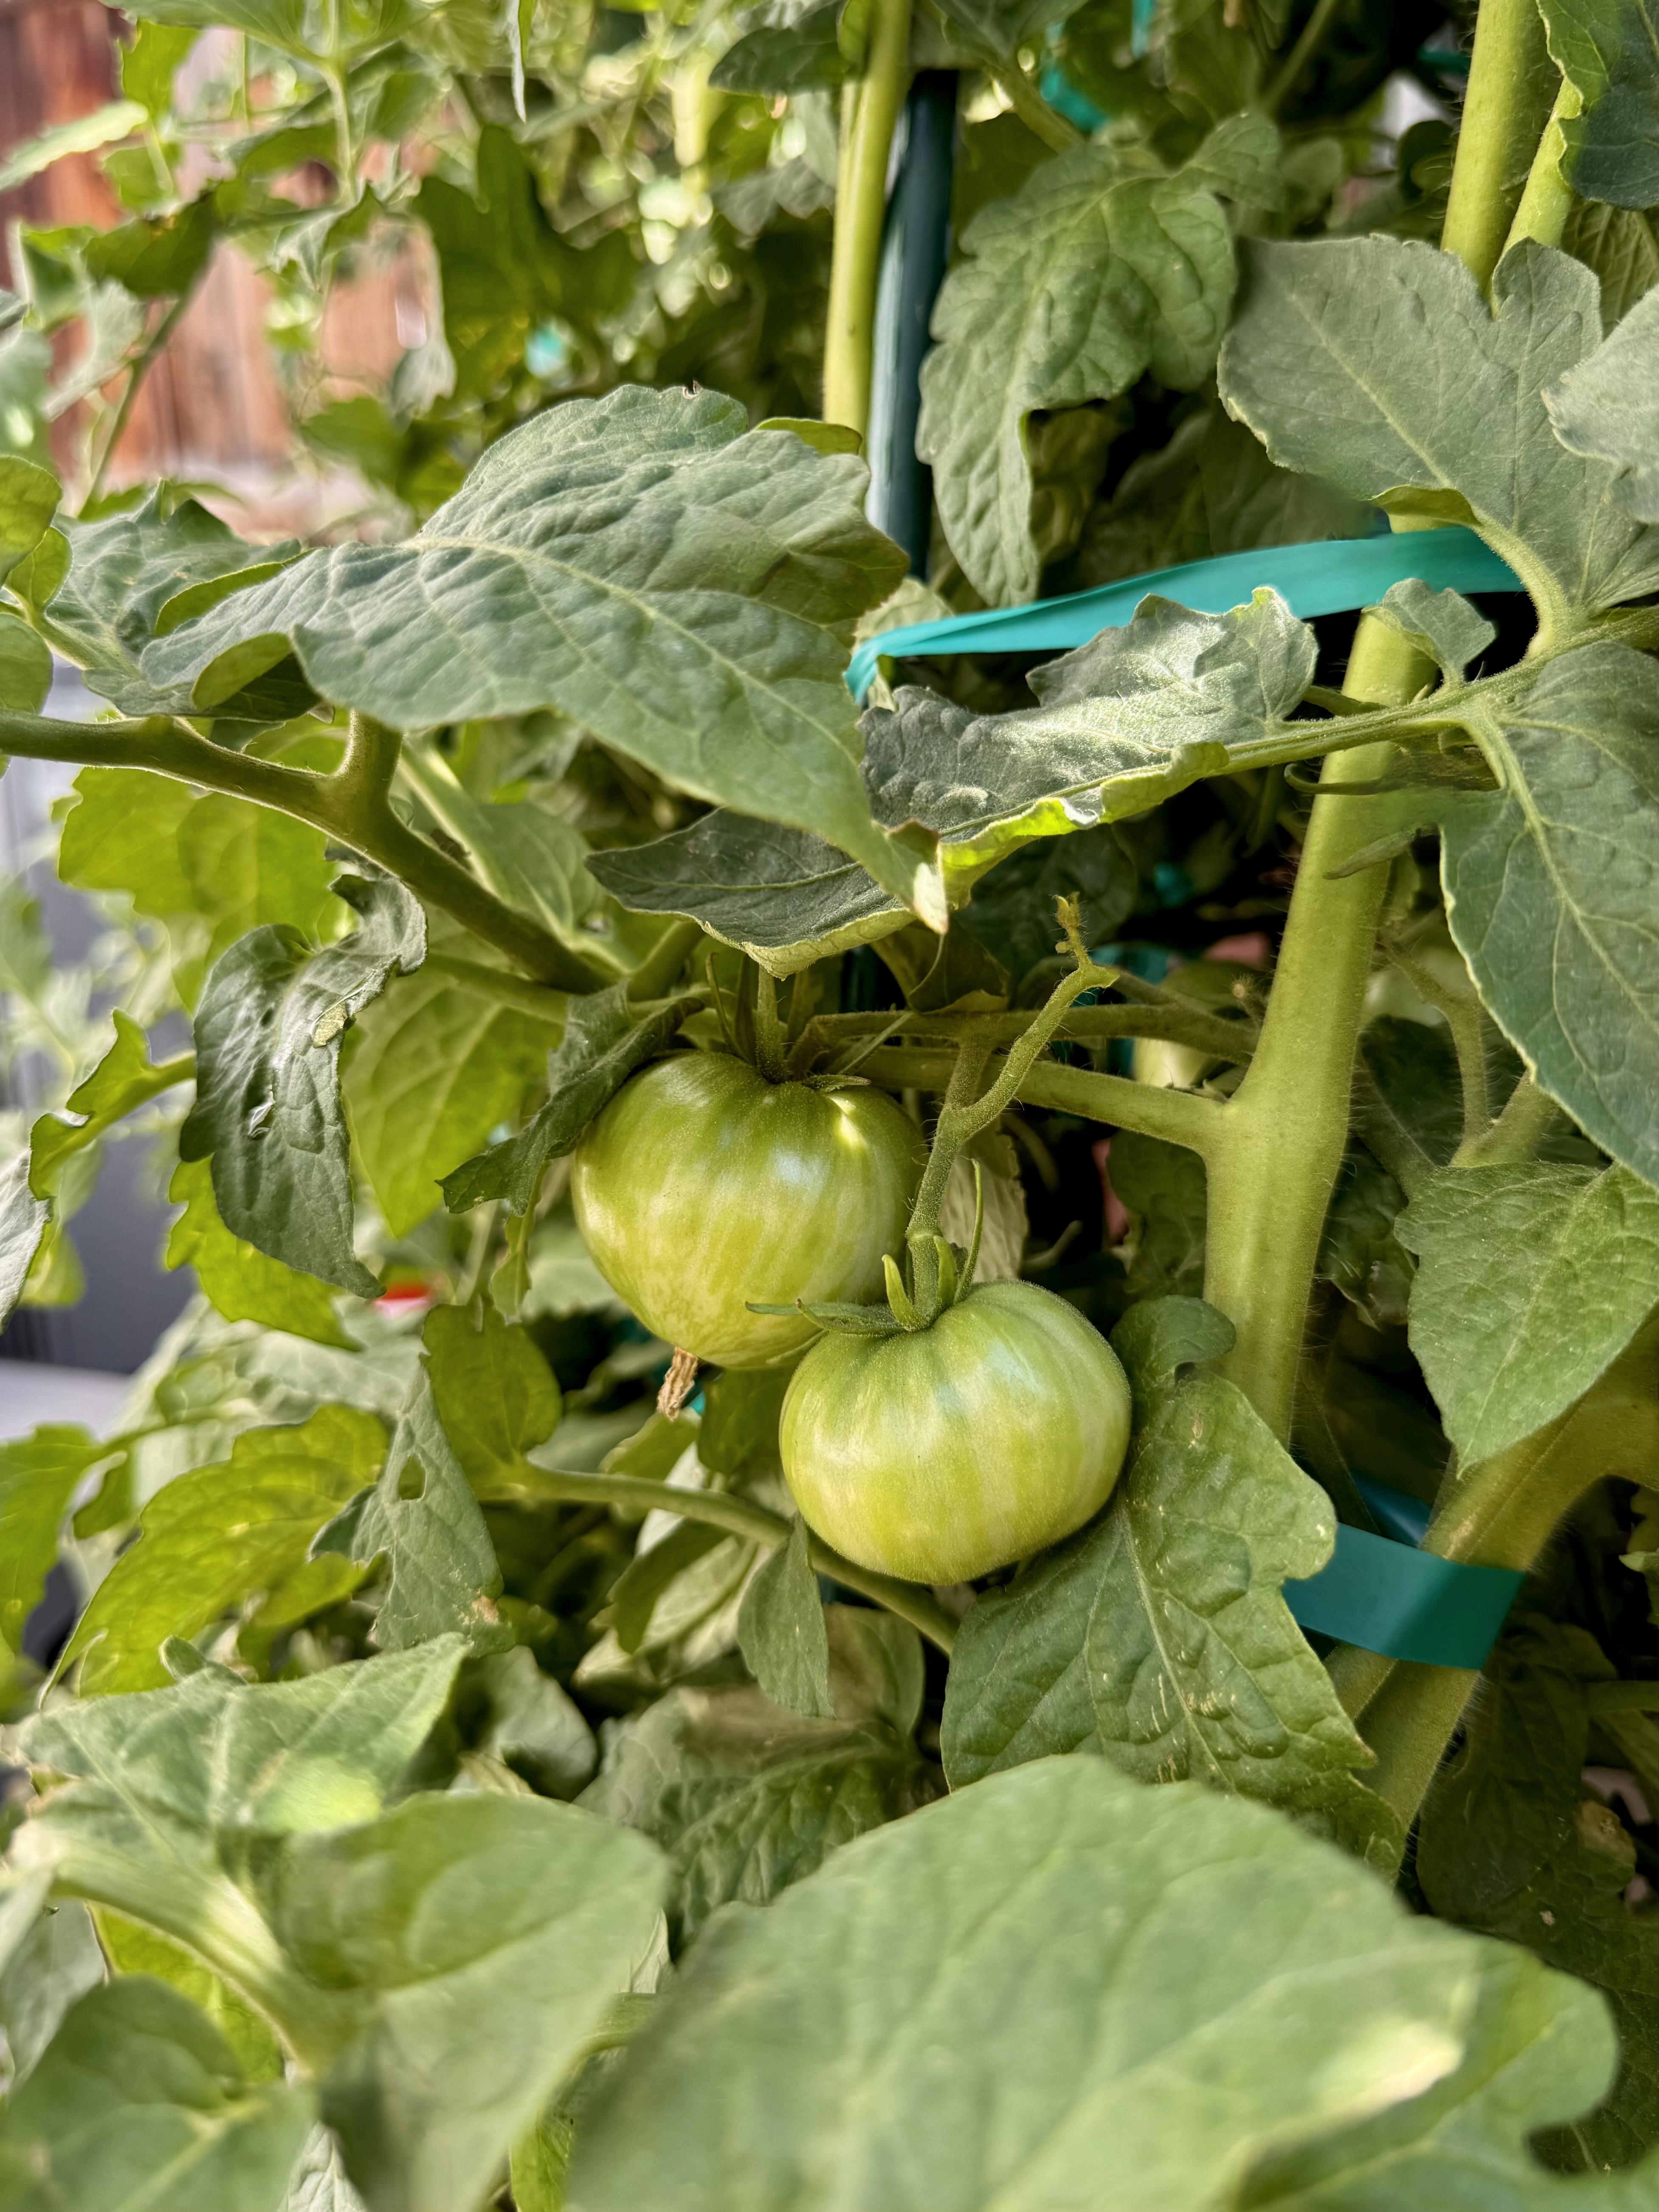
In addition, extreme heat can lower the window that pollen is viable and can cause flowers to fall off without pollinating. In these cases, hand pollination can improve fruit set and give you more consistent harvests.
In this post I will go through 7 hand pollination techniques and rank them from best to worst!
7 Methods of Hand-Pollination
Note that these methods are ranked from worst to best. Let’s get started!
1. Broom Handle or Similar Object
How it works:
Tap the plant or trellis with a broom handle or stick. This is definitely a last resort if nothing else is available.
| Pros | Cons |
|---|---|
| Requires no equipment | Can cause damage |
| Pollinates several flowers at once | Clumsy and imprecise |
| More stress than necessary |
2. Shaking the Plant
How it works:
Grab the stem or flower truss and give it a quick shake. A simple method that works reasonably well in most cases. This is a classic technique that has been used by farmers for generations.
| Pros | Cons |
|---|---|
| No tools needed | Less consistent |
| Fast and easy | May not move enough pollen |
| Can stress plants if done roughly |
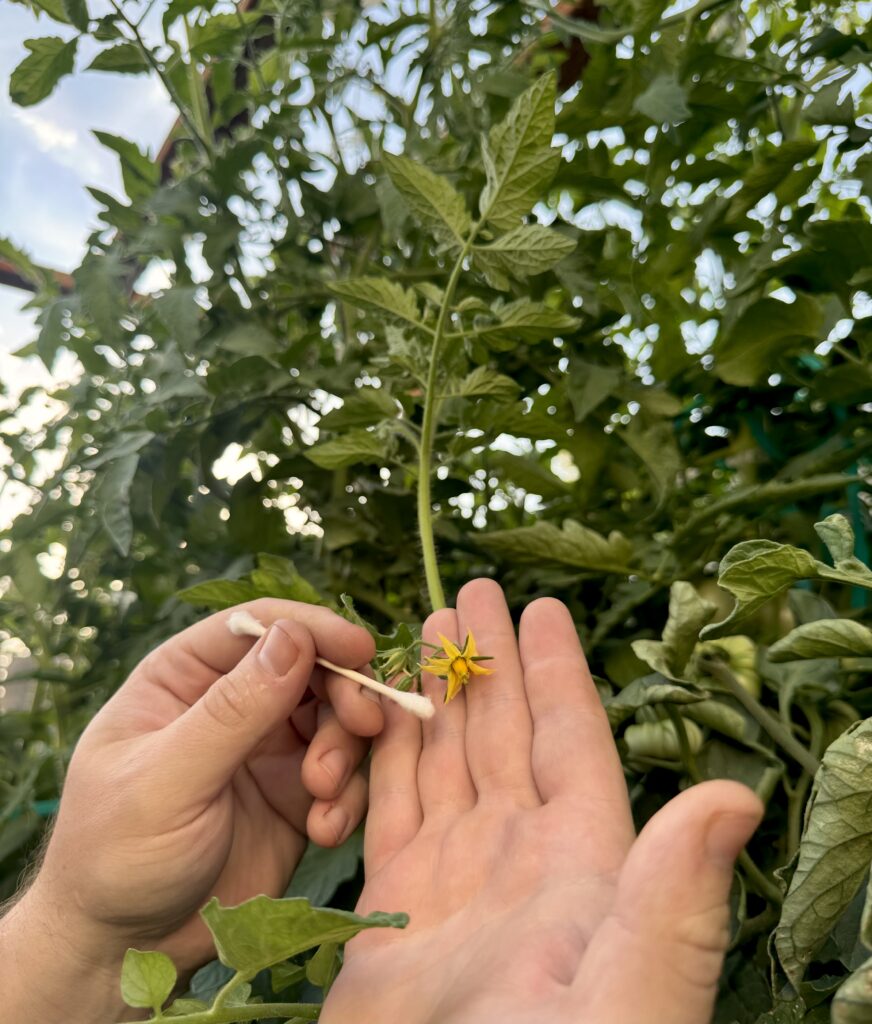
3. Q-Tip or Cotton Swab
How it works:
Dab inside one flower and repeat in other flowers. You may need to be a bit more forceful with a Q-Tip.
| Pros | Cons |
|---|---|
| Easy to find at home | Can trap pollen in its fibers |
| Soft and gentle | Not as durable or precise as a paintbrush |
| Gets dirty fast |
4. Jiggling with Your Finger
How it works:
Use your finger to lightly tap or wiggle the flower truss or individual blooms during peak flowering hours. It’s a surprisingly effective, low-effort technique that works well for small-scale gardeners. It gently mimics natural vibrations to move pollen within the flower.
| Pros | Cons |
|---|---|
| No tools required | Less powerful than vibration-based tools |
| Quick and intuitive | May miss inner flowers in dense clusters |
| Gentle on the flowers when done properly | Needs to be repeated regularly for best results |
5. Paintbrush (Soft Tip Bristles)
How it works:
Brush inside the flower to move pollen from the anther to the stigma. Ideal for detail-oriented gardeners.
| Pros | Cons |
|---|---|
| Very precise | Slow for large gardens |
| More control of pollen coating stigma | Releases less pollen than vibration methods |
| Reusable and cheap |
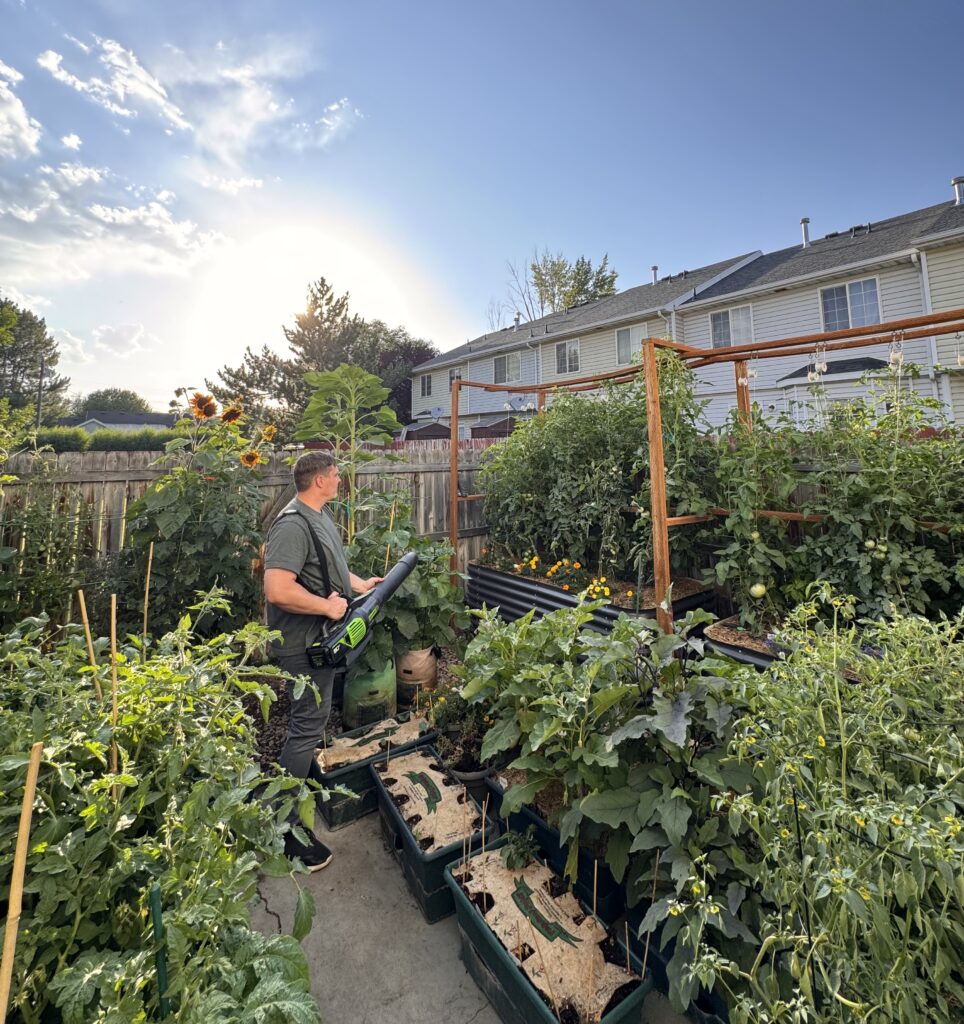
6. Leaf Blower (Set to Low)
How it works:
Gently blow over flowers with a low setting to simulate natural wind and help to distribute pollen. Often overlooked, this method is excellent for larger gardens or low-effort pollination.
In greenhouses, wind is often simulated with oscillating fans to help pollinate self-pollinating crops like tomatoes by gently shaking the flowers and encouraging pollen movement, though growers typically supplement this with more targeted methods like electric pollinators, hand tools, or even bumblebees to ensure consistent and thorough pollination.
| Pros | Cons |
|---|---|
| Extremely quick for many plants | Not as precise as vibration |
| Great for outdoor rows or greenhouses | Must be careful with the power setting |
| Loud and may startle pollinators if present |
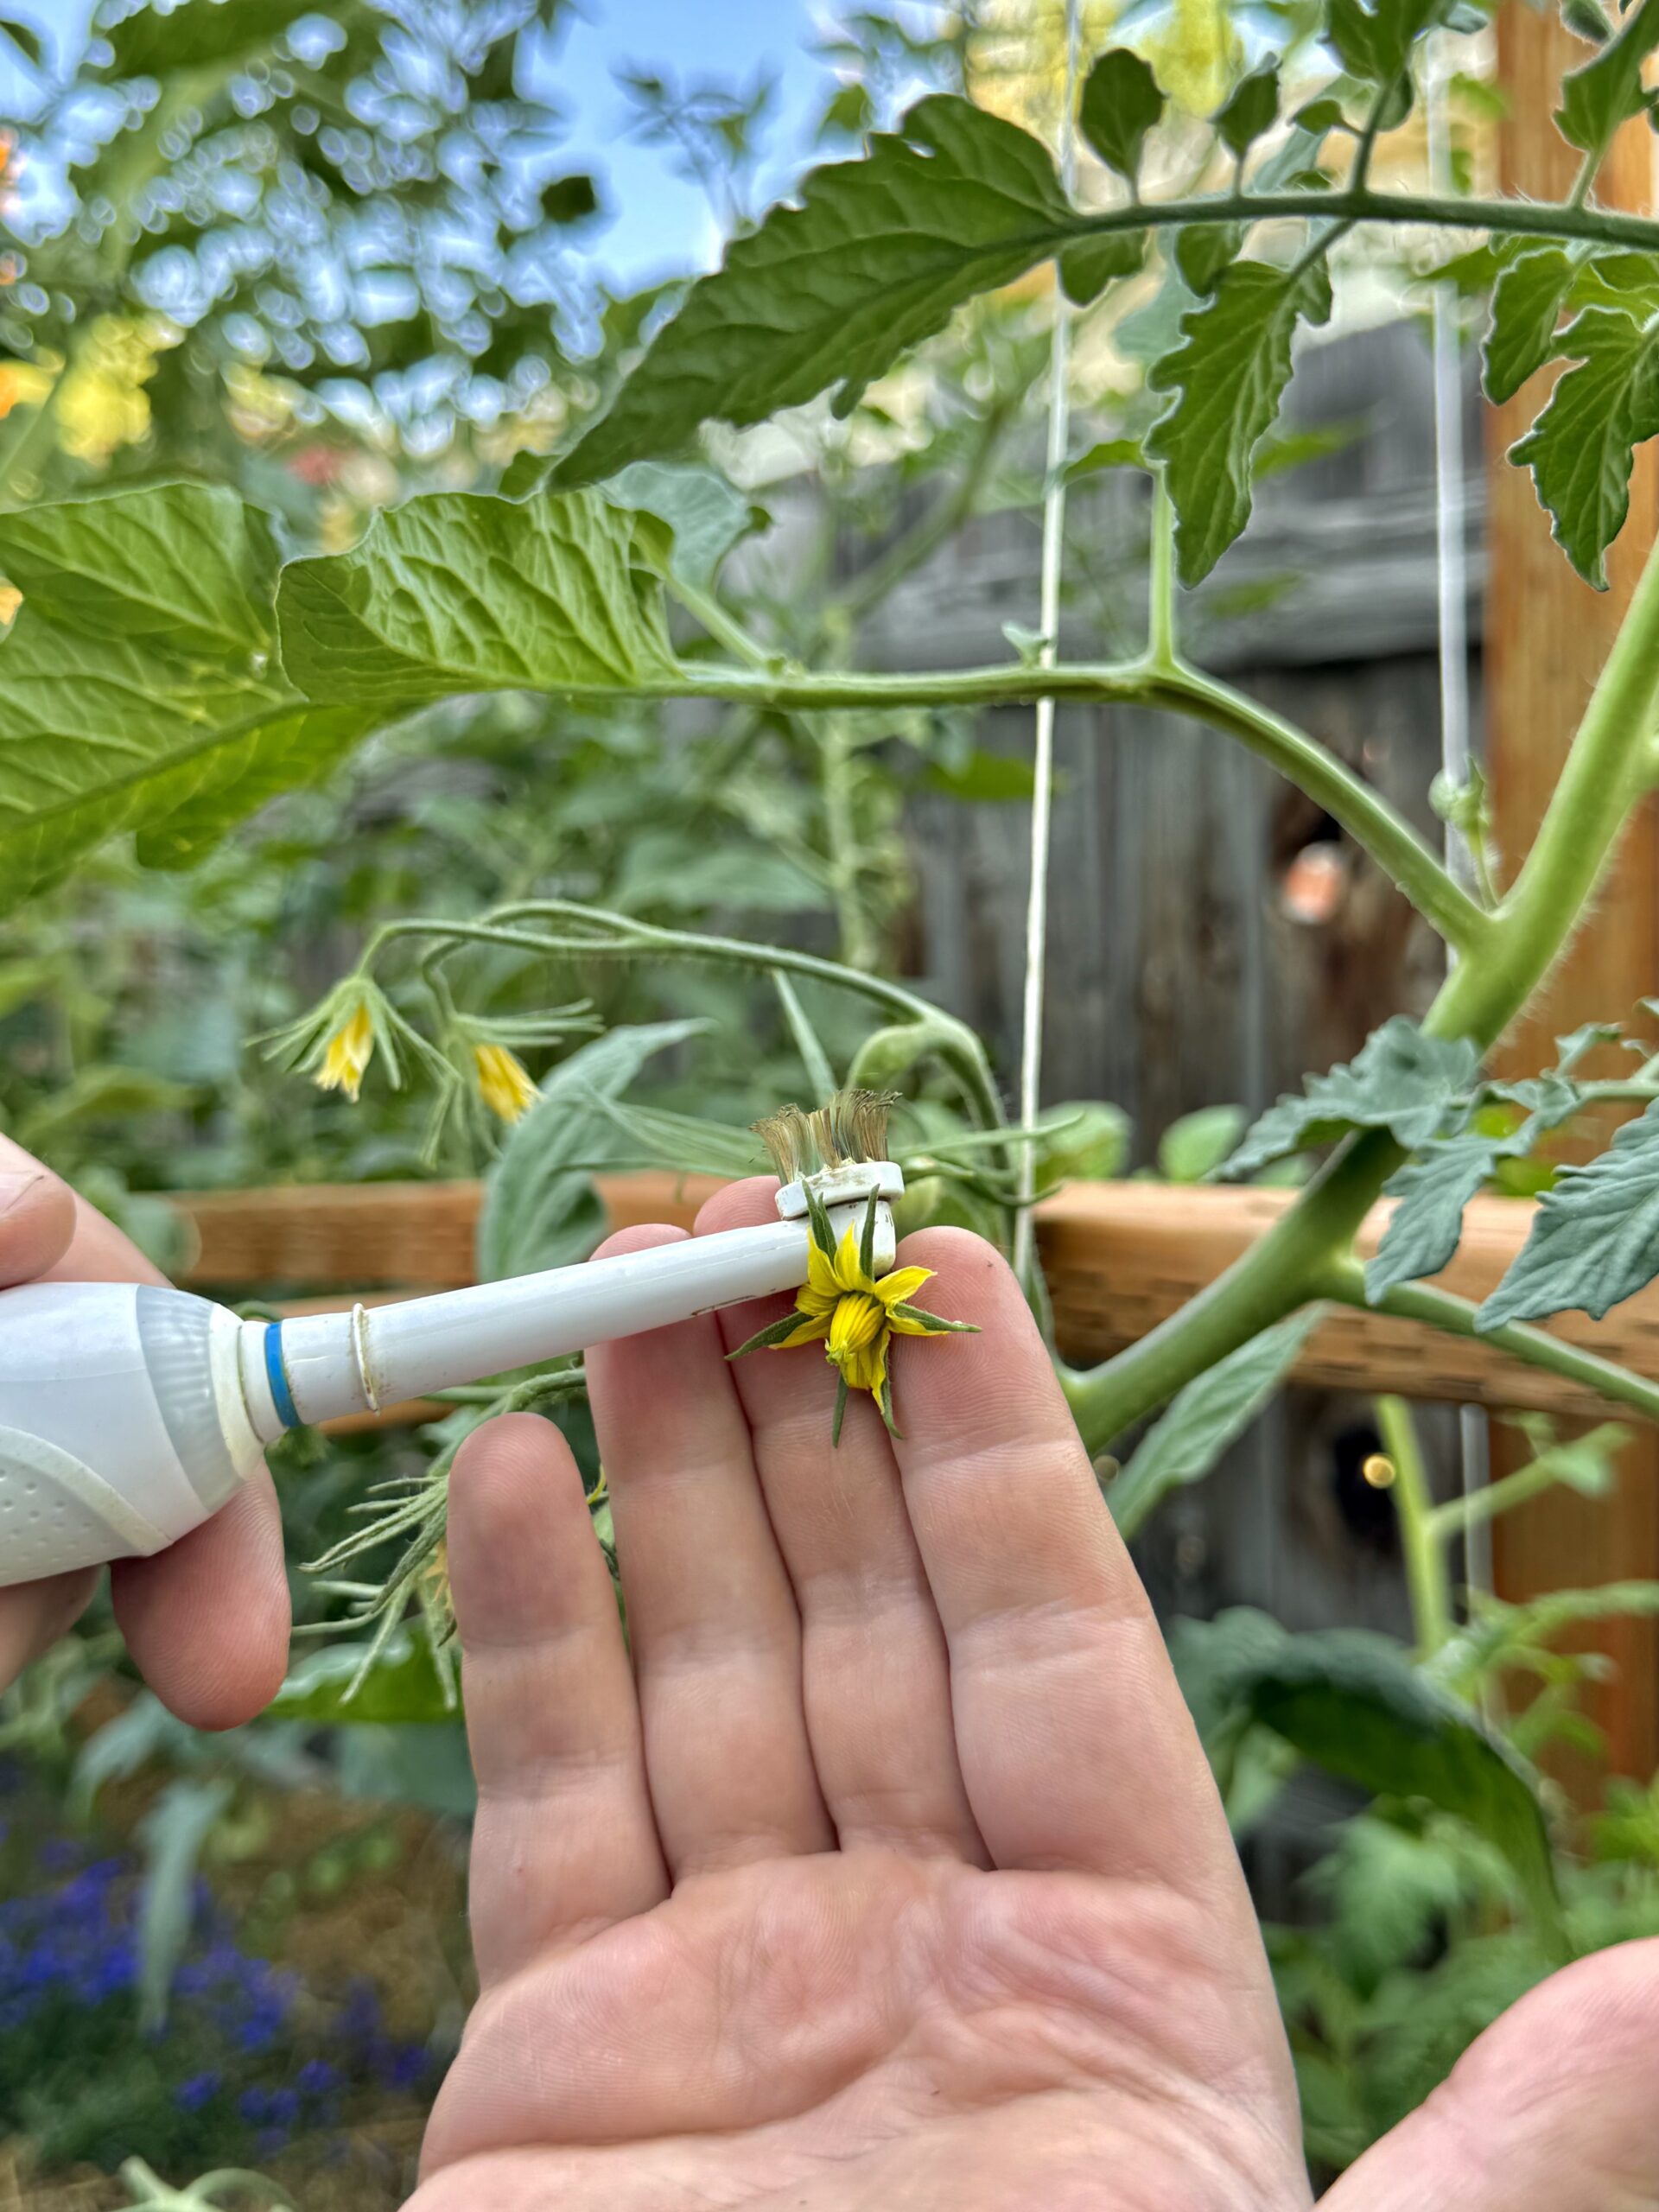
7. Electric Toothbrush
This is my number one because it’s the most effective method for each flower. The buzzing toothbrush mimics the vibration of a bee almost perfectly. There are professional devices to do this form of pollination, but toothbrushes are a cheap hack that many people have on hand.
How it works:
Touch the back of a given flower for 1-2 seconds with the running toothbrush to release pollen.
| Pros | Cons |
|---|---|
| Highly effective | Requires batteries or charging |
| Fast and consistent | Slight cost upfront |
| Gentle on plants |

Final Thoughts
If you want efficiency without much hands-on time, leaf blowers deserve more attention. However, for best precision and effectiveness, the electric toothbrush still leads the pack in my opinion. Whatever method you use, a little effort during flowering can yield big rewards when it’s time to harvest.
Thanks for reading along, guys! If you enjoyed this blog post, check out my other gardening blog posts:
- How to Start a Garden on a Budget for Under $100
- Essential and Nice-to-Have Garden Products for Your Perfect Setup
- My Garden Setup: 3 Best Garden Containers for Every Gardener
- Understanding Garden Light and Shade: A Simple Guide
- How to Build a Homemade Trellis Using Cattle Panel
Follow me on social media for daily content and instructional videos about gardening!


0 Comments