Canning is the classic method for preserving tomatoes, but here’s the catch: to make canning worth the time and effort, you usually need a large harvest all at once.
Gathering enough tomatoes, prepping them, sterilizing equipment, and spending hours over a hot stove isn’t always practical, especially if your plants ripen slowly or in small waves.
That’s where freezing comes in.
In this blog post, I’ll share 3 simple methods to freeze your tomatoes in order to preserve your harvest. Let’s get started!
Why Freezing Wins
- Flexible: You can freeze just a handful at a time as they ripen, without waiting for a bumper crop.
- Nutrient-Rich: Contrary to popular belief, freezing preserves most of the vitamins and antioxidants.
- Low-Effort: No special equipment or long kitchen sessions required.
- Long-lasting: Properly stored, frozen tomatoes can keep for 6+ months, which can last you through winter.
But What About Texture?
It’s true that frozen tomatoes won’t hold up well for slicing onto a sandwich. But that’s not their strength anyway.
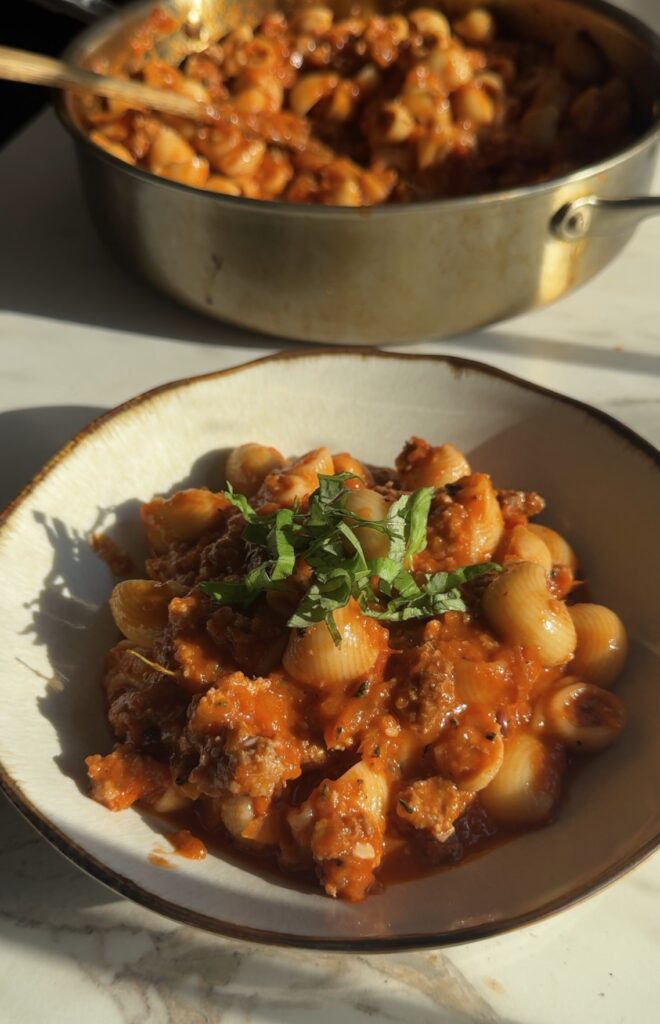
Instead, they shine in pasta sauces, soups, stews, chili, curries, and braises… any dish where their bold, rich flavor is more important than firmness. Freezing lets you lock in summer’s sweetness so you can enjoy it in hearty meals all winter long.
Quick Note on Freezer Burn
Freezer burn doesn’t make tomatoes unsafe, but it can affect flavor and texture.
To reduce the risk, use airtight containers or heavy-duty freezer bags, remove as much air as possible before sealing, and keep your freezer at 0°F (-18°C) or lower. Silicone bags are a great option since they’re reusable, durable, and seal tightly. However, heavy-duty freezer bags, or rigid plastic containers can also work well.
Three Methods to Freeze Tomatoes:
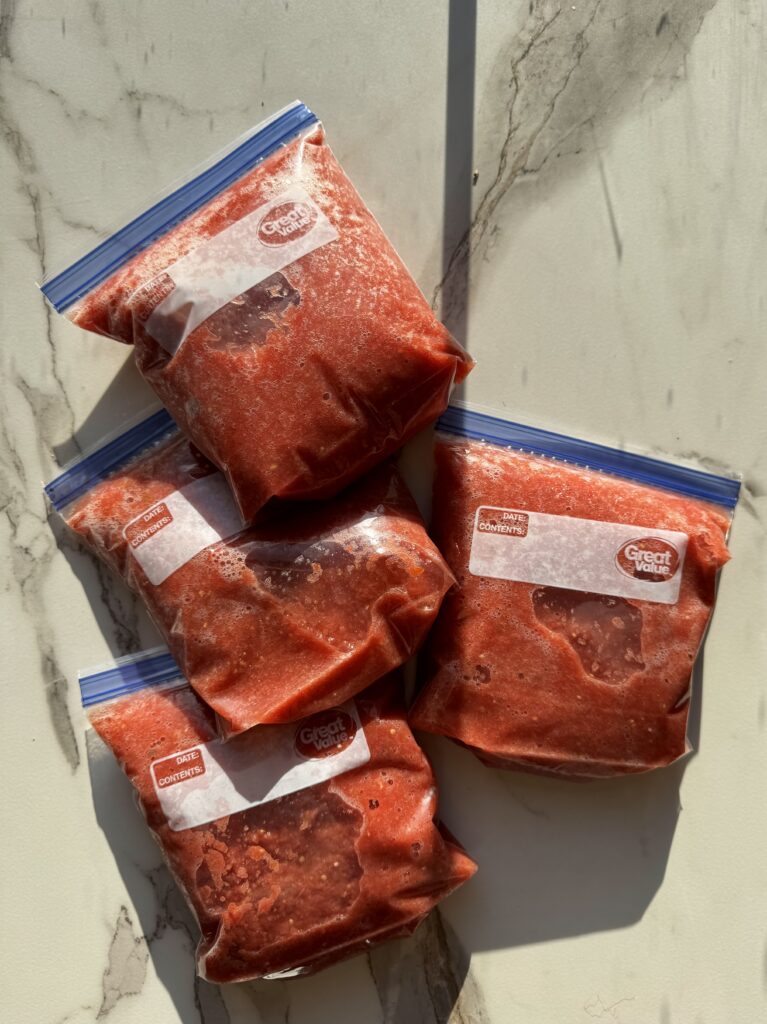
1. Blended Tomatoes (Then Strain the Water)
- Wash and core your fresh tomatoes.
- Add them to a blender and blend until smooth. Note that you can blend with the skin on, but if you would like to blanch your tomatoes and remove the skin, then that’s totally up to you!
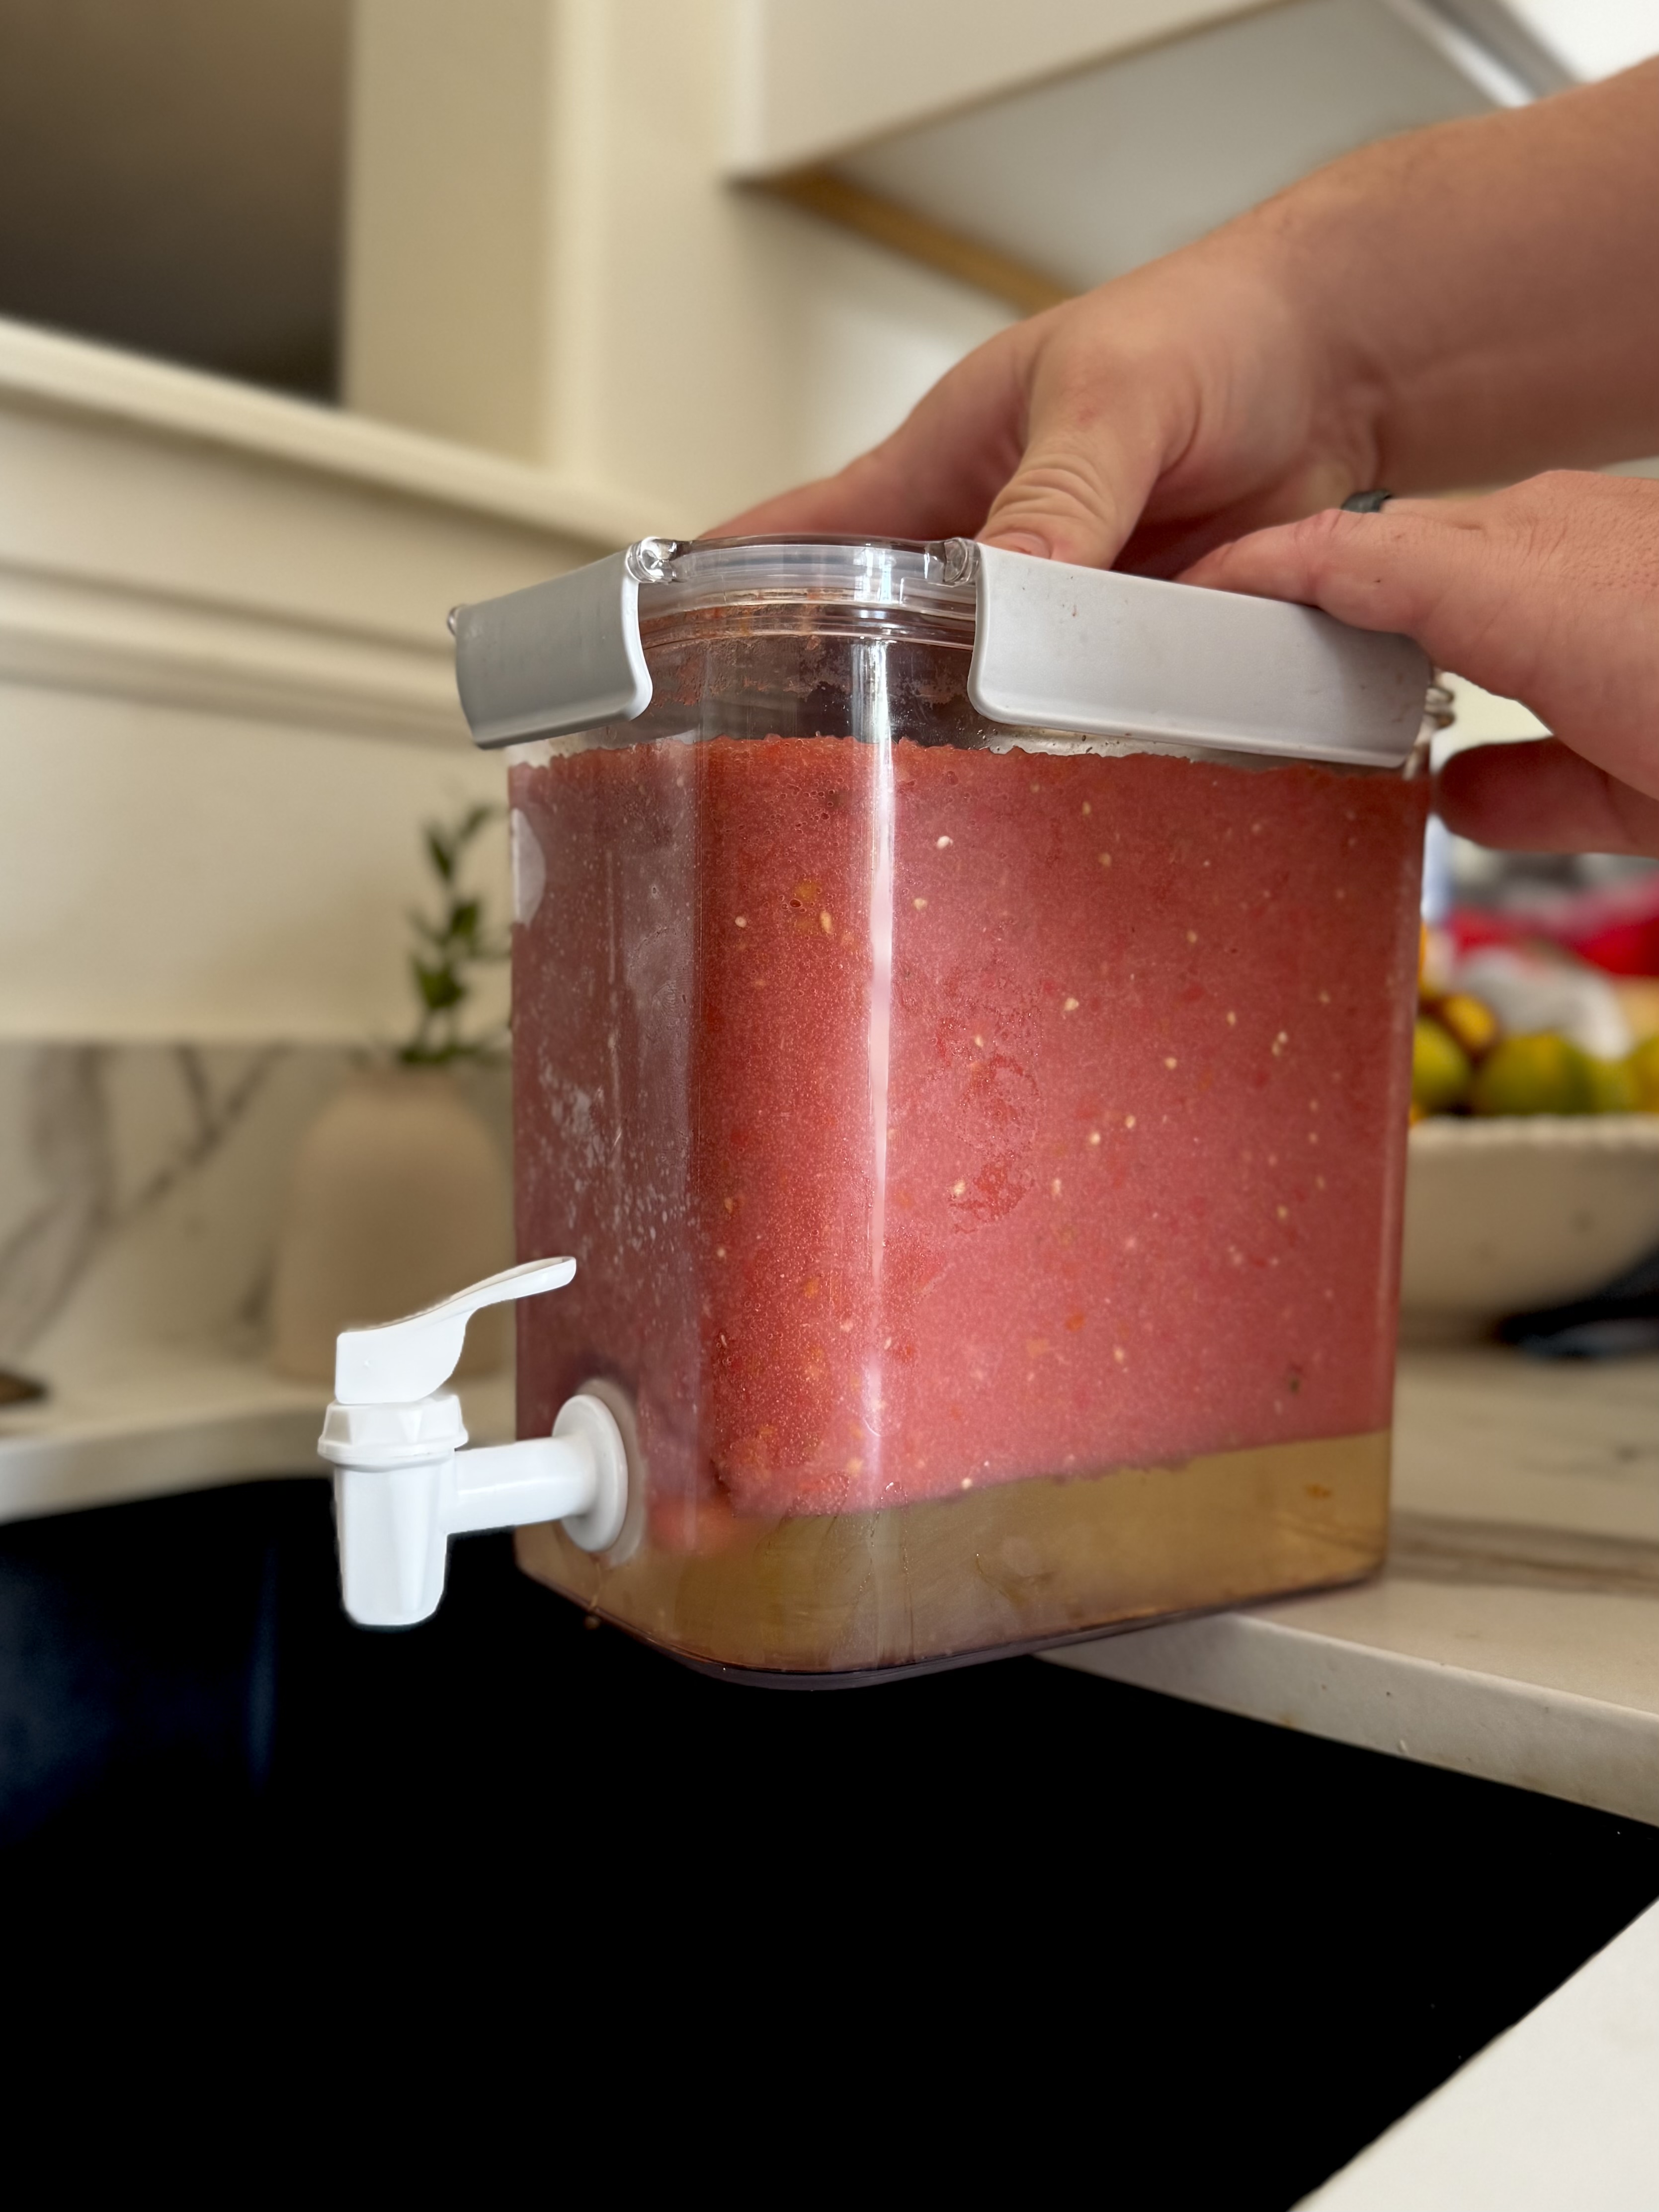
- Pour the blended tomatoes into a container (a large jar works well, or a beverage/food dispenser if you have one).
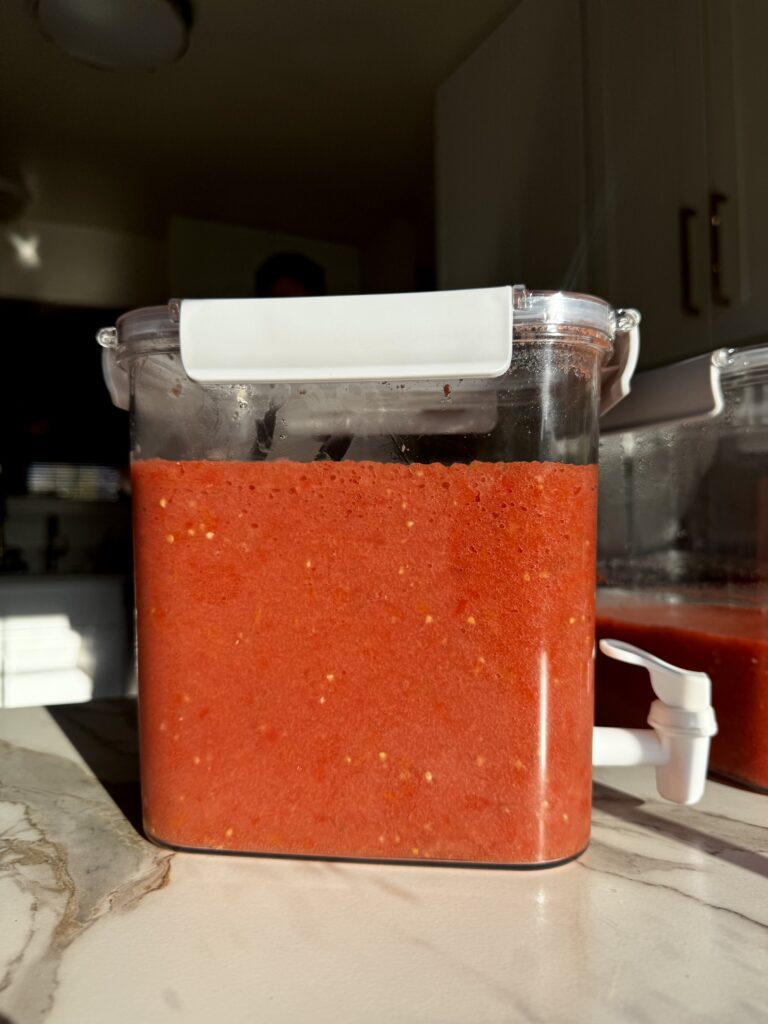
- Place the container in the refrigerator and let it sit for 24 – 48 hours. This allows the water to naturally separate from the pulp.
- Once separated, scoop the pulp from the top or, if using a dispenser, drain out the liquid from the bottom.
- Transfer the thick tomato pulp into freezer-safe containers or bags.
- Label and freeze for later use.
Here are some dishes this tomato pulp would be great for:
- Soups and Stews: Perfect as a base for tomato soup, vegetable soup, or hearty stews.
- Sauces: Great for pasta sauce, pizza sauce, or even shakshuka.
- Curries: Adds depth and body without too much extra liquid.
- Chili: Thickens the base and gives it a rich tomato backbone.
- Casseroles and Bakes: Works well in lasagna, baked ziti, or enchiladas.
- Rice Dishes: Use as part of the cooking liquid for Spanish rice, jambalaya, or biryani.
- Braised Meats: Adds richness to braised short ribs, chicken cacciatore, or lamb shanks.
| Pros | Cons |
|---|---|
| Saves freezer space because the pulp is more compact without the water. | Requires waiting for the liquid to separate. |
| Provides a thick, ready-to-use tomato base that cooks down quickly. | Not ideal if you want a chunkier tomato texture later. |
| Perfect for sauces, soups, and stews where you want concentrated tomato flavor. | Includes an extra step of straining and storing compared to simply freezing whole tomatoes. |
| No cooking involved. |
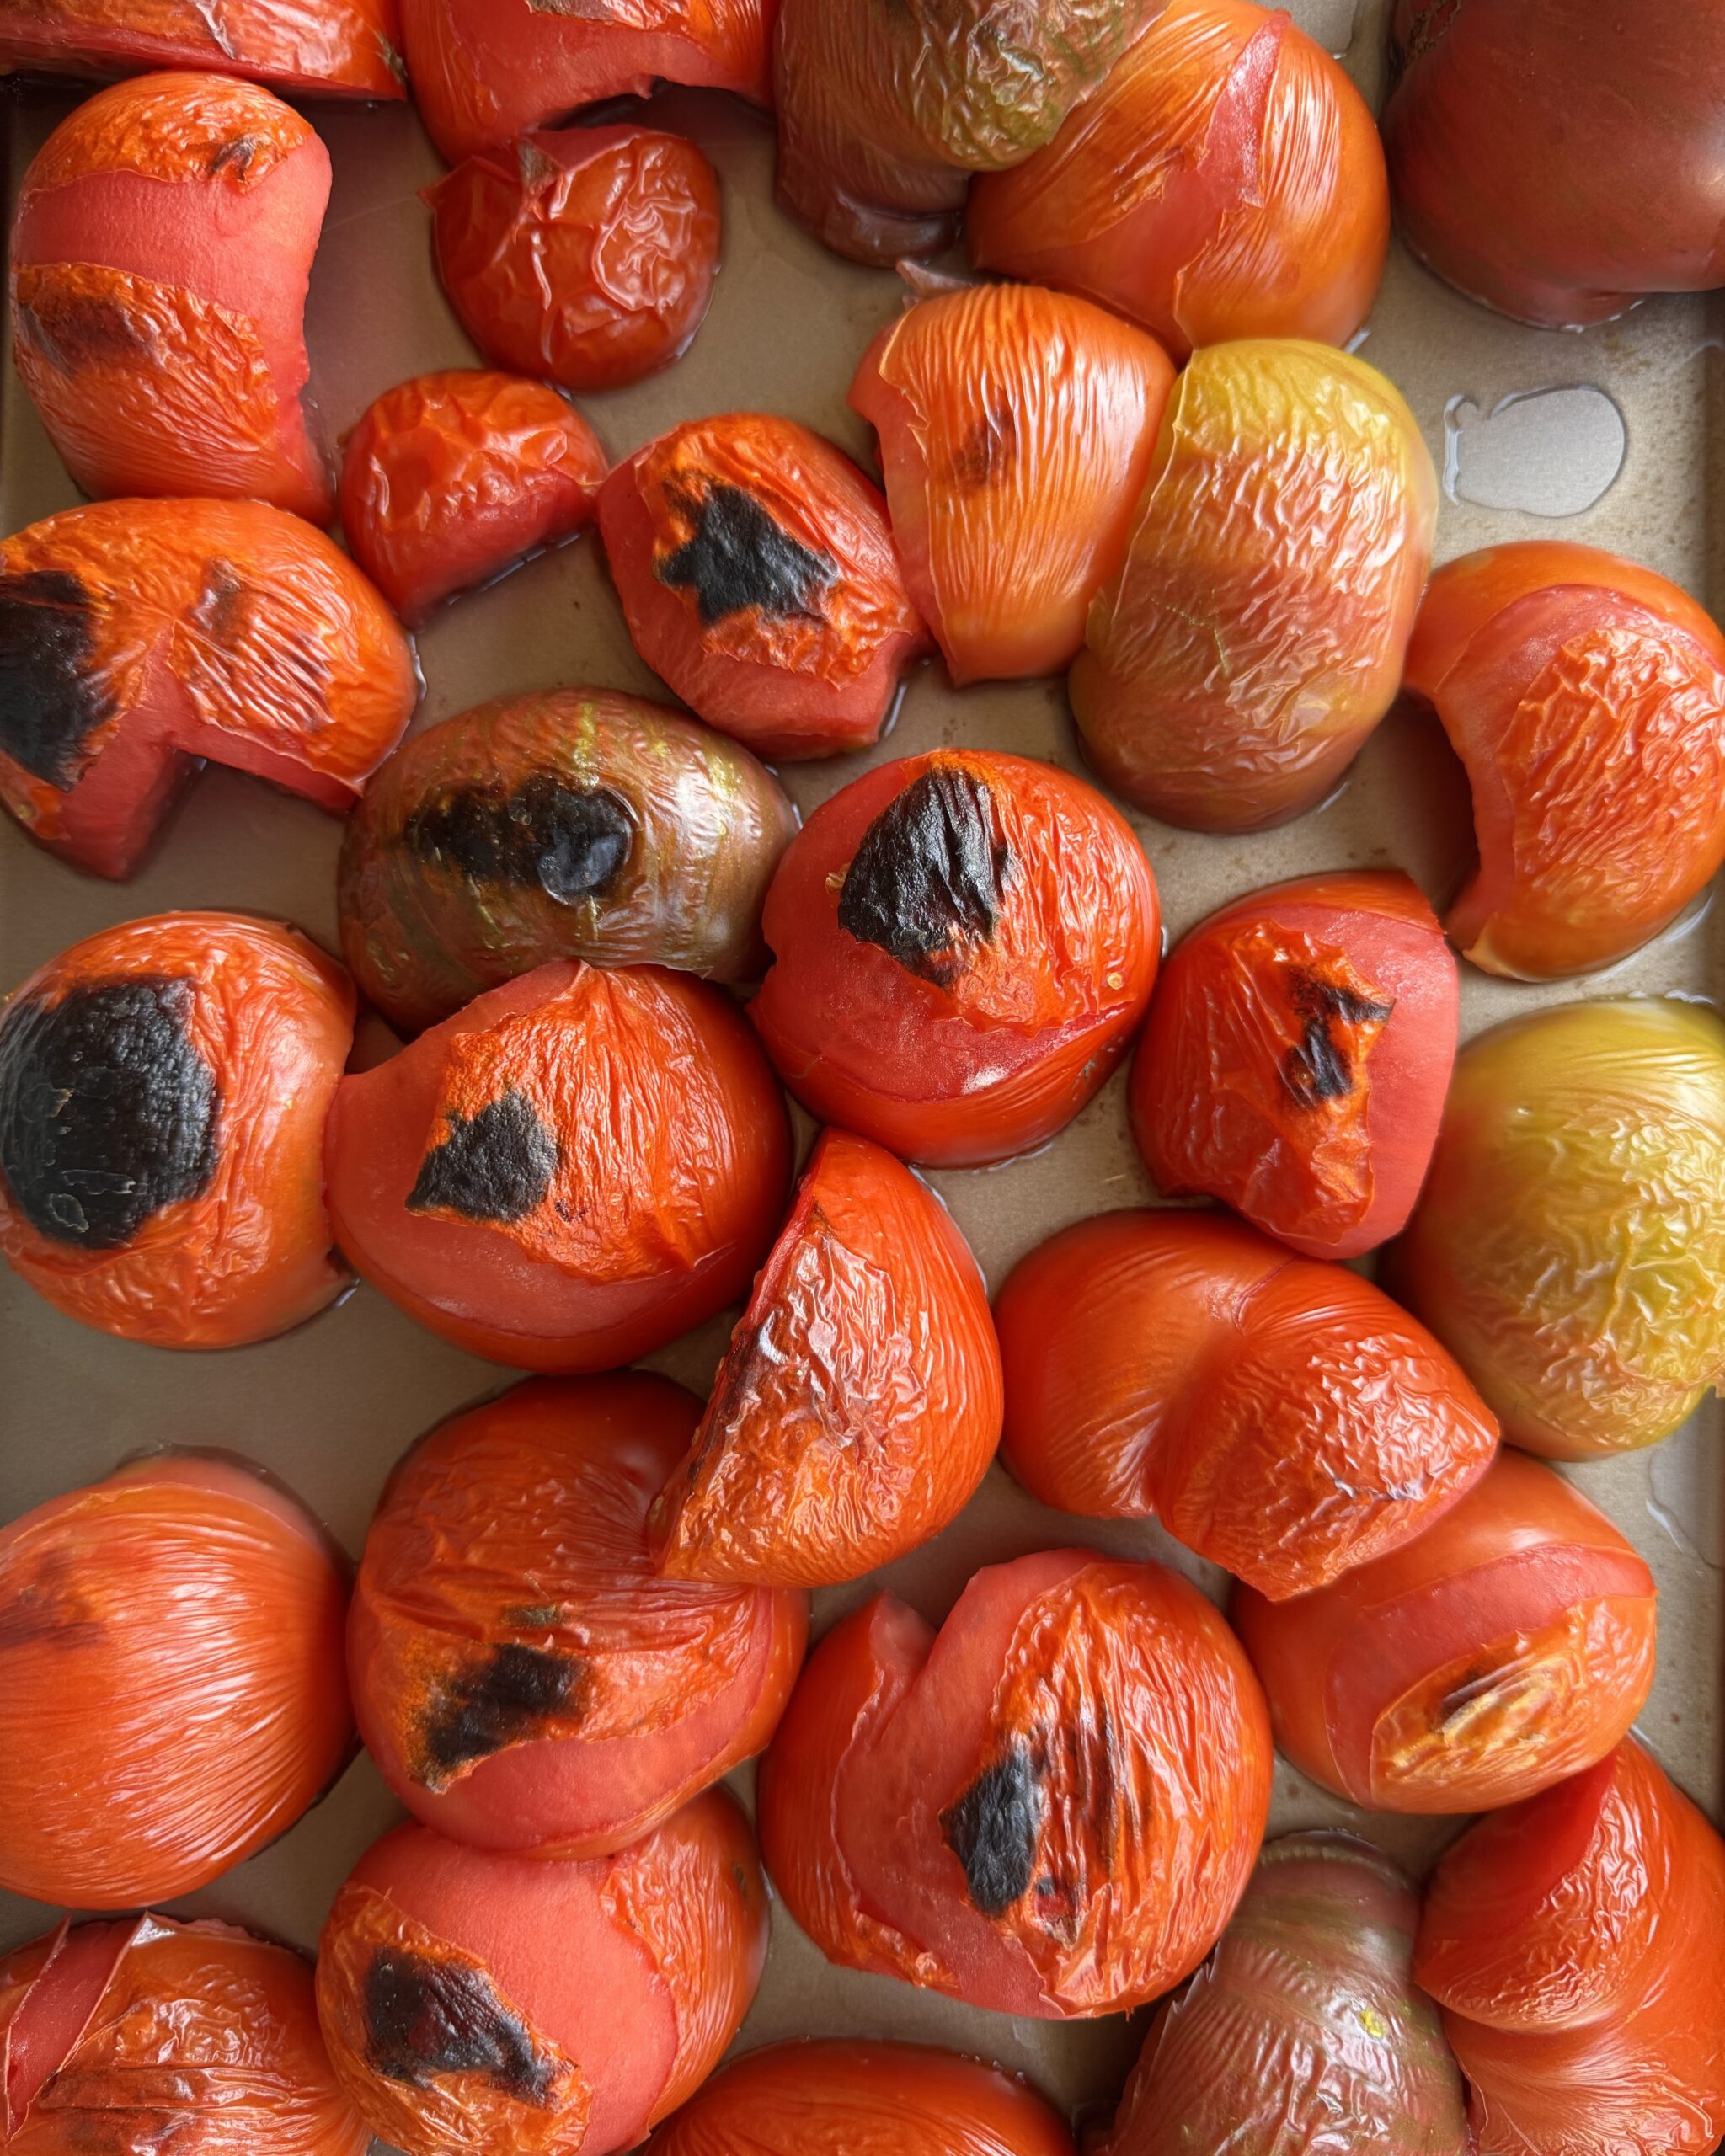
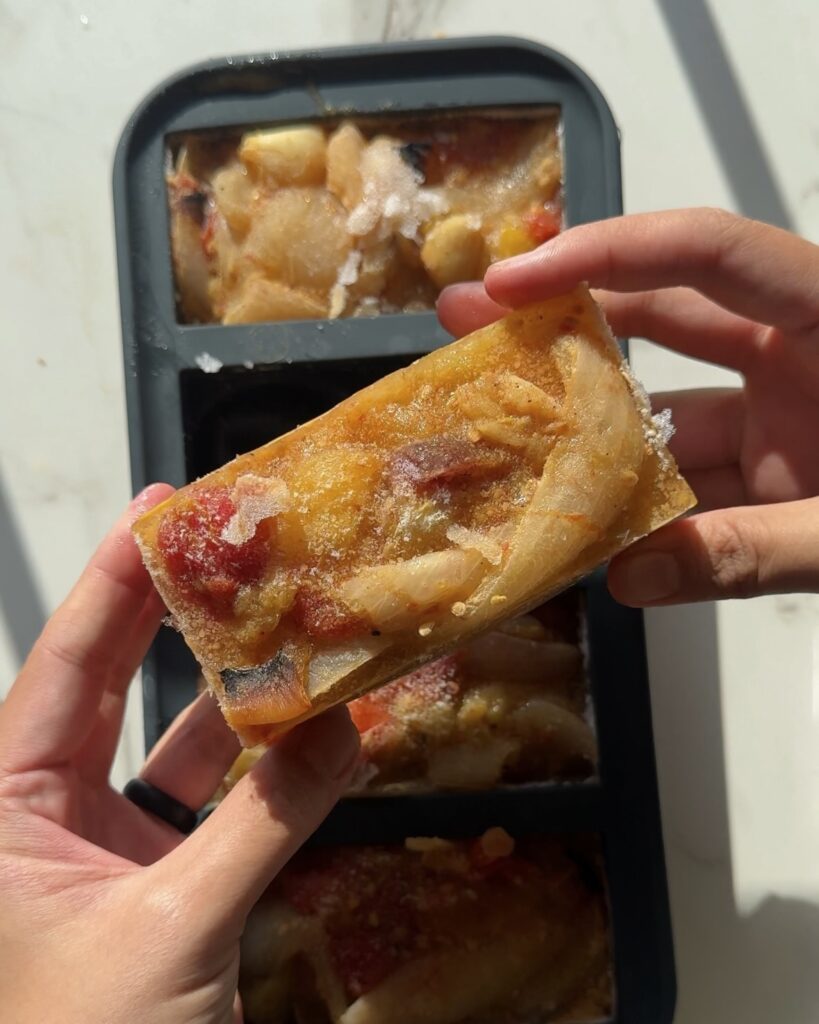
2. Roasted Tomato, Onion, and Garlic Blend
- Preheat your oven to 400°F (200°C).
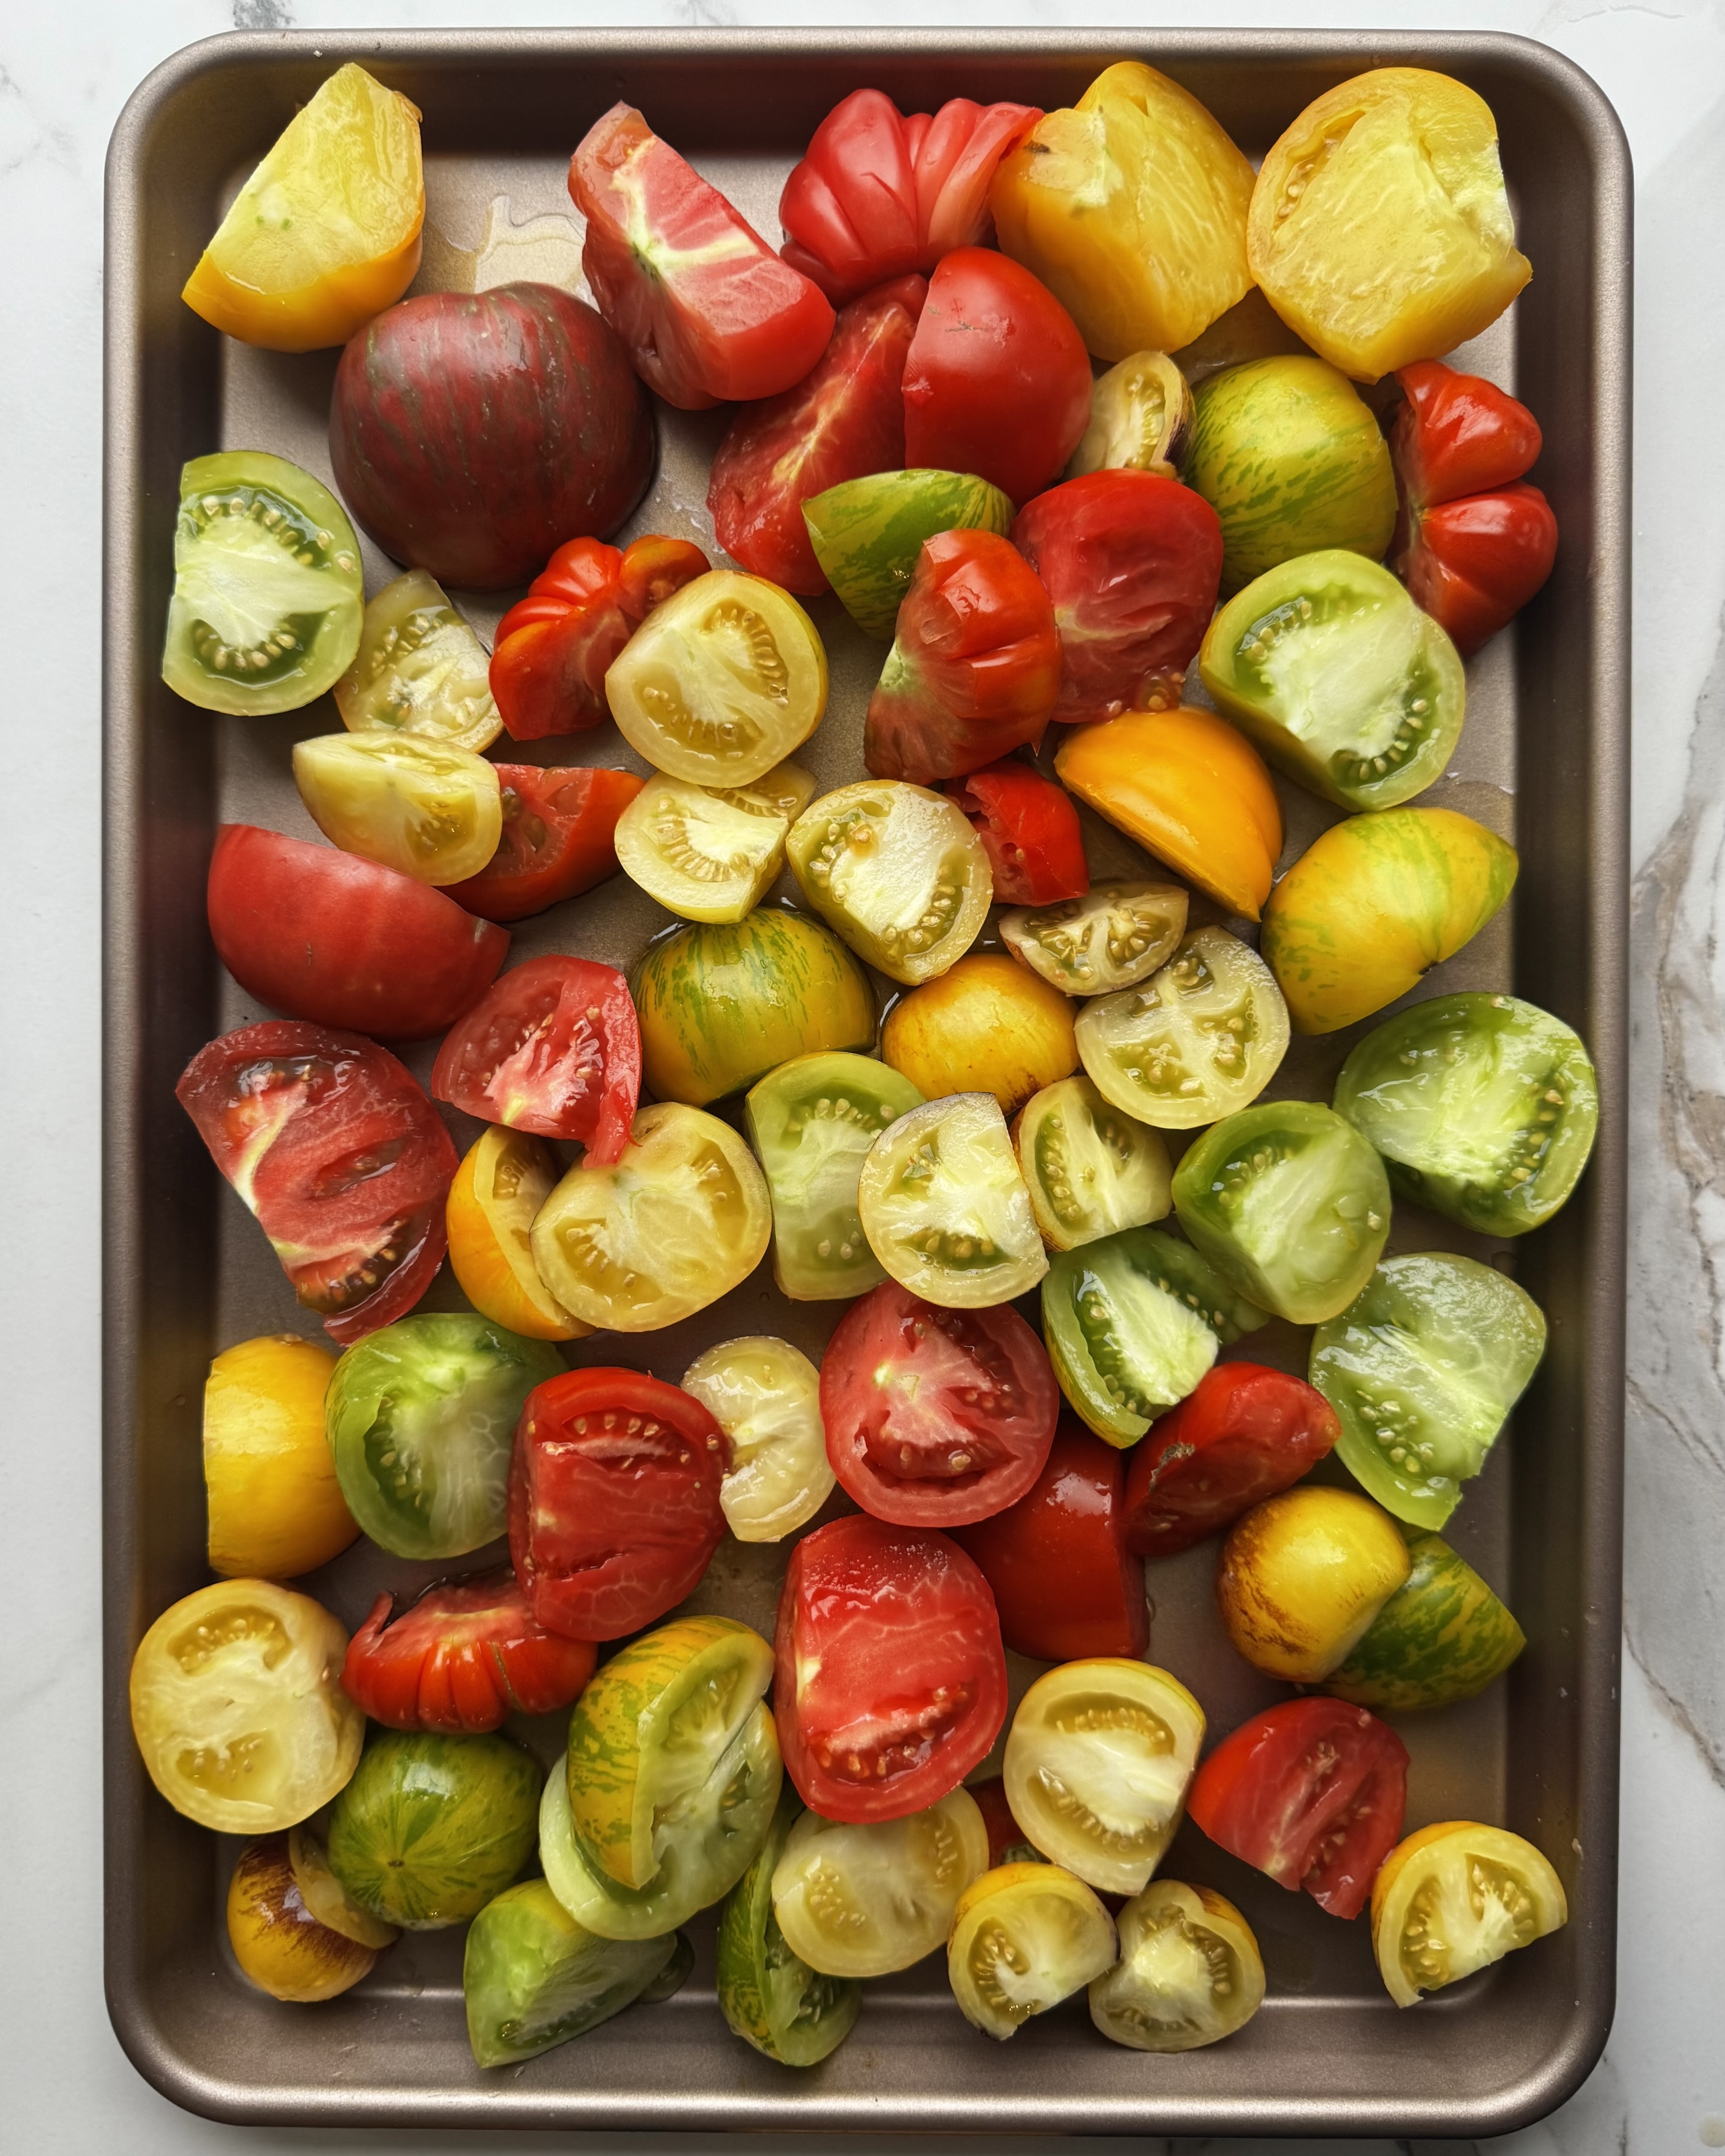
- Chop tomatoes, onions, and garlic, then spread them evenly on a sheet pan.
- Drizzle with a little olive oil and season lightly with salt and pepper, if desired.
- Roast for 25 – 35 minutes, or until the tomatoes are softened and the onions and garlic are caramelized.
- Allow to cool completely. Remove the tomato skins by hand (they should slip off easily).
- Portion into freezer-safe containers or bags, then freeze.
Here are some dishes this tomato, onion, and garlic blend would be great for:
- Soups: Tomato soup, minestrone, or vegetable soup.
- Pasta Sauces: Marinara, arrabbiata, or as a base for creamy tomato sauces.
- Curries and Stews: Adds depth and sweetness to Indian curries, chili, or beef stew.
- Shakshuka: The roasted flavors make a perfect base for poached eggs.
- Pizza Sauce: Spread on dough for a flavorful, roasted twist.
- Casseroles and Bakes: Works well in lasagna, baked ziti, or eggplant parmesan.
| Pros | Cons |
|---|---|
| Adds a huge flavor boost since roasting deepens sweetness and complexity. | Takes more upfront time with chopping and roasting. |
| Creates a ready-made sauce starter or soup base straight from the freezer. | Produces flavors that are set ahead of time, making it less flexible for recipes where you want raw tomato brightness. |
| Requires minimal prep later since you just thaw, add seasoning, and simmer. |
3. Freezing Whole Tomatoes
- Wash tomatoes and pat dry.
- Place the tomatoes in a ziplock bag and transfer to the freezer, removing as much air as possible.
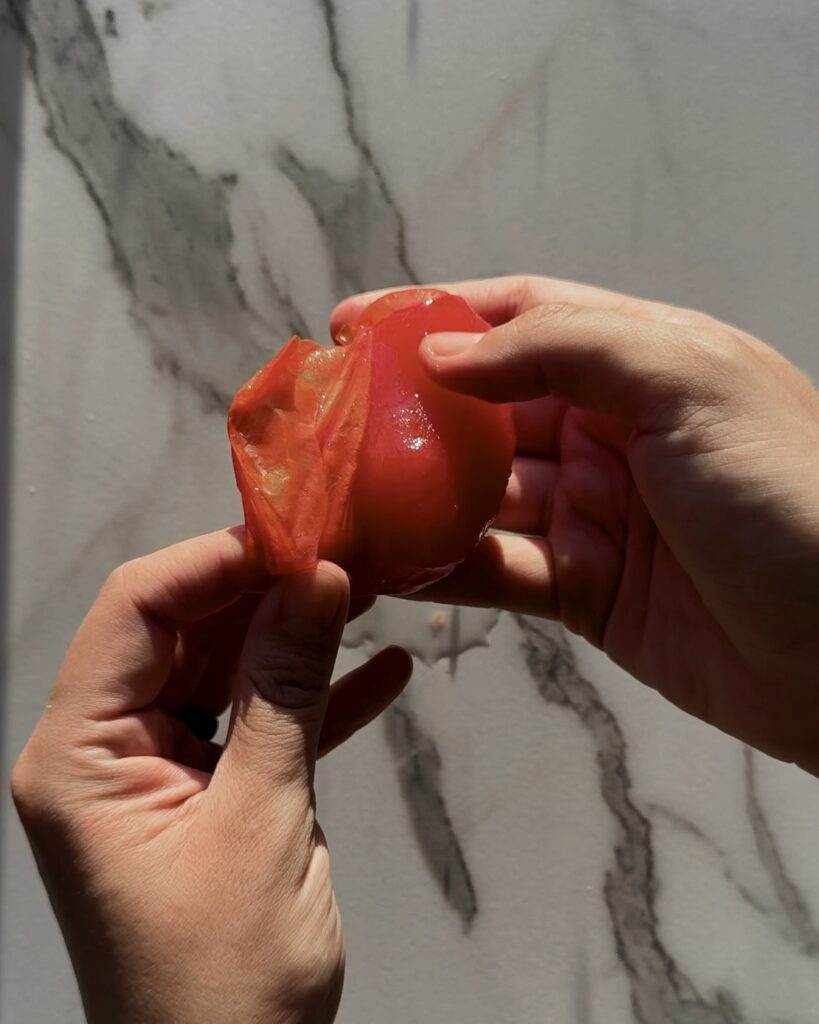
- When ready to use, thaw the tomatoes and slip off the skins easily as they separate from the flesh.
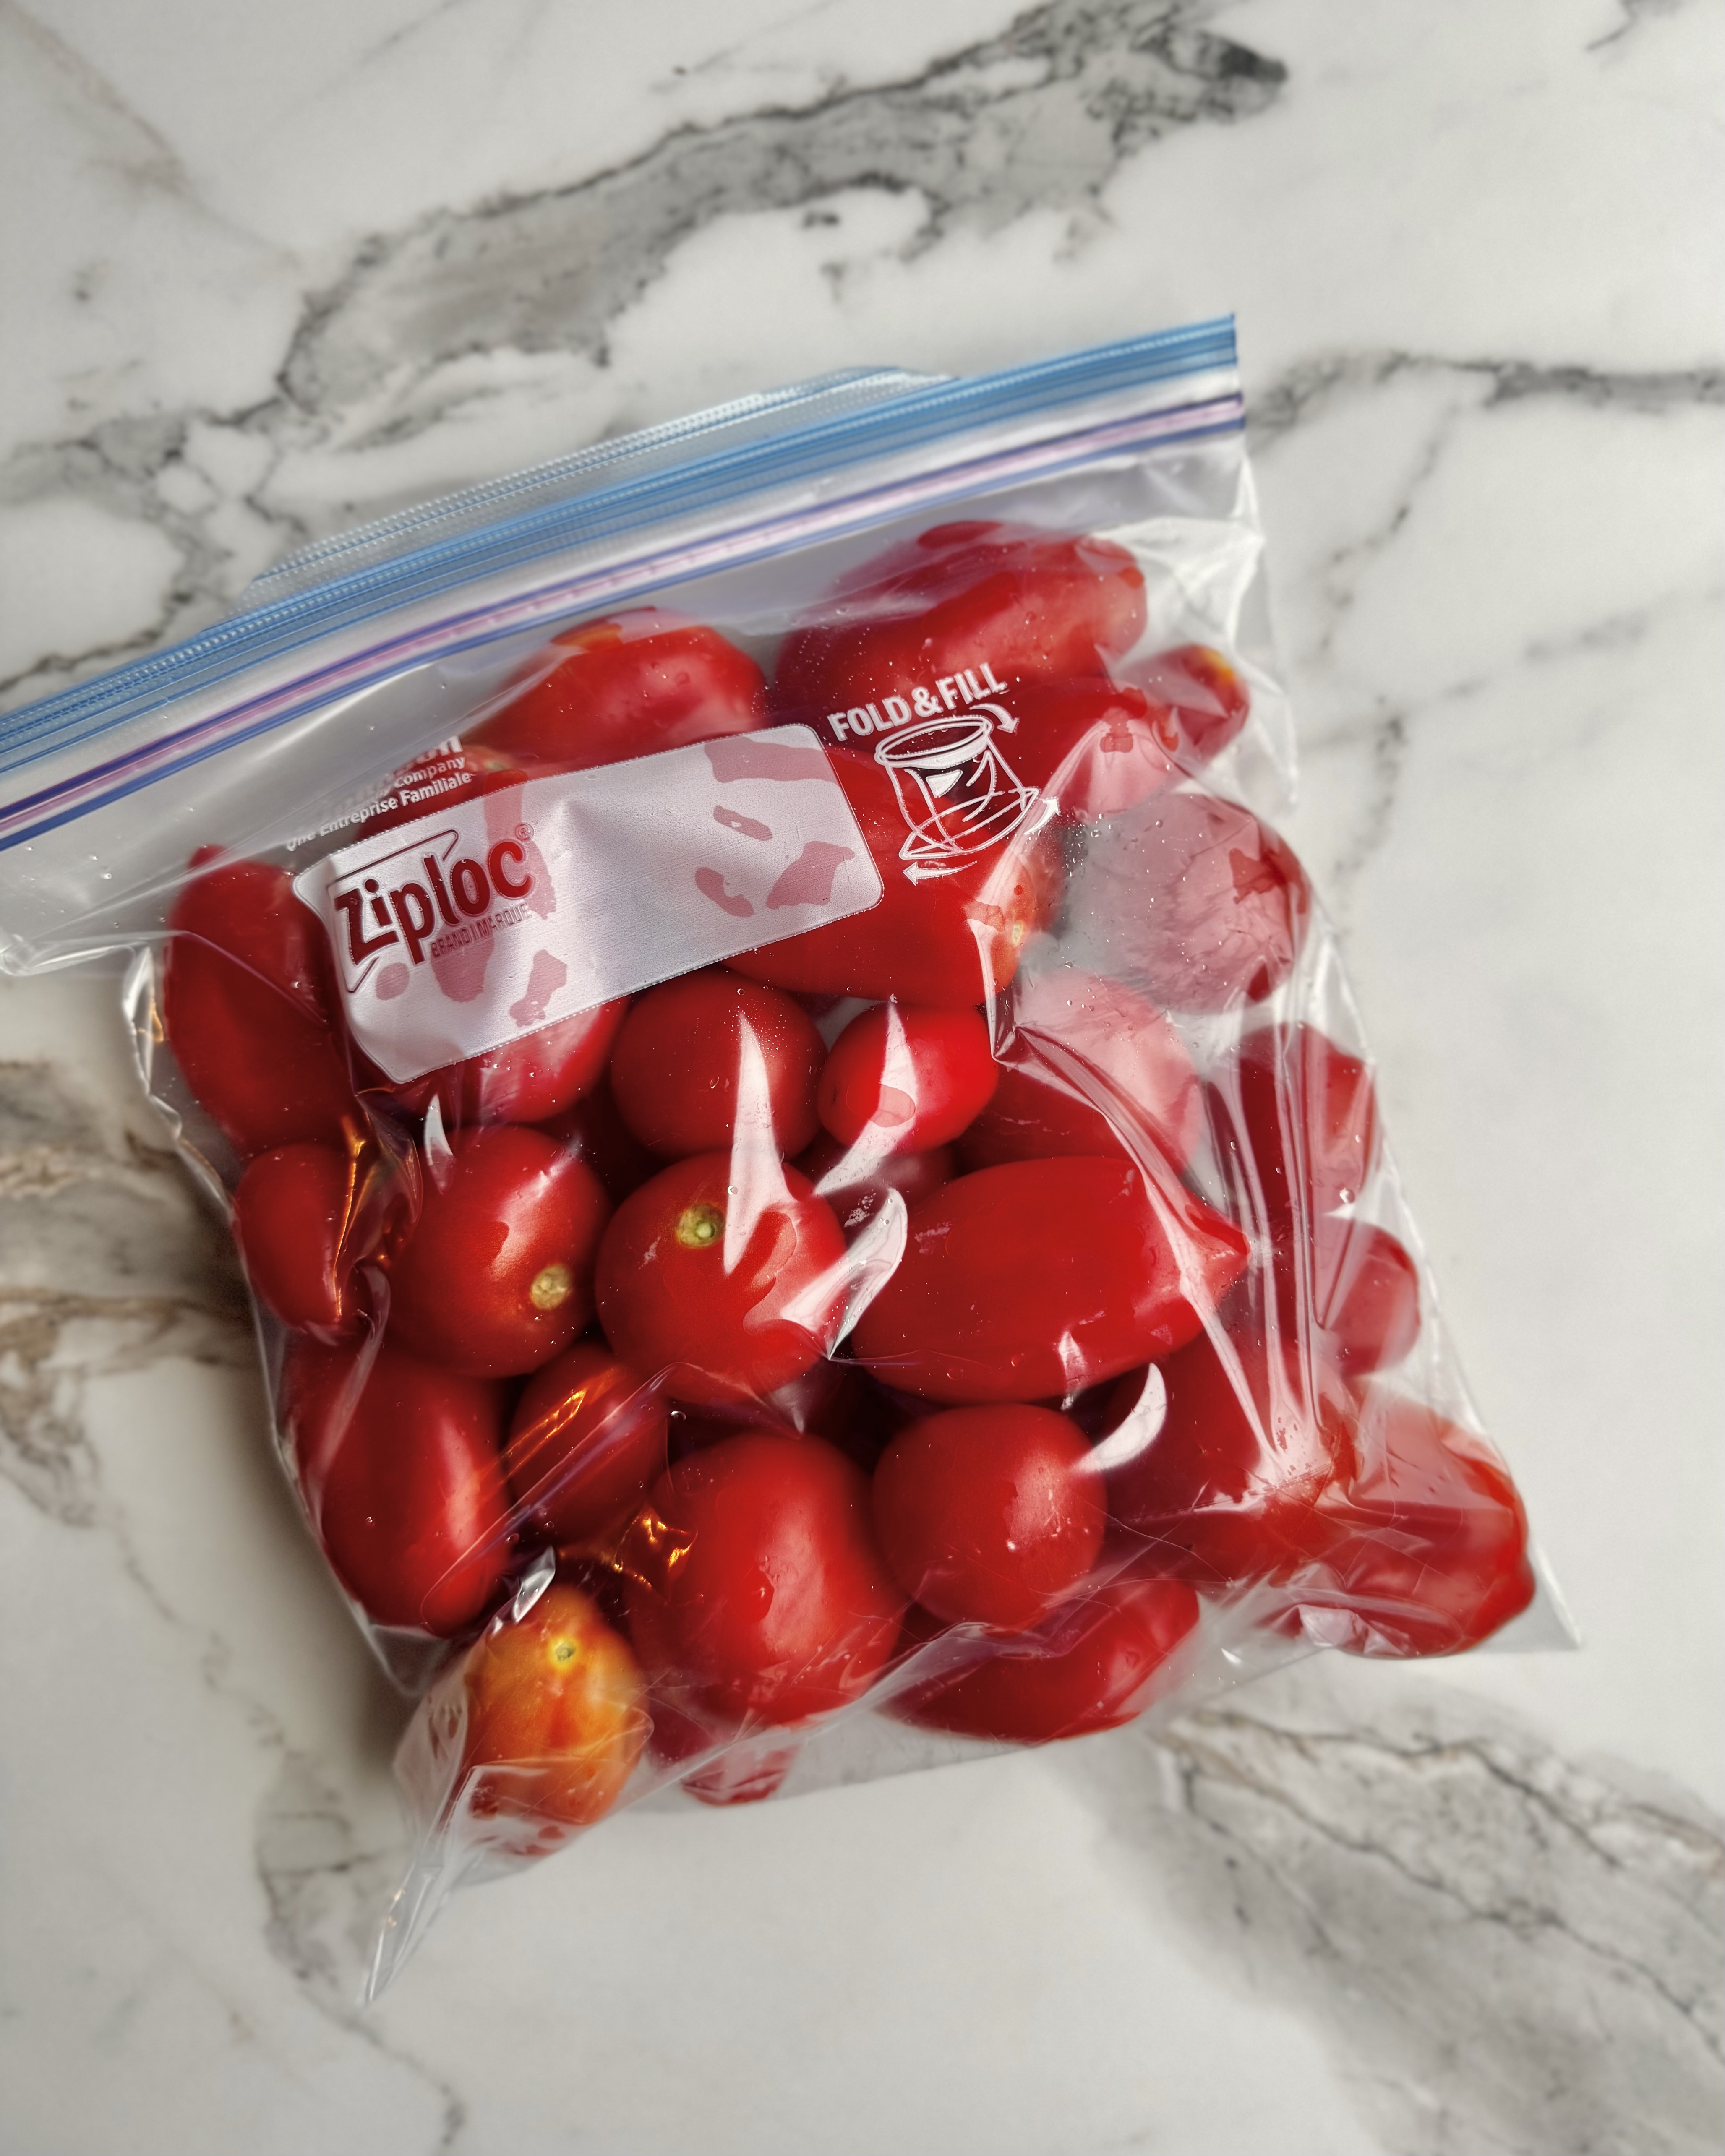
For this method, what types of tomatoes you freeze will impact what dish this method is best suited for. I love freezing my San Marzano tomatoes because they’re naturally meaty, low in seeds, and full of rich flavor. Whole frozen San Marzanos are perfect for:
- Chilis: A thick, robust tomato base that holds up well in long cooking.
- Classic Italian sauces: Marinara, pomodoro, or slow-simmered pasta sauces.
- Pizza Sauce: Their sweetness and low water content make them ideal.
- Soups and Bisques: Adds a deep, balanced tomato flavor without being watery.
- Stews and Braises: Enhances dishes like osso buco or beef stew.
| Pros | Cons |
|---|---|
| The easiest and fastest method with almost no prep required. | Takes up more freezer space than other methods. |
| Very versatile, since you can use them in any cooked dish. | The texture softens completely and so the tomatoes are not usable raw and must be cooked. |
| Skins come off effortlessly when thawed, which saves peeling time. |
Freezing tomatoes is one of the simplest ways to stretch your garden harvest through the winter. Unlike canning, you don’t need to wait for a bumper crop, since freezing works just as well for a small basket of tomatoes picked here and there across the season.
Whether you want a concentrated pulp, a ready-to-go roasted blend, or whole tomatoes to toss into any dish, there’s a method that fits your cooking style.
By experimenting with all three, you’ll quickly find which works best for your kitchen, and you’ll thank yourself when the cold months roll around and you have summer’s tomatoes ready at hand.
Thanks for reading along, guys!
If you enjoyed this blog post, be sure to check out my other gardening blog posts:
- How to Start a Garden on a Budget for Under $100
- Essential and Nice-to-Have Garden Products for Your Perfect Setup
- My Garden Setup: 3 Best Garden Containers for Every Gardener
- Understanding Garden Light and Shade: A Simple Guide
- How to Build a Homemade Trellis Using Cattle Panel
Be sure to follow me on social media for daily content and instructional videos about gardening!


0 Comments