Hey all! Real Farmer Jeff here.
When the season starts winding down and you’re left with firm green tomatoes on the vine, don’t throw them out! Green tomatoes are a surprisingly great substitute for apples in apple pie. In this blog post, I will explain everything you need to know to try it out for yourself.
Let’s get started!

Why Green Tomatoes Work So Well in Pie
Green tomatoes mimic apples in both taste and texture. The firm, meaty interior softens when cooked but does not turn mushy. Their tartness provides the same refreshing balance that you would normally get from a variety like Granny Smith.
Similar to apples, green tomatoes even contain natural pectin, which helps the filling thicken without becoming runny. Once mixed with sugar, lemon juice, and spices, the flavor becomes so similar to apple that most people never guess the difference.
When to Harvest Green Tomatoes
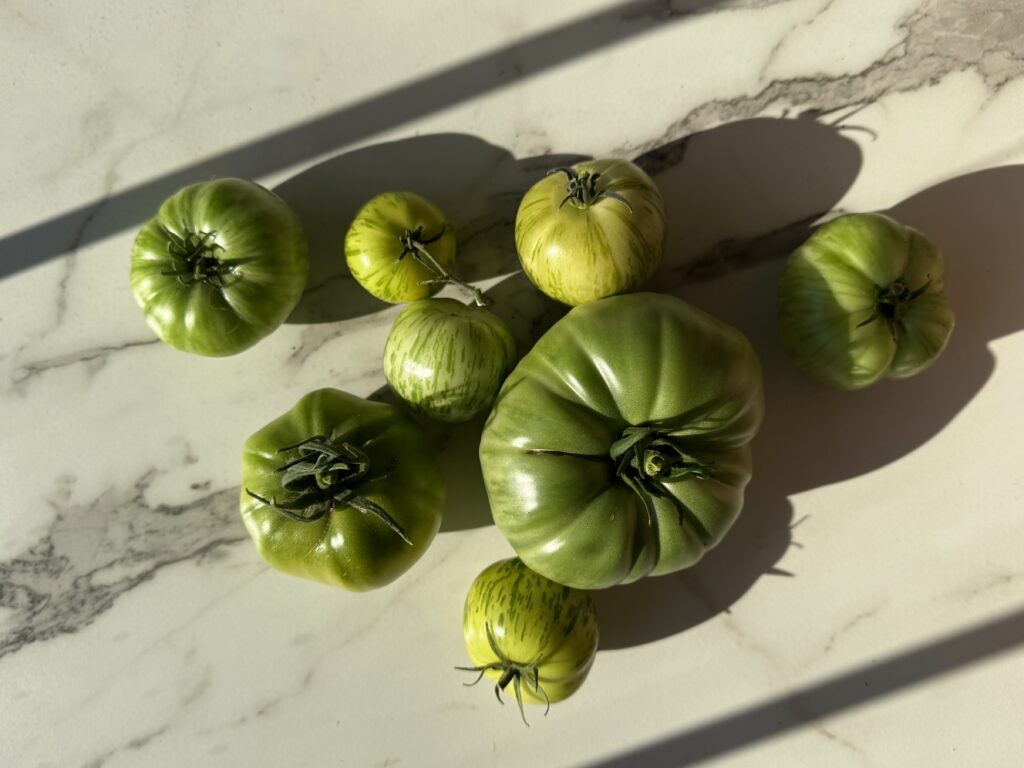
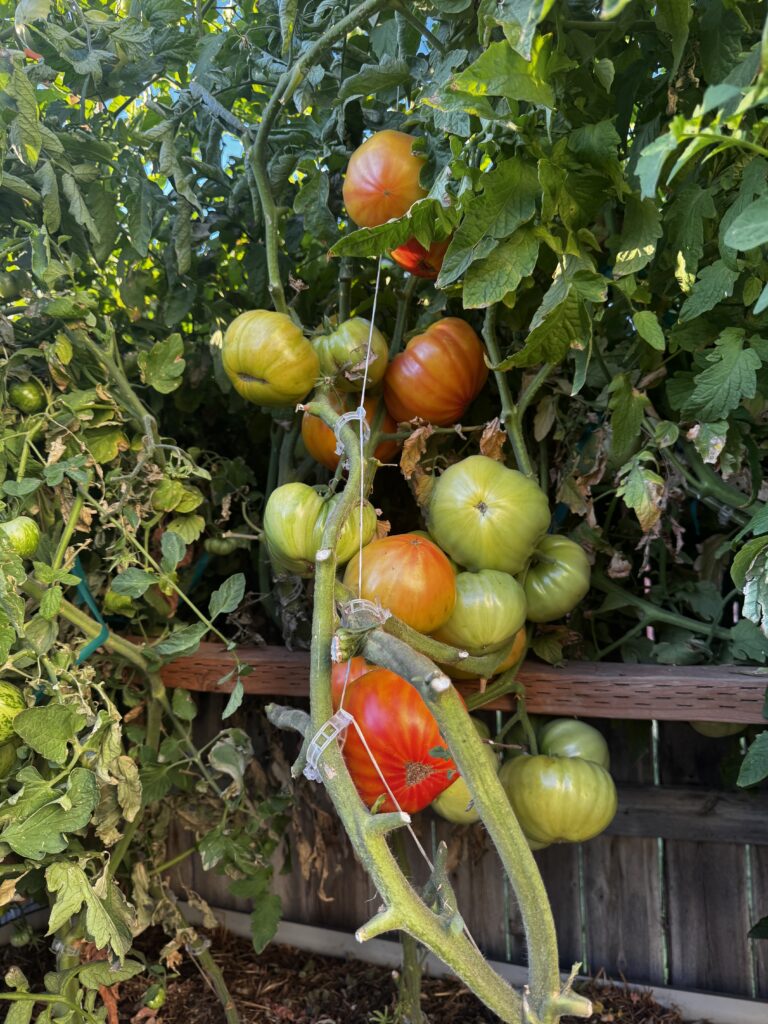
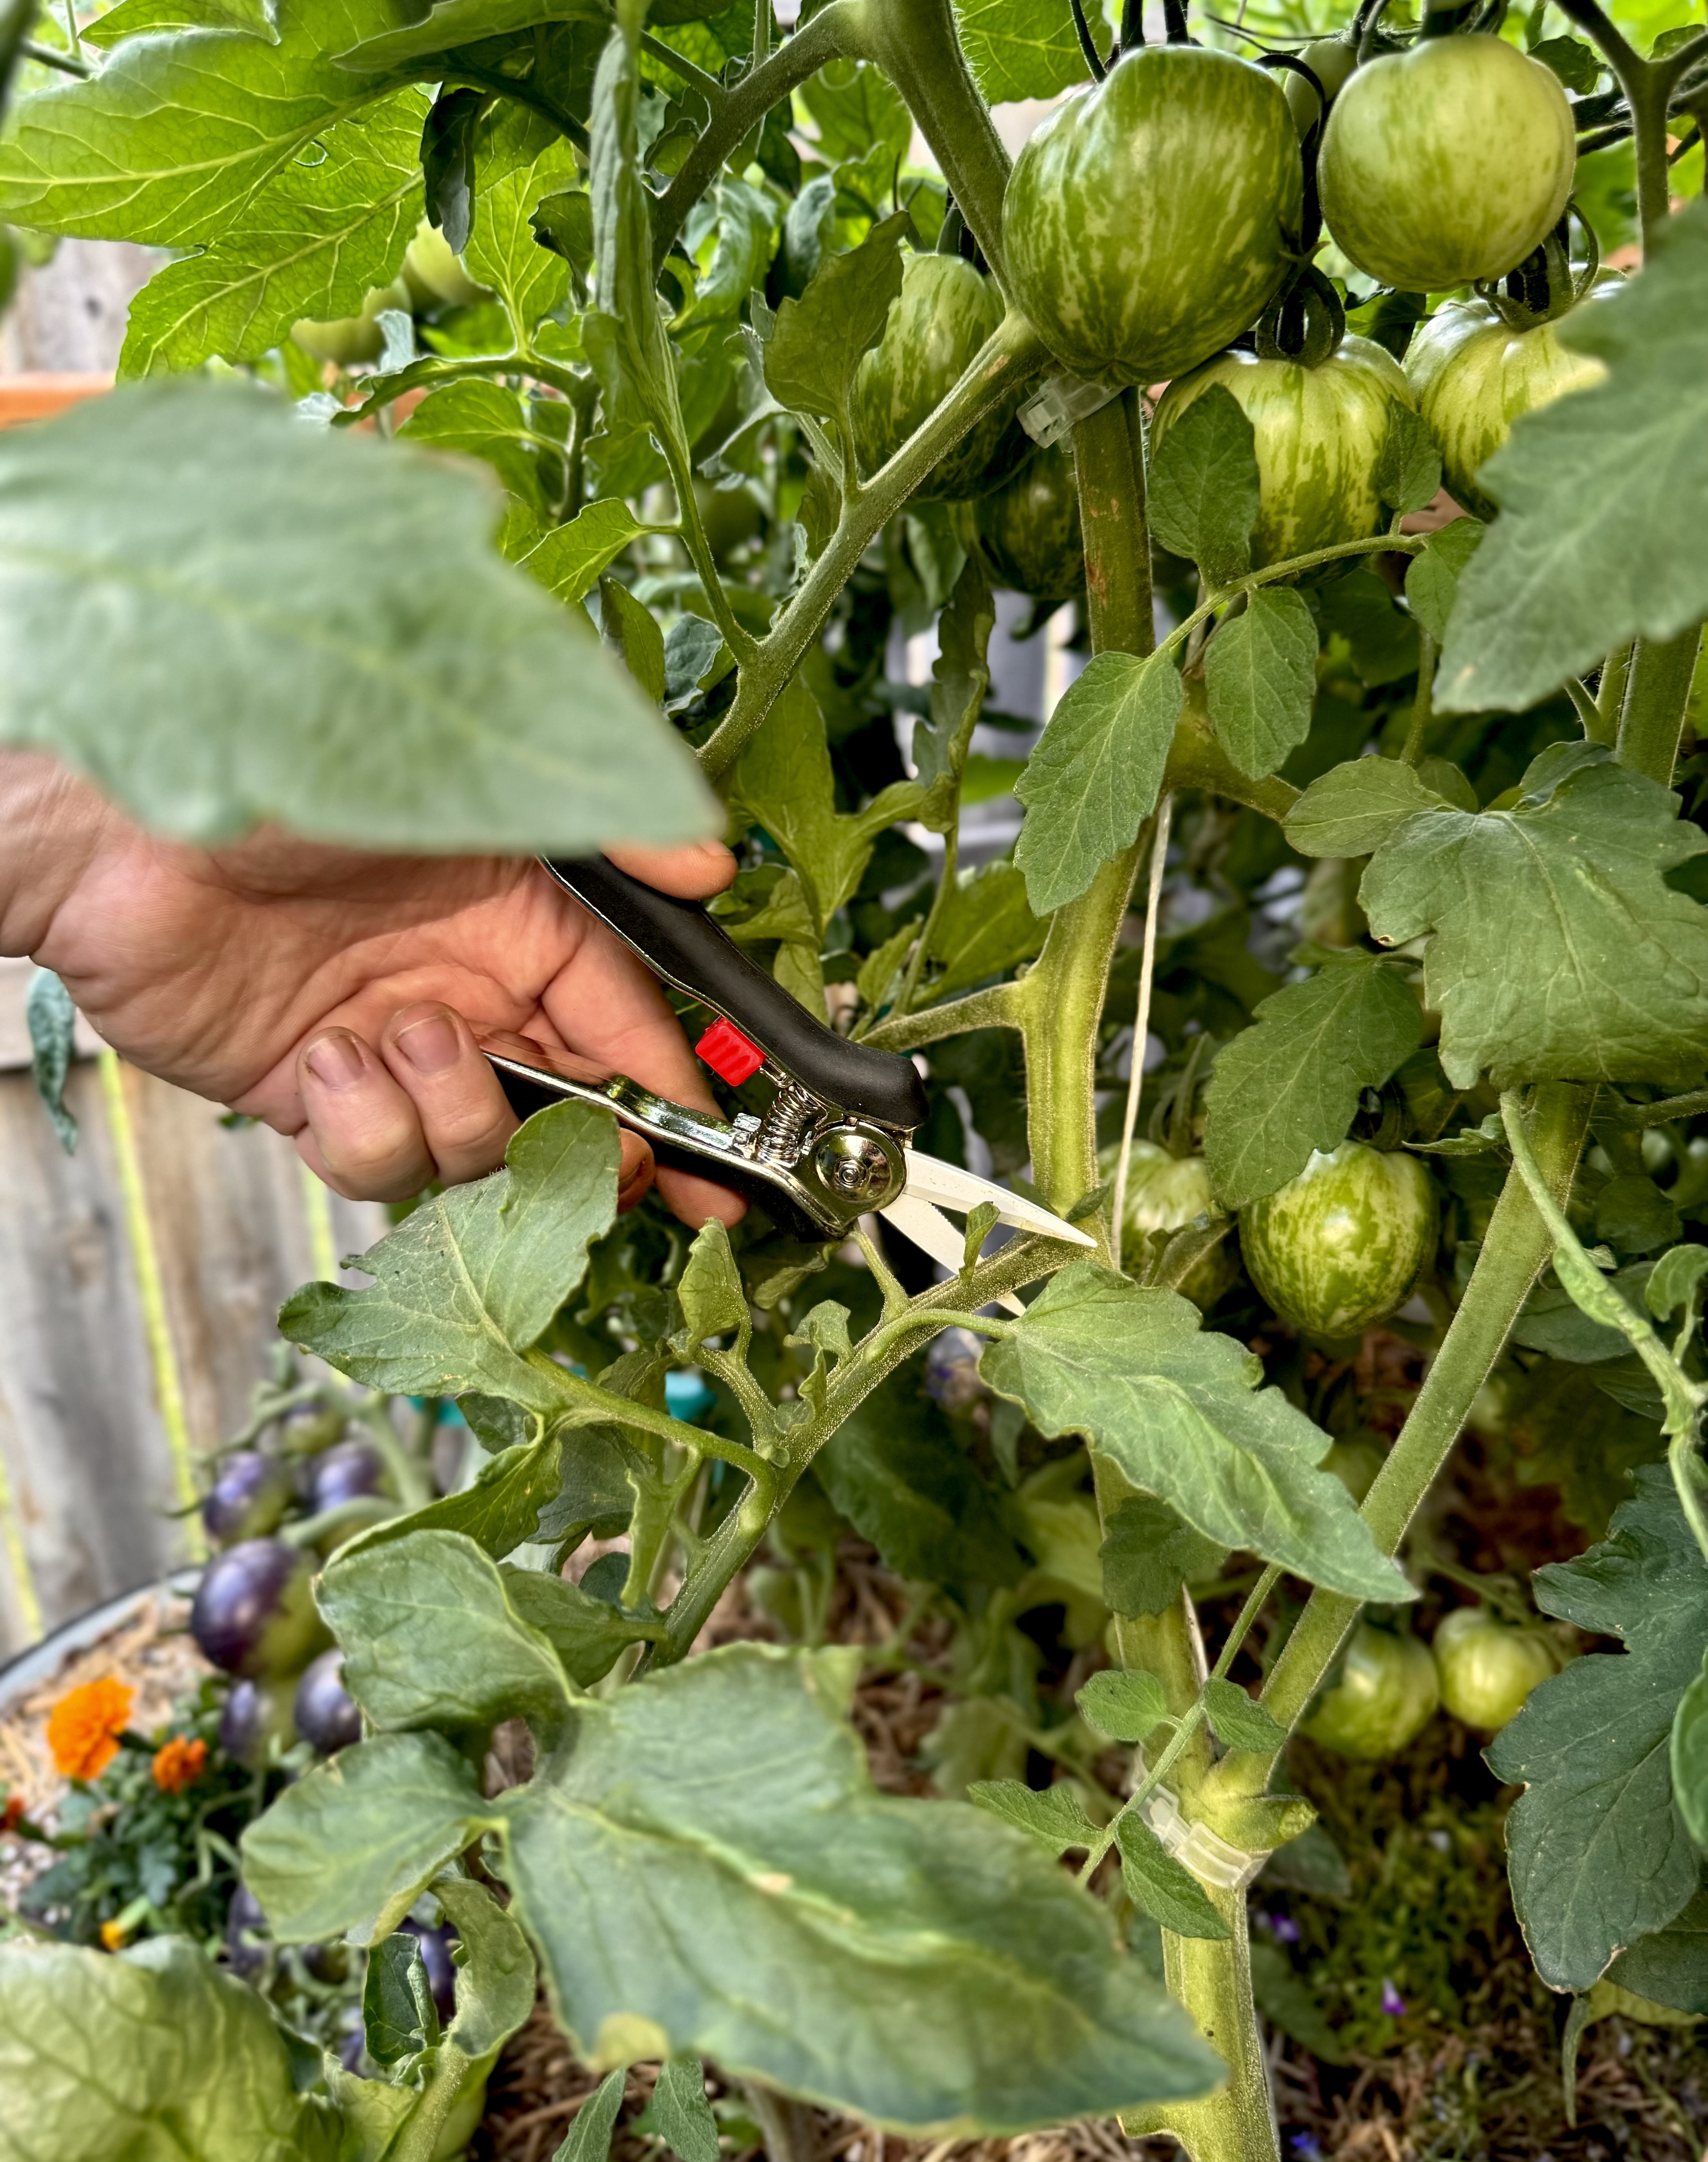
Choose fully grown tomatoes that have not yet started to ripen. They should feel firm, look bright green, and have smooth, glossy skin. Pick them before the first frost or when your plants stop producing ripe fruit toward the end of the season.
These are the ideal stage for pie because they hold their shape in baking and soften in the same way that firm baking apples do. Smaller immature tomatoes tend to be too sour and watery, so aim for ones that feel dense and well-developed.
Do I Need to Peel the Tomatoes?
Peeling is optional, but it creates a smoother filling. The skins can sometimes become a bit tough or separate in the pie. Blanching makes peeling easier and keeps the tomato flesh intact.
To blanch, start by cutting a small X on the bottom of each tomato. Place them in boiling water for about 30 to 45 seconds, then move them immediately to a bowl of ice water. Once cooled, the skins will slip right off.
Note that fully unripe tomatoes will not soften too much with blanching and will still maintain their crisp texture.
If your tomatoes are very firm, you can also use a vegetable peeler to take off the skins, although blanching may be faster and gentler.
Once you have your tomatoes peeled you can treat them just like you would apples. Feel free to use your favorite apple pie recipe or you can follow the one below.

How to Make “Apple Pie” with Green Tomatoes
Description
A green tomato apple pie tastes like a classic apple pie with a subtle tang and bright freshness that balances the sweetness beautifully.
Ingredients
- 4 cups green tomatoes (about 6 to 8 medium), peeled and sliced thinly
- 1 cup granulated sugar
- 1/4 cup brown sugar
- 3 tablespoons all-purpose flour (or cornstarch for a gluten-free option)
- 1 teaspoon cinnamon
- 1/4 teaspoon nutmeg
- 1/4 teaspoon allspice
- 1/2 teaspoon salt
- 1 tablespoon lemon juice
- 2 tablespoons butter, cut into small pieces
- 1 double pie crust (homemade or store-bought)
- 1 egg, beaten
Instructions
- Preheat the oven to 425°F (220°C).
- In a large bowl, combine the sliced green tomatoes, sugars, flour, spices, salt, and lemon juice. Toss gently until the slices are evenly coated.
- In a large pan over medium-high heat, add the tomato mixture and cook, stirring constantly, for about 5 minutes.
- Line a 9-inch pie dish with one pie crust. Spoon in the tomato mixture.
- Cover with the second crust, trim and crimp the edges, and cut small slits in the top for venting.
- Using a pastry brush, brush the pie crust with the beaten egg for a golden, glossy finish.
- Bake for 15 minutes at 425°F, then reduce the temperature to 350°F (175°C) and bake for 30 to 40 minutes more, until the crust is golden and the filling is bubbling.
- Let the pie cool completely before slicing to allow the filling to set.


0 Comments