Hey all! Real Farmer Jeff here.
As the growing season winds down and frost begins to settle in, it can be tempting to take a break and wait for spring. However, giving your garden a little attention before winter arrives can make a big difference in how healthy and productive it will be next year.
Winterizing your garden isn’t just about cleaning up. It’s about protecting and feeding the soil, reducing springtime work, and setting the stage for strong growth once the weather warms again.
In this post, I’ll show you how to winterize your garden so it’s prepped and ready to make the most of your space when the next gardening season arrives. Let’s dive in!
Why Winterizing Matters
When winter hits, your garden doesn’t truly go dormant. Beneath the surface, microbes and earthworms continue their quiet work, and those living systems need protection to thrive.
Leaving soil bare through the winter can lead to erosion, compaction, and nutrient loss caused by rain, snow, and wind. Repeated freezing and thawing can also damage the soil structure you’ve built up all season. A few simple steps in the fall help preserve that structure and even improve it while you rest.
Main Benefits of Winterizing:
- Protects Soil Health: Compost and mulch act like an insulating blanket that shields soil from temperature swings and erosion.
- Prevents Disease and Pests: Removing dead plants helps eliminate overwintering insects and fungal spores.
- Improves Fertility: Compost added in the fall breaks down slowly, enriching the soil by spring.
- Maintains Soil Structure: Organic material and mulch prevent compaction caused by snow and rain.
- Supports Beneficial Insects: Mulch and leaf litter offer safe winter shelter for pollinators and helpful predatory insects.
Protecting Microbes for Healthy Soil
Microbes are the foundation of healthy soil. They break down organic material, fix nitrogen, suppress diseases, and form symbiotic relationships with plant roots. Protecting them over winter helps your garden “wake up” faster and healthier in spring.
How does winterizing your garden protect microbes for healthy soil? Here’s how:
- Feeds microbes: Compost provides organic matter that bacteria and fungi decompose, releasing nutrients plants can use.
- Supports winter activity: Even in cold weather, microbes in deeper soil layers keep working to build humus and fertility.
- Creates a stable habitat: Mulch insulates the soil, preventing freeze-thaw damage and moisture loss that harm microbial life.
- Boosts soil balance: Together, compost and mulch foster diverse microbial communities that improve nutrient cycling, soil structure, and long-term soil health.

Steps to Winterize Your Garden
The basic steps of removing plants, adding compost, and finishing with a layer of mulch covers the most important steps. The key is doing each one thoughtfully so you protect both the soil and its living organisms.
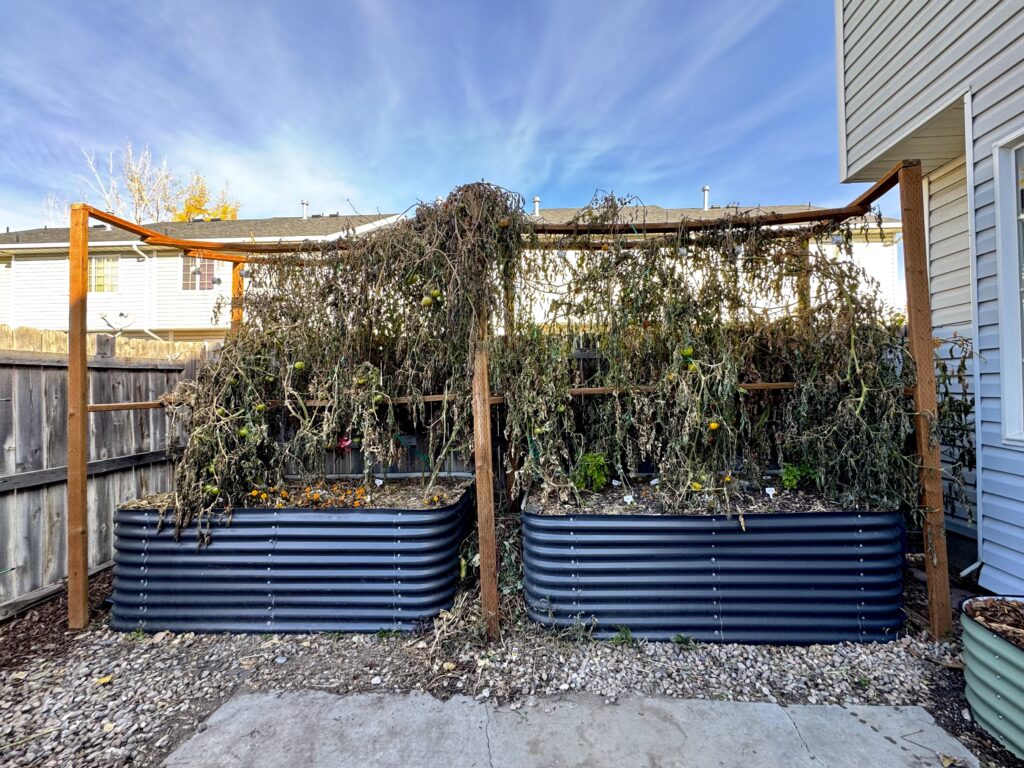
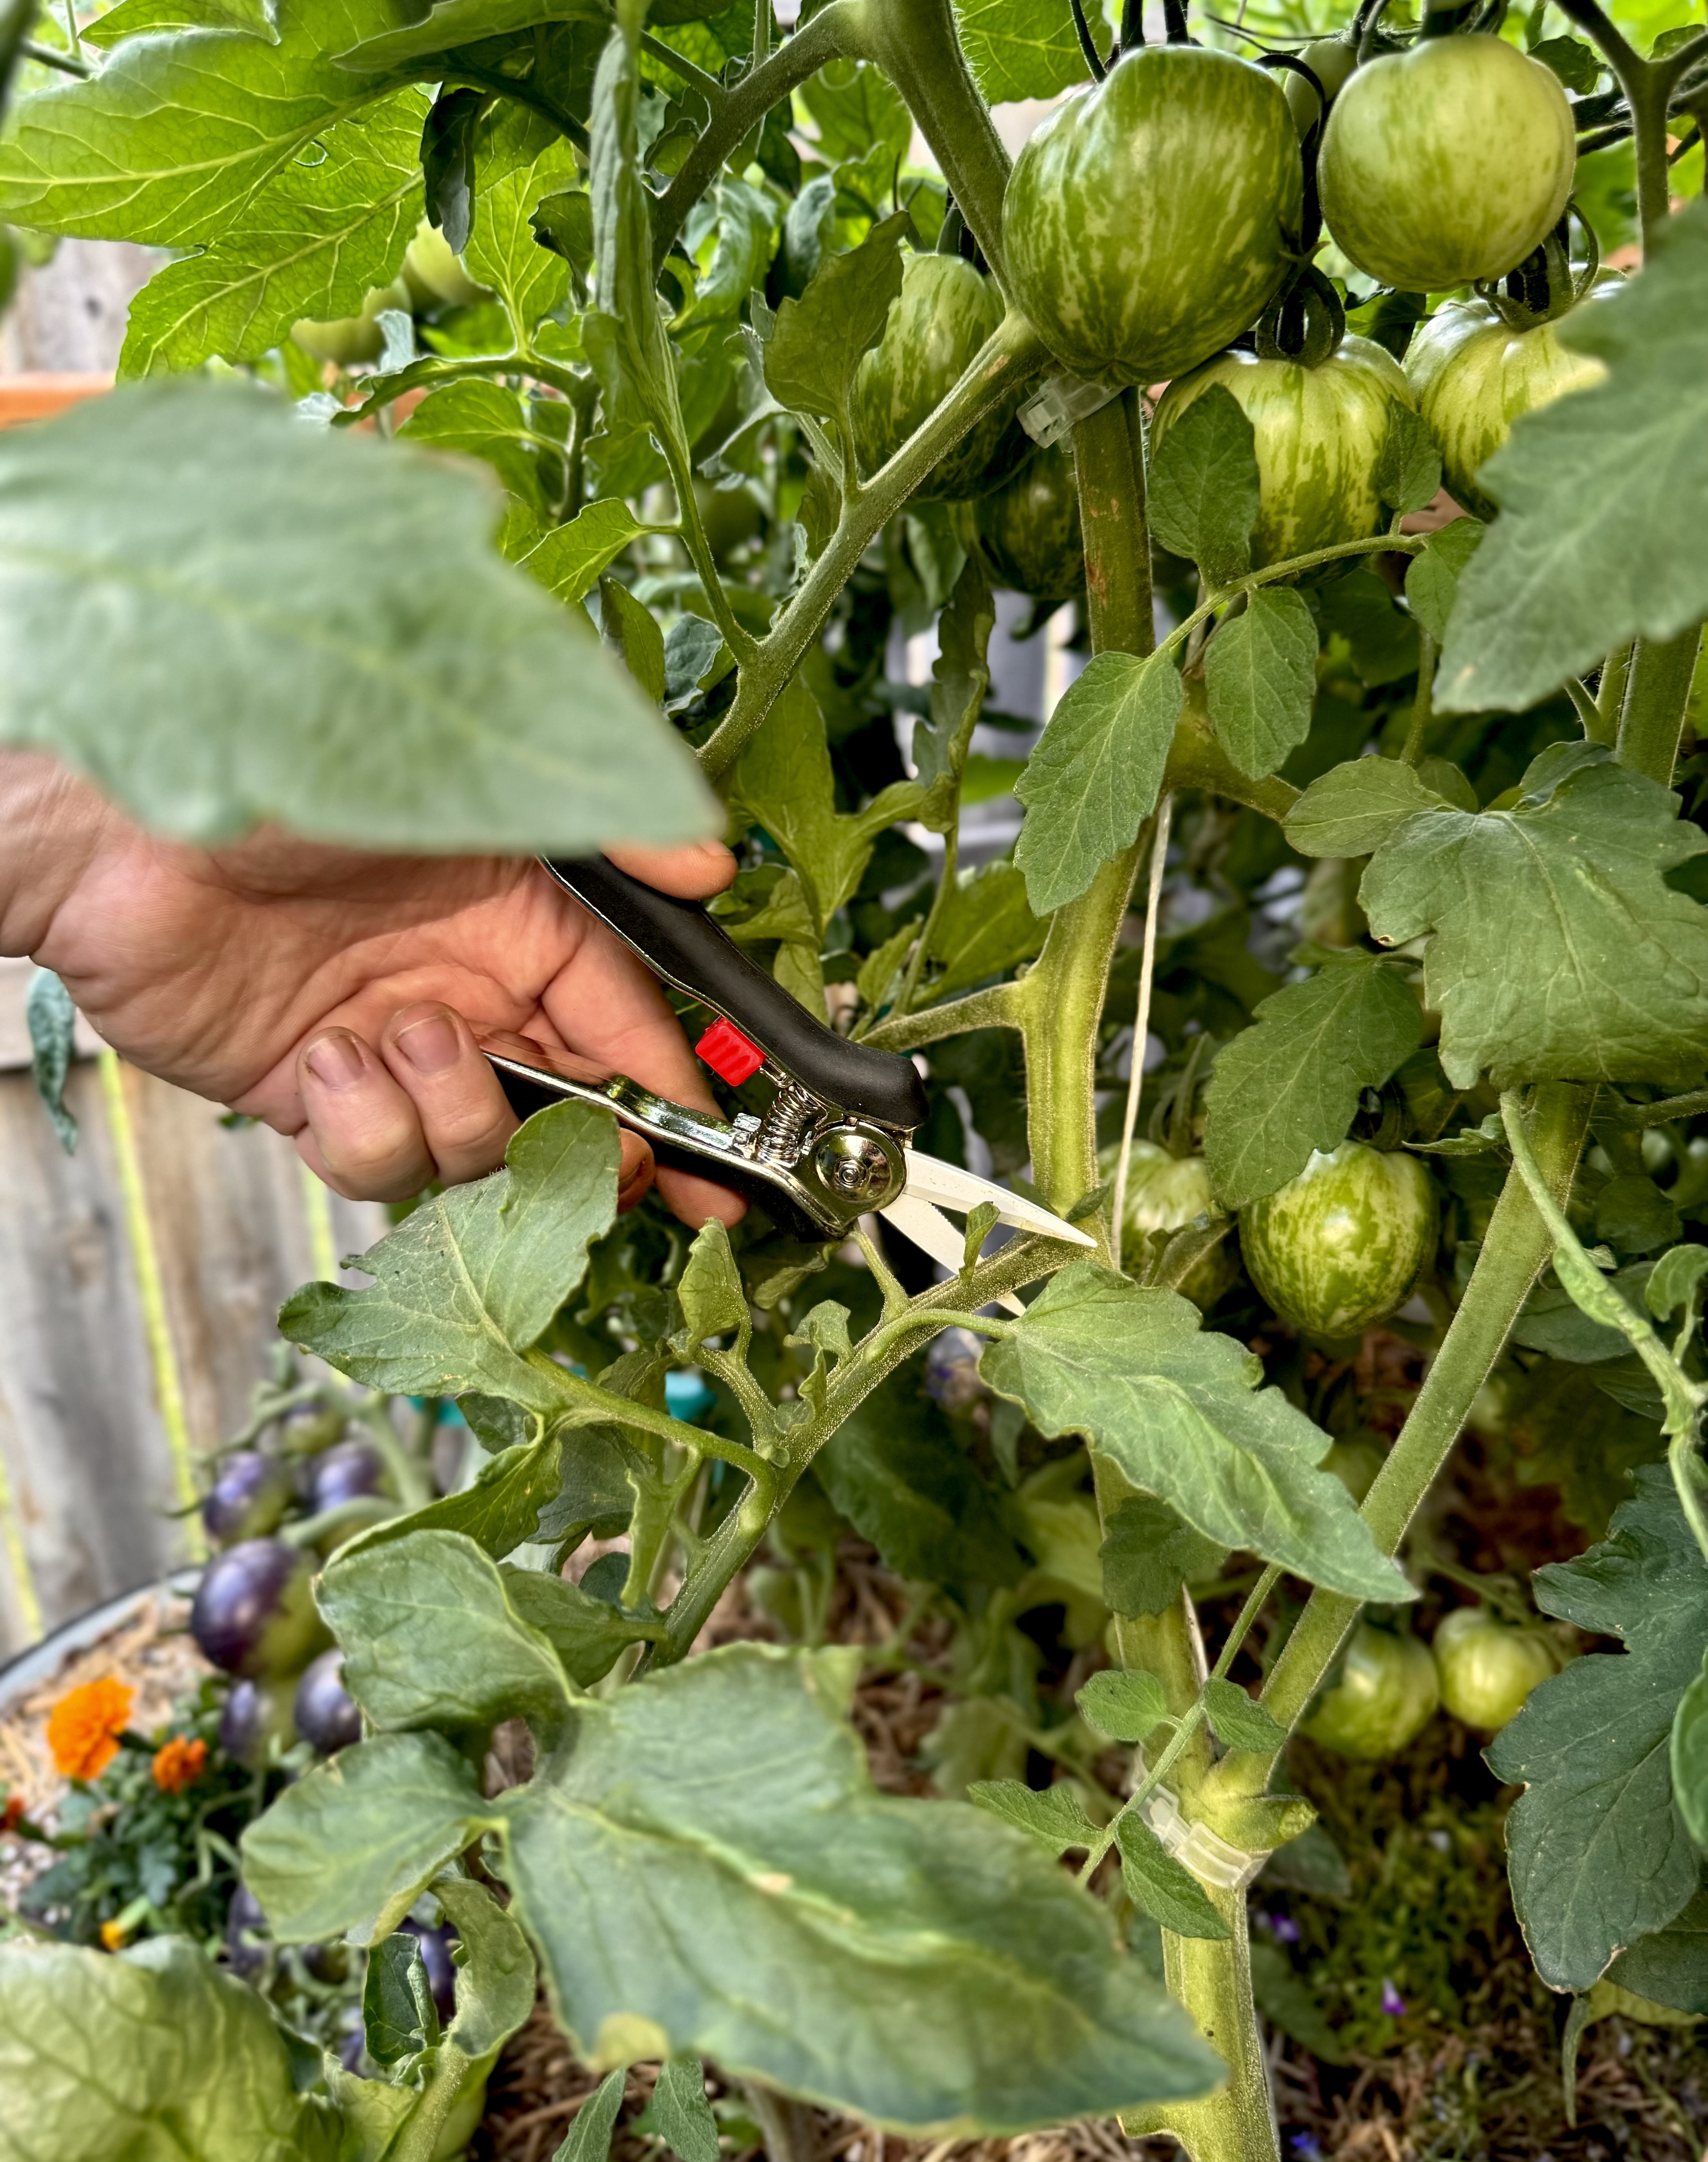
1. Remove Annuals and Diseased Plants
Once frost has killed off your annuals and vegetable plants, clear the beds. Compost any healthy debris to recycle nutrients back into your soil. Discard or burn diseased material to prevent spreading issues such as blight or mildew next year.
2. Leave Healthy Roots in Place (Optional but Helpful)
Instead of pulling every plant, for plants with soft roots and low disease risk, cut healthy ones at the soil line and leave the roots in place. As they decompose, they feed soil microbes, improve structure, and add organic matter right where it’s needed. For example, You can safely leave roots from beans, peas, herbs, lettuces, and flowers like marigolds or zinnias. Avoid keeping any that showed signs of disease or pests.
I won’t be leaving the roots from my tomato plants because tomatoes are prone to soil borne illnesses and their roots are woody and slow to decompose.
By spring, most roots will have broken down. Simply loosen the top few inches of soil, remove any large pieces, and mix in fresh compost before planting.
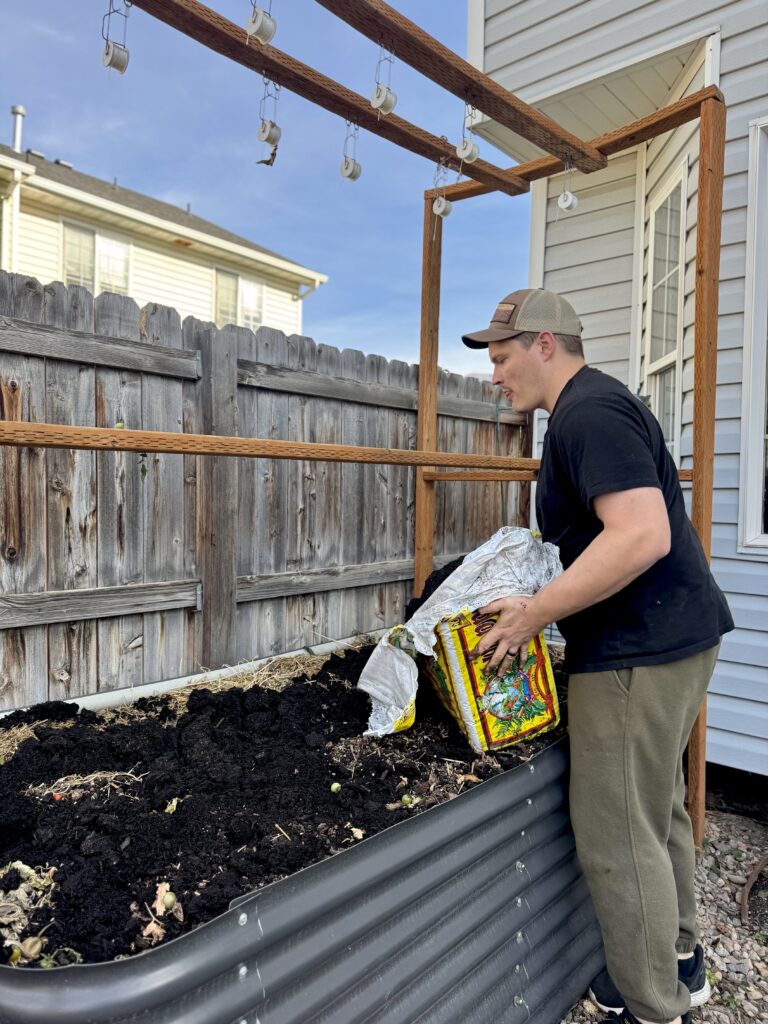
3. Add Compost or Organic Matter
Spread one to three inches of compost, aged manure, or leaf mold over your beds. You can lightly mix it into the surface or simply leave it on top. Winter moisture and soil organisms will gradually draw the nutrients downward.
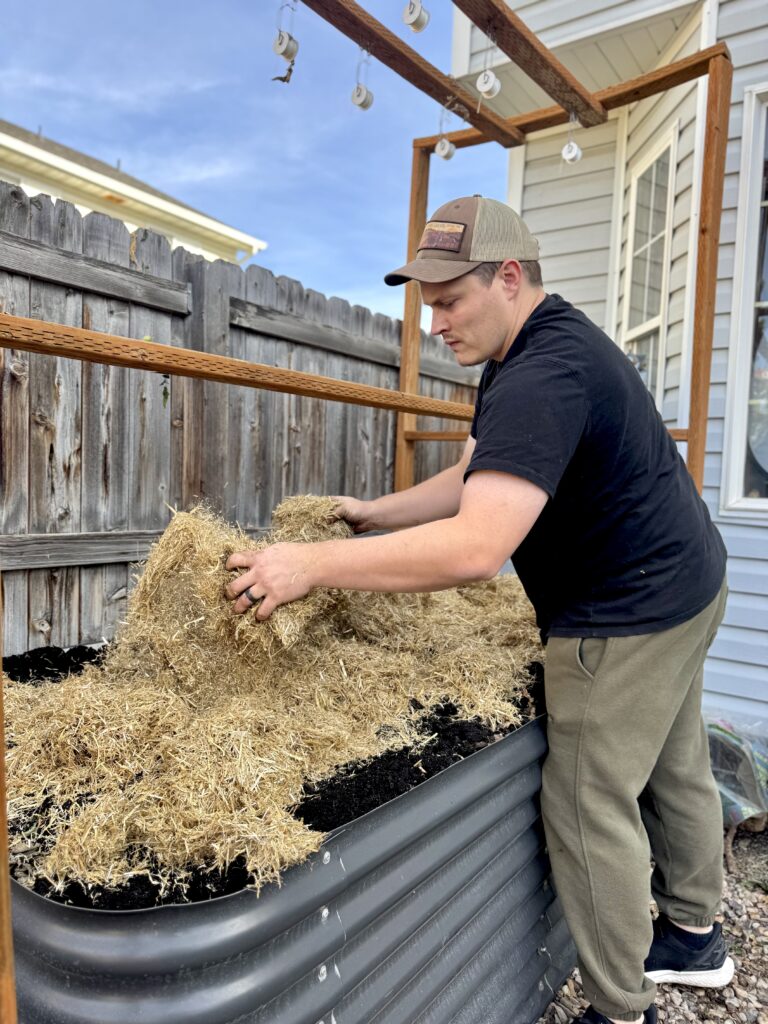
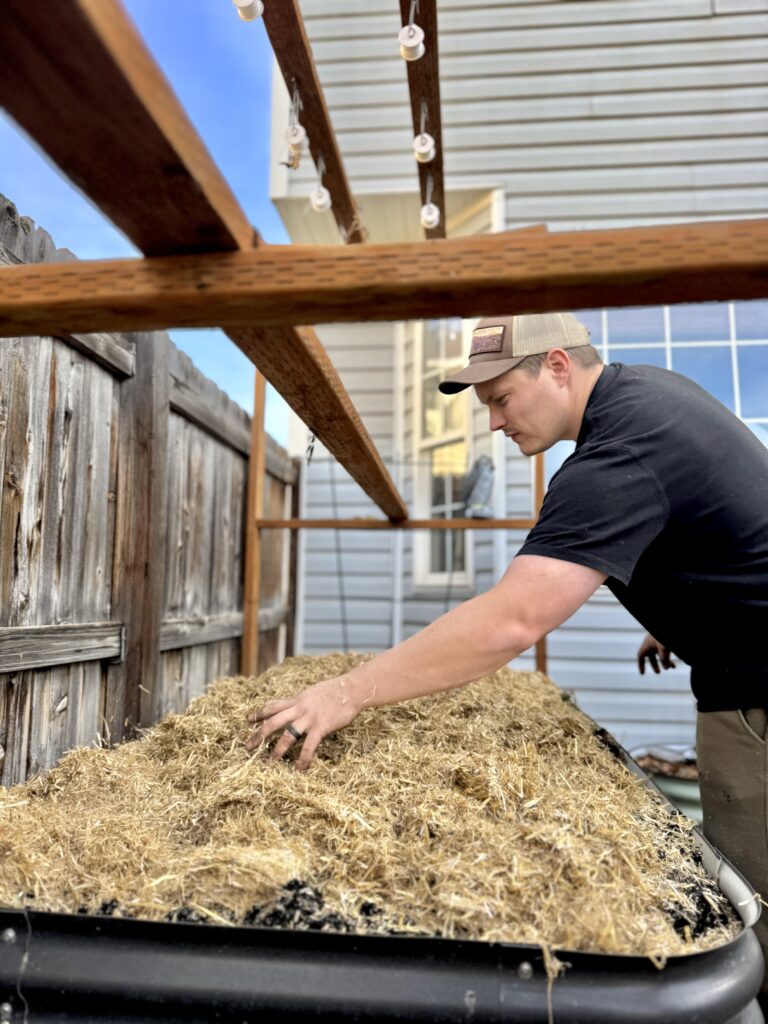
4. Mulch Generously
Finish by topping your beds with three to six inches of mulch. Shredded leaves, straw, or wood chips all work well. Mulch helps prevent erosion, keeps the soil insulated, and suppresses weed growth in early spring.
If you grow perennials, apply mulch around, but not directly over the crowns to protect them from deep freezes. Garlic and other overwintering crops benefit from a thicker layer, about six inches, to prevent damage from repeated freezing and thawing.
5. Consider a Cover Crop
If your soil has not yet frozen, you can plant a quick-growing cover crop such as winter rye, oats, or crimson clover. Cover crops hold nutrients in place, reduce erosion, and improve soil texture. In spring, simply cut them down and allow them to decompose before planting.
6. Protect Perennials and Garden Infrastructure
Cut back plants that benefit from trimming, but leave seed heads for winter interest and bird food if you prefer. Drain hoses, clean and oil your tools, and protect irrigation systems and garden structures from freezing temperatures.
Optional Extras for an Even Healthier Garden
- Use shredded leaves. They are free, nutrient-rich, and break down quickly.
- Cover bare soil. If you don’t plan to mulch heavily, you can use burlap, cardboard, or breathable fabric to prevent erosion.
- Try cold frames or low tunnels. These are great for extending your growing season and can protect hardy greens such as spinach and kale well into early winter.
Winterizing your garden is a simple fall task that pays off in a big way. By removing dead plants, enriching your soil with compost, leaving some roots to decompose, and applying a thick layer of mulch, you are setting up your garden to rest and rebuild through the cold months.
When spring arrives, your soil will be darker, softer, and full of life, ready to support another successful growing season.
Thanks for reading along, guys!
If you enjoyed this blog post, be sure to check out my other gardening blog posts:
- How to Start a Garden on a Budget for Under $100
- Essential and Nice-to-Have Garden Products for Your Perfect Setup
- My Garden Setup: 3 Best Garden Containers for Every Gardener
- Understanding Garden Light and Shade: A Simple Guide
- How to Build a Homemade Trellis Using Cattle Panel
Be sure to follow me on social media for daily content and instructional videos about gardening!


0 Comments