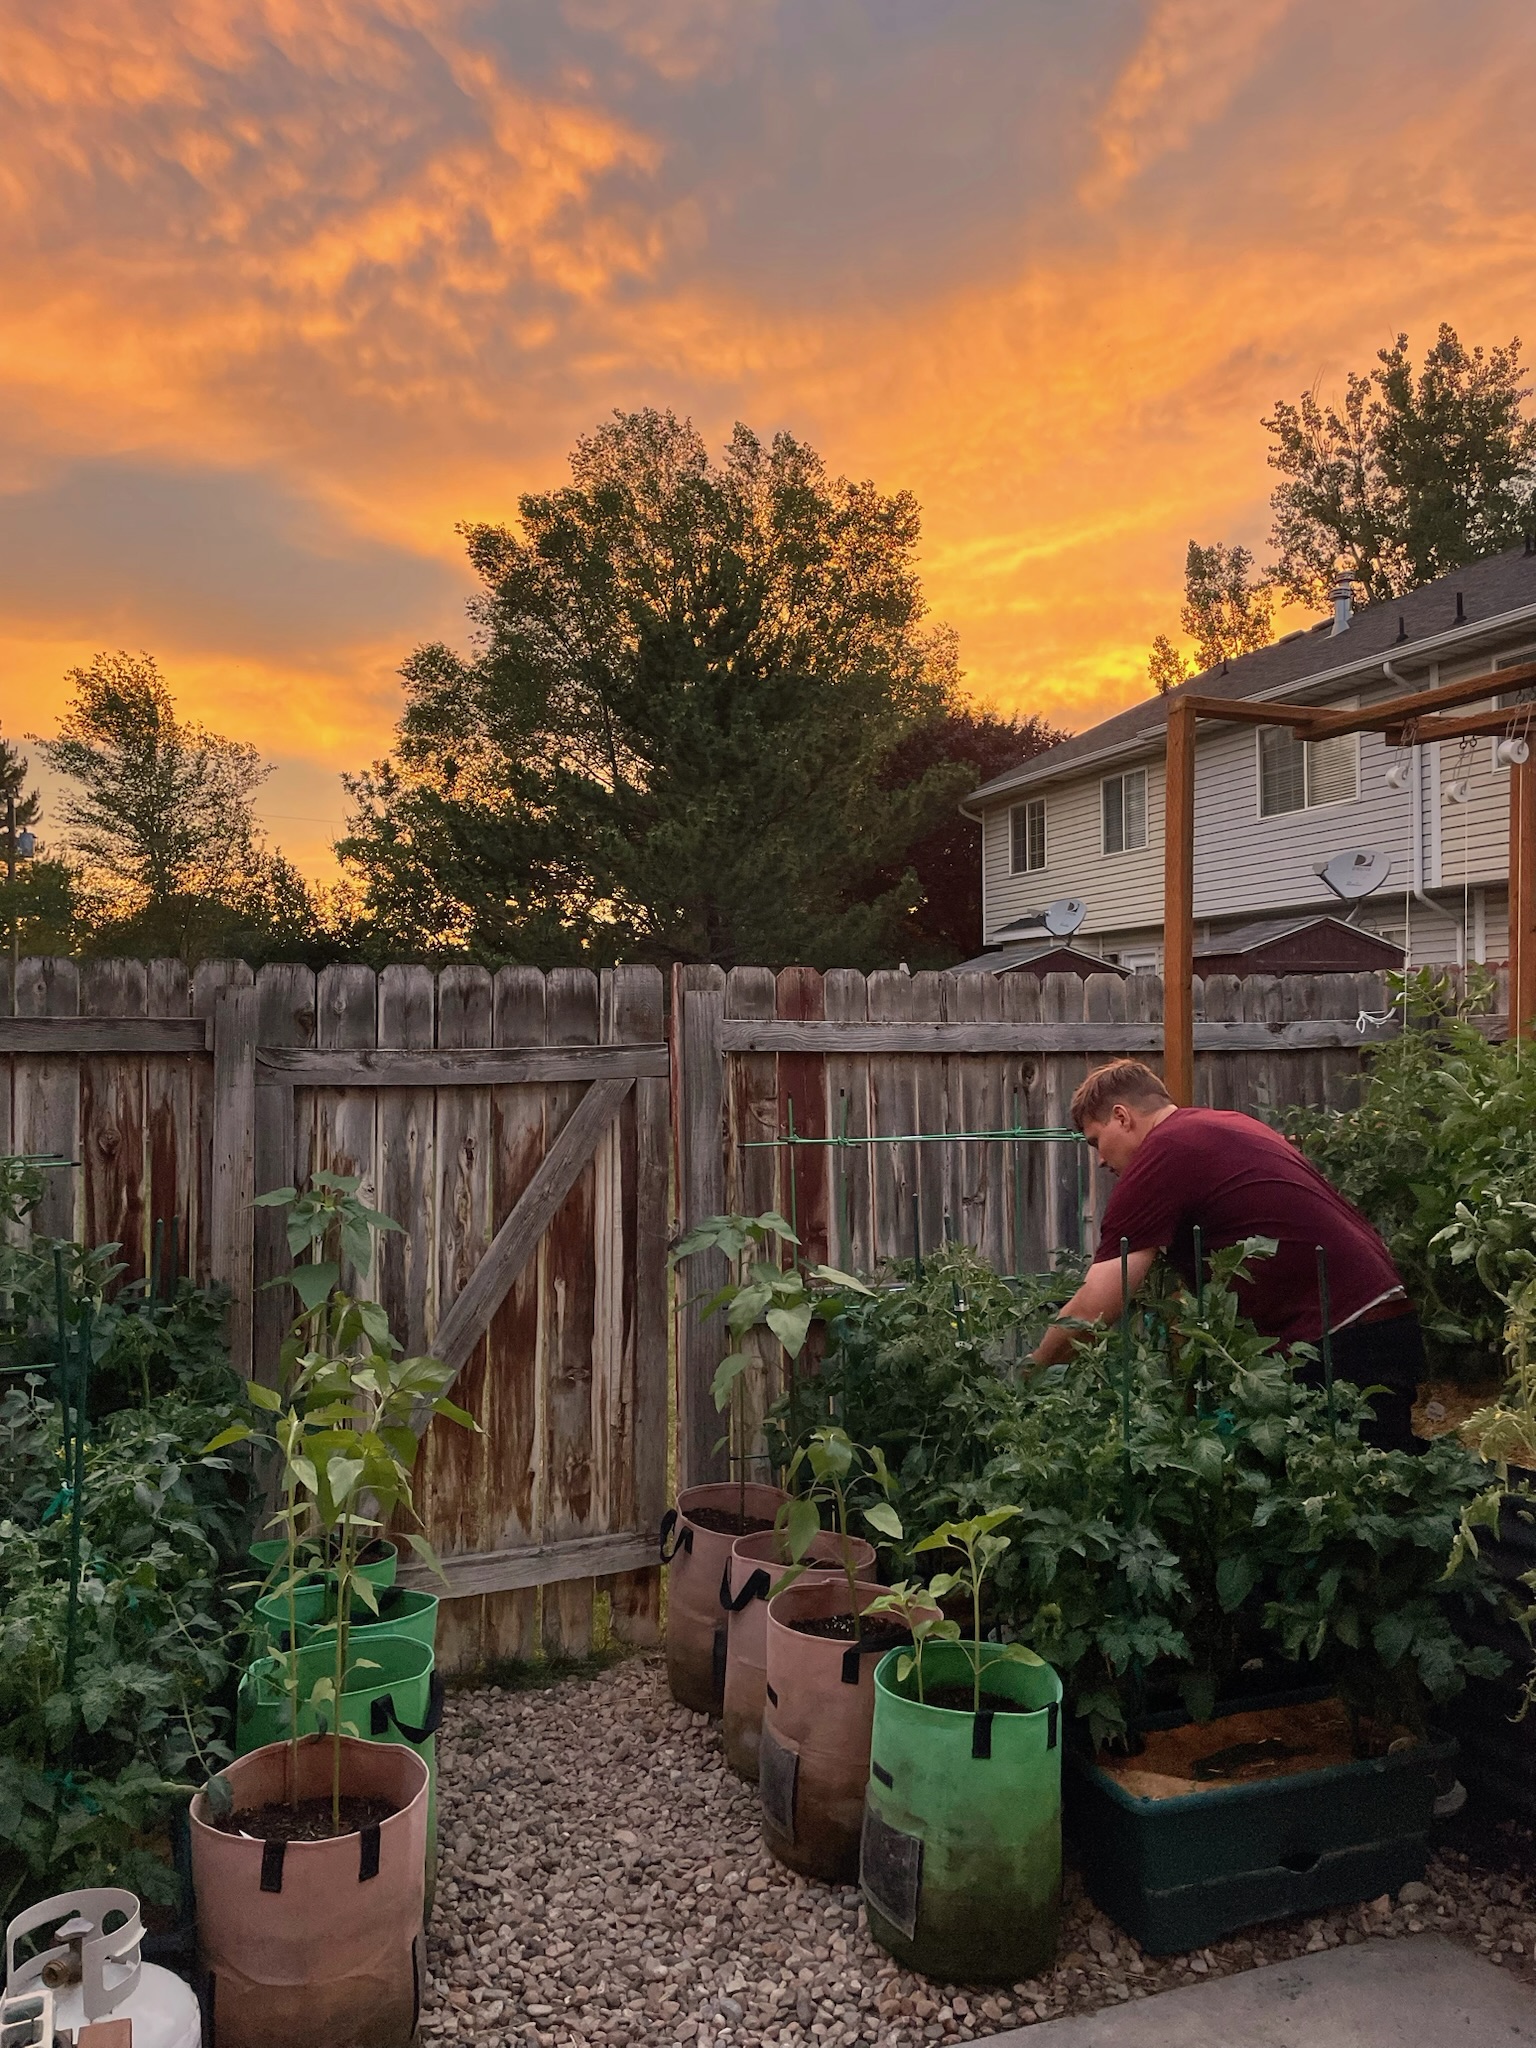
Hey all! Real Farmer Jeff here.
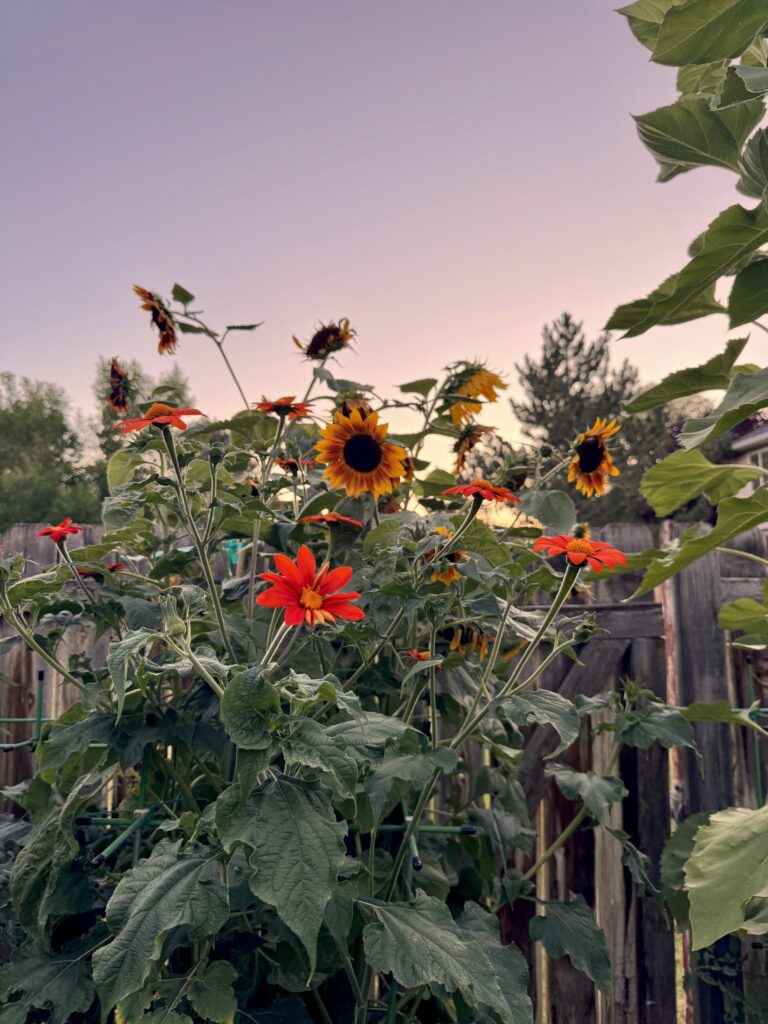
Sunflowers are not just beautiful, but they’re also a source of nutritious seeds you can enjoy or replant next season. Saving your own sunflower seeds is simple, cost-effective, and rewarding.
In this blog post I will share everything you need to know to save your own sunflower seeds! Let’s get started!
Why Save Sunflower Seeds?
Saving sunflower seeds has several benefits:
- Self-Sufficiency: Save money and grow your own seeds year after year.
- Seed Variety Preservation: Keep the traits you love in your favorite sunflower varieties.
- Sustainability: Reduce waste by harvesting seeds from your garden instead of buying packaged seeds.
- Food Source: Sunflower seeds are packed with nutrients and can be eaten raw, roasted, or used in baking.
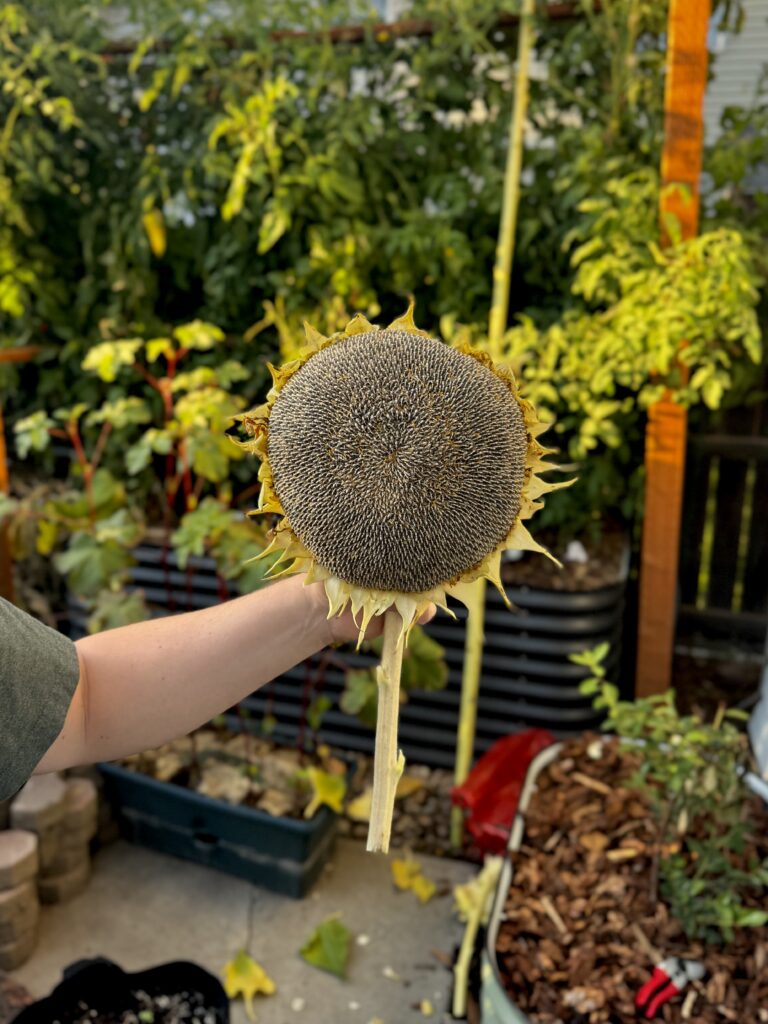
When to Harvest Sunflower Seeds
Sunflower seeds are ready to harvest when:
- The back of the flower head turns yellow or brown.
- The seeds are plump and firm.
- The petals have dried and fallen off.
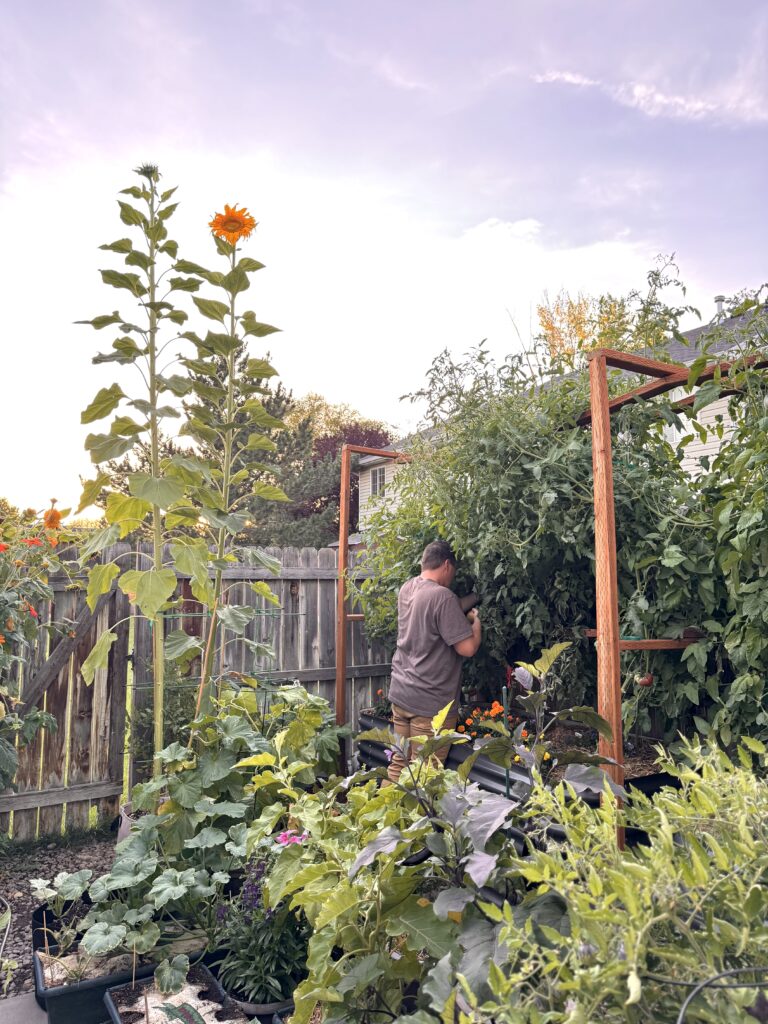
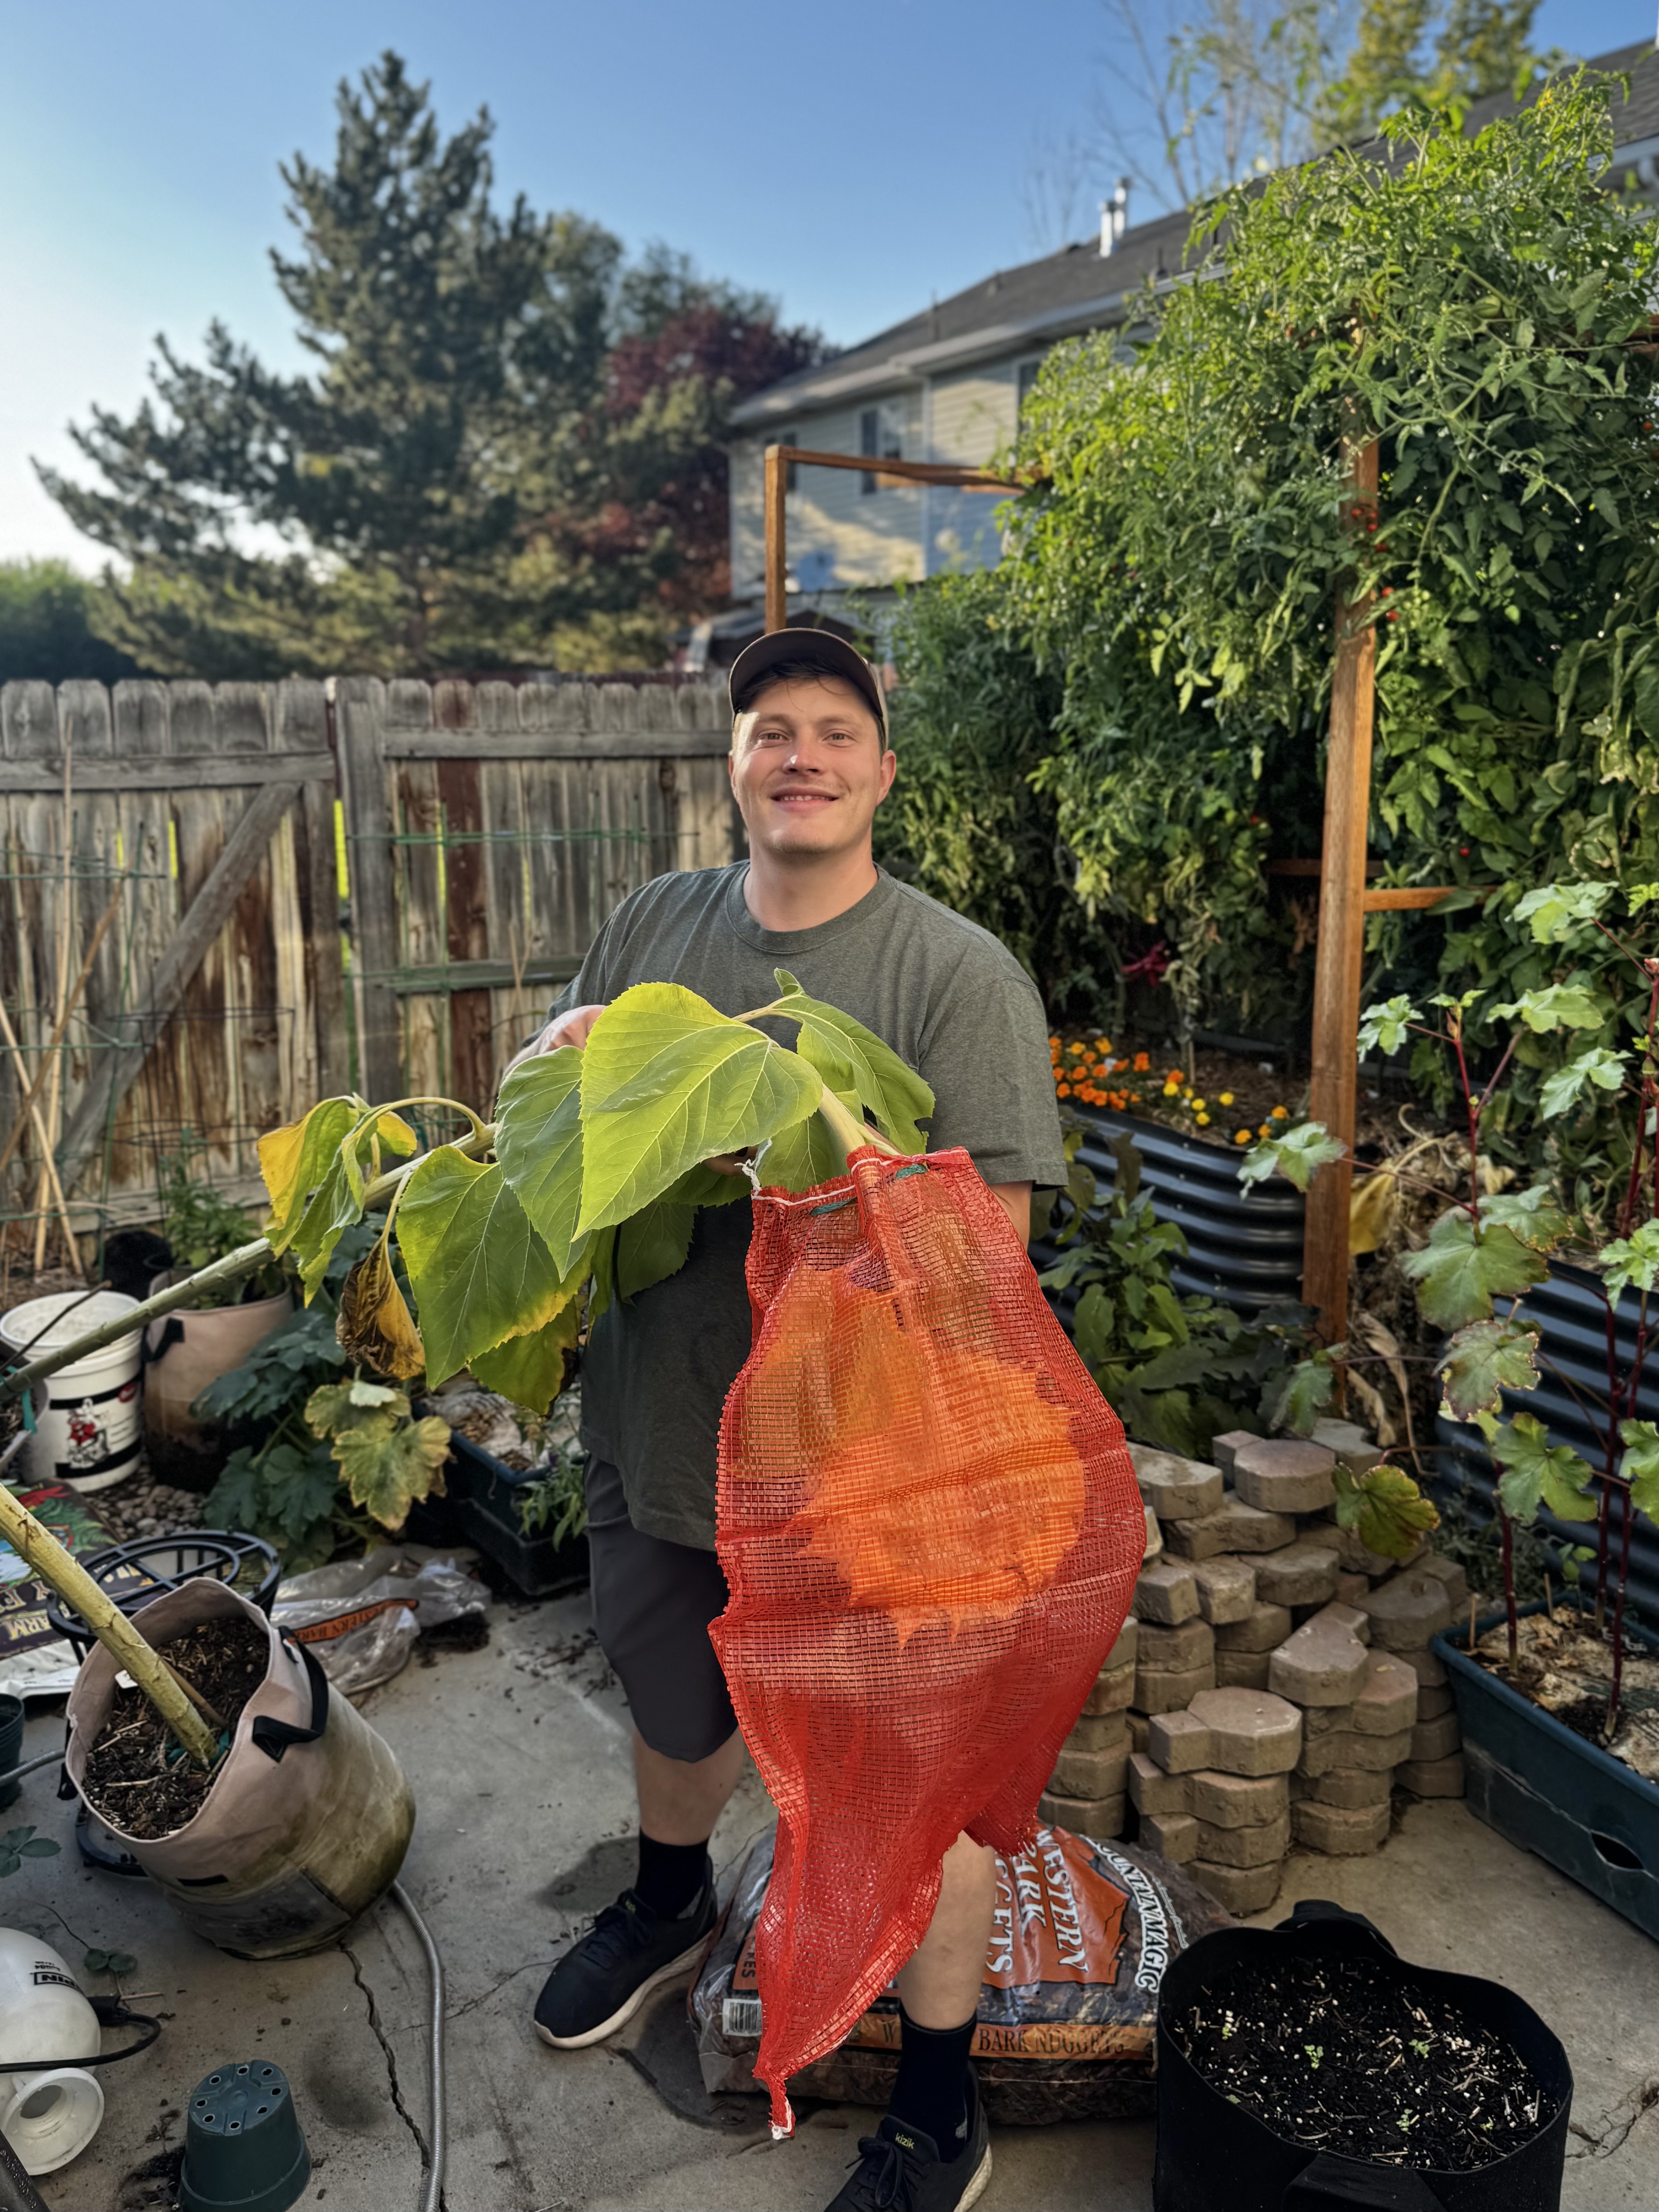
Tip: Leave the flower head on the plant as long as possible for maximum seed development, but watch for birds because they love sunflower seeds too! I personally covered my sunflower seeds with bags to protect them from birds to be safe.
Step-by-Step Guide to Saving Sunflower Seeds
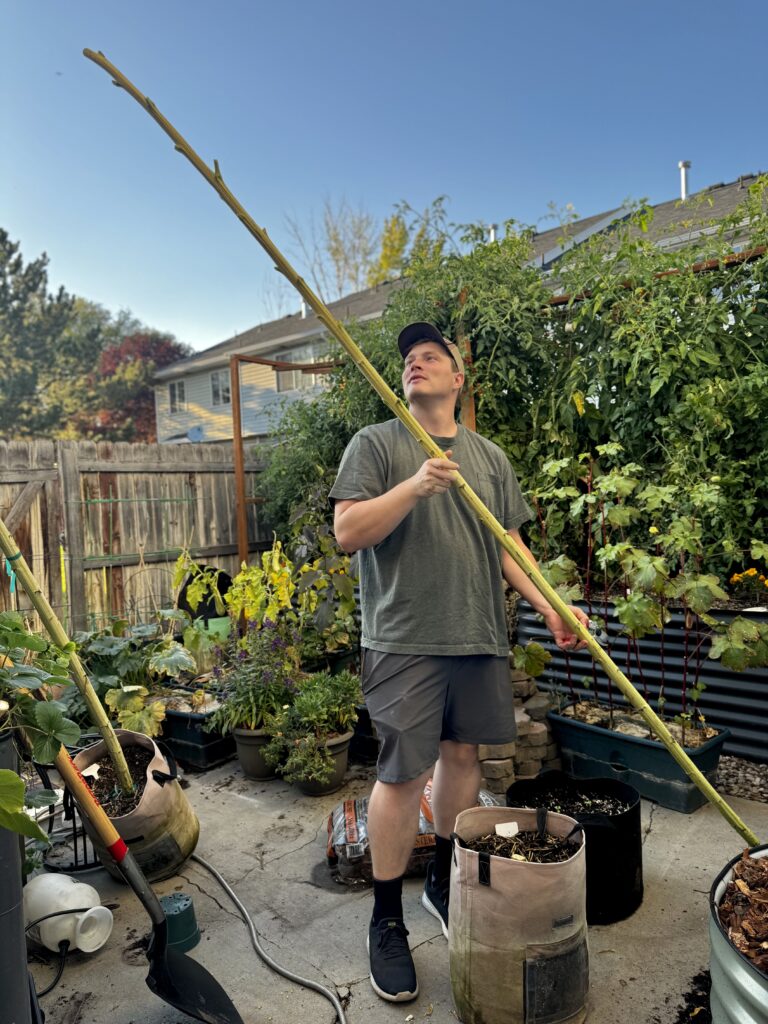
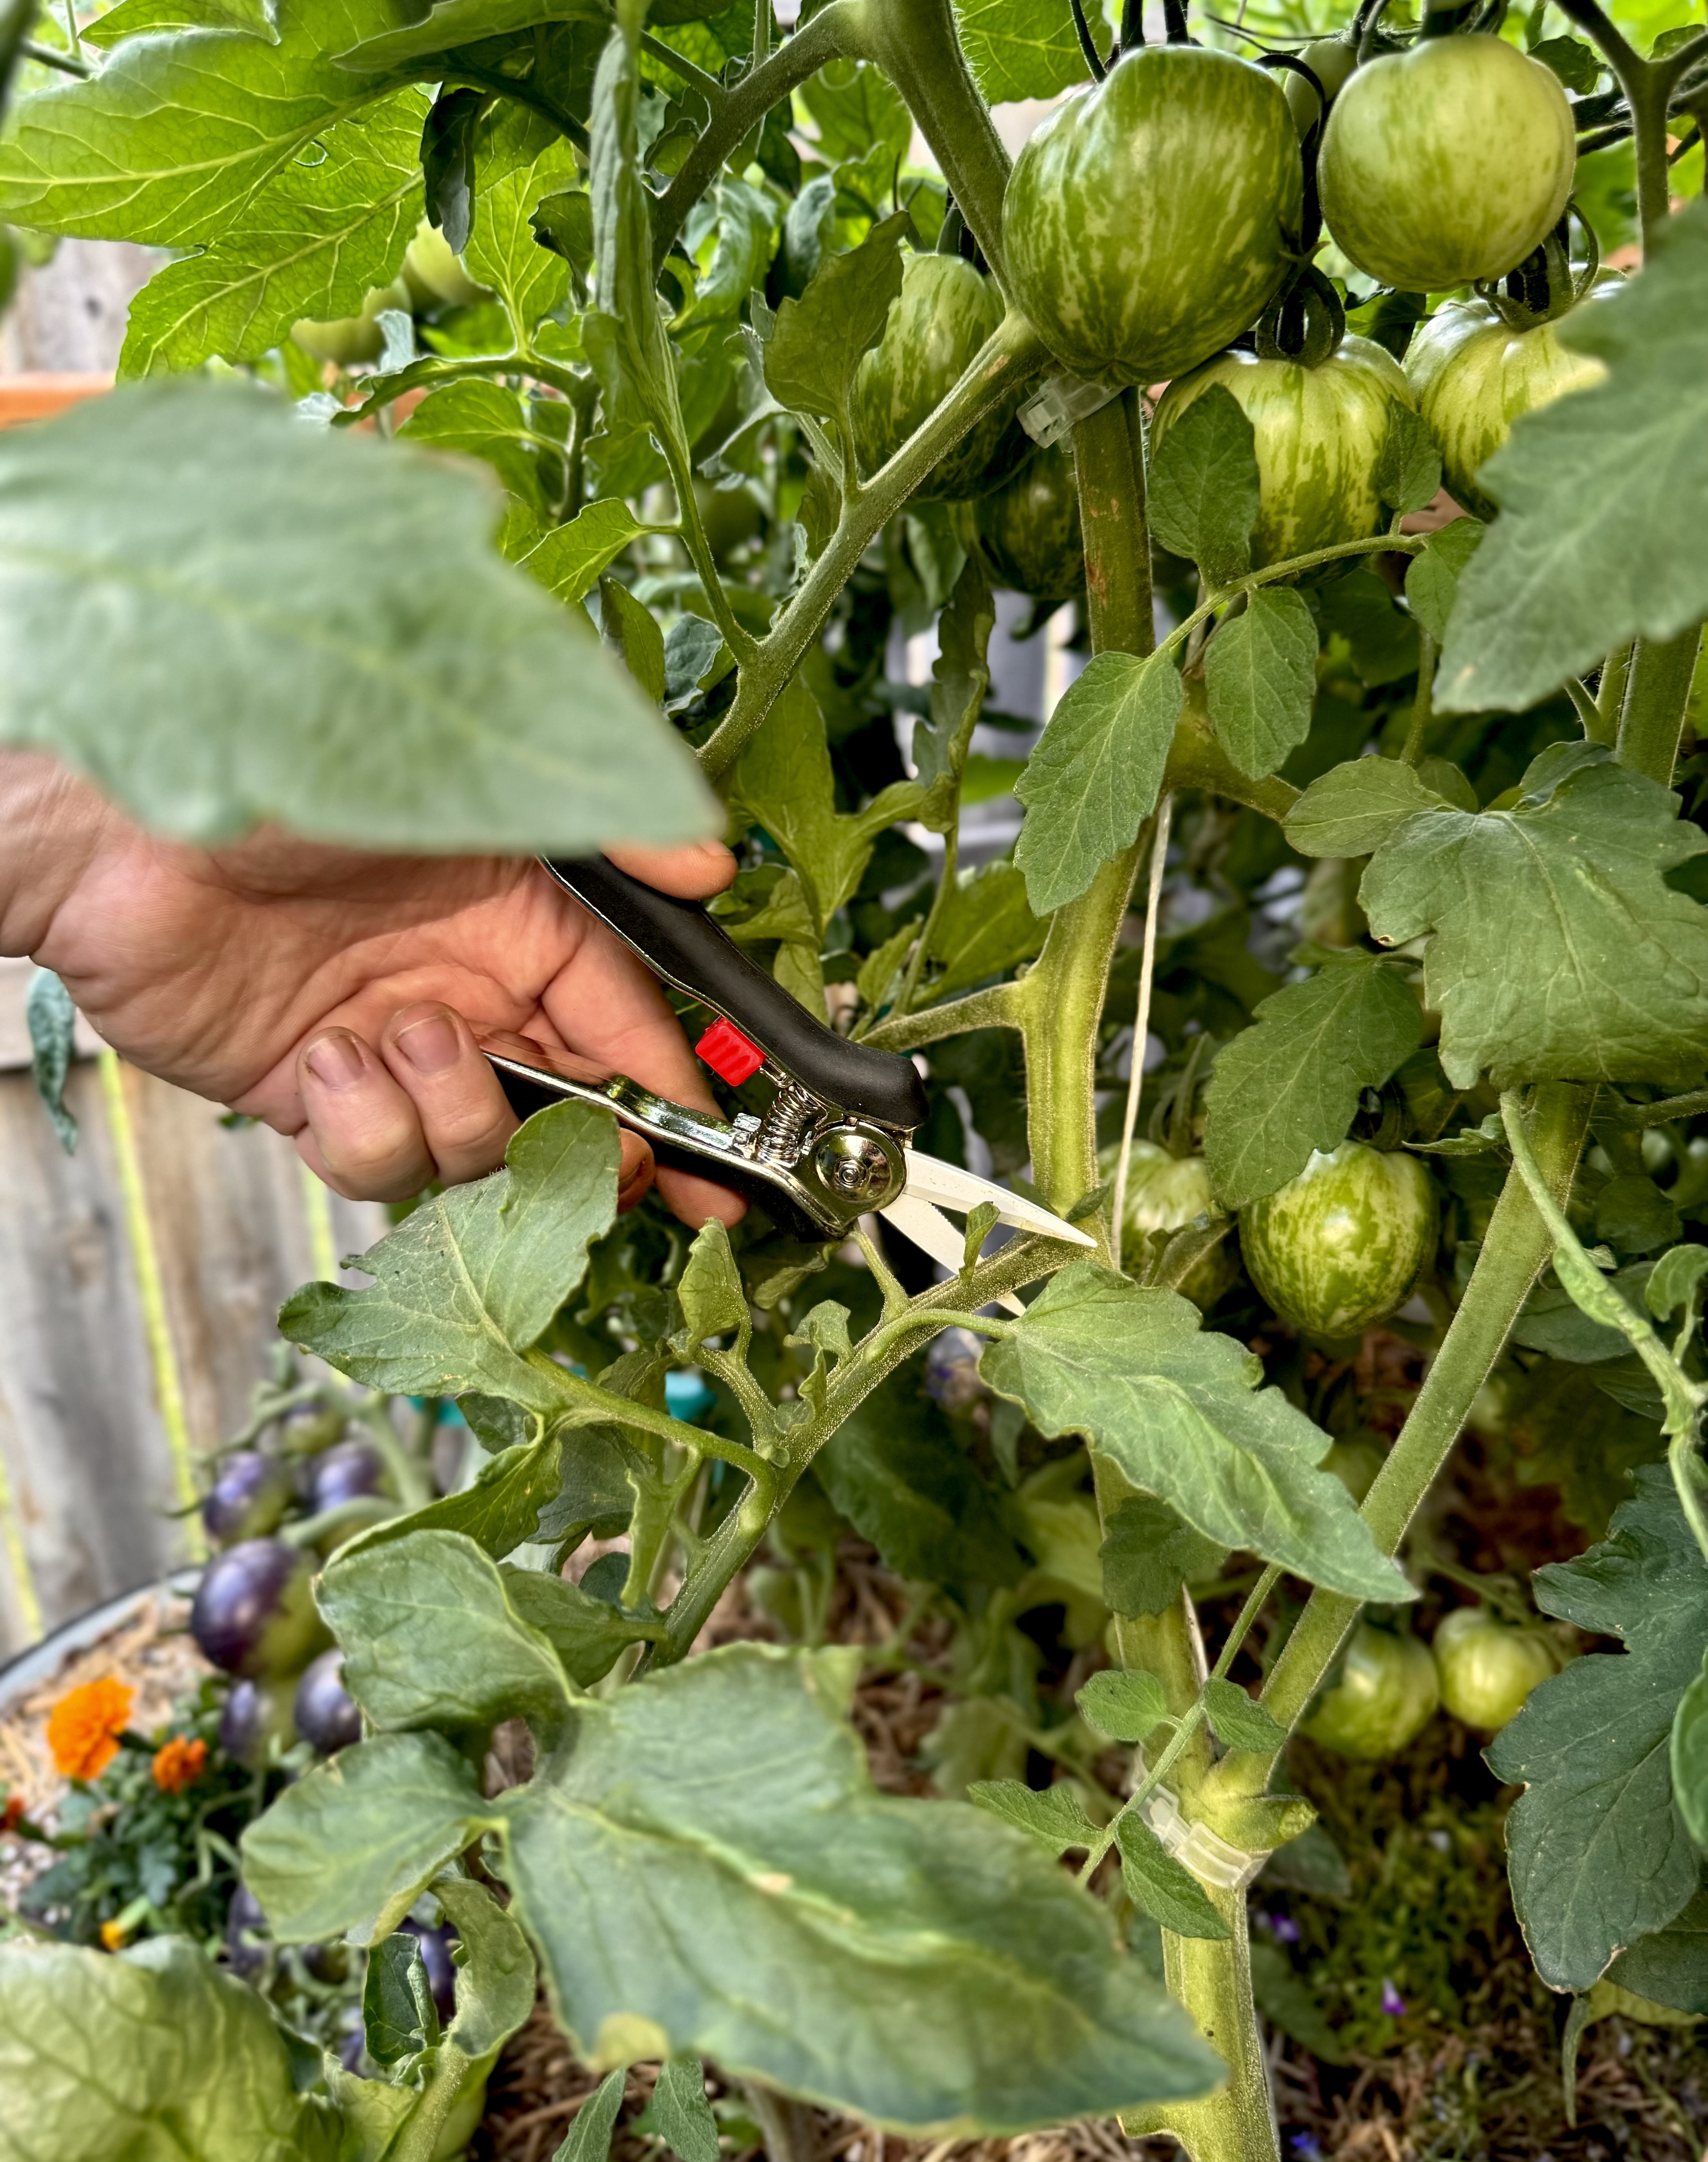
1. Cut the Flower Head
- Use garden shears to cut the head, leaving 6-12 inches of stem.
- Harvest when the back of the head is brown and seeds are fully mature.
2. Dry the Flower Head
- Hang the sunflower head upside down in a warm, dry, and well-ventilated place.
- You can also place it on a screen or tray.
- Allow 2-4 weeks for the seeds to fully dry.
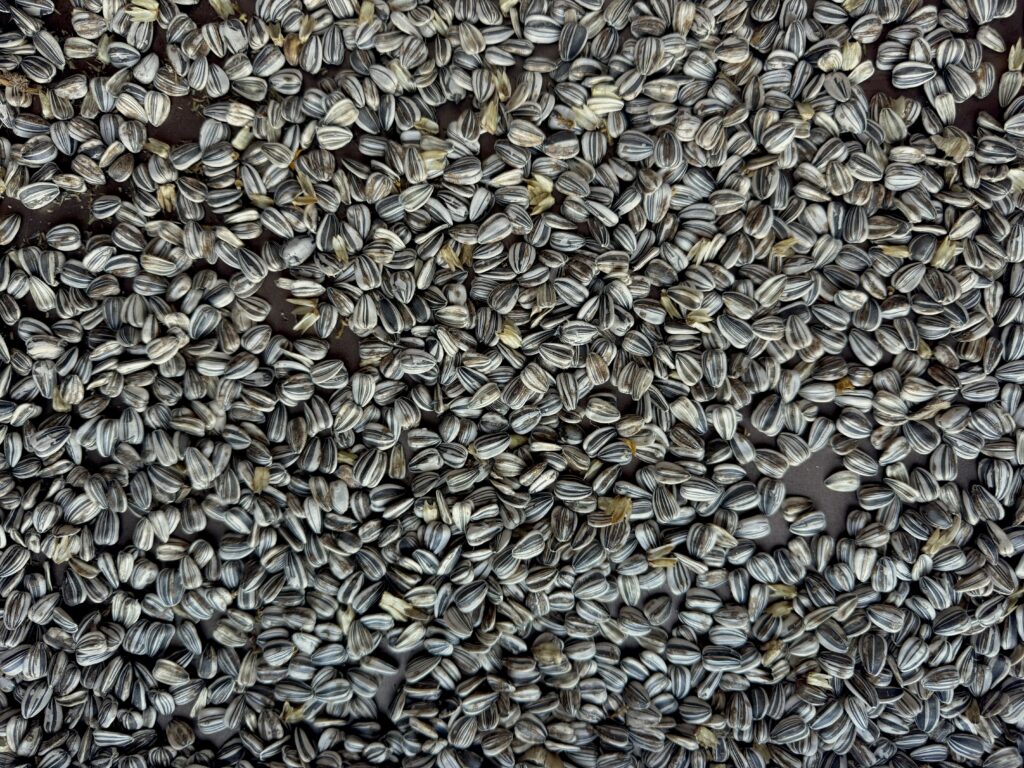
3. Remove the Seeds
- Rub the flower head gently with your hands or use a soft brush to dislodge the seeds.
- For larger heads, shake them over a bowl.
4. Clean the Seeds
- Remove plant debris, petals, and any damaged seeds.
- You can rinse seeds in water if desired, but make sure to dry them completely afterward to prevent mold.
5. Store the Seeds
- Use airtight containers or glass jars.
- Keep in a cool, dry place (easily stores for 2-3 years)
- For long-term storage, seeds can be frozen (this can double the time the seeds remain viable)
Tips for Saving the Best Seeds
- Choose Healthy Plants: Only save seeds from strong, disease-free plants.
- Open-Pollinated vs. Hybrid: Only open-pollinated varieties will reliably reproduce true-to-type. Hybrid seeds may not produce the same traits.
- Avoid Mold: Fully dry seeds are essential for storage. Check periodically for moisture.
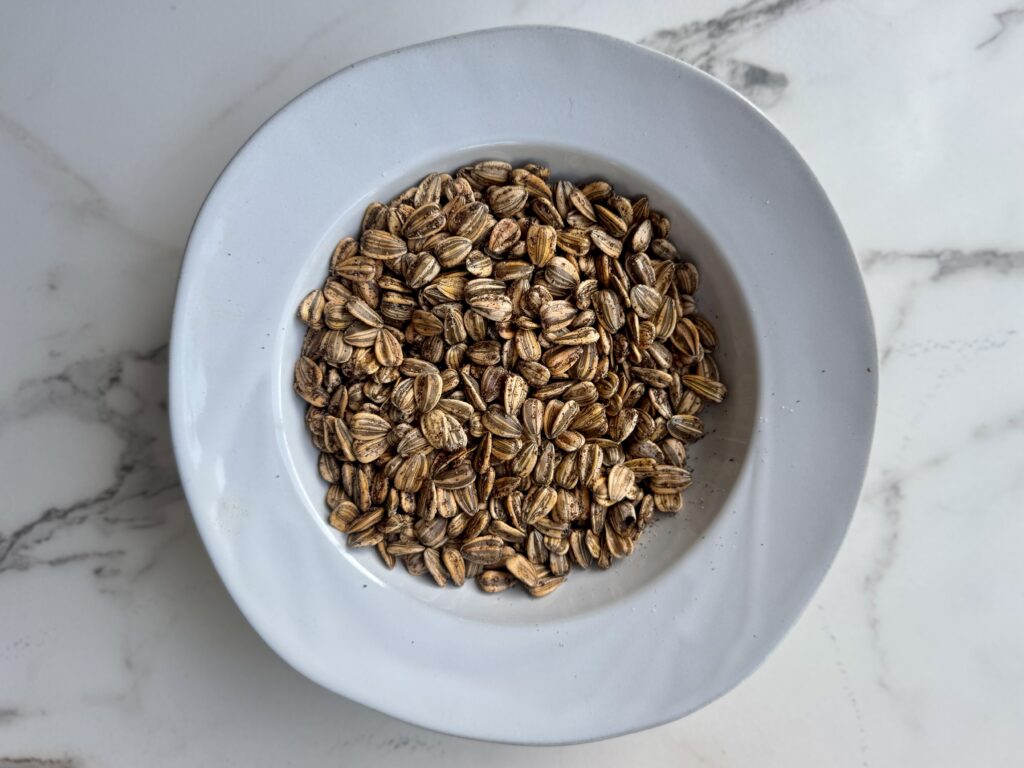
How to Roast Your Sunflower Seeds
Roasting sunflower seeds brings out their nutty flavor and makes them a delicious snack.
Ingredients:
- Sunflower seeds (raw, shelled or in-shell)
- Olive oil or melted butter (optional)
- Salt (optional)
- Other seasonings (paprika, garlic powder, cinnamon, etc., optional)
Instructions:
- Preheat oven to 325°F (160°C).
- Prepare seeds:
- In-shell seeds: leave the hulls on.
- Shelled seeds: spread evenly on a baking sheet.
- Season (optional): Toss seeds with a small amount of oil and your chosen seasonings.
- Bake:
- In-shell seeds: 25–30 minutes, stirring occasionally.
- Shelled seeds: 15–20 minutes, stirring occasionally.
- Cool: Allow seeds to cool completely before eating—they will continue to crisp up.
- Store: Keep in an airtight container at room temperature for up to 2–3 weeks.
Tip: For extra flavor, try honey-roasted seeds by tossing with a bit of honey before baking.
Best Sunflower Varieties for Roasting
Not all sunflowers produce large, snackable seeds. For roasting, consider:
- Mammoth Sunflower: Very large seeds, perfect for snacking.
- Russian Giant: Huge seeds with a thick shell, easy to roast.
- Black Oil Sunflowers: Smaller seeds but high oil content and very flavorful; often used for snacks and birdseed.
Pro Tip: Look for varieties labeled as “edible” or “snacking” seeds – they tend to produce larger, more uniform seeds suitable for roasting. By selecting the right variety, you can grow seeds that are closer in size and flavor to the store-bought roasted versions.
Thanks for reading along, guys!
If you enjoyed this blog post, be sure to check out my other gardening blog posts:
- How to Start a Garden on a Budget for Under $100
- Essential and Nice-to-Have Garden Products for Your Perfect Setup
- My Garden Setup: 3 Best Garden Containers for Every Gardener
- Understanding Garden Light and Shade: A Simple Guide
- How to Build a Homemade Trellis Using Cattle Panel
Be sure to follow me on social media for daily content and instructional videos about gardening!


0 Comments