Hey all! Real Farmer Jeff here.
Indoor growing can feel overwhelming at first, especially when it comes to understanding grow lights. Terms like lumens, PPFD, and wattage confuse almost everyone starting out. But the good news is that you don’t need to be a lighting expert to grow strong seedlings, lush microgreens, or year-round leafy greens.
This blog post will break down everything you need to know.
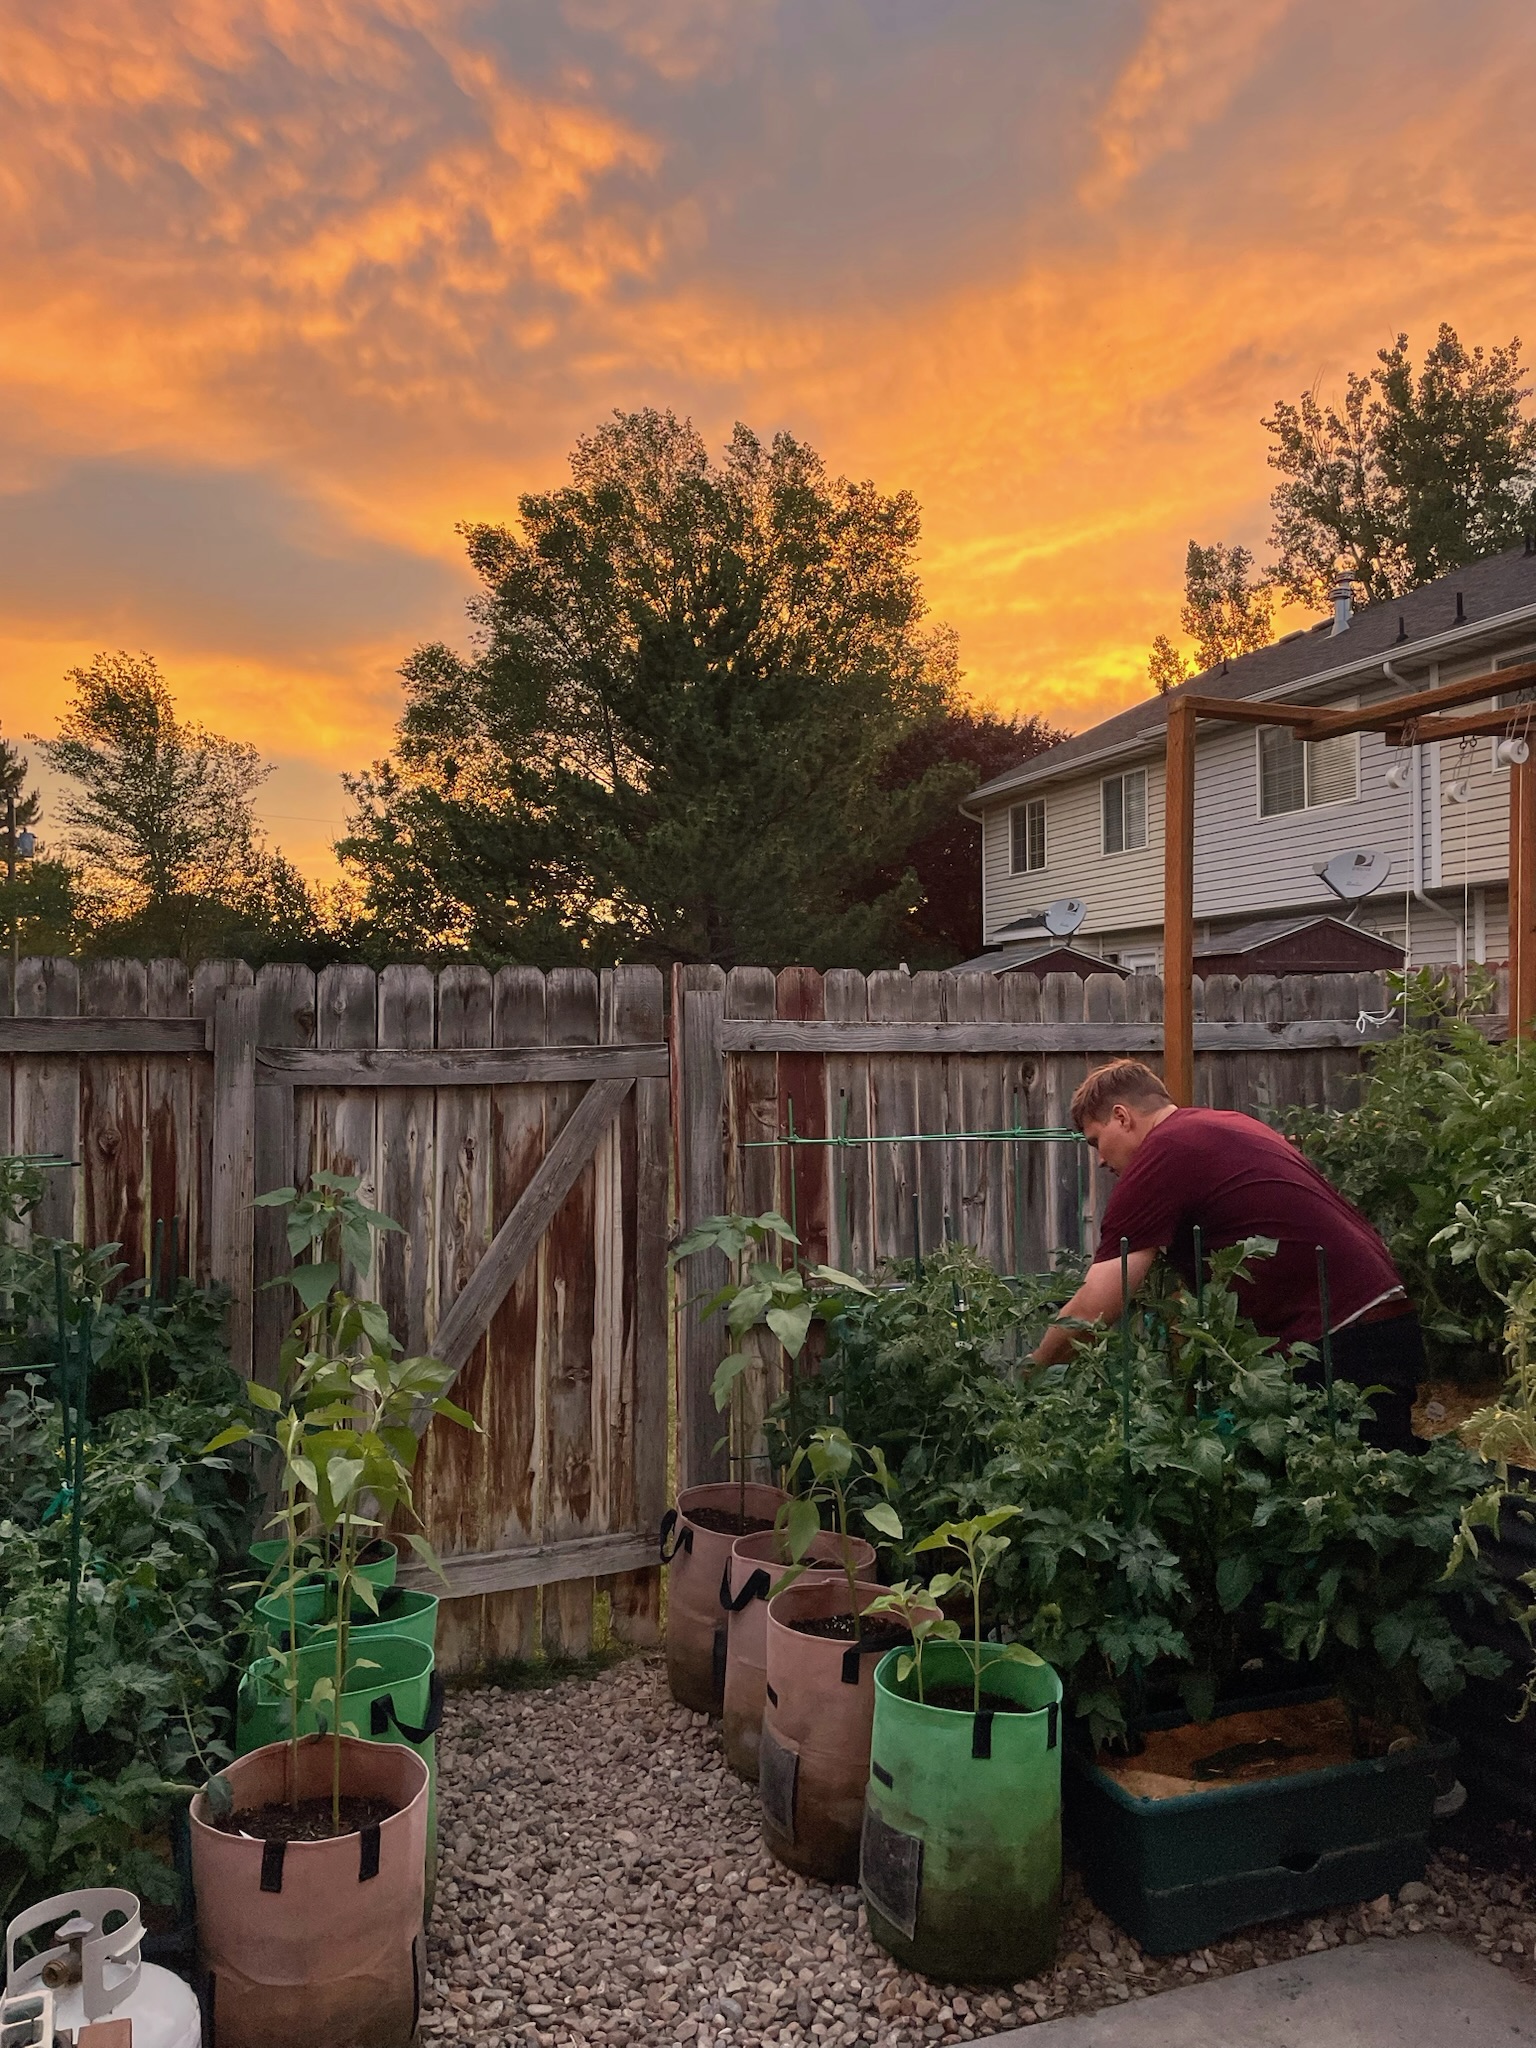
Why Grow Indoors?
Indoor growing gives you:
- Consistent, reliable seedlings for your outdoor garden
- Fresh leafy greens year-round
- Easy, nutrient-packed microgreens
- A fun, controlled way to garden even in winter
Two Key Light Measurements to Know
Understanding light for plants can be tricky. For beginners, there are two key measurements that matter the most. Let’s dive into them below:
1. Watts
Watts are the amount of electricity the light uses. In other words, how much energy it consumes.
Watts give a rough idea of how bright the light is, but brighter is not always better. Plants need enough light to grow well, but too much intensity (especially at close distances) can cause stress, bleaching, or leaf burn. The goal is the right amount of light and not the maximum amount.
Rule of thumb for beginners:
- 20–40W: Good for seedlings and microgreens
- 40–80W: Suitable for leafy greens and moderate density microgreens
- 80–150W: Strong enough for larger plants
Watts measure how much electrical power a grow light consumes, not how much usable light it produces for your plants. Note also that the wattage is usually measured per individual light, not the whole rack. If you have multiple lights, the total energy consumption can be added up.
2. PPFD (Photosynthetic Photon Flux Density)
PPFD shows how much usable light actually hits your plants’ leaves. To put it simply, it tells you the real brightness the plant receives, not just the light’s power or wattage. Distance and height affect it, so PPFD is what truly matters for growth. This is the most accurate way to judge whether your plants get enough light to grow well.
Beginner targets:
- Seedlings: 100–200 PPFD
- Microgreens & leafy greens: 200–300 PPFD
A small 20-watt LED can produce noticeably different PPFD depending on height. Here’s a few examples for a typical 20-Watt LED:
- 6 inches: ~200–300 PPFD
- 12 inches: ~100–150 PPFD
- 18 inches: ~50–80 PPFD
This shows how quickly intensity drops as you raise the light. Always adjust height to hit your PPFD target.

LEDs vs Fluorescent Lights
For beginners, LEDs are generally the best choice for growing seedlings, microgreens, and leafy greens.
| Category | Pros | Cons |
|---|---|---|
| LEDs | – Energy-efficient and long-lasting (5–10 years) – Produce very little heat, safe to hang close to plants – Full-spectrum options provide all wavelengths plants need – Compact and versatile for any shelf or DIY setup | – Higher upfront cost than fluorescent lights – Some cheap LEDs may have uneven coverage or weak PPFD |
| Fluorescent Lights (CFL, T5/T8 tubes) | – Affordable and easy to find – Cooler running, safe to place close to seedlings – Good for small setups or individual trays | – Less energy-efficient than LEDs – Shorter lifespan, bulbs may need replacement every 1–3 years – Limited coverage, often require multiple tubes for larger racks |
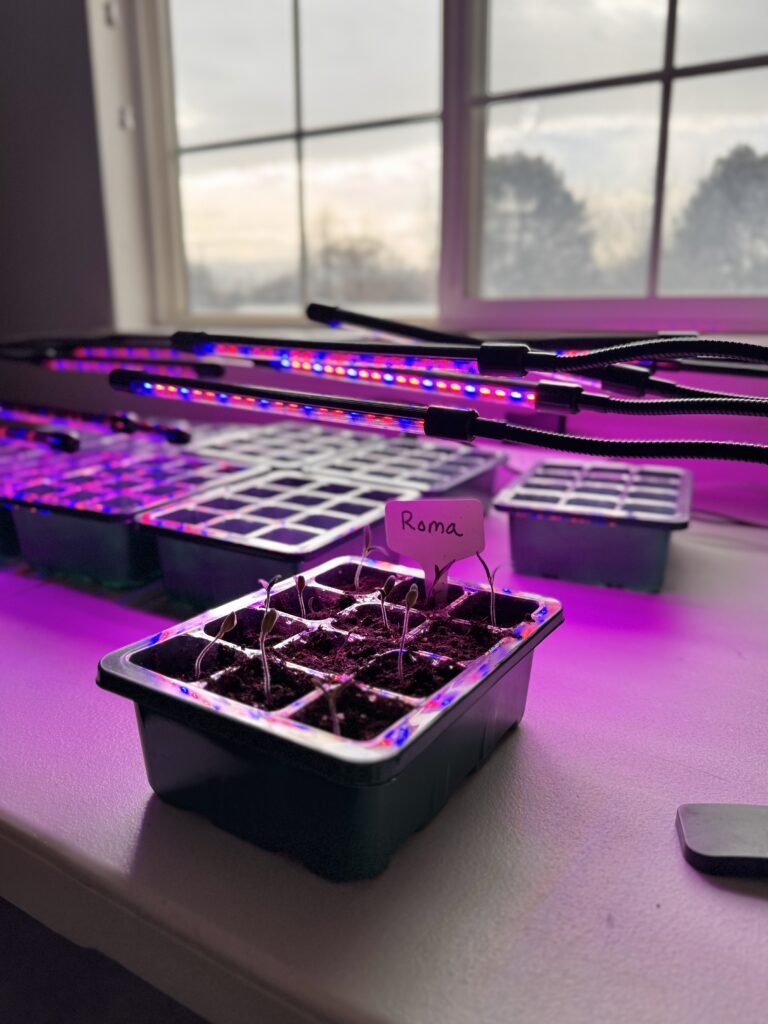
Why Full-Spectrum White LEDs Are Best
Full-spectrum white LEDs mimic natural sunlight, providing all the wavelengths plants need for healthy growth. They’re the most common choice for beginners because they work for seedlings, microgreens, and leafy greens, are easy on the eyes, and make plants look natural rather than purple or red.
To help you choose the best lighting setup for your seed-starting shelves, here’s a quick comparison of the two most common LED styles and how they perform in different growing situations:
| LED Type | Description | Typical Use |
|---|---|---|
| Single-Tube LEDs | Easy to hang; good for small trays; may give uneven coverage and lower PPFD. | – 1–2 tubes per shelf/tray for small–medium racks – 3–4 tubes for wider or longer shelves |
| Multi-Diode Panels | Densely packed small LEDs; higher efficiency; stronger PPFD; more uniform coverage. | – Usually 1 panel per shelf/tray – 2 panels for very wide or dense racks |
So what’s the best choice though if money isn’t a factor?
High-end full-spectrum multi-diode panels deliver maximum PPFD, precise spectrum, even light across trays, long lifespan, and excellent heat management. This gives the best growth for seedlings, microgreens, and leafy greens.
How Close Should You Generally Place the Lights?
| Plant Type | Recommended Light Distance |
|---|---|
| Seedlings & Microgreens | 4–6 inches above the plants |
| Leafy Greens | 6–12 inches above the plants (varies with light intensity) |
Always watch your plants! Here are some things to keep in mind:
- If your lights are weaker, move them closer
- If your lights are very strong, you may need to raise them to prevent burning the plants.
- If they stretch or look pale, they need more light and if they look scorched, they are too close.
- If plants are burning: Increase the distance first, then reduce the light-on duration if needed. This protects plants while maintaining optimal light exposure.
- Weak lights can still work well for seedlings, microgreens, and leafy greens if placed close enough, but very large or fruiting plants may need stronger light.
How Long Should Grow Lights Stay On?
Time under light is just as important as brightness. Here are some simple timing rules:
| Plant Type | Recommended Light Duration |
|---|---|
| Seedlings & Leafy Greens | 14–16 hours/day |
| Microgreens | 12–14 hours/day |
Note that plants need a period of darkness to complete important metabolic processes. Continuous light can stress plants, slow growth, and reduce quality. The off period allows plants to rest, convert energy from photosynthesis into growth, and maintain healthy circadian rhythms. Using a timer ensures your plants get consistent light and darkness every day.
Typical Costs for Indoor Grow Setups (Assuming a 5-Shelf Rack)
Mid-Range DIY Setup:
- Metal wire rack frame (5 shelves included): $40–$80
- LED lights (tube or small multi-diode panels): $20–$40 each
- Total for 5-shelf rack with one light per shelf: $140–$280; with two lights per shelf: $240–$480
High-End Setup:
- Heavy-duty rack frame (5 shelves included): $70–$120
- High-end LED bars or multi-diode panels: $80–$150 each
- Total for 5-shelf rack with one light per shelf: $450–$870; with two lights per shelf: $850–$1,620+
Note: Prices vary depending on brand, size, and number of lights per shelf. Mid-range setups are suitable for most beginners, while high-end setups provide stronger, more uniform light and longer-lasting performance.
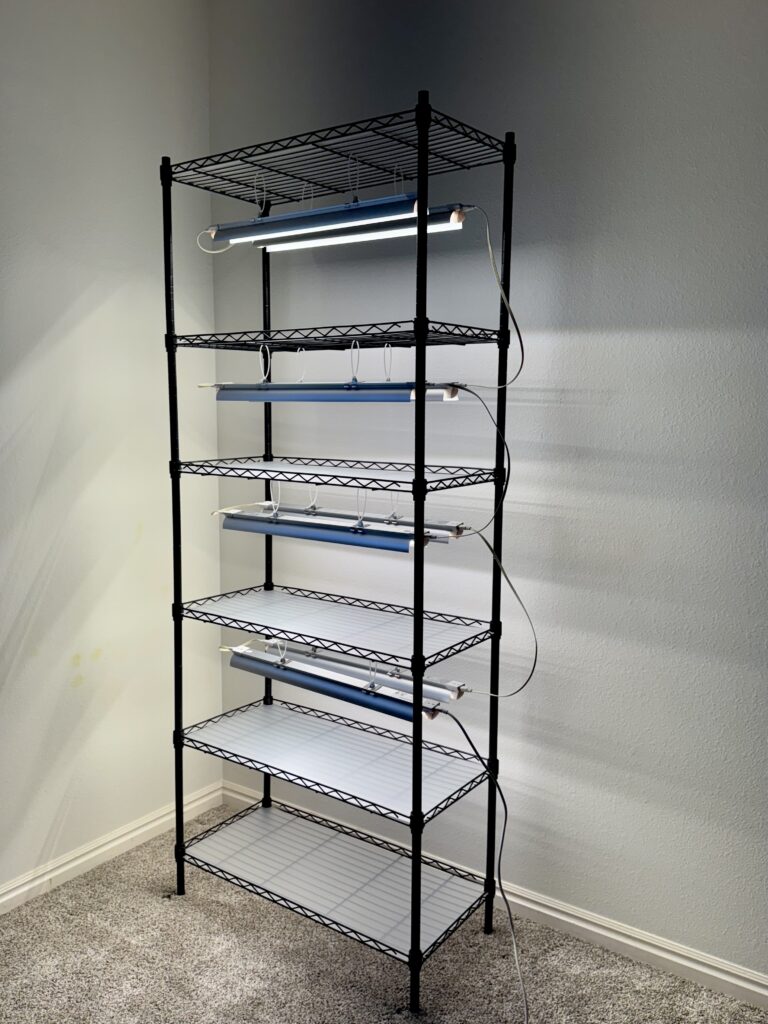
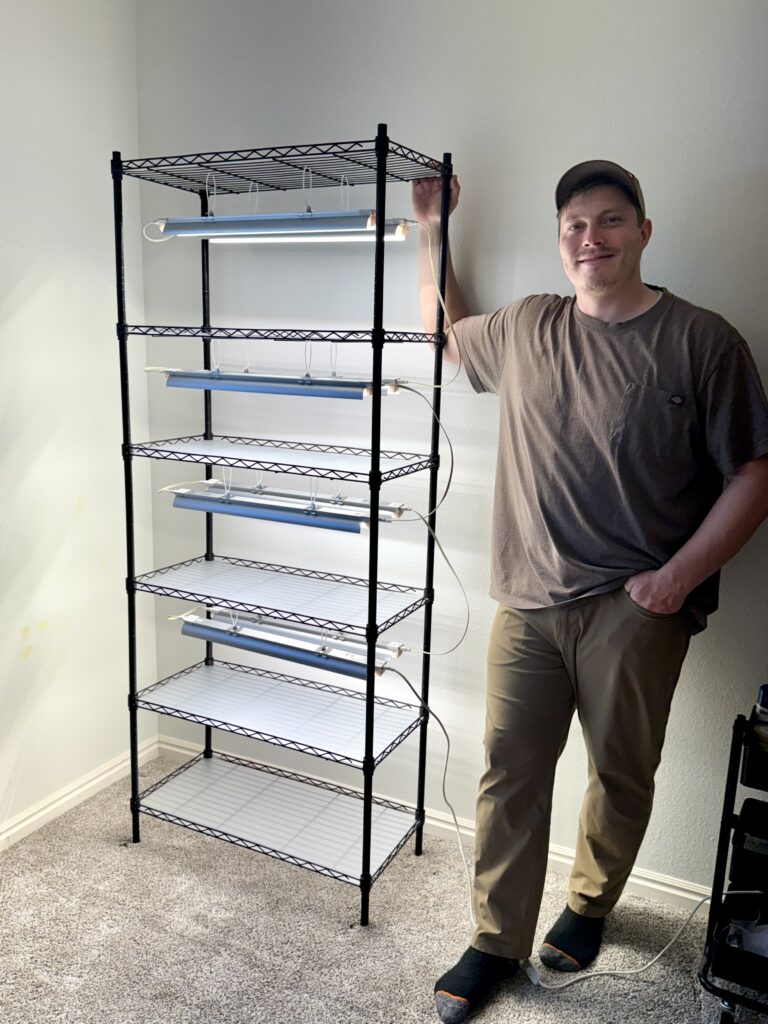
Can I Use Any Rack?
Yes. Any metal shelving rack works. If you want my recommendation, here’s a link to one I love. You can hang grow lights using:
- Zip ties
- Rope ratchets
- S‑hooks
- Chain links
This makes DIY setups both affordable and customizable.
If you want your indoor garden to actually work, it’s worth putting together at least a mid-tier LED setup with a solid rack. Cheaper, movable lights can do the job, but they usually lead to uneven growth and make things more frustrating than they need to be.
Growing seedlings, microgreens, or leafy greens indoors is really satisfying. You get fresh, healthy food year-round and it’s incredible to see your plants actually thrive without facing the outdoor elements. Hopefully with these basics, you will feel comfortable starting your own indoor garden if that’s something that would interest you.
Thanks for reading along, guys!
If you enjoyed this blog post, be sure to check out my other gardening blog posts:
- How to Start a Garden on a Budget for Under $100
- Essential and Nice-to-Have Garden Products for Your Perfect Setup
- My Garden Setup: 3 Best Garden Containers for Every Gardener
- Understanding Garden Light and Shade: A Simple Guide
- How to Build a Homemade Trellis Using Cattle Panel
Be sure to follow me on social media for daily content and instructional videos about gardening!


0 Comments