Hey all! Real Farmer Jeff here.
If you’ve ever grown your own seedlings before, sadly you may that it’s not always a smooth road. In fact, I feel like every year I face some sort of issue with at least some of my seedlings. Oftentimes, I’m able to correct the issues before it’s too late, but other times I need to start over.
In this blog post I will break down how to keep your seedlings at the right temperature to create ideal growth. Let’s get started!

How Temperature and Light Affect Seedlings
First, it’s important to note that seedlings require very different conditions than established plants. In fact, a temperature that a mature plant can handle may be too warm for seedlings, pushing them to grow too quickly. Even healthy, established seedlings that are several weeks old can negatively impact them if the temperature spikes without sufficient light.
One of the most common mistakes with seedlings is letting them get too warm. Seedlings grow best when their temperature matches the available light. If seedlings are too warm for the light they receive, they stretch, leaves may be small, and stems become weak. Rapid growth like this is usually irreversible and can reduce transplant success.
What is a “Leggy” Seedling?
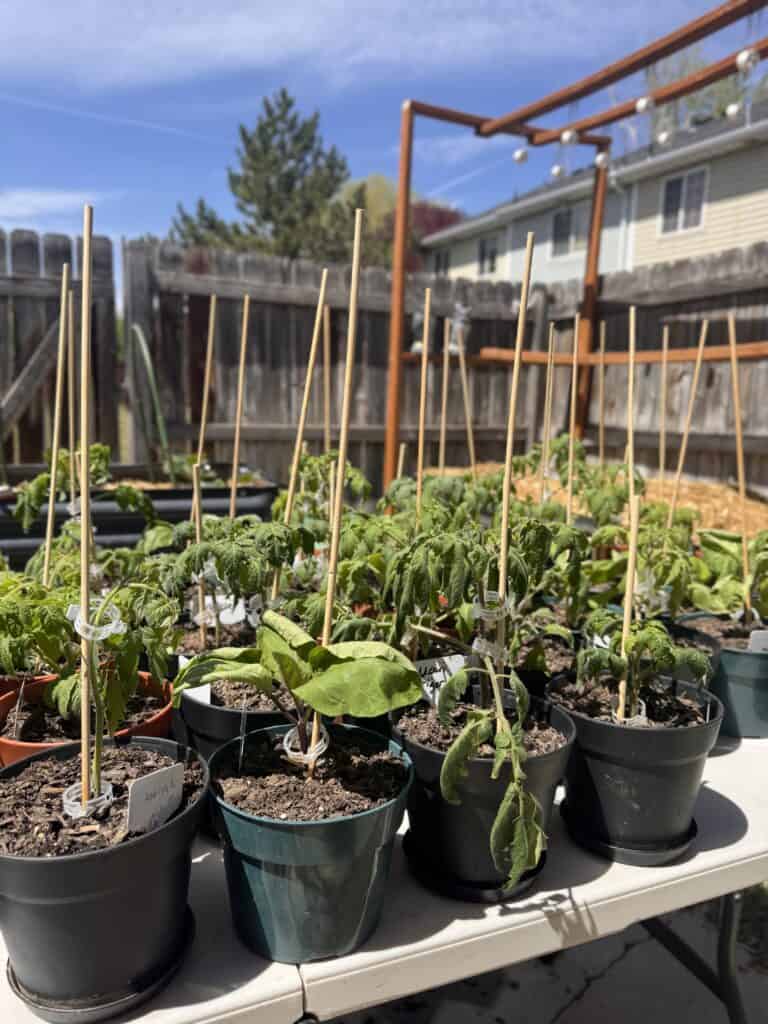
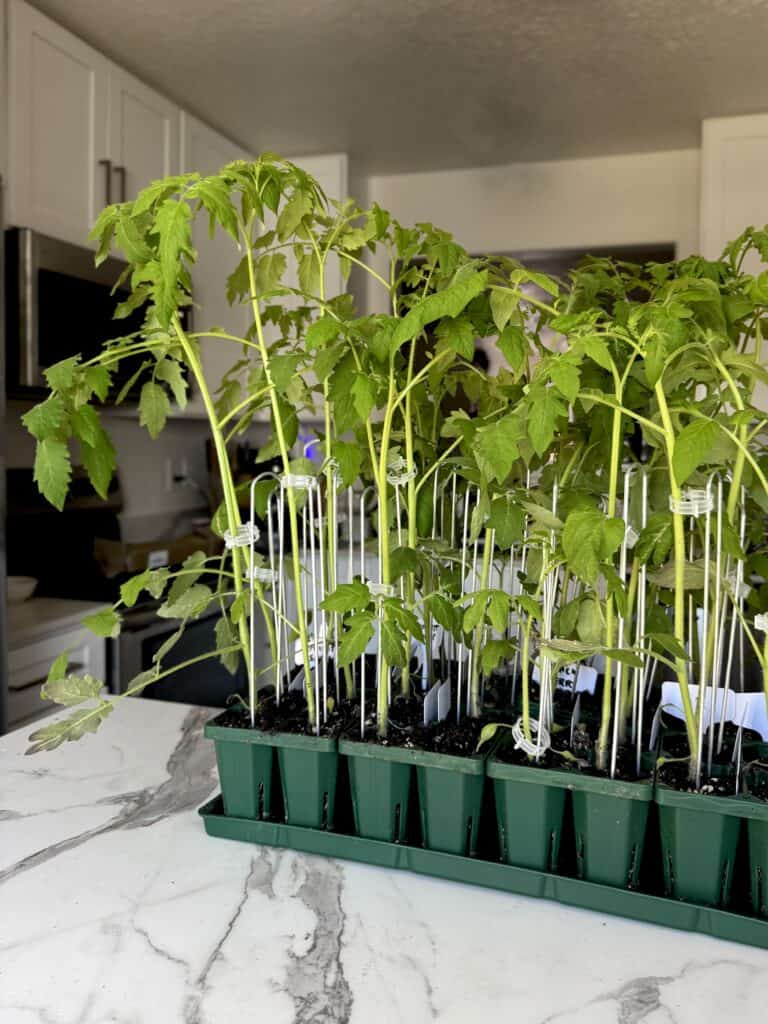
Like I said, too much heat, especially without enough light, can make seedlings stretch to essentially search for the light. This causes them to become weak and leggy. “Leggy” means a seedling has grown tall and thin, with long stems and few leaves, which makes it weak and less likely to thrive once transplanted.
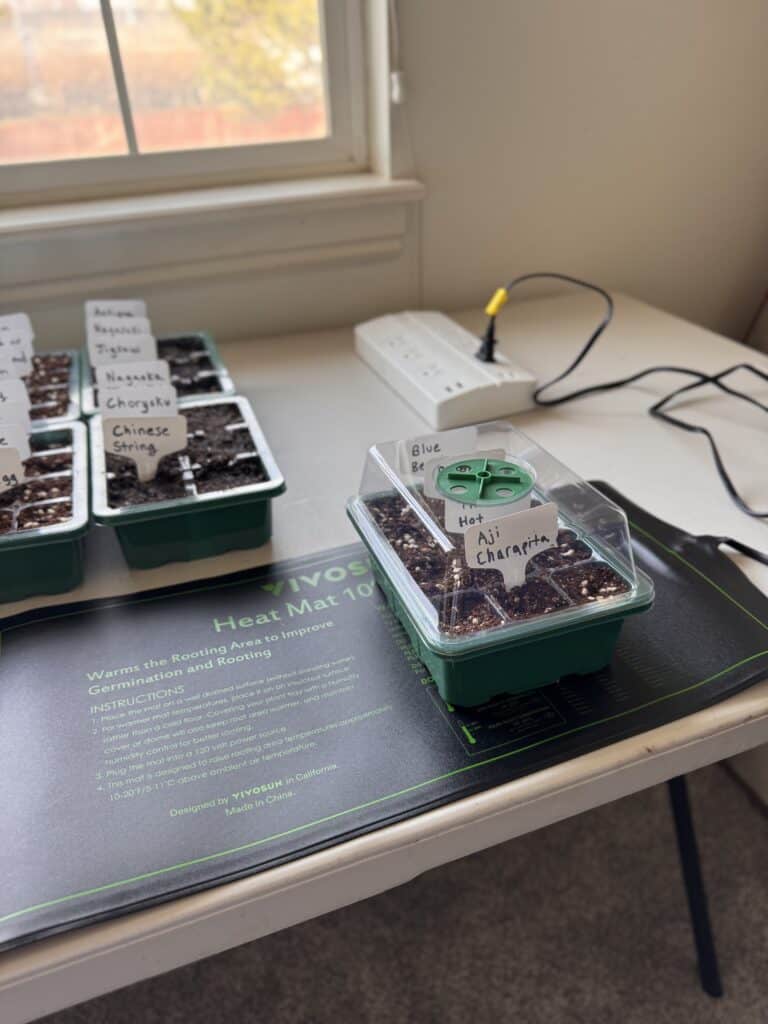
Many gardeners have experienced seedlings getting too much heat when using a heat mat. Heat mats help seeds germinate, but once seedlings sprout, they should generally be removed to prevent legginess.
Greenhouses can create a similar problem because they trap heat, which creates temperatures that are higher than what seedlings can safely handle given the available sunlight. Even if you don’t have a greenhouse, indoor setups with insufficient ventilation or supplemental heating can cause similar problems.
My Tips for Strong Seedlings
• Keep seedlings cooler than mature plants, ideally: 70 – 75°F during the day, 60 – 65°F at night (see the table below for a better idea of what’s ideal for your specific plant).
• Match light intensity to growth rate. Provide bright, consistent light for indoor seedlings and avoid over-warming them when sunlight is limited.
• If your transplanting window is weeks away and seedlings are growing too fast, lower temperature first. Slightly reducing light can also slow growth, but do not starve seedlings of light.
• Monitor for heat spikes, which can happen quickly. Excessive heat means temperatures above the recommended range for that type of seedling (even 5 – 10°F higher than ideal). Even just 1 – 2 days at these elevated temperatures can cause seedlings to stretch and become leggy.
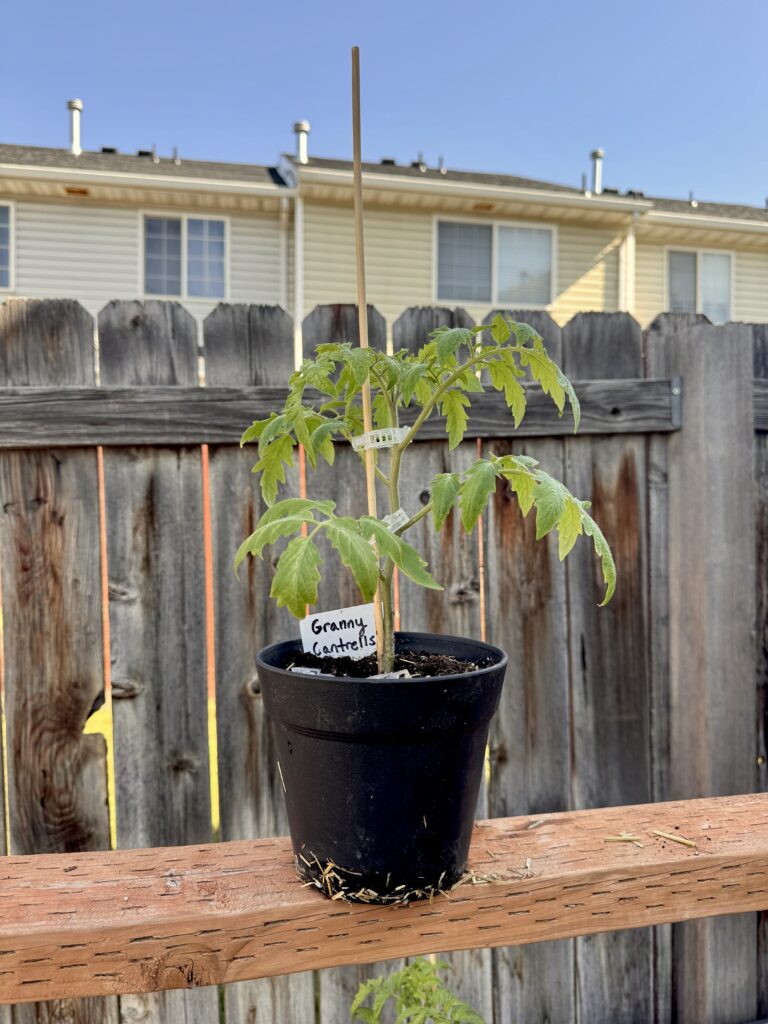
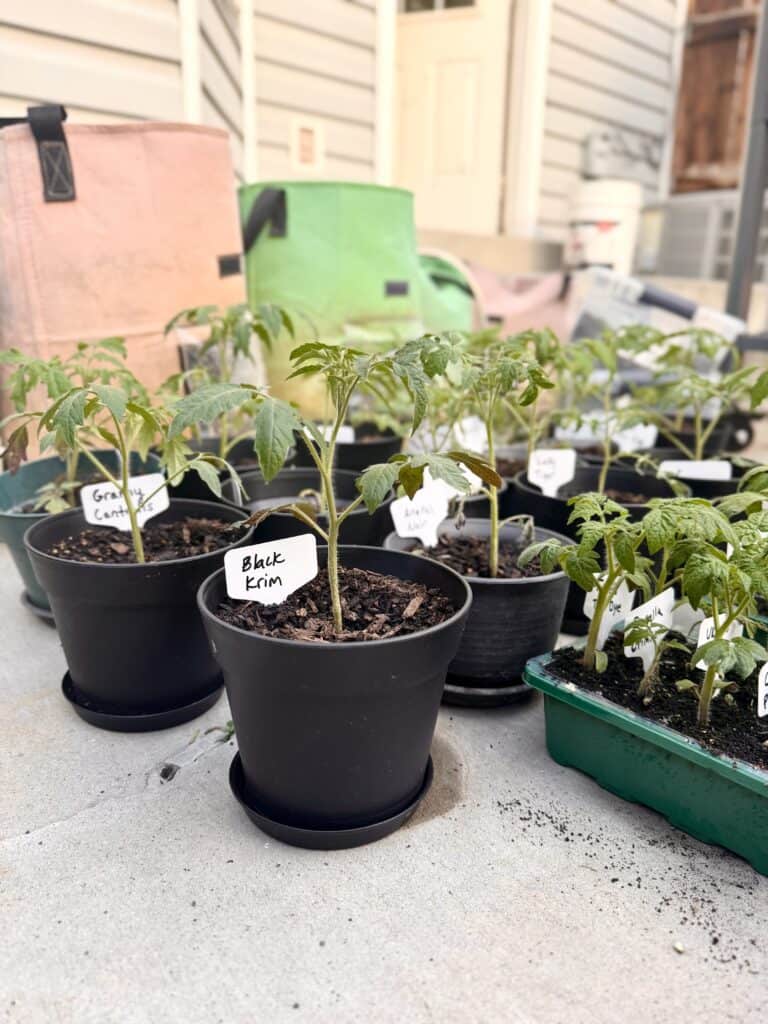
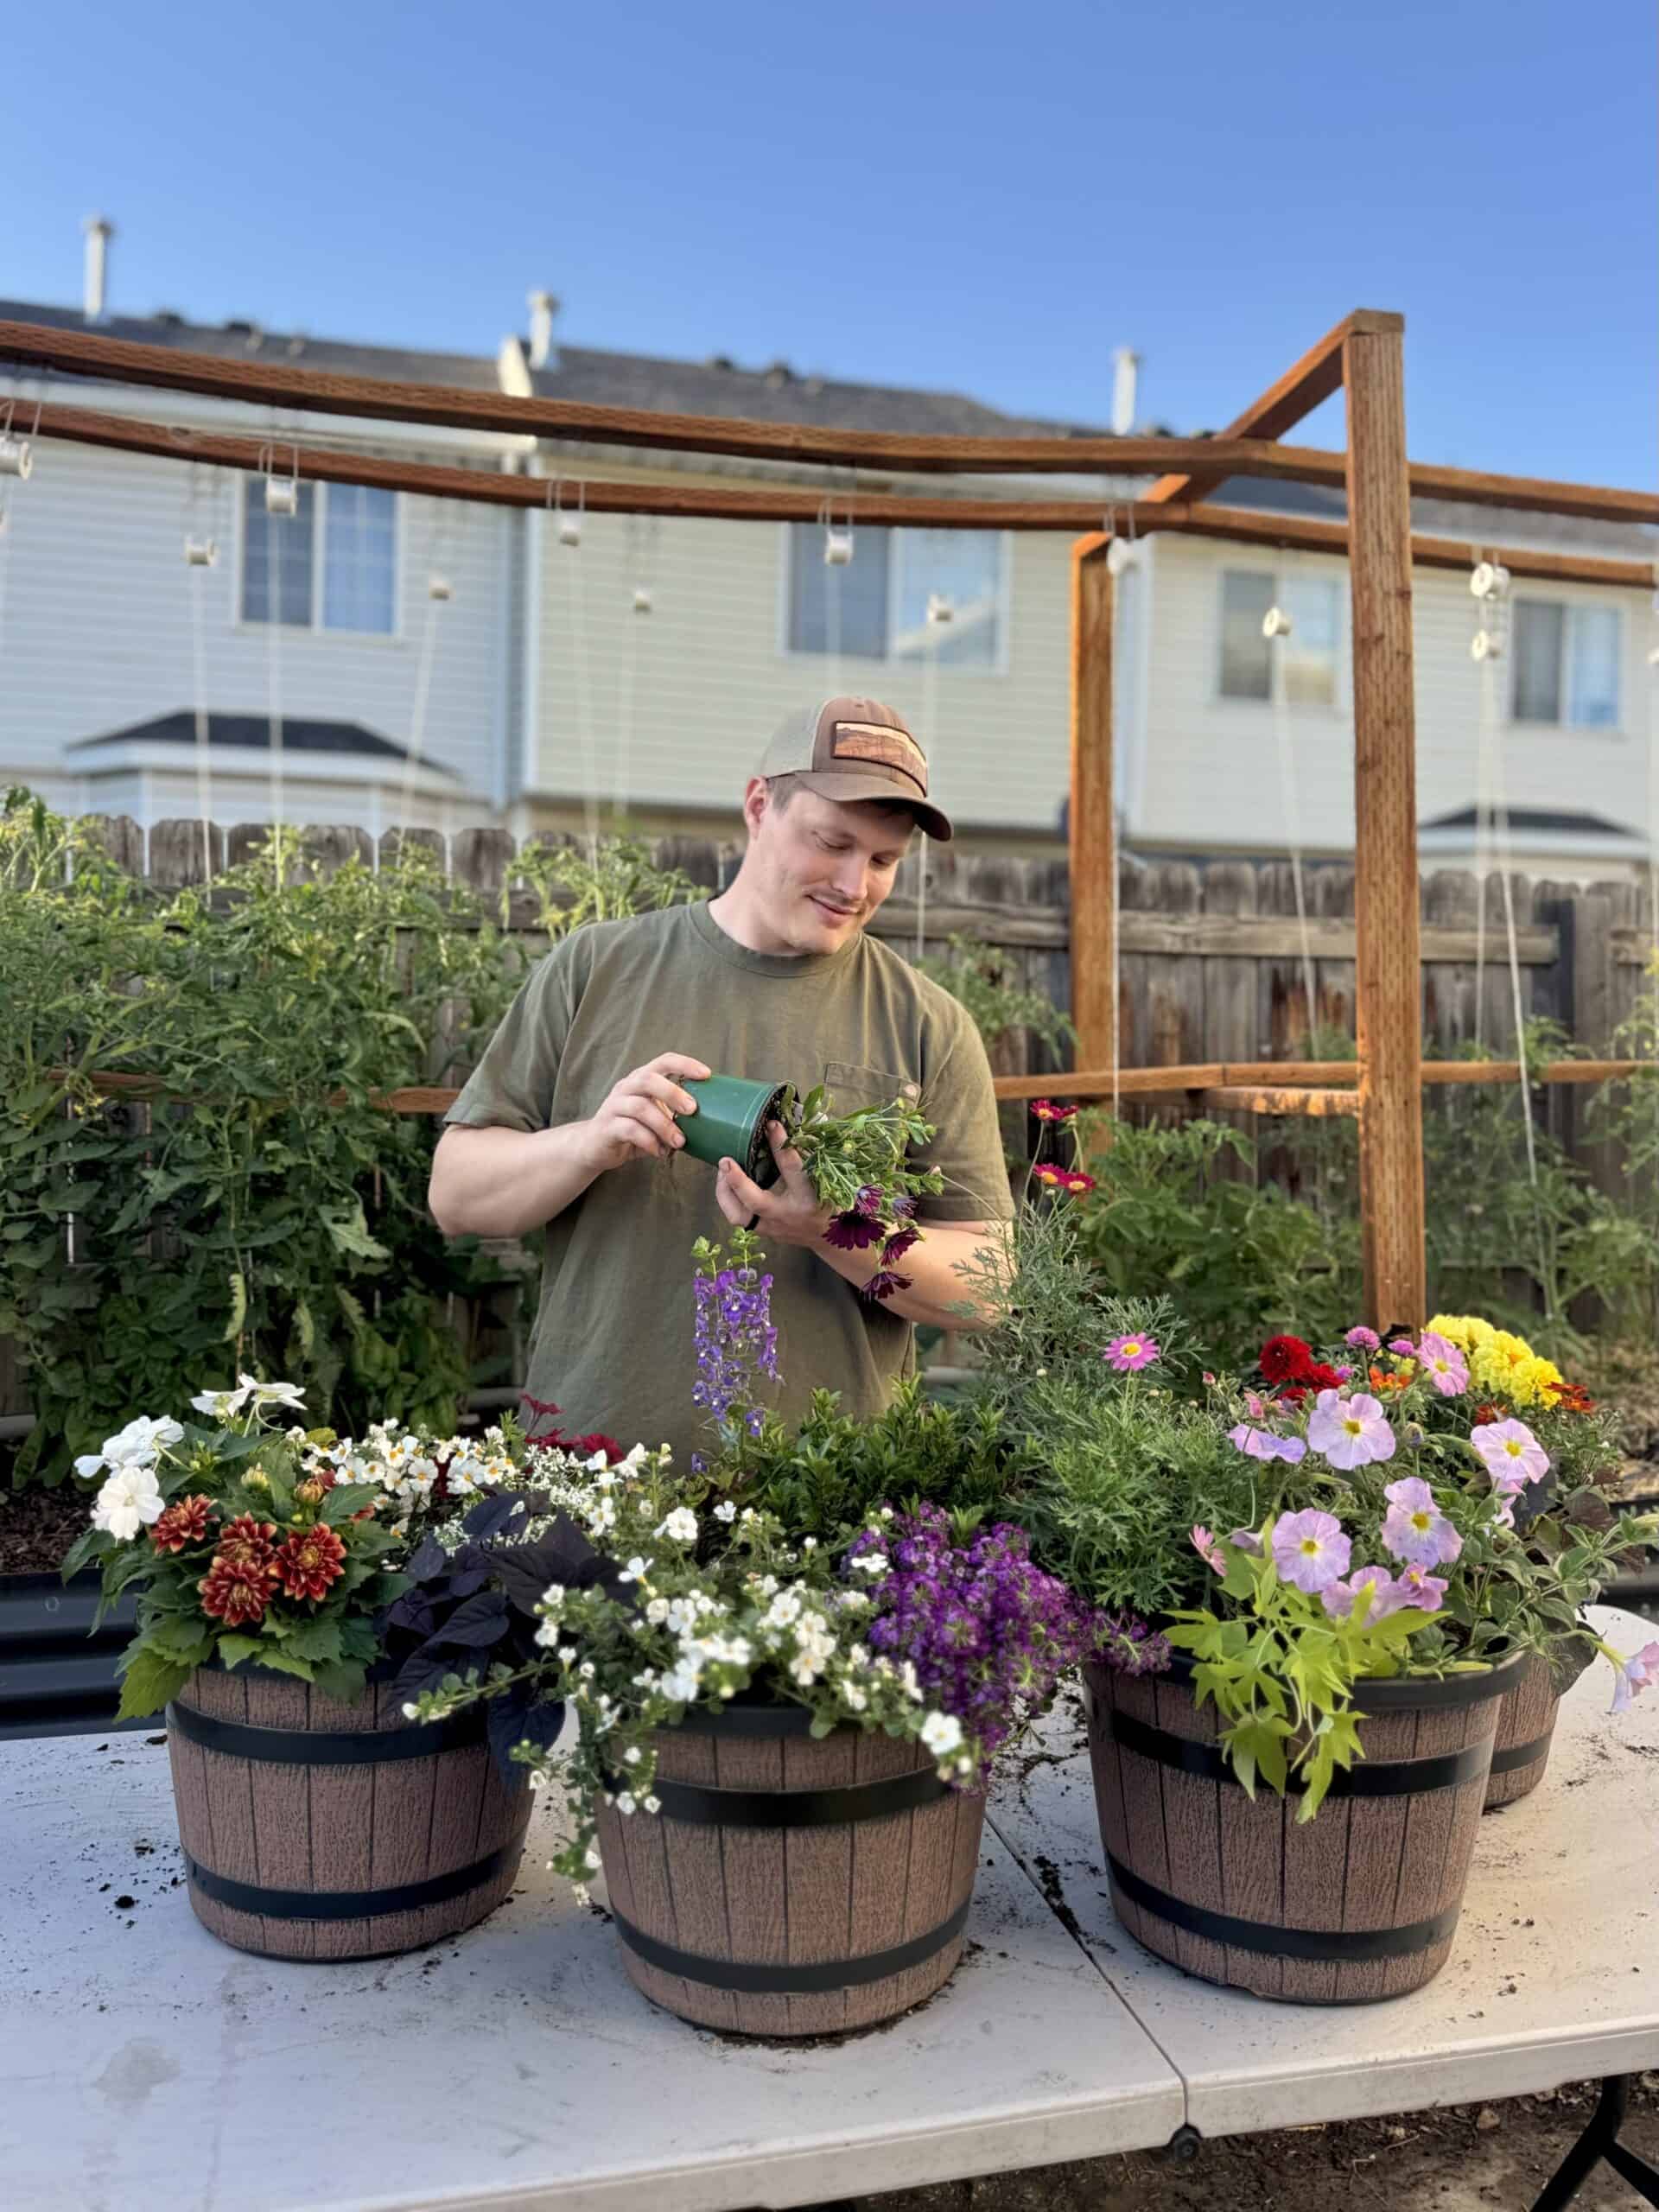
Below are some photos of more ideal, stronger seedlings.
| Plant | Ideal Seedling Temperature | Time From Seed Starting to Transplanting |
| Tomatoes | 70 – 75°F day / 60 – 65°F night | 6 – 8 weeks |
| Peppers | 75 – 80°F day / 65 – 70°F night | 8 – 10 weeks |
| Lettuce | 65 – 70°F day / 55 – 60°F night | 4 – 6 weeks |
| Herbs (Basil, Parsley) | 70 – 75°F day / 60 – 65°F night | 4 – 6 weeks |
Treat seedlings differently than mature plants. Keep temperatures moderate, ensure enough light, and be mindful of rapid growth.
Proper balance will result in strong, compact seedlings ready for transplant and reduce the chance of leggy, weak plants. You got this! Best of luck this gardening season.


0 Comments