Hey all! Real Farmer Jeff here.
Freeze drying is an amazing preservation method because it keeps food’s original taste, texture, and nutrients intact while extending its shelf life without refrigeration or additives. It also opens up a world of possibilities for home preservation. From healthy snacks to long-term food storage and specialty powders, you can preserve almost any food. But some foods work better than others, and understanding limitations can help you get the most out of your freeze dryer.
So what works well, and what are your limitations? I’ll touch on that in this blog post. Let’s get started!

What Works Well and What Doesn’t
Most fruits, vegetables, meats, dairy, cooked grains, and complete meals freeze dry beautifully. Popular choices include:
- Fruits: Strawberries, blueberries, mango, apples, bananas
- Vegetables: Peas, corn, green beans, spinach
- Proteins: Cooked chicken, beef, fish, eggs
- Dairy: Yogurt, cheese, milk
- Complete meals: Soups, pasta dishes, casseroles
Foods that are very high in fat or oil do not freeze dry well because fat doesn’t sublimate. Examples include avocados, nut butters, and fried foods. Soft cheeses and some creamy foods can also be tricky unless you stabilize or pre-freeze them properly.
Freeze drying is excellent for:
- Healthy snacks: Freeze-dried fruit, yogurt bites, veggie chips
- Long-term food storage: Meals, vegetables, meats
- Spices and powders: Garlic, onion, tomato, herbs
Top Foods to Freeze Dry
Fruits:
- Strawberries: Slice evenly for faster drying
- Blueberries: Freeze whole
- Mango: Peel and slice thin
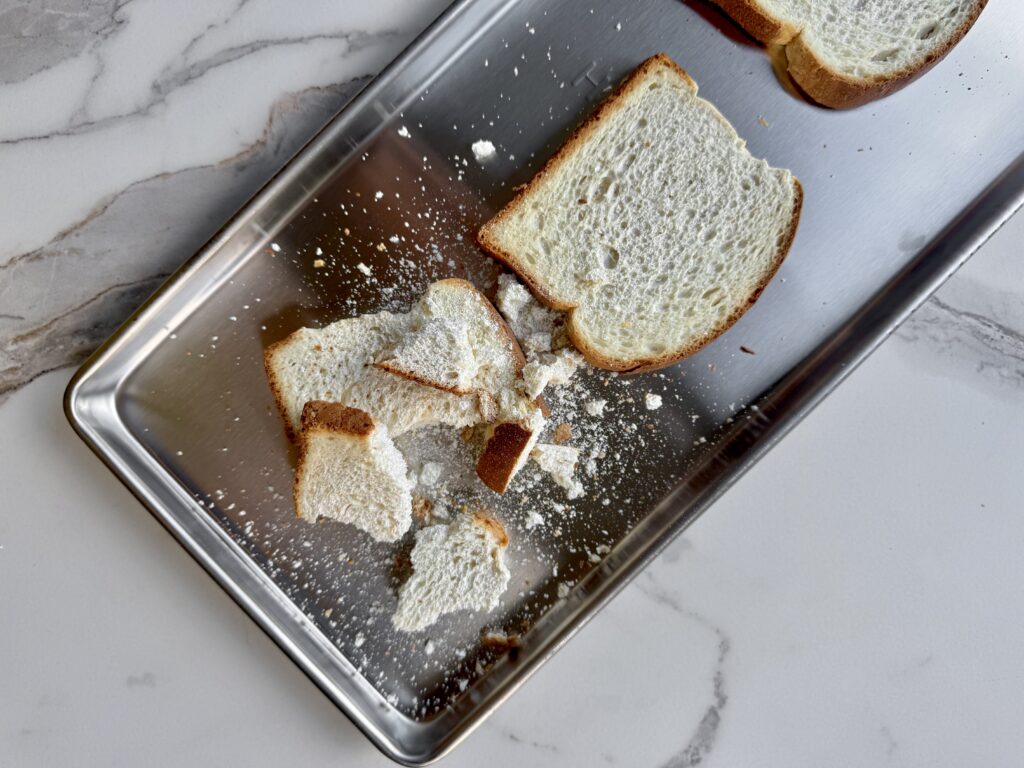
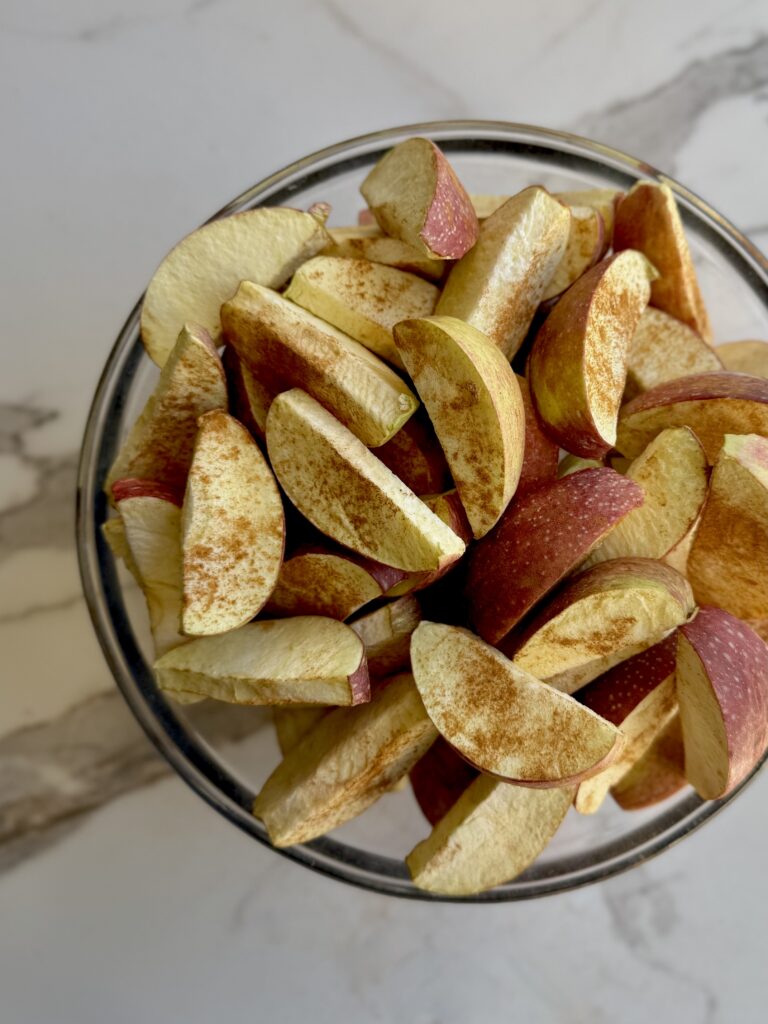
- Apples: Core and slice
- Bananas: Slice before drying
- Pineapple: Slice small
- Raspberries: Freeze slightly before drying
- Peaches: Peel if desired
- Cherries: Pit first
- Blackberries: Freeze slightly for better texture
Vegetables:
- Peas: Freeze individually before drying
- Corn: Remove kernels from cob
- Green Beans: Trim and cut to size
- Spinach: Wash and pat dry
- Carrots: Slice or shred
- Bell Peppers: Slice thin
- Zucchini: Slice or shred
- Tomatoes: Core and slice
Proteins & Dairy:
- Cooked Chicken: Cube or shred
- Cooked Beef: Slice thinly
- Fish: Pre-cook or season lightly
- Eggs: Scrambled or boiled, crumble before drying
- Yogurt: Drop by spoonfuls for bites
- Cheese: Hard cheeses cut into small cubes
Specialty:
- Herbs and Spices: Basil, garlic, onion, parsley, cilantro, oregano
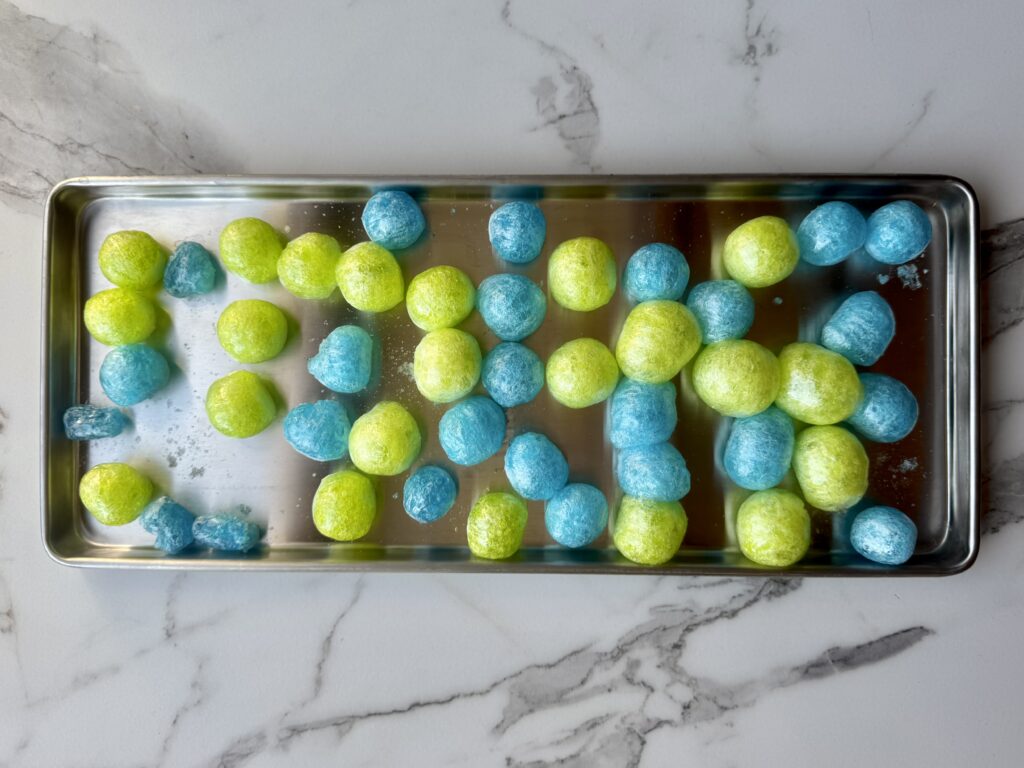
Candy:
- Gummies, marshmallows, Skittles, Nerds clusters, Jolly Ranchers (as seen below)
Top Meals to Freeze Dry
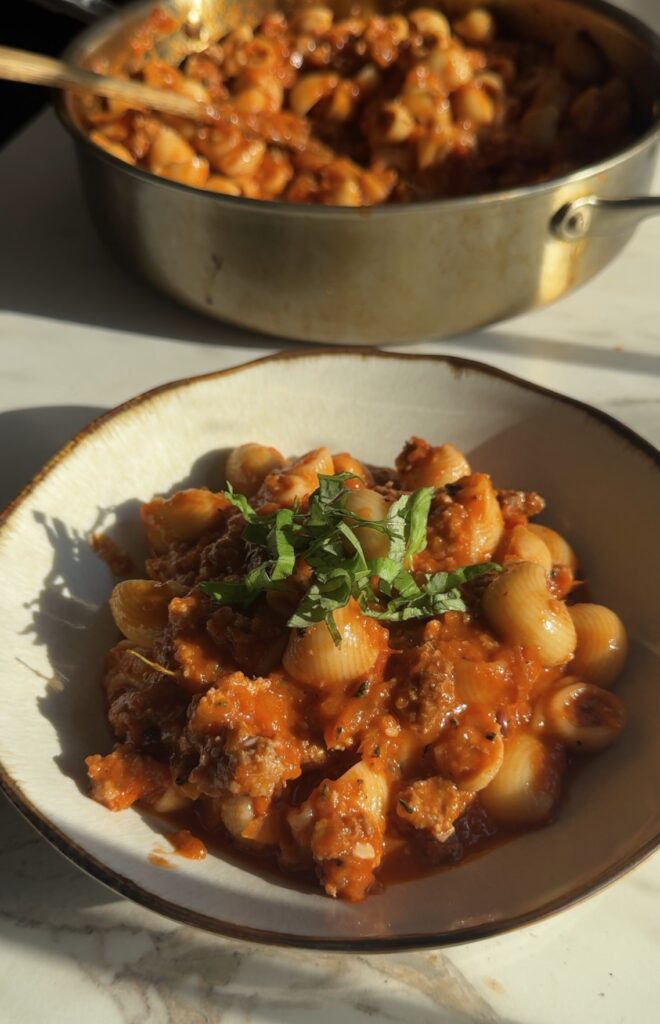
Pasta Dishes
- Spaghetti with sauce: Pre-cook pasta al dente
- Mac and cheese: Cook fully, rehydrates easily
- Lasagna: Slice into portions
Rice-Based Meals
- Fried rice: Cook fully, freeze dry in portions
- Rice and beans: Vegetarian-friendly
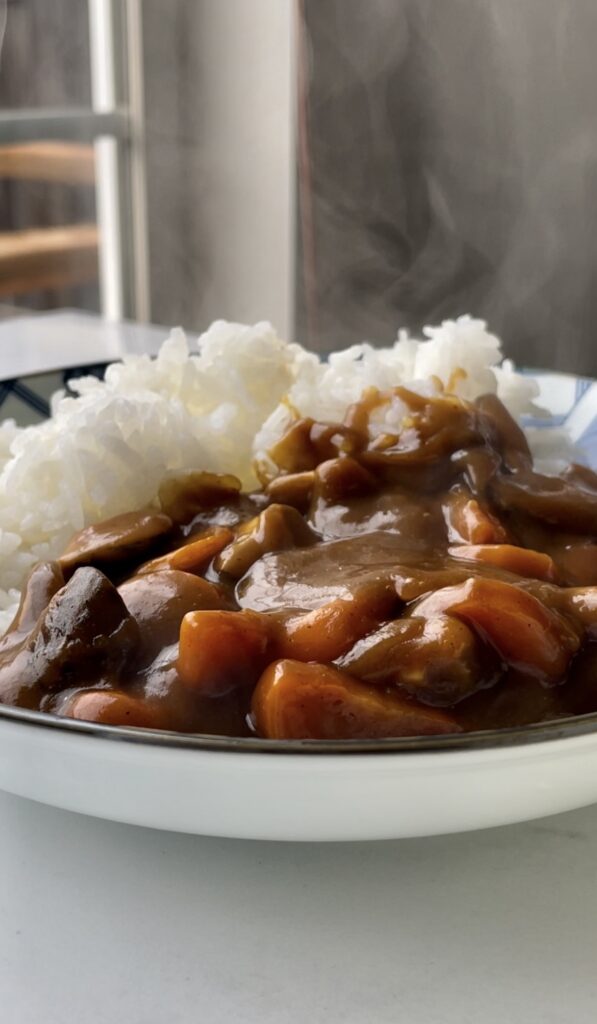
- Curry with rice: Freeze components separately for best texture
Soups and Stews
- Chicken noodle soup: Cook noodles slightly underdone
- Beef stew: Cut veggies and meat uniformly
- Vegetable soup: Works well for vegan options
Breakfast Meals
- Scrambled eggs with vegetables: Cook and crumble
- Oatmeal with fruit: Slightly soft before drying
- Breakfast burritos: Fully cook ingredients; slice before drying
Snacks and Side Dishes
- Mashed potatoes: Pre-cook, mash smooth
- Stuffing or casserole sides: Portion and freeze dry
- Vegetable medleys: Cook and season lightly
Making Powders from Freeze Dried Foods
Freeze drying is ideal for turning foods into powders. After freeze drying, you can grind fruits, vegetables, or herbs into a fine powder using a blender or food processor. Common powders include:
- Tomato powder for soups or sauces
- Garlic and onion powder for seasoning
- Berry powders for smoothies, baked goods, or flavoring
Powders can often be rehydrated with water to nearly their original texture and flavor, or they can be used directly as seasonings or baking ingredients without rehydrating.
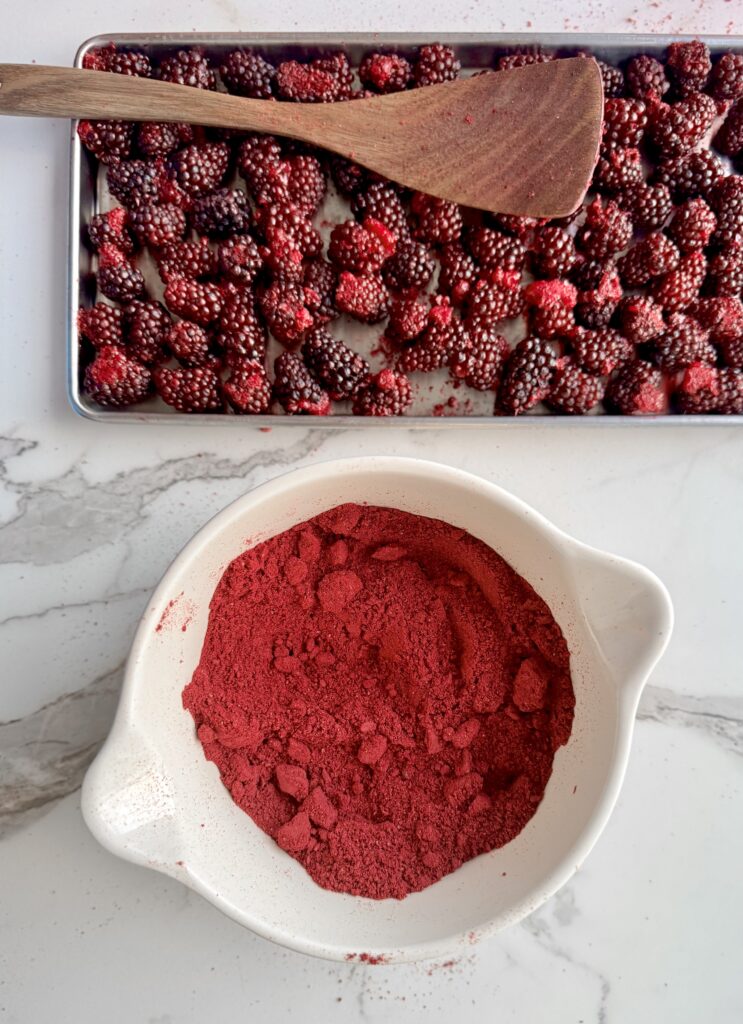
So what can you do with berry powder?
Berry powder is just freeze-dried berries ground into a fine powder. Because the water is gone, it’s super concentrated in flavor and color. You can use it to:
- Make fruit leather (mix with water, applesauce, or honey and dehydrate).
- Flavor yogurt, oatmeal, and smoothies without watering them down.
- Add color and flavor to frostings, buttercream, macarons, and baked goods.
- Make shelf-stable drink mixes (berry lemonade, flavored water, teas).
- Dust on candy, chocolate, or meringues for a gourmet finish.
- Stir into pancake or muffin batter for intense berry flavor.
- Blend into homemade ice cream or whipped cream.
How You Know Products Are Fully Dry
Freeze dryers do not measure moisture directly. Instead, they operate based on vacuum pressure readings. The machine monitors how much water vapor is being pulled from the food. When the vacuum stabilizes at a low level for a set period, the cycle is complete, indicating the food is dry.
Extra drying time is sometimes recommended for particularly dense or thick foods. Running the machine longer helps ensure all moisture is removed, which improves shelf life and prevents spoilage.
Tips for Best Results
- Pre-freeze foods that are soft, creamy, or high in moisture to help them hold shape.
- Slice or chop foods uniformly so they dry evenly.
- Avoid foods very high in fat or oil unless stabilized.
- Store finished freeze-dried foods in airtight containers with oxygen absorbers to maintain shelf stability.
- Use powders for flavoring, smoothies, baking, or rehydration.
- Start with beginner-friendly foods like strawberries, peas, cooked pasta, or yogurt to get a feel for timing and texture.
- Cook fully but avoid overcooking to prevent mushiness
- Cut foods uniformly for even drying
- Separate components if needed
- Use lighter sauces to prevent fat issues
- Label portions clearly for long-term storage

Freeze Drying Breastmilk to Create Homemade Baby Formula
Many parents freeze dry breast milk to create their own baby formula for long-term storage or convenient travel. This is the first method that Kyrié and I wanted to try out since we have a little baby! The result is a shelf-stable powder that can be rehydrated with water when needed, offering a portable and long-lasting option while retaining most nutrients.
Steps:
- Collect and Store Milk: Pump breastmilk and store it in clean, sterilized containers.
- Pre-Freeze (optional): Pre-freezing breastmilk isn’t strictly necessary, but it helps it freeze evenly, prevents spills, and can speed up the freeze-drying process. Pour the milk into shallow, sterilized trays or containers to freeze it evenly. Place in a standard freezer until completely solid.
- Load Milk: Transfer the frozen breastmilk into the freeze dryer trays, spreading it evenly for consistent drying. Avoid overfilling.
- Start the Freeze-Drying Cycle: Turn on the freeze dryer and select a cycle appropriate for liquids. The machine will first freeze the milk further, then lower the pressure to sublimate the ice directly into vapor.
- Monitor Progress: The cycle can take 24-48 hours depending on the amount of milk. Make sure the machine is running smoothly and trays aren’t overloaded.
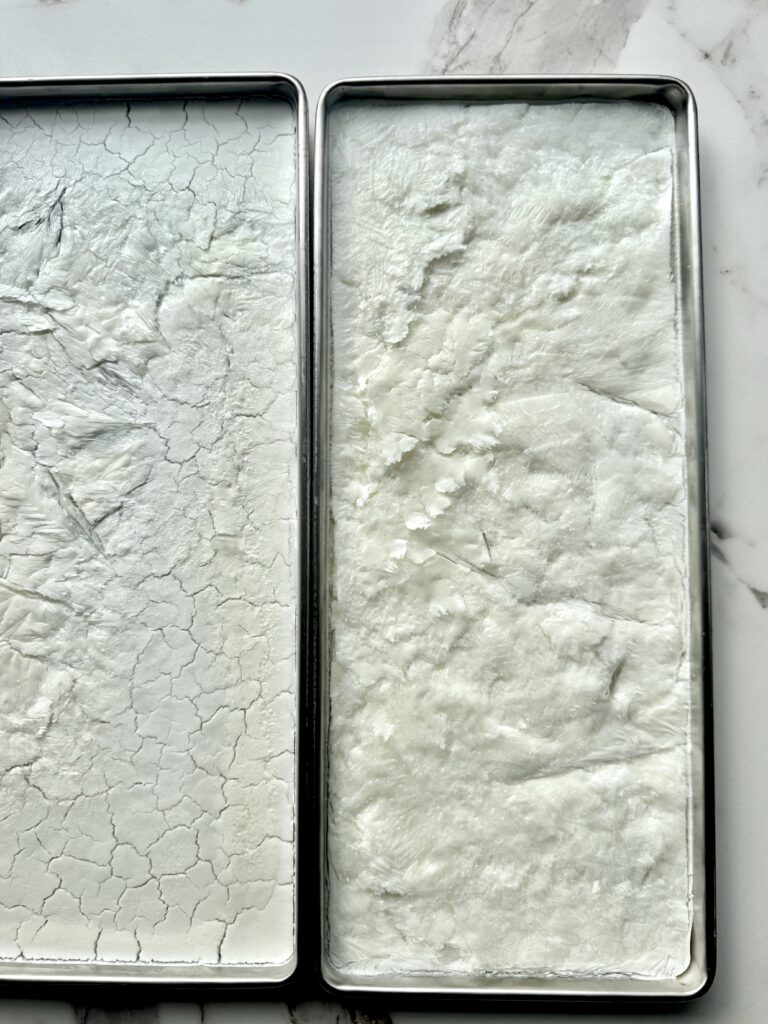
- Check for Complete Dryness: Properly freeze-dried breastmilk should be dry, brittle, and crumbly with no liquid remaining.
- Store Freeze-Dried Milk: Transfer the dried milk into airtight, vacuum-sealed containers or mylar bags with oxygen absorbers. Store in a cool, dark place or freezer for long-term preservation.
- Rehydration (When Needed): To use, simply add the appropriate amount of clean, warm water to rehydrate the milk to its original consistency. Mix gently to avoid clumping.
Thanks for reading along, guys! If you enjoyed this, check out my other gardening blog posts:
- How to Start a Garden on a Budget for Under $100
- 4 Reasons Why Tomatoes Are the Best Vegetable to Grow
- My Garden Setup: 3 Best Garden Containers for Every Gardener
- When to Plant Indoors vs. Outdoors: A Seasonal Guide for Gardeners
- Essential and Nice-to-Have Garden Products for Your Perfect Setup
- Starting Seeds vs. Buying Transplants: How to Decide for Your Garden


0 Comments