Hey all! Real Farmer Jeff here.
Before I begin, keep in mind that this blog post is not sponsored! I have used this product for years and love it so much. The Garden Patch Grow Box is hands down my favorite garden product!
If you find yourself struggling with overwatering or underwatering your plants, this is the perfect solution. Not only is it super space-efficient, but it also helps simplify your watering routine, making it ideal for those who want to keep their plants happy without the stress of constant monitoring.
Plus, it’s great for a wide variety of vegetables, from tomatoes to cabbage.
In this blog post, I’ll share the main reasons I love these grow boxes so much, tips on how to use them effectively, and why they’re a game-changer for gardeners of all levels. Again, keep in mind that this is not a sponsored blog post – just my honest opinion based on personal experience!
Let’s get started!
What is the Garden Patch Grow Box?
I first learned about the Garden Patch Grow Box 10+ years ago. My grandpa somehow found them, funny enough. I went over to his house one Sunday, and he showed me his massive tomato harvest and these new smaller garden beds he loved so much.
The Garden Patch Grow Box is a space-efficient, self-watering garden bed designed to simplify gardening by providing optimal growing conditions and minimizing the risk of over or under-watering, making it perfect for growing a wide variety of vegetables.
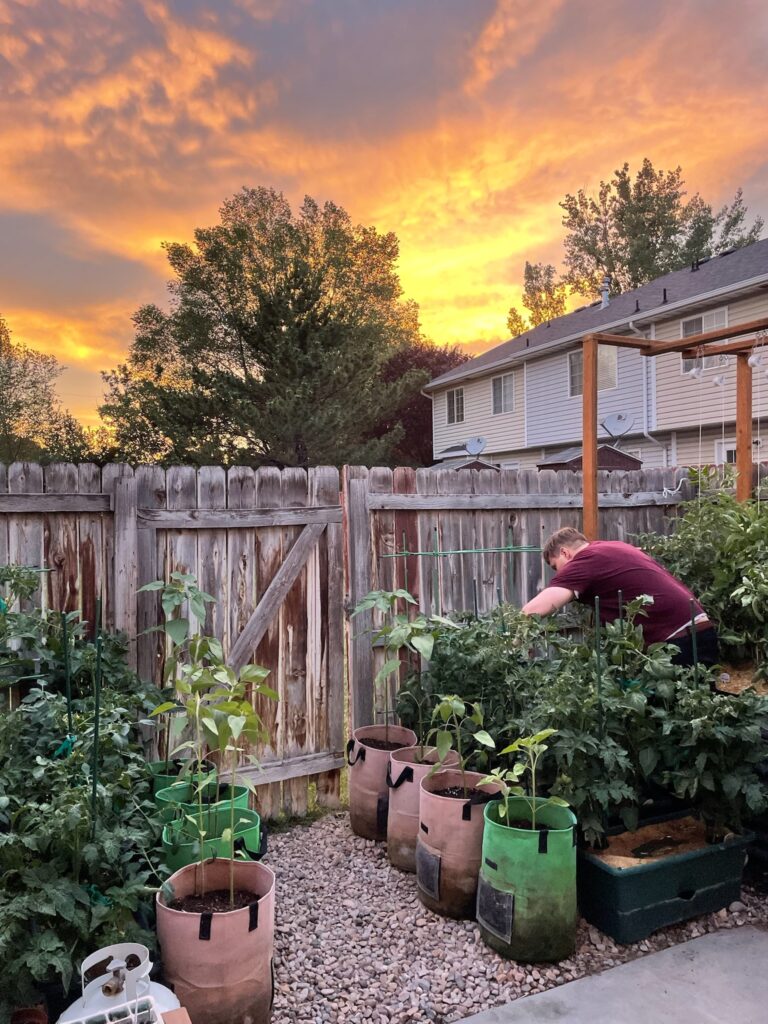
Nearly a decade later, I was eager to start a garden in the townhouse I had just bought. Fun fact: when I moved in, the weeds in my backyard were taller than the fence! After clearing them out, all that remained was a small concrete slab and a few patches of dirt. I wasn’t even sure if my space was big enough for a garden, but I carried on anyways.
Being a fairly beginner gardener, I didn’t know what garden beds I wanted to start my garden with. But, I knew I wanted to hedge my bets with a few Garden Patch Grow Boxes because I had seen with my own eyes that they have such insane production for their square footage.
Well, fast forward to the end of that season, they performed so well that every year after that I would buy a couple more until I eventually started using all ten that I currently use now.
The Garden Patch Grow Box is one of three containers that I really like in my garden with the other two being tall, galvanized steel beds and fabric grow bags.

Top Benefits of the Garden Patch Grow Boxes
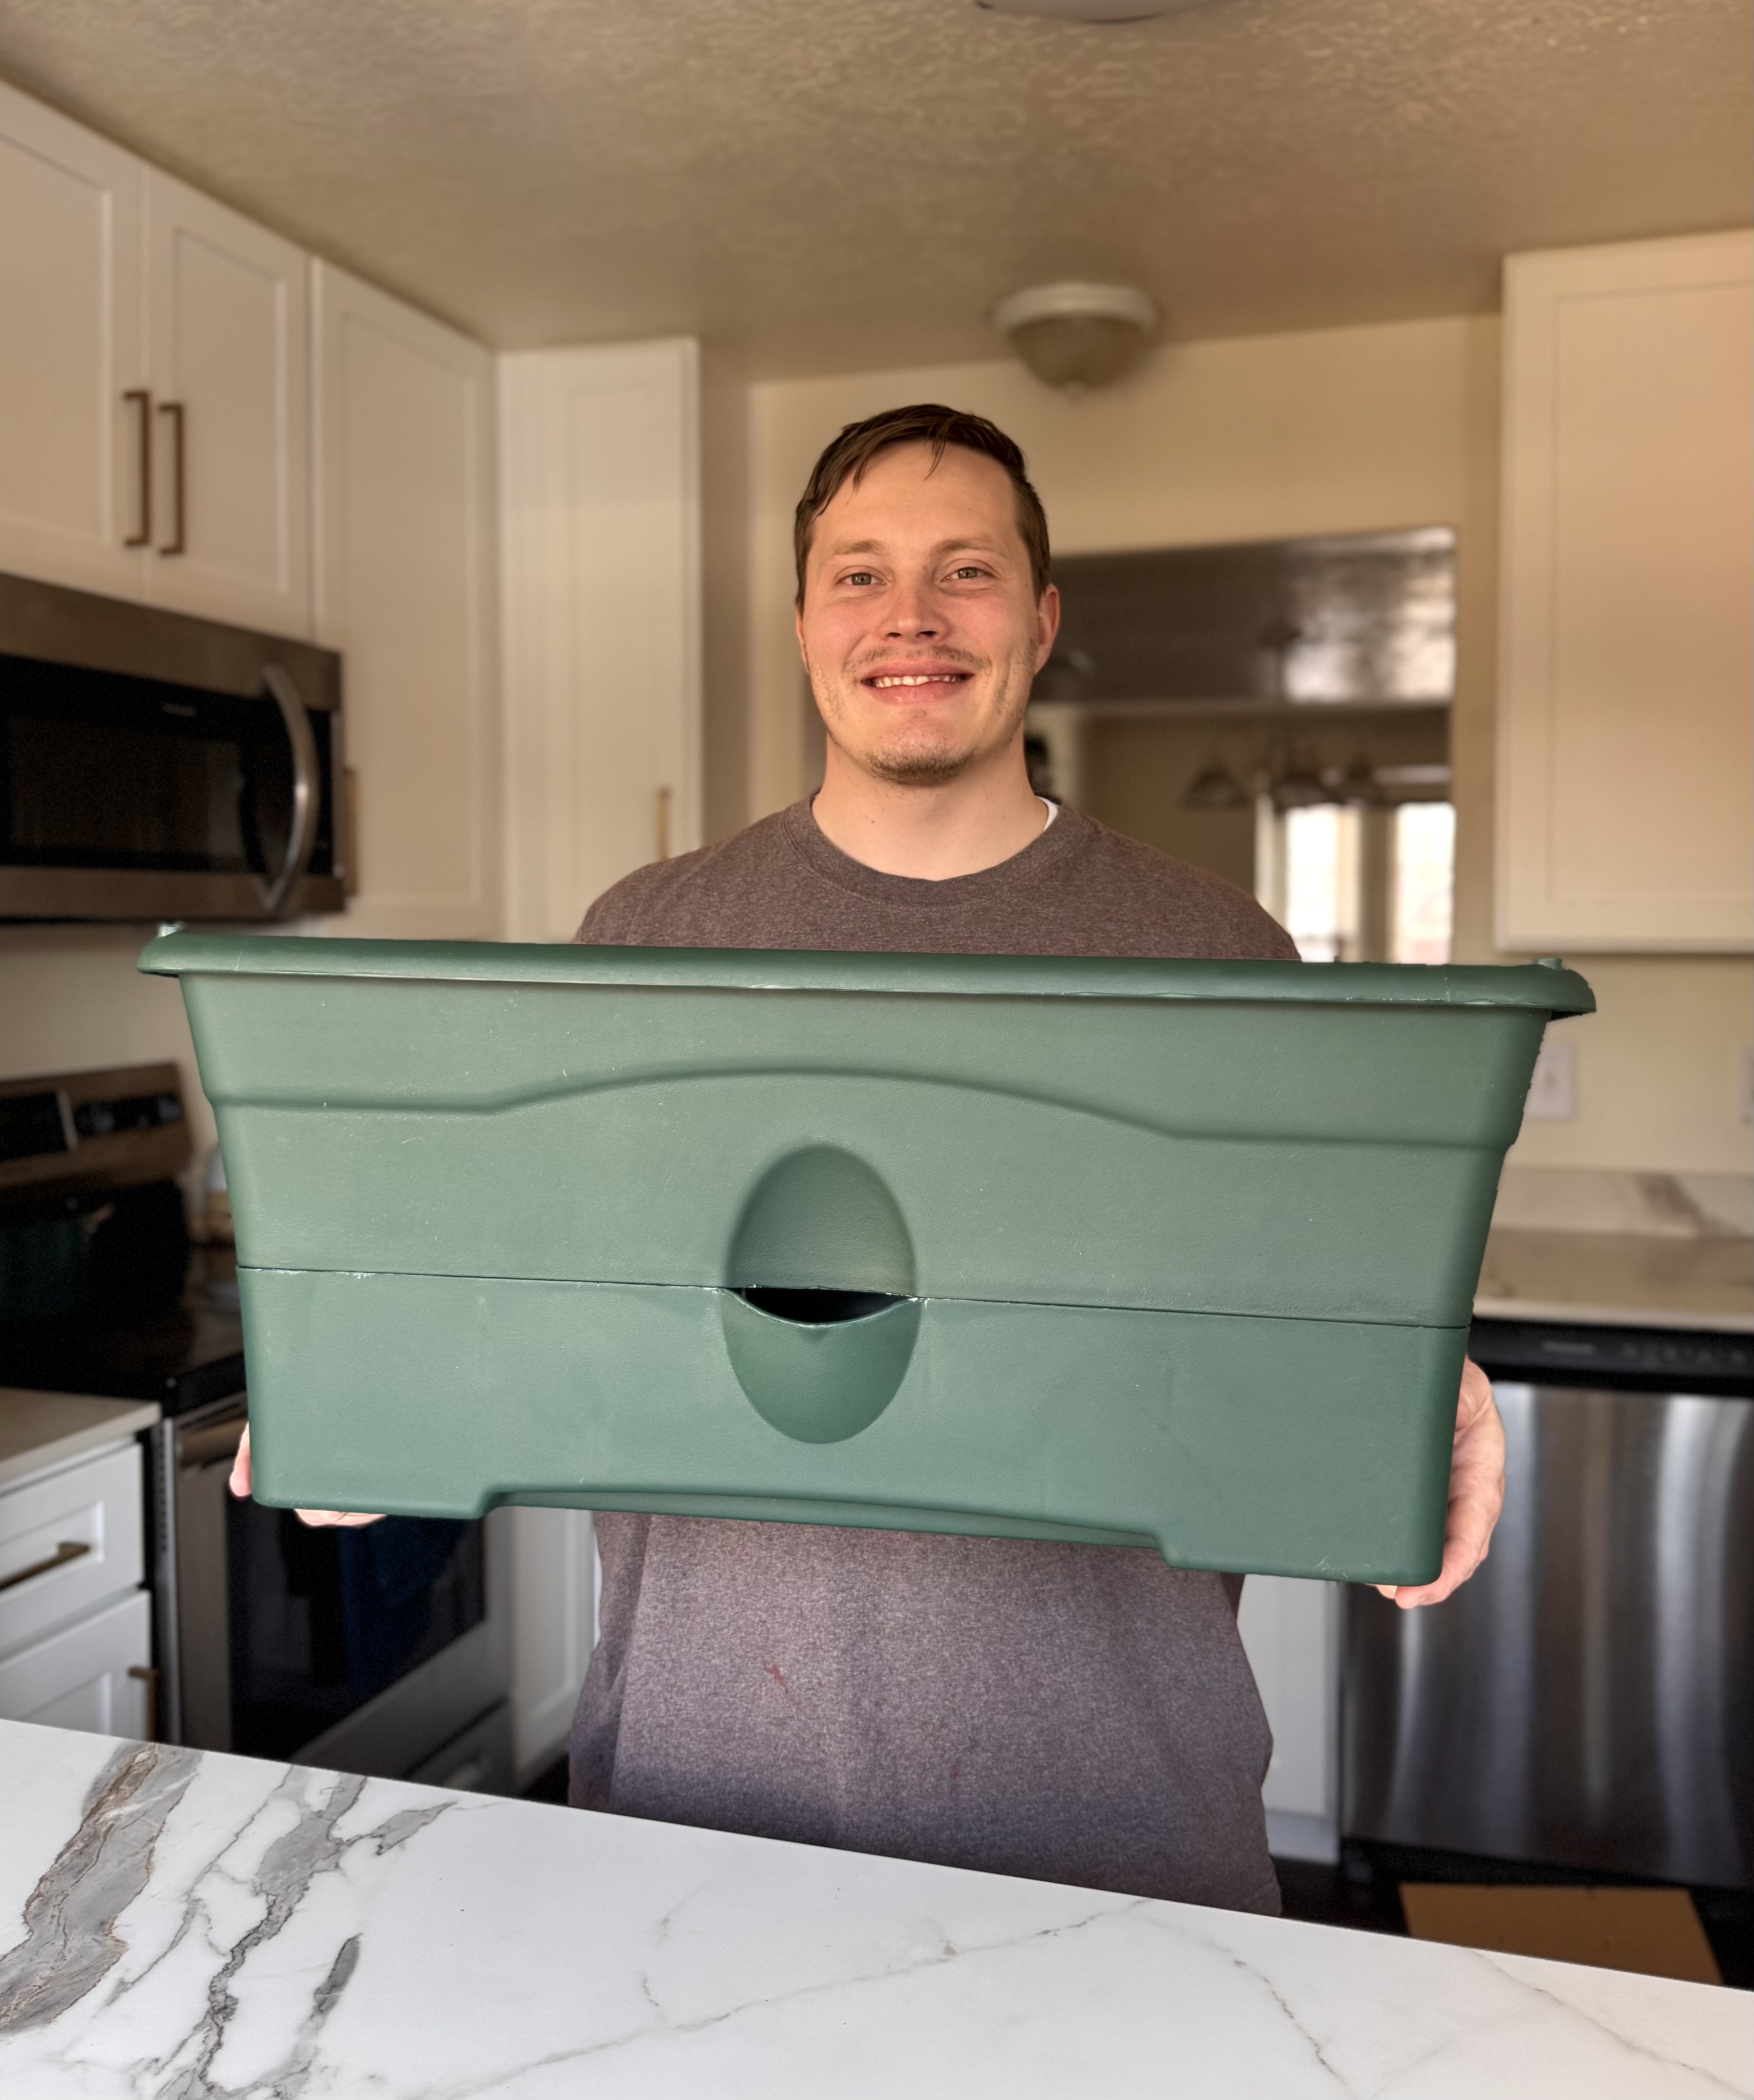
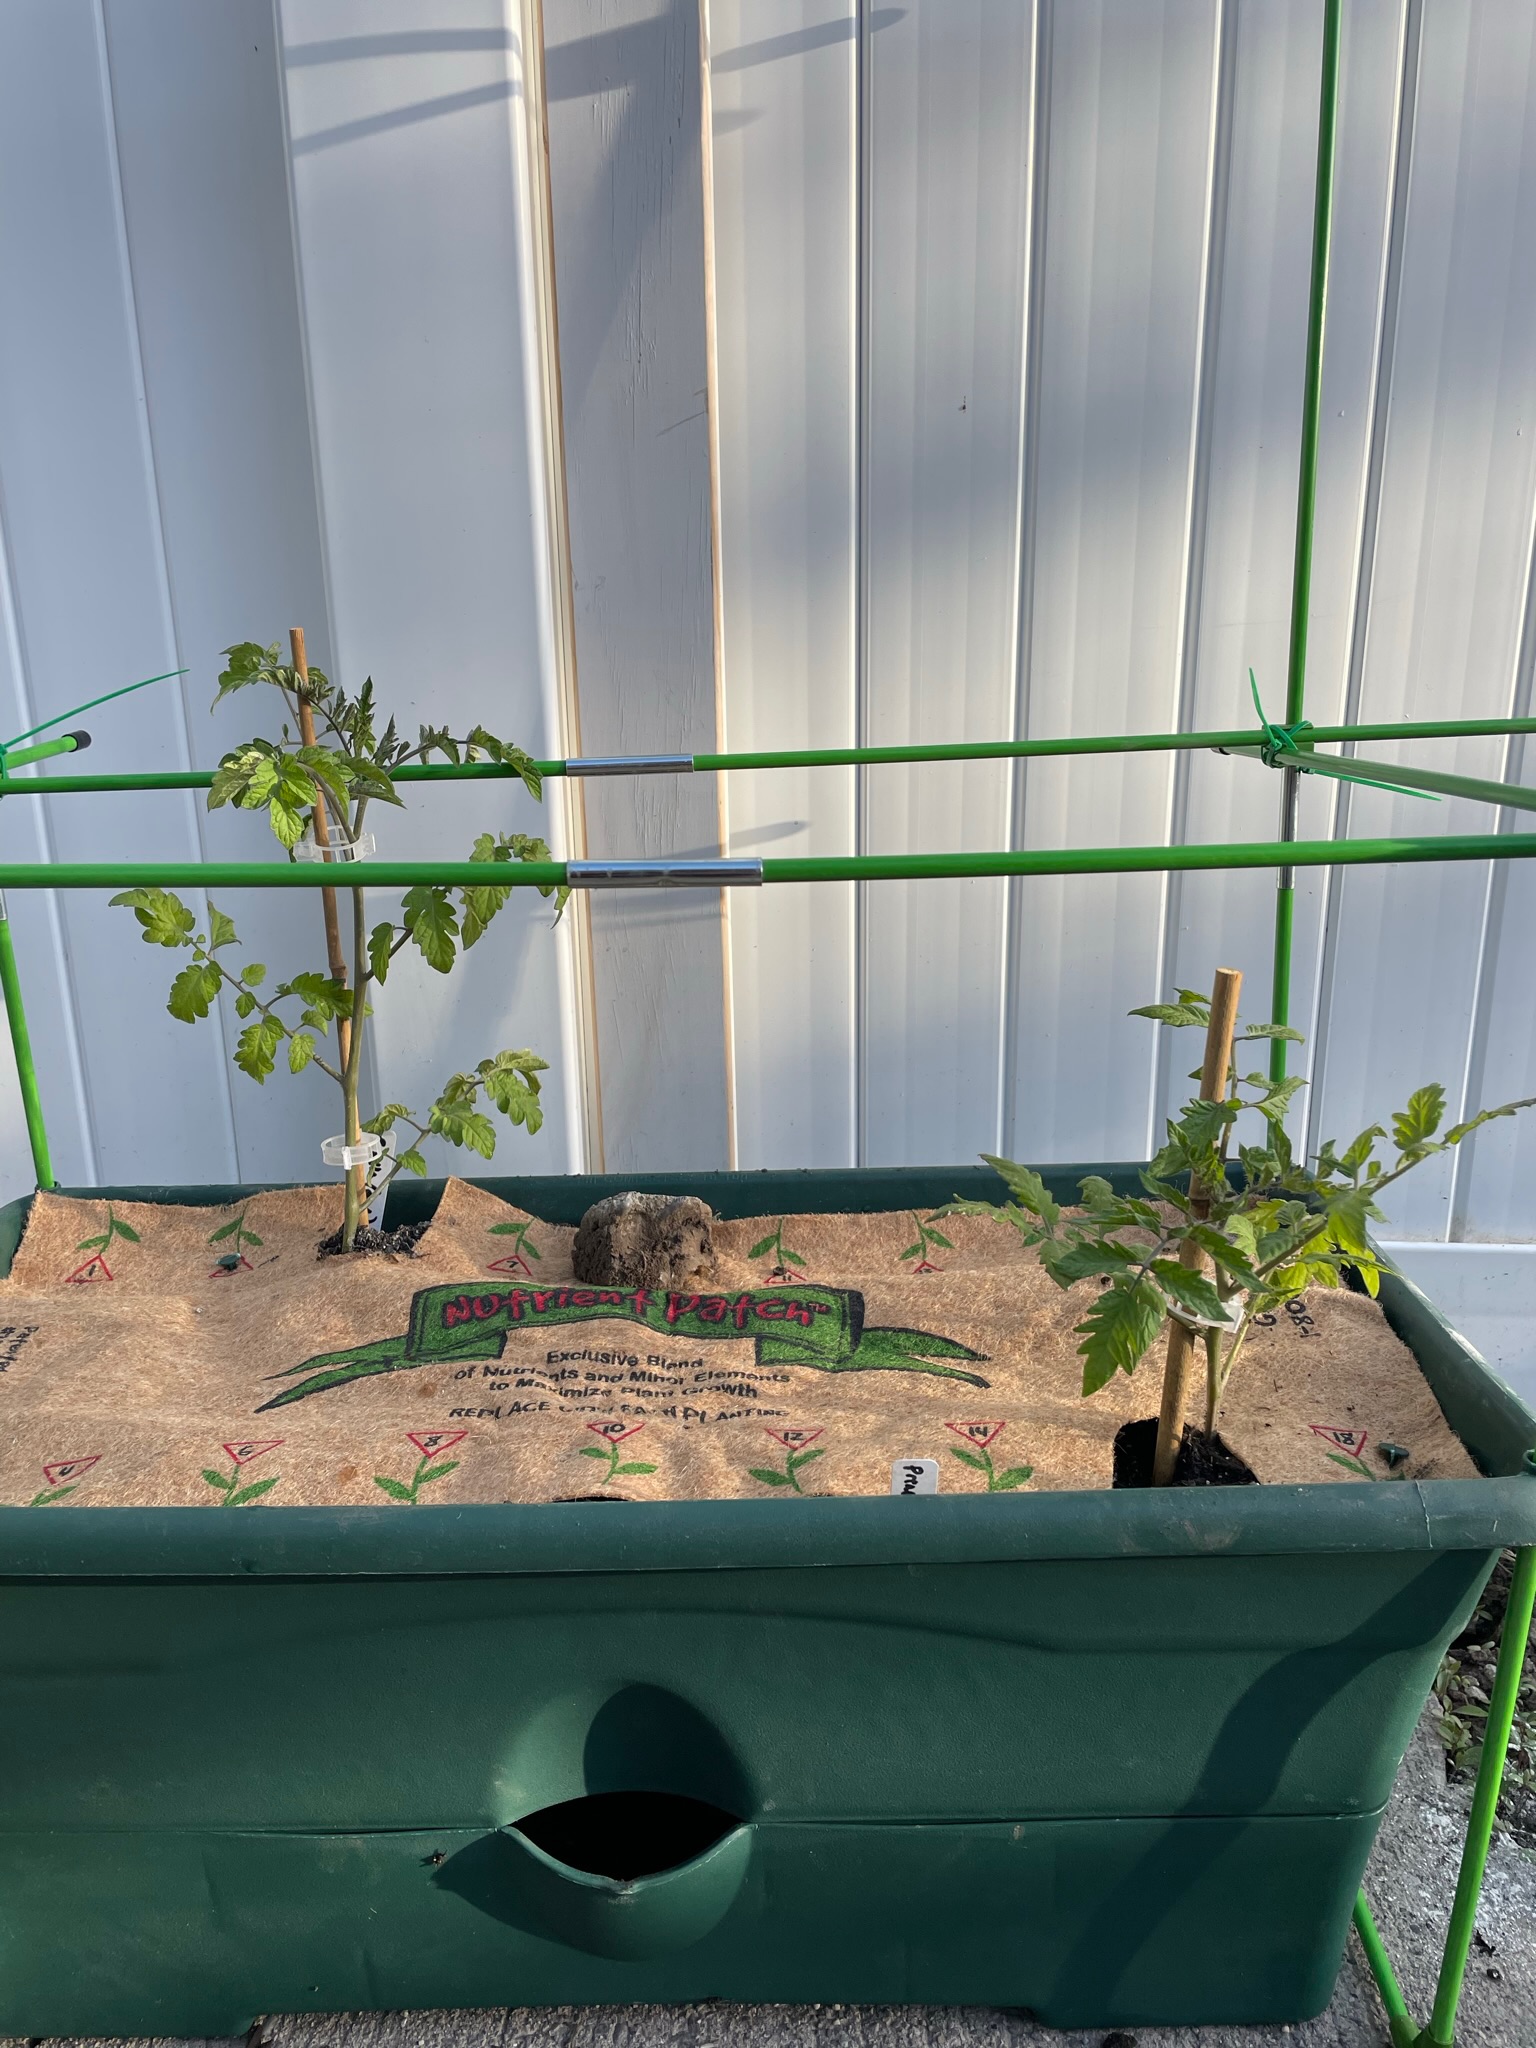
- 4-Gallon Water Reservoir: At the bottom center of the Garden Patch Grow Box, you’ll notice a small lip opening, which houses a 4-gallon water reservoir. Simply insert your hose into this opening to fill the box with water, and the potting mix will absorb it like a straw! Thanks to this water reservoir, managing watering becomes much easier, eliminating the stress of over- or under-watering your plants.
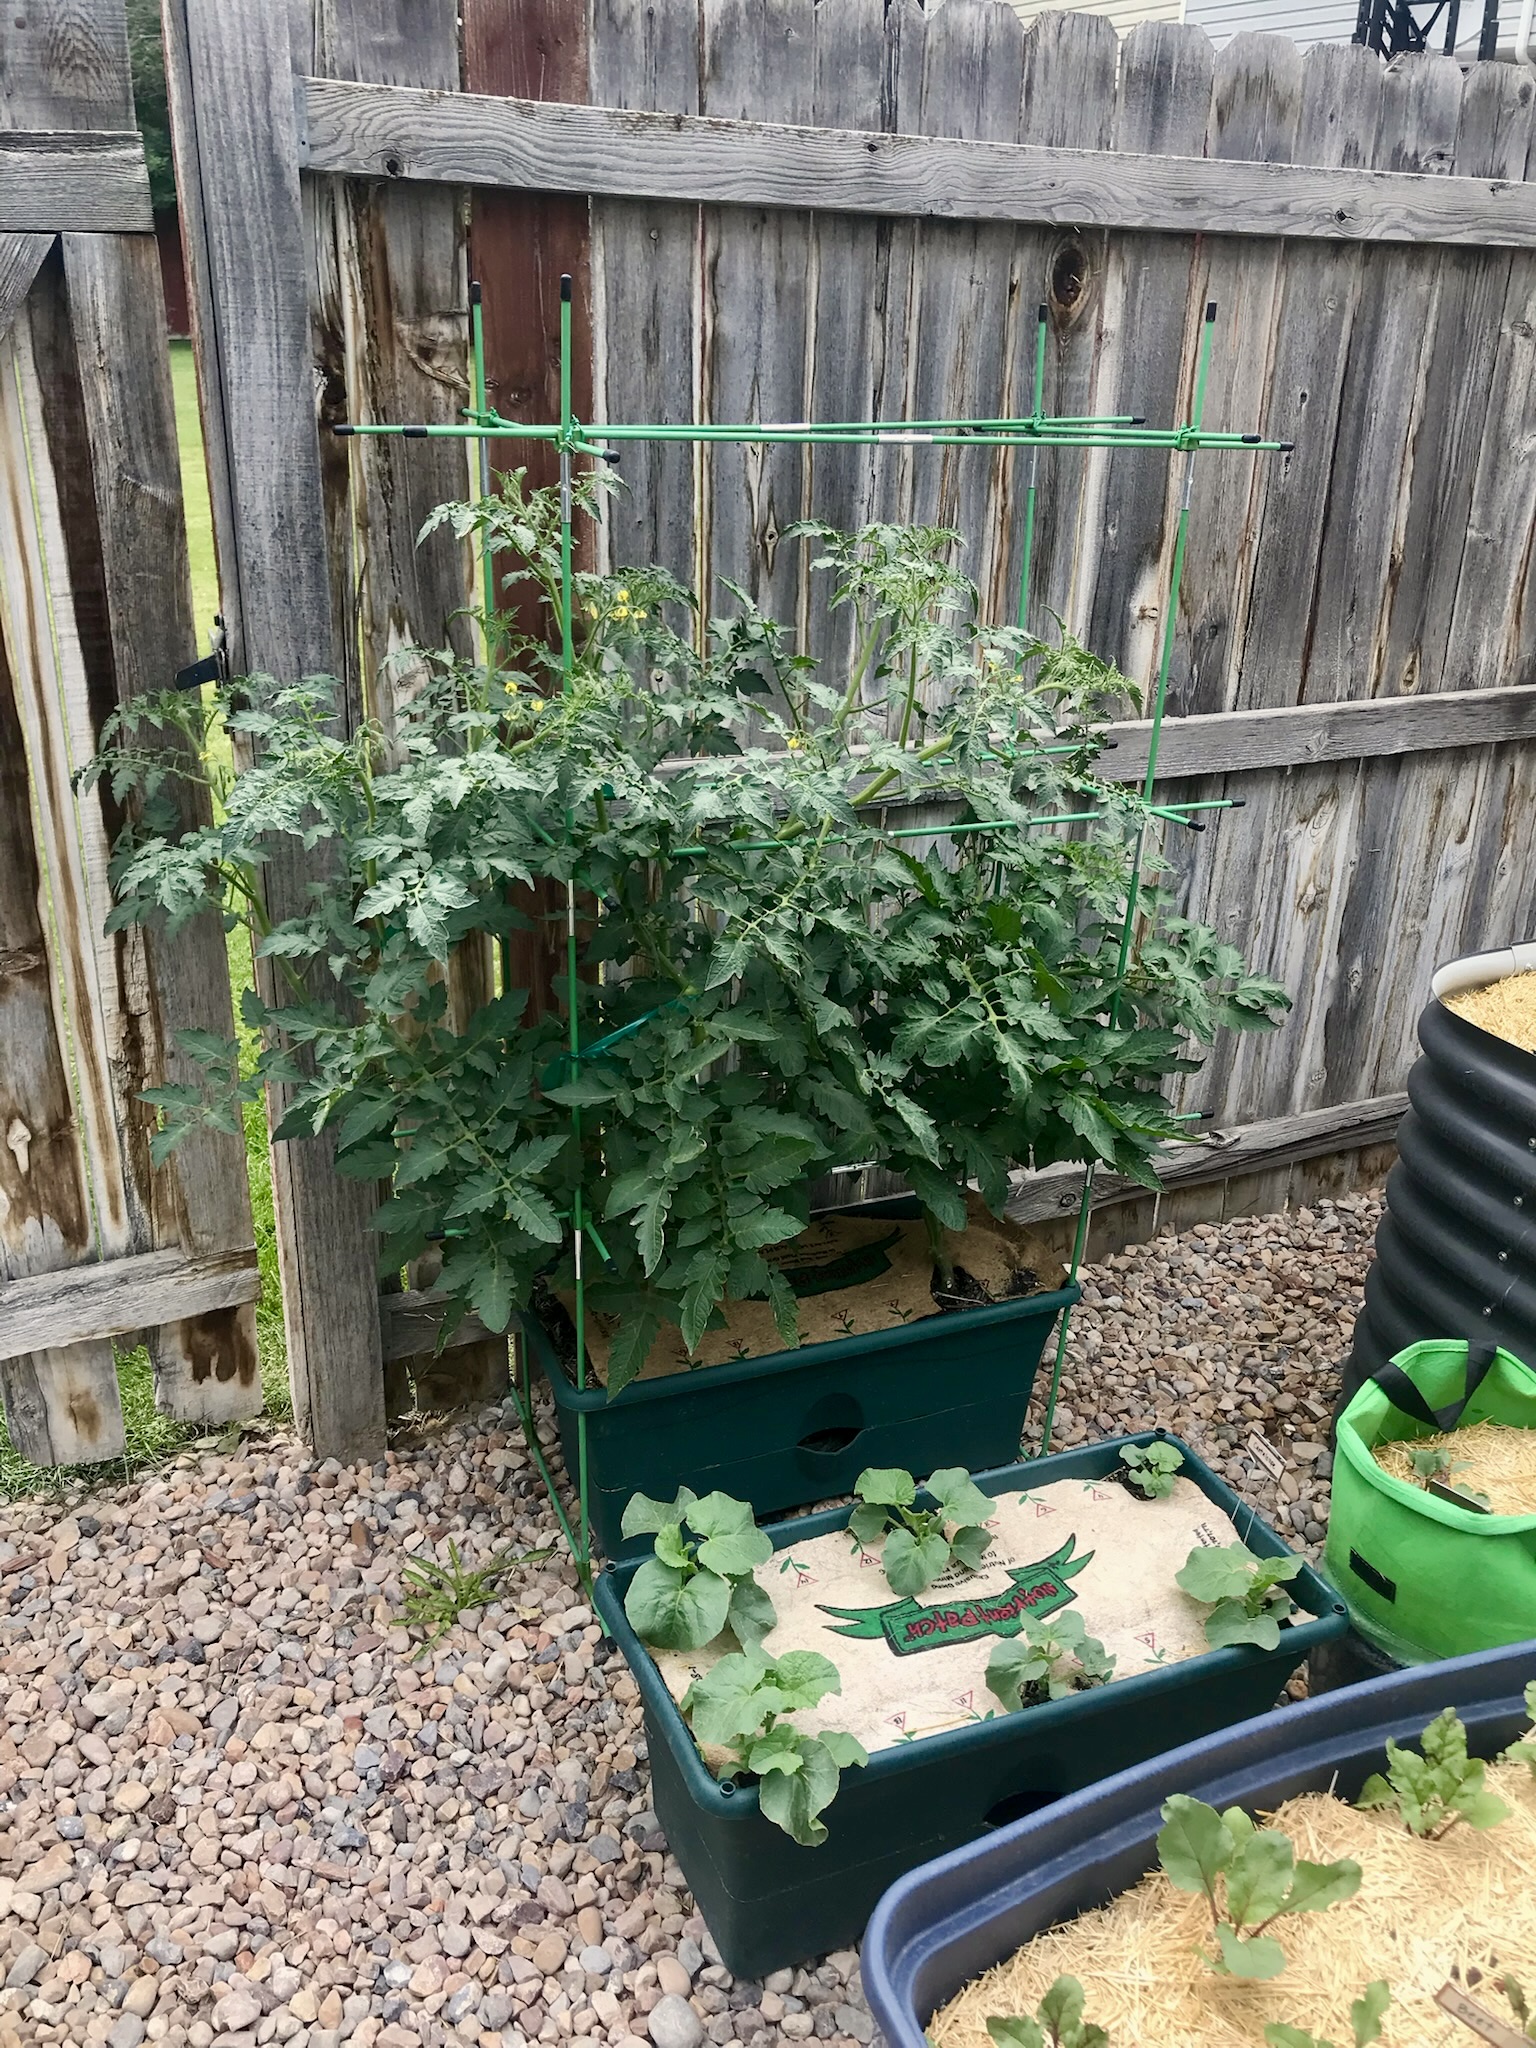
- Nutrient Patch: At the base of each plant (pictured), you’ll find the Nutrient Patch. Depending on what you’re planting, the Garden Patch Grow Box provides a helpful diagram to guide you on where to cut holes for your plants. The spacing shown ensures your plants have the right amount of room to grow. Plus, the Nutrient Patch includes all the fertilizer you’ll need for the season and doubles as a mulch layer, so you don’t have to worry about weeding!
- Easy Staking (Trellis) Kit: Pictured, you can see a green trellis/staking kit. It is sold separately incase whatever you are planting doesn’t require it. The kit is extremely easy to set up and fits right into premade holes that Garden Patch Grow Box comes with. It’s a great, study option for tomatoes, and a much better trellis than a wire cylindrical cage.
Additional Tips
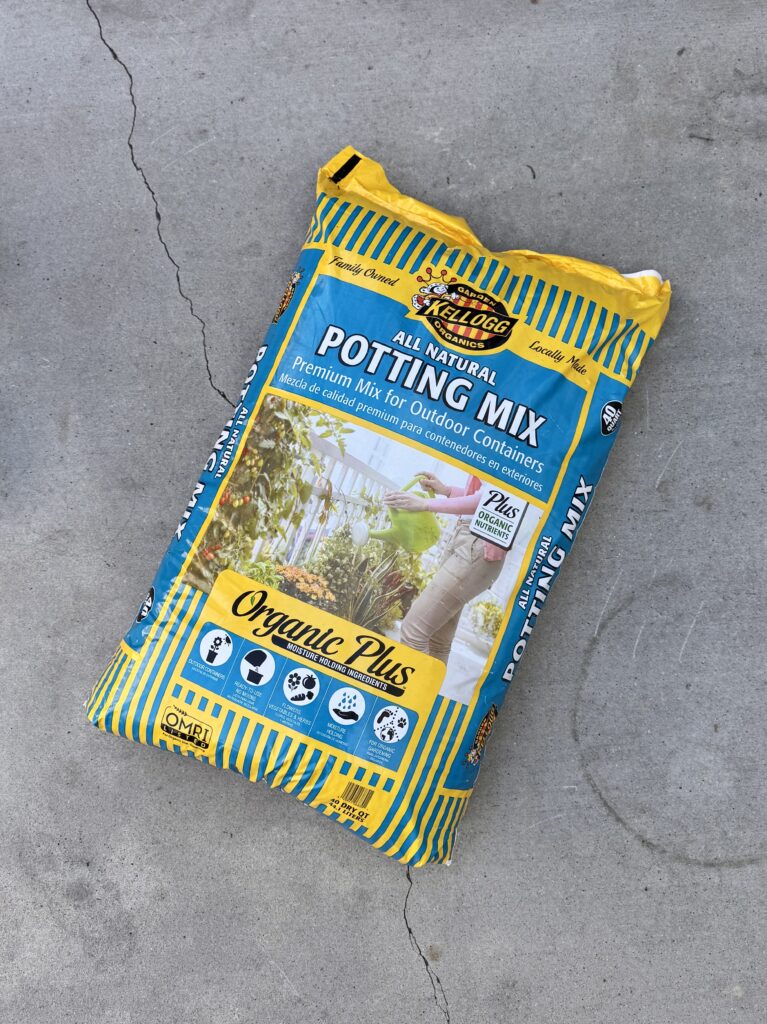
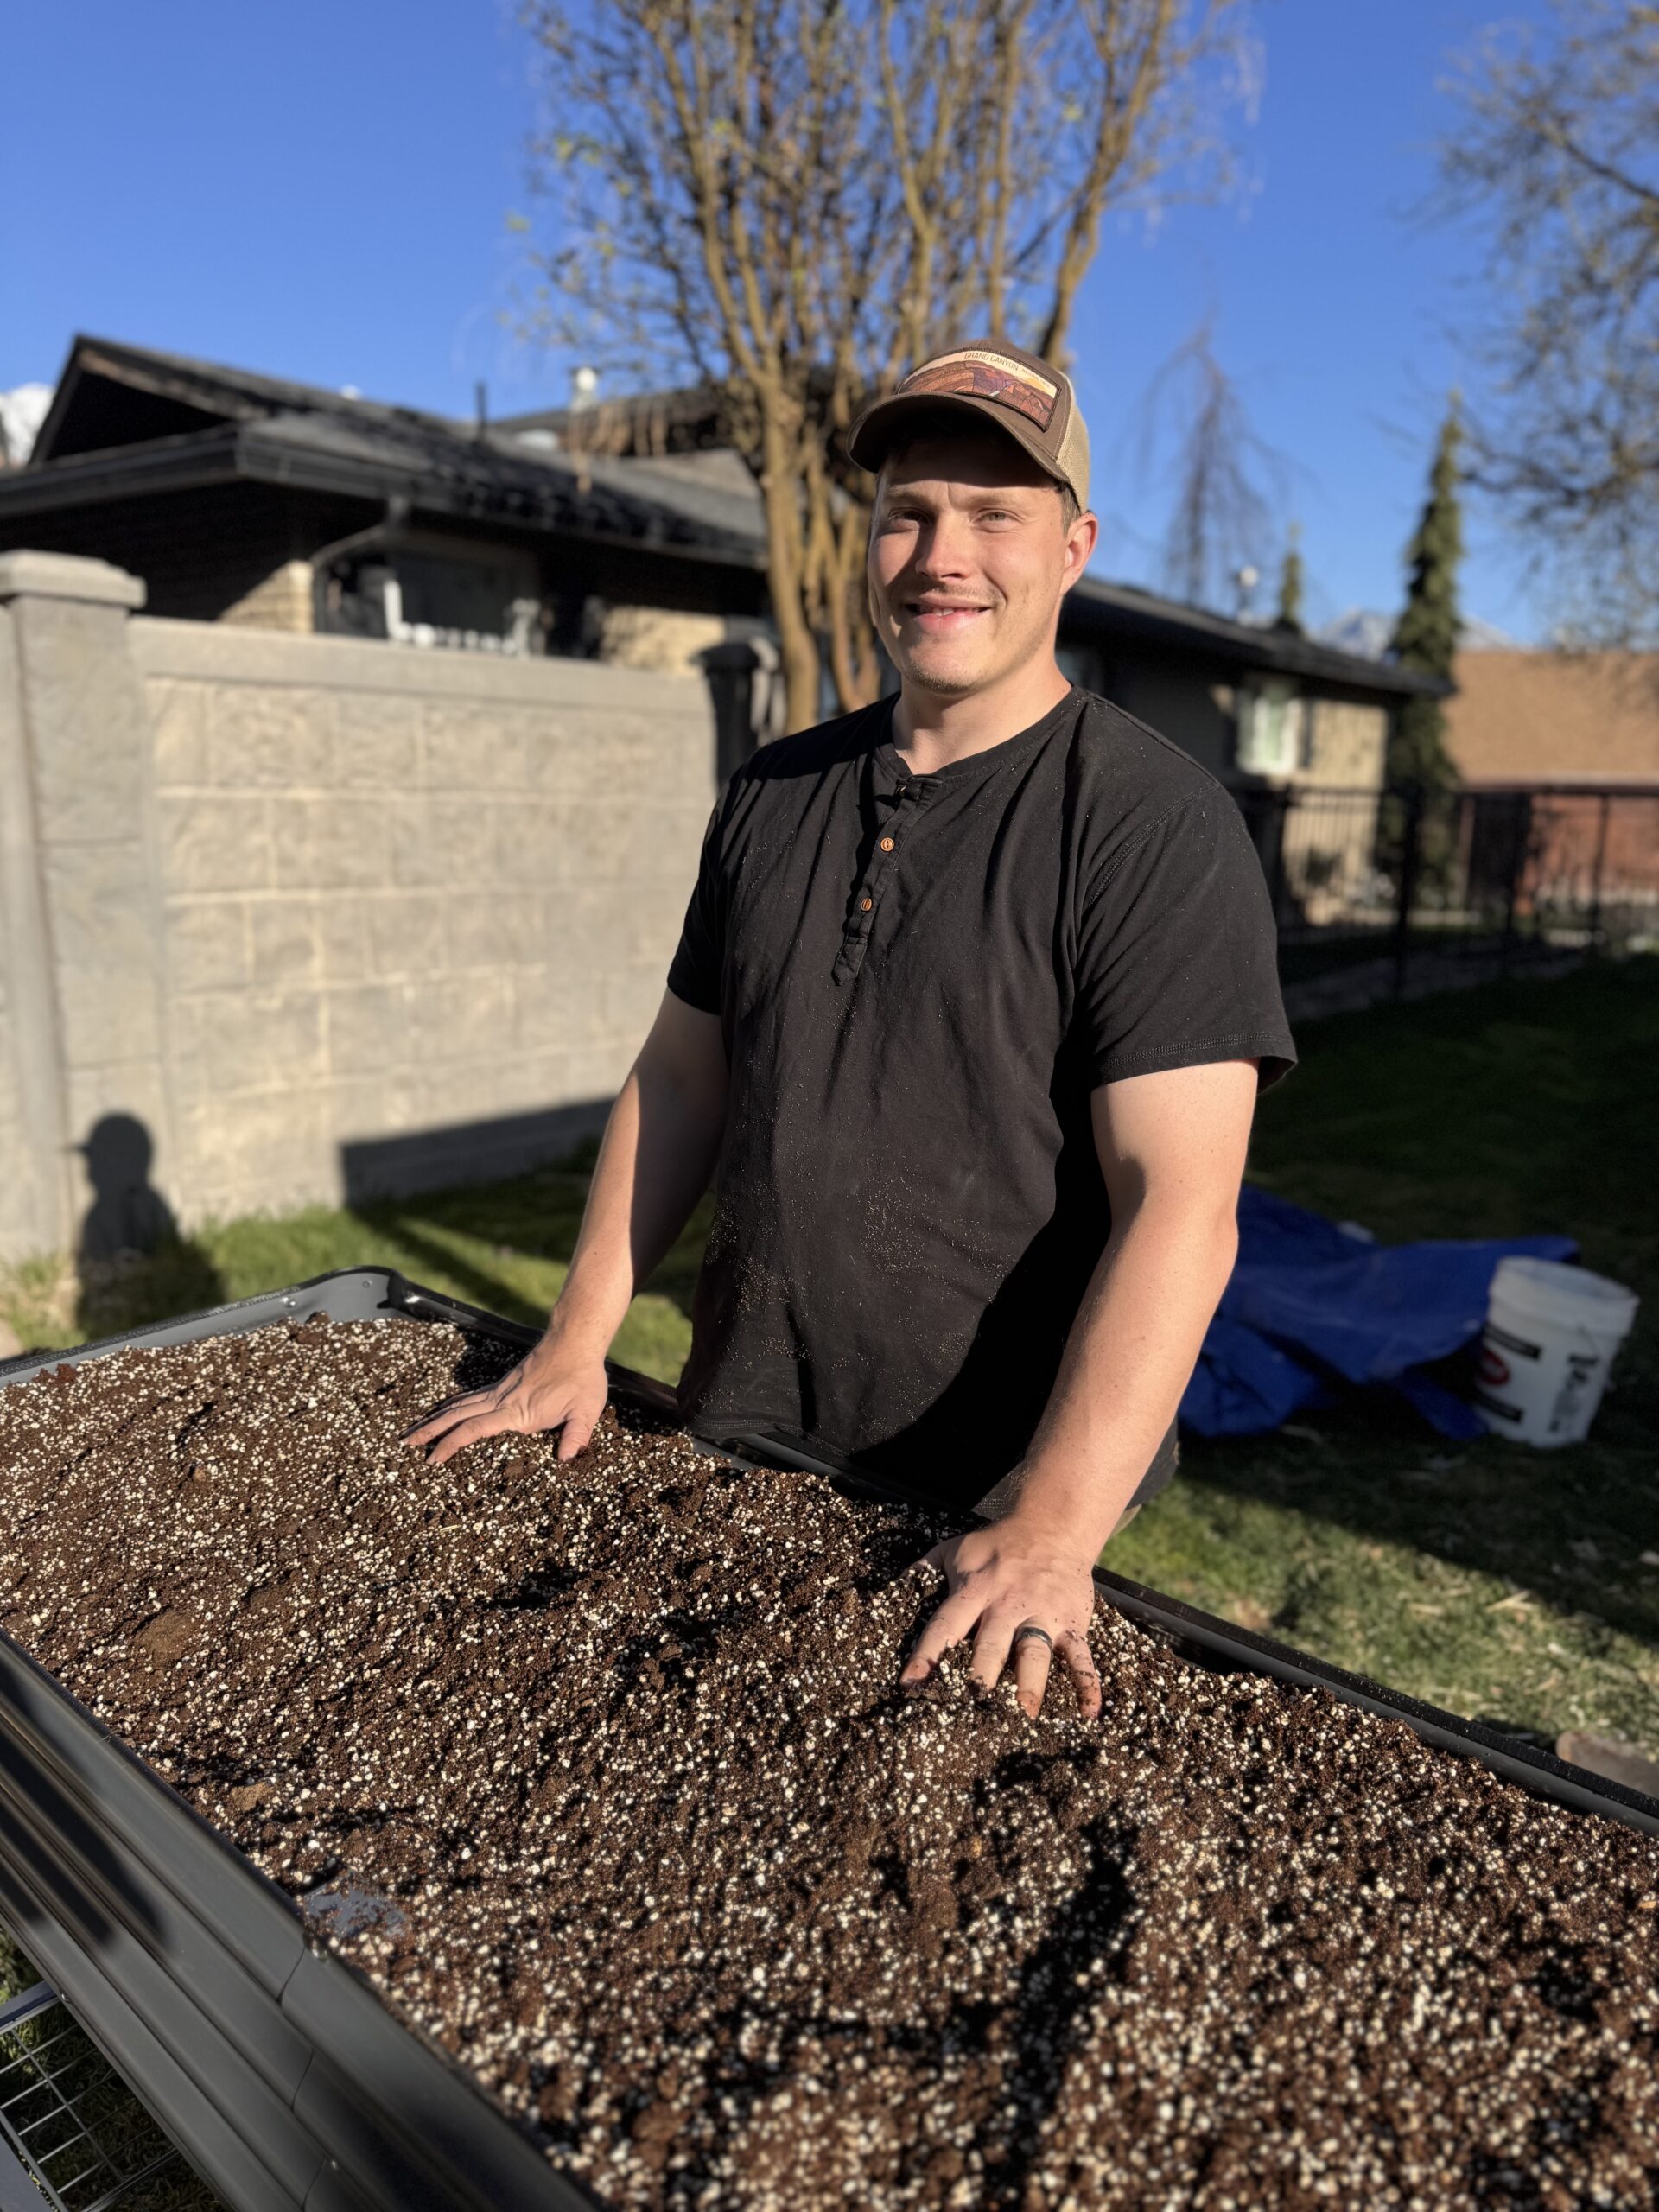
- Use potting mix, NOT potting soil: The Garden Patch Grow Box needs to wick the water upwards, so it’s essential to use potting mix because there are more organic elements such as wood chips that can become saturated with water.
- Fill the potting mix completely to the brim: Ideally you even want it to look like a muffin top where it is a bit taller on top. This will help the plants to not dry out. My pictures on this blog post actually do not show this very well because I ran out of potting mix that day! Fill the potting mix as high as possible and wet it down with water for an initial saturation!
- Wet the fertilizer pouch directly: Doing so will help the fertilizer to quickly dissolve. Note that this should still be kept in the middle of the grow box and not spread around.
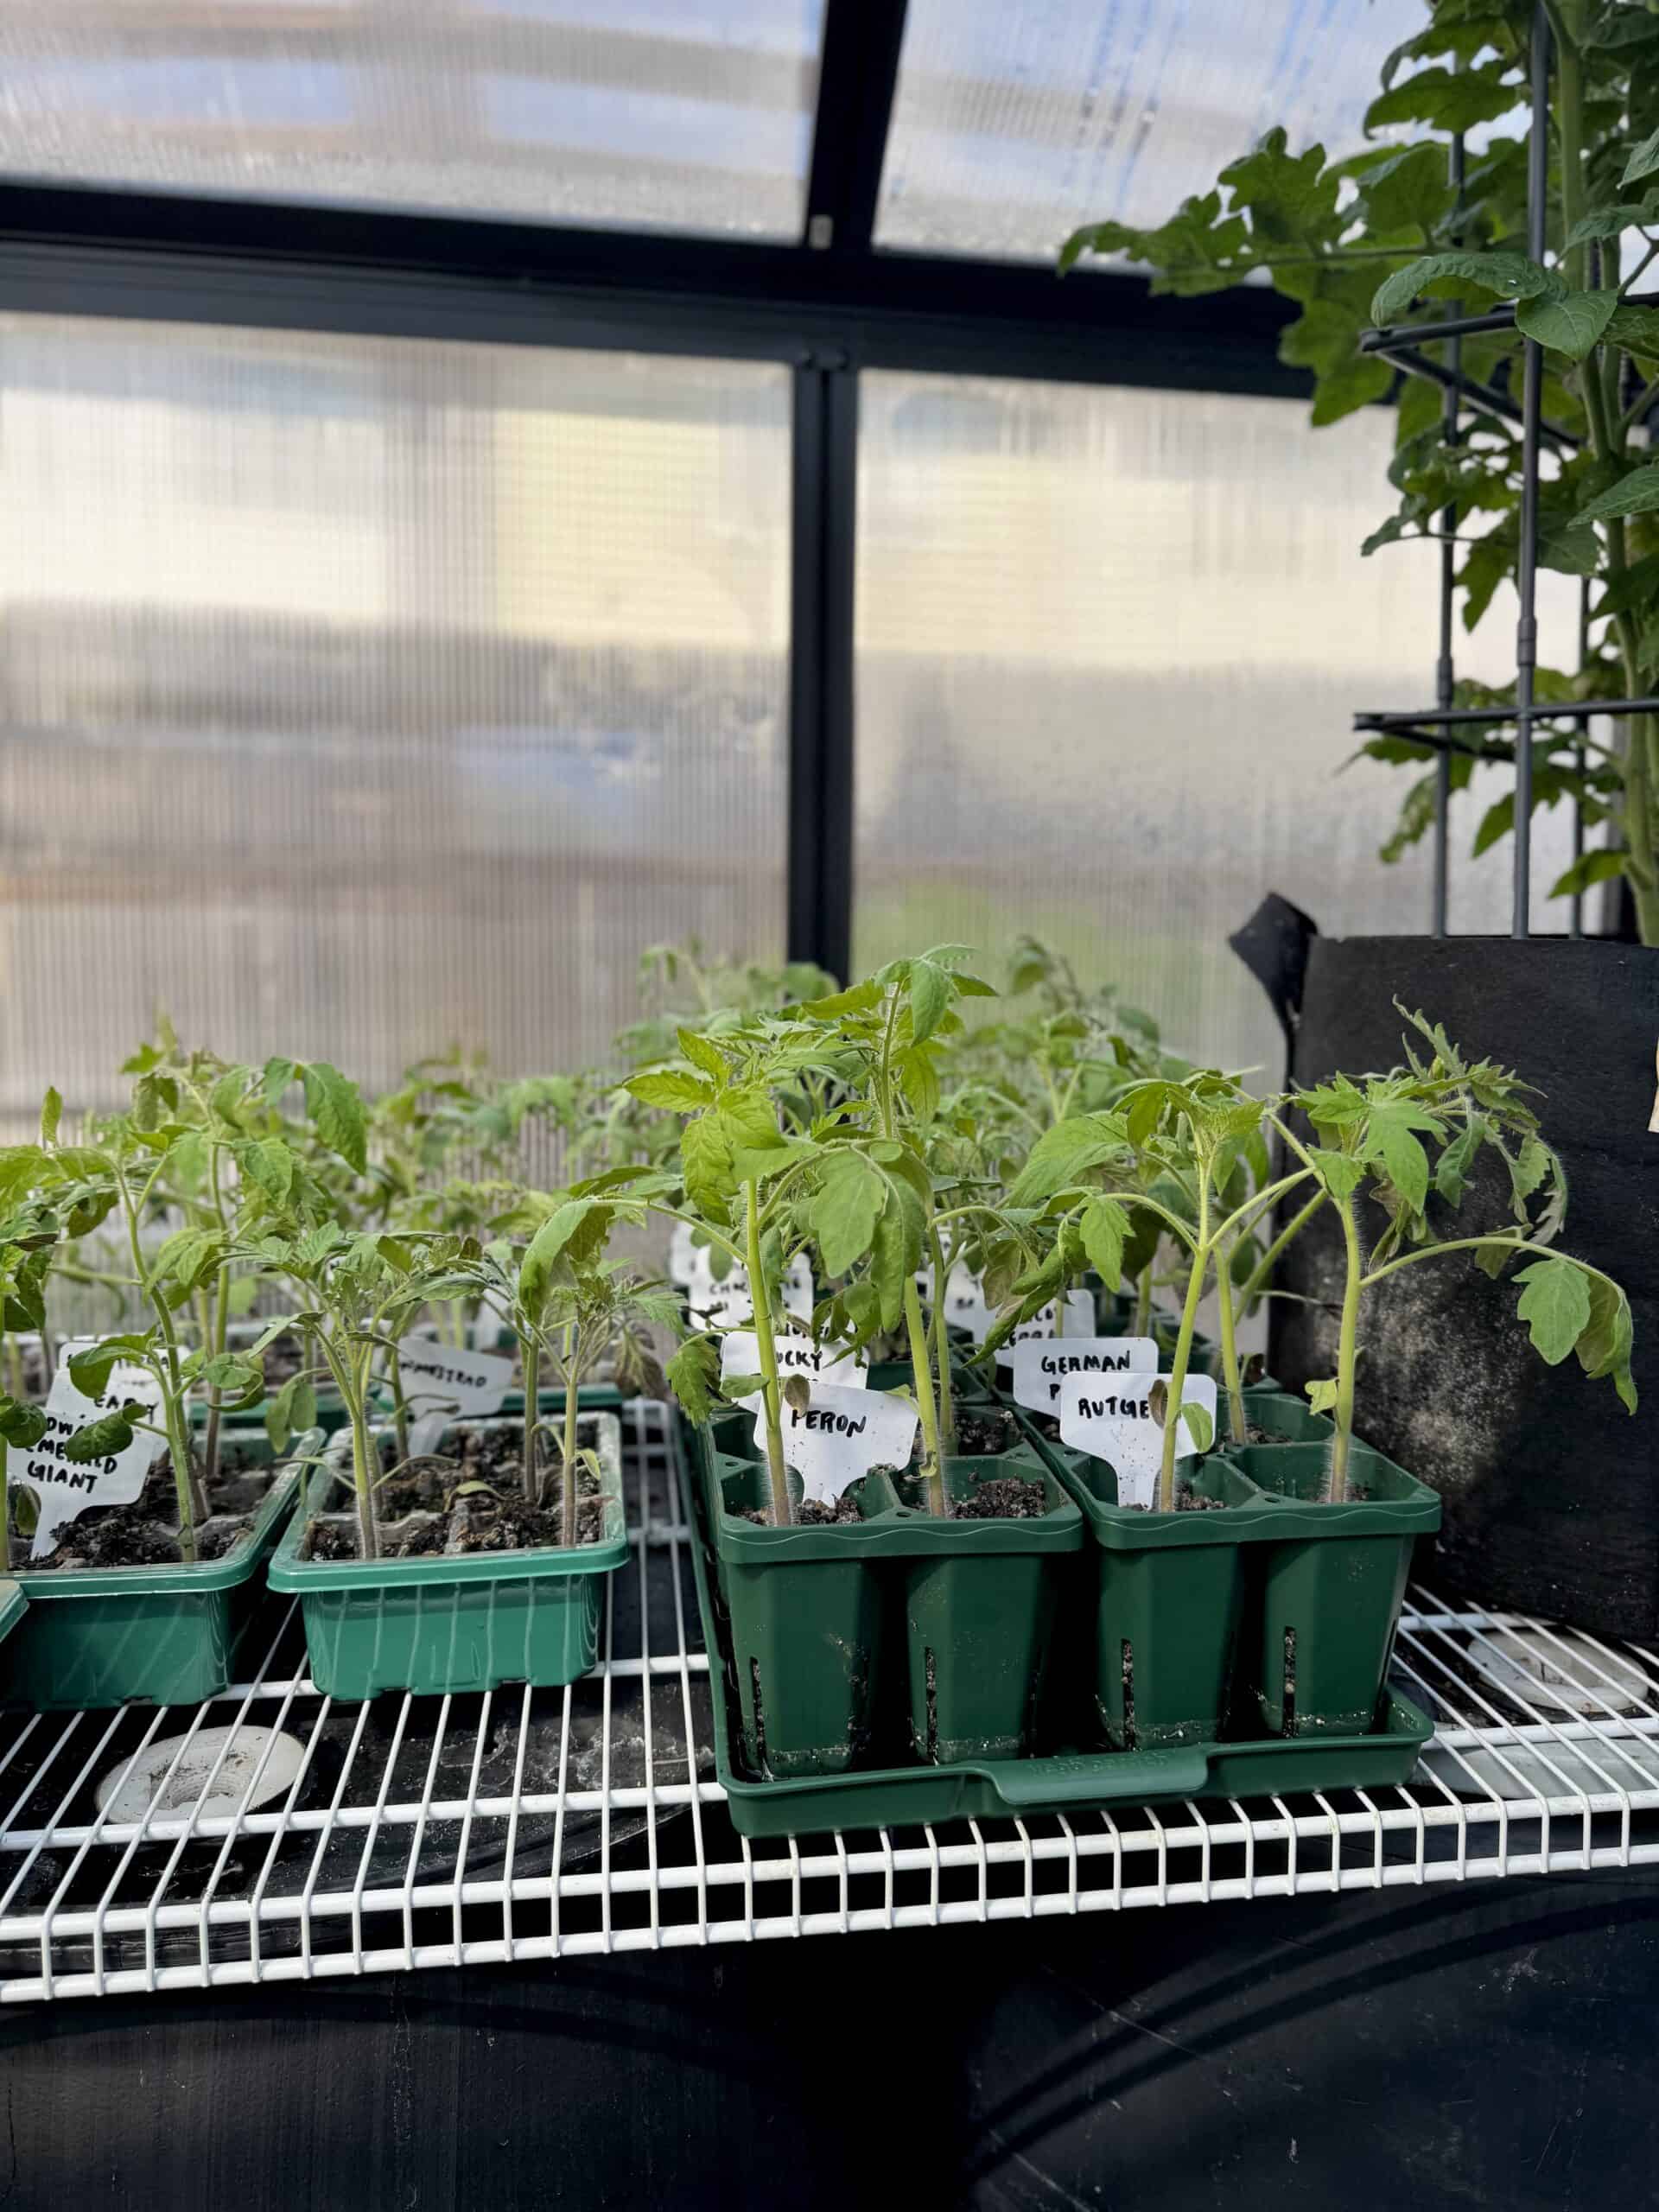
- Follow Garden Patch’s plant spacing guide: E.g. for tomatoes–only TWO plants per container! If not, your plants’ roots will fight each other and their growth will be stunted. Other plants can have up to ten plants per container.
- Be diligent with watering: If the water reservoir runs dry, it can disrupt the soil’s osmosis. At the start of the season, you may only need to water once a week, but during peak heat and plant growth, I find the reservoirs can dry up in as little as 12 hours, so I refill them morning and night to be safe.
- Assemble in warmer weather: Don’t assemble the Garden Patch Grow Box outside in cold weather! The plastic will be less malleable and could snap. This is possible especially with pulling down the top flaps that interact with the water reservoir and using the trellis clips. If a top flap did break you could fill a tube sock with potting mix and place it in the hole for the water to still wick upwards. I’ve only had this happen once with ten grow boxes though!

Best of Luck!
Best of luck trying out the Garden Patch Grow Box! If you end up using them, I’d love to see some pictures of what you grow. I recommend every new gardener start with 1-3 Garden Patch Grow Boxes.
They provide a great foundation, boosting confidence and teaching valuable gardening principles that can be applied to more challenging gardening methods down the line!
If you enjoyed this blog post, be sure to check out my other gardening blog posts:


I’ve also been using grow boxes for years and have been very impressed.
I loved the detail on water usage with the water tank. That is pretty awesome.
All of my tomatoes in one box have blossom rot. The folks at garden patch said to add lime to the water tank. I did this to no avail. How often should I add water to the box? I had been filling it every couple of days because it was empty and extremely hot outside. Please help with these problems. The tomato plants started out great, but I have not had one decent one since I planted the first week of May. Also, any alternatives for the support cages? The ones I purchased from garden patch do not hold up well from the weight of the tomatoes, even small ones. Thanks
Hi George, sorry for the delayed response and that your tomatoes are having problems! The dolomite (lime) that garden patch sells usually gets mixed into the potting mix before planting. I have never heard of mixing it with the water and so I’m not sure how that would work.
I wonder if you used the zip ties when setting up the support cages. In my experience with the zip ties the cages become quite strong and can support full plants. As far as watering, the goal is for the tank to never run dry. At the beginning of the season I may only need to water every 3-5 days. However, when the summer is at max heat and my plants are tall, I’ve had to water morning and night before. Blossom end rot is normally caused by lack of water.
Not sure but it looks like Garden Patch might be out of business?? I wanted to buy the nutrient patch for this year’s gardening in my box. Any suggestions where I might find something to replace this? I did see on Amazon a company called EarthBox that has a similar set-up that might work for this, without having to purchase another box from the EarthBox company.
Hi Heather! Sadly I’m starting to think they went out of business as well. I know EarthBox is extremely similar and so that is a great option. You could also use your own mulch such as straw and then amend in a little bit of fertilizer kind of like the nutrient patch. I’ve done that before and it has worked great for me!