Hey all! Real Farmer Jeff here.
In 2025, I learned from one of my followers (shoutout Alyssa!) that you can often find free seeds at local public libraries.
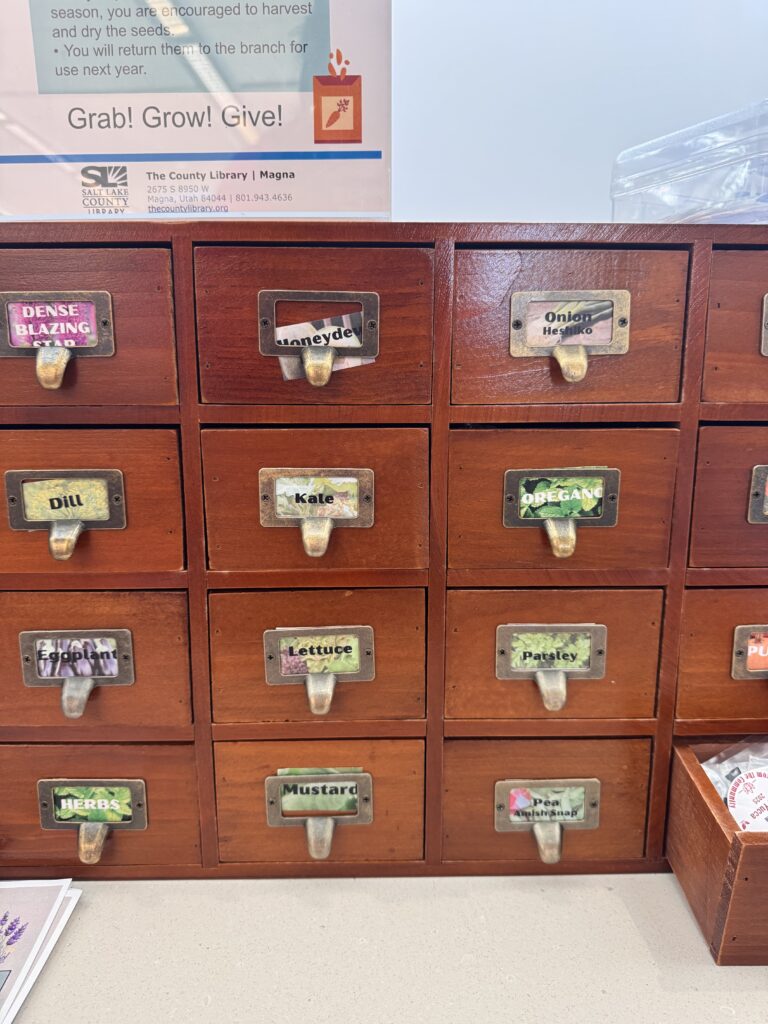
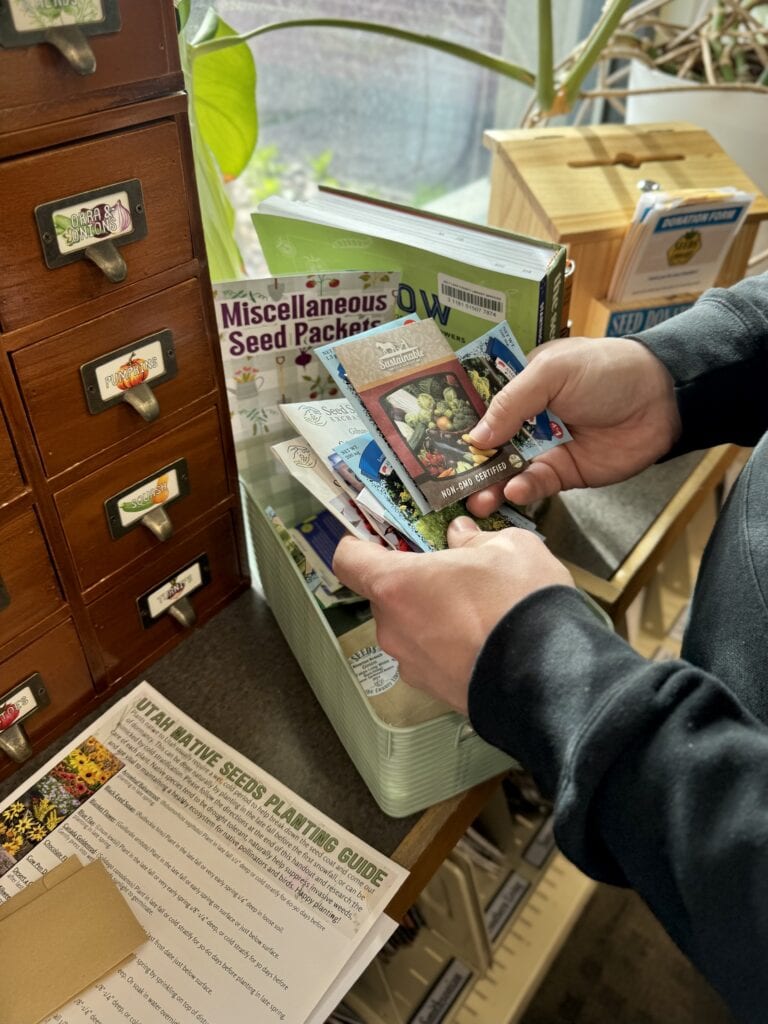
I was so intrigued that I checked out several libraries where I live. About half of the public libraries that I visited offered seed libraries. Two libraries stood out because they offer 50+ seed varieties. One even had a whole a collection of native flower seeds to attract pollinators.
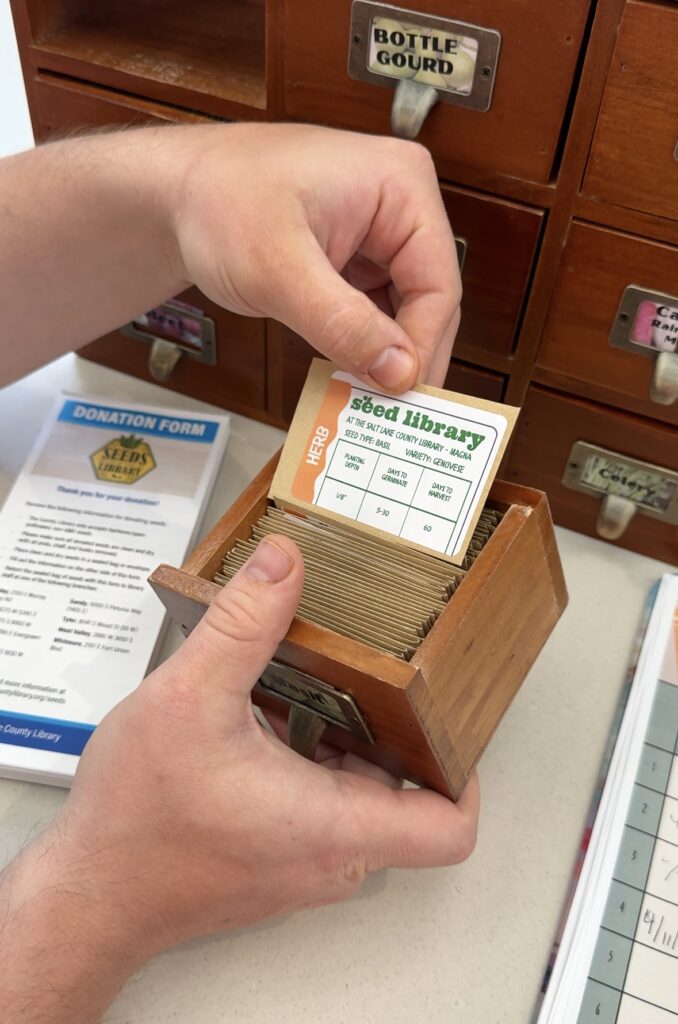
From the checkout sheet at the seed library, I could see that most people take 2-5 varieties in a single visit. Some libraries recommend donating seeds back in return if possible, but their primary objective is to help people to learn how to grow their own food.
Surprisingly, I didn’t even need a library card to check out the seeds!
About Seed Libraries
A seed library is a community resource, often located in public libraries, that offers free seeds to the public. Users “borrow” seeds, grow plants, and optionally return seeds from their harvest to keep the collection going.
Here are some of the intended purposes of seed libraries:
- Promote Sustainability and Food Security: Encourages home gardening and access to fresh produce.
- Preserve Biodiversity: Focus on heirloom and open-pollinated varieties.
- Educate Communities: Fosters knowledge about ecology.
- Build Community: Connects people through shared local growing efforts.
- Adapt Seeds Locally: Promotes plant varieties that grow well in specific regions.
How to Find Seed Libraries
The easiest way to find seed libraries in your area is to stop by your local library or give them a quick call and ask what exists where you live. You can also use the free tool Seed Library Network to see what seed libraries are registered near you. However, there are so many additional seed libraries that aren’t registered in most areas that I still suggest going in person to inquire if possible.
How Seed Libraries Work:
- Browse available seeds.
- Take a limited number to grow.
- Learn from available guides and resources.
- Optionally return seeds after harvest.
- Participate in events and workshops.
Fun Fact: There are over 500 seed libraries across the U.S., often hosted in public libraries.
Other Additional Ways to Get Free or Cheap Seeds
1. Seed Swaps (Local & Online)
These are events or online platforms where gardeners exchange seeds.
Where to Find:
- Local gardening groups
- Libraries or community centers
- Facebook groups
- Reddit: r/SeedSwap etc.
New to gardening? Many swaps welcome beginners without requiring trades.
2. Free Online Seed Programs
| Program | Description |
| FreeHeirloomSeeds.org | Offers free heirloom seed packs (donations encouraged). |
| Seed Savers Exchange | Occasional giveaways and affordable heirloom seeds. |
Tip: Apply early – some programs are seasonal with limited availability.
3. Grow from Grocery Store/Kitchen Scraps
Can You Plant Fresh Seeds? Yes, for some! Others need drying or preparation first. Here’s a breakdown:
Seeds You Can Often Plant Fresh (No Drying Needed):
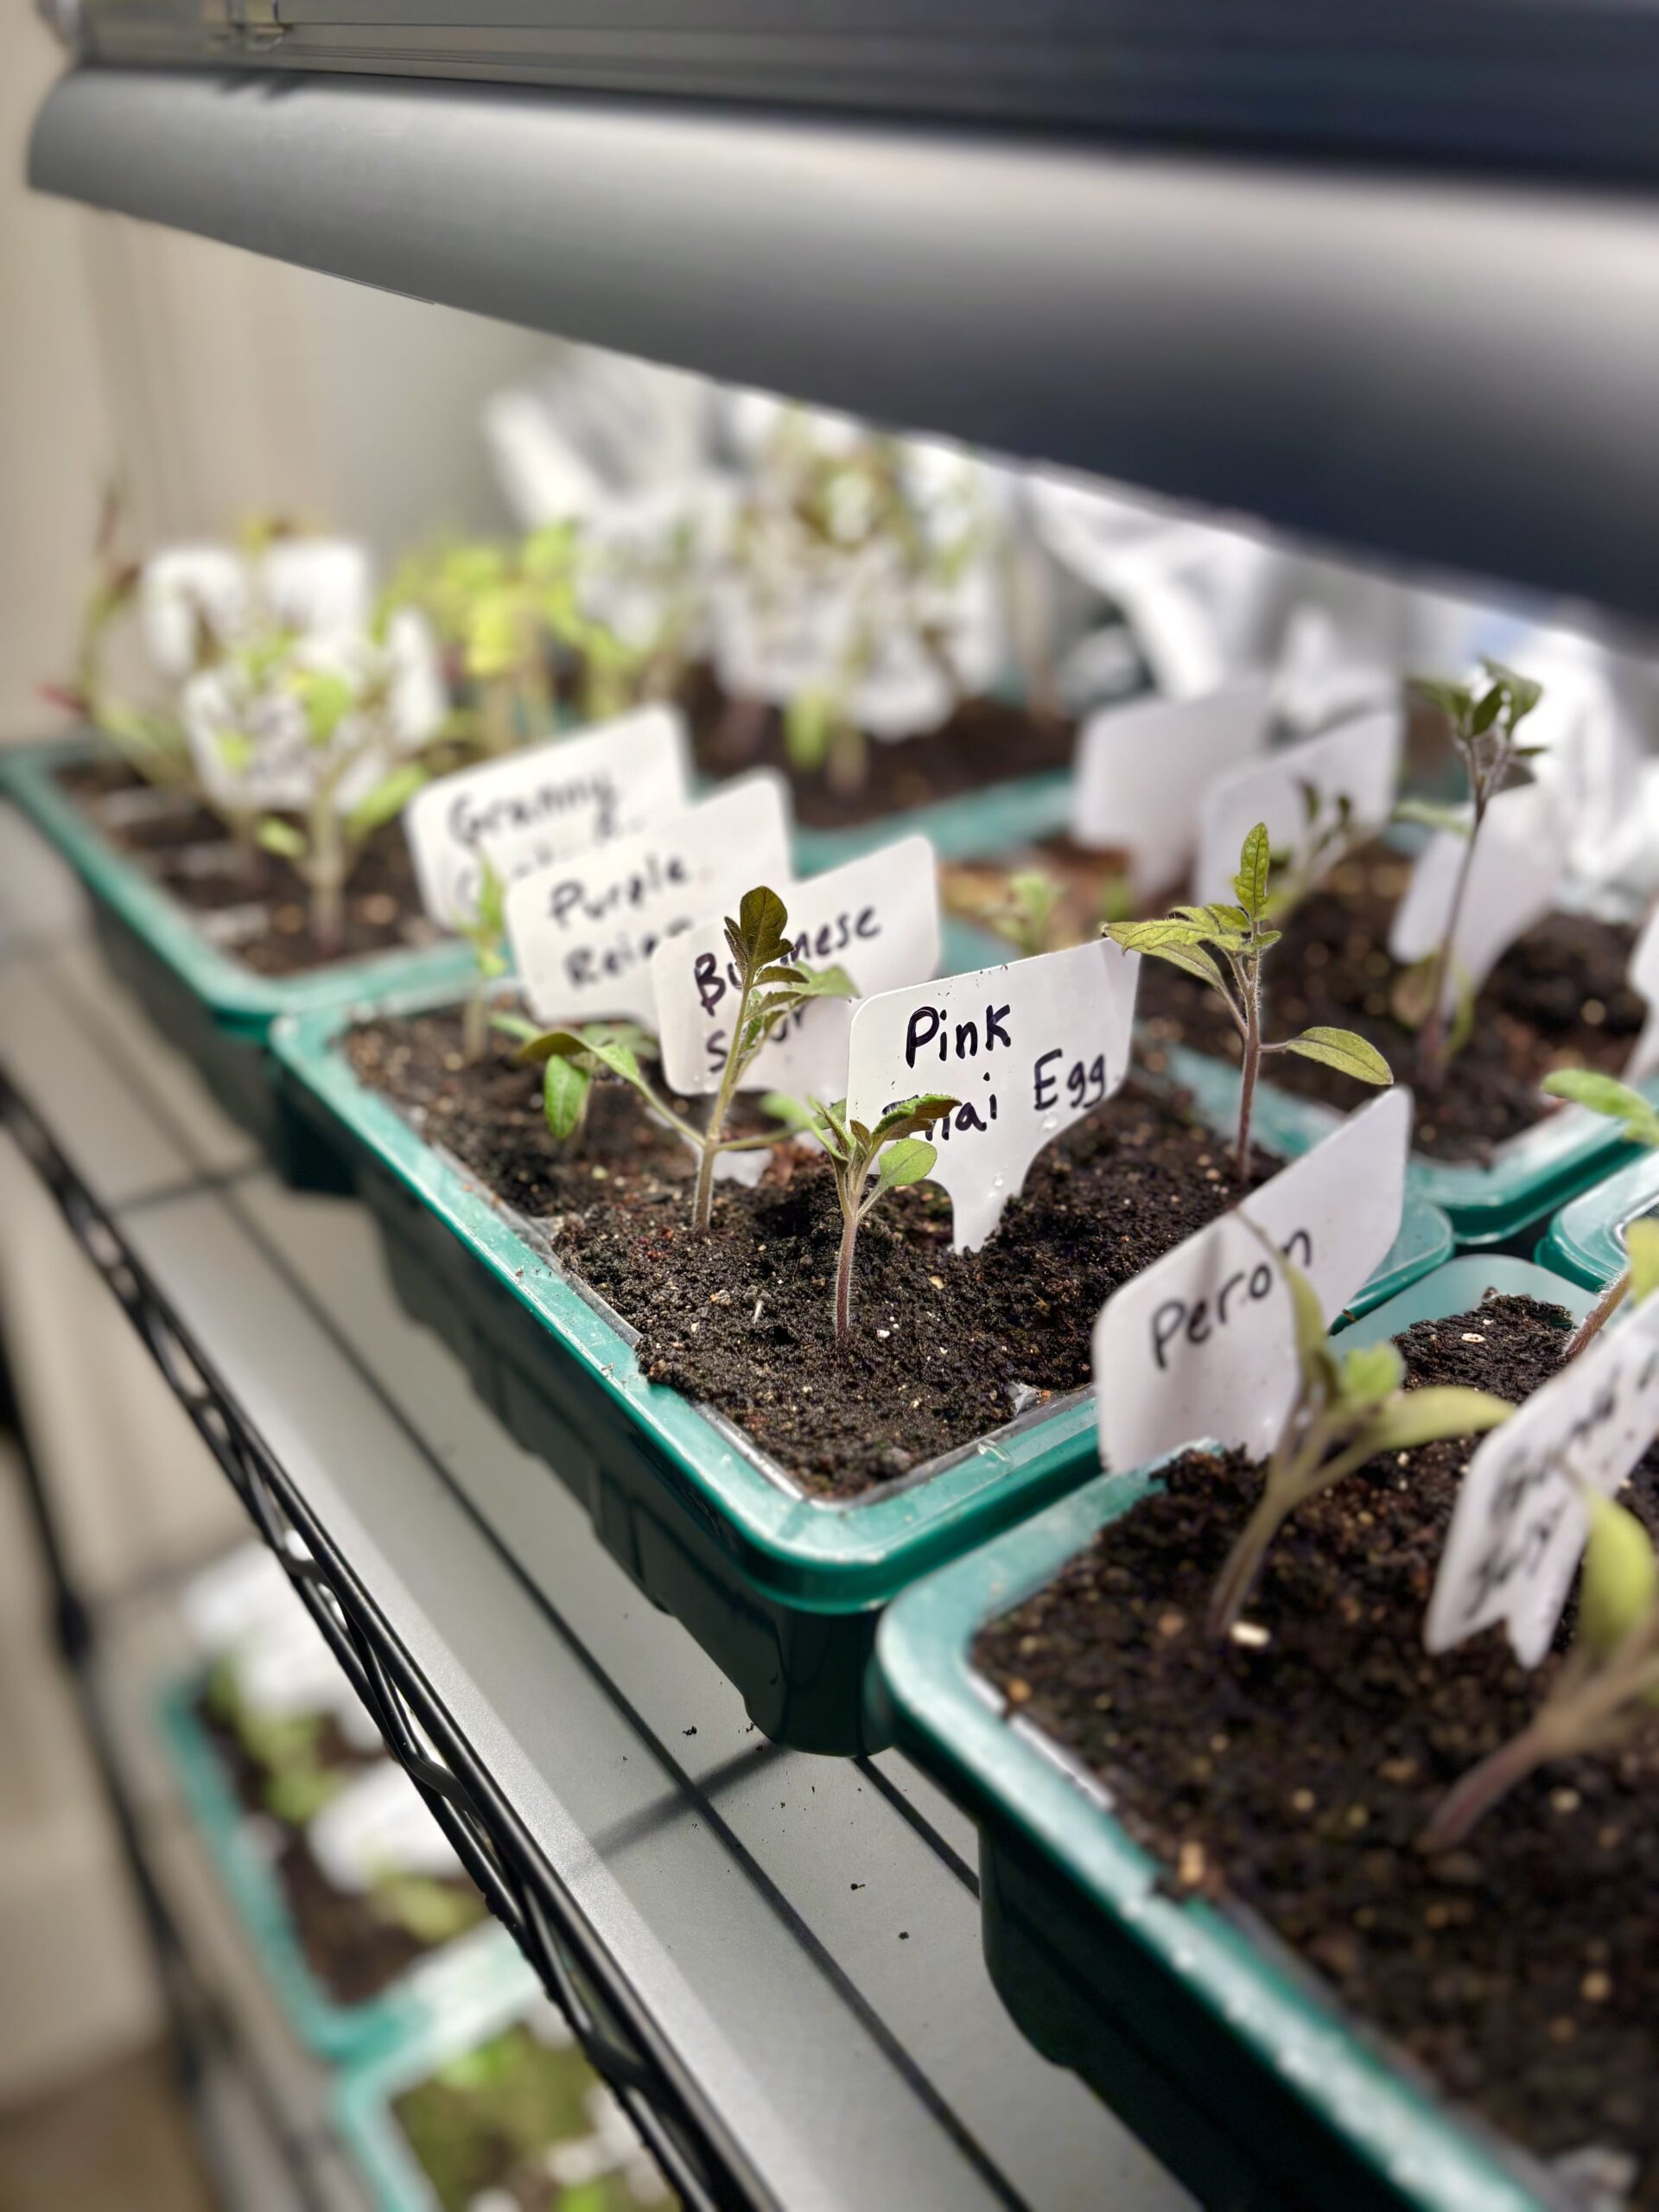
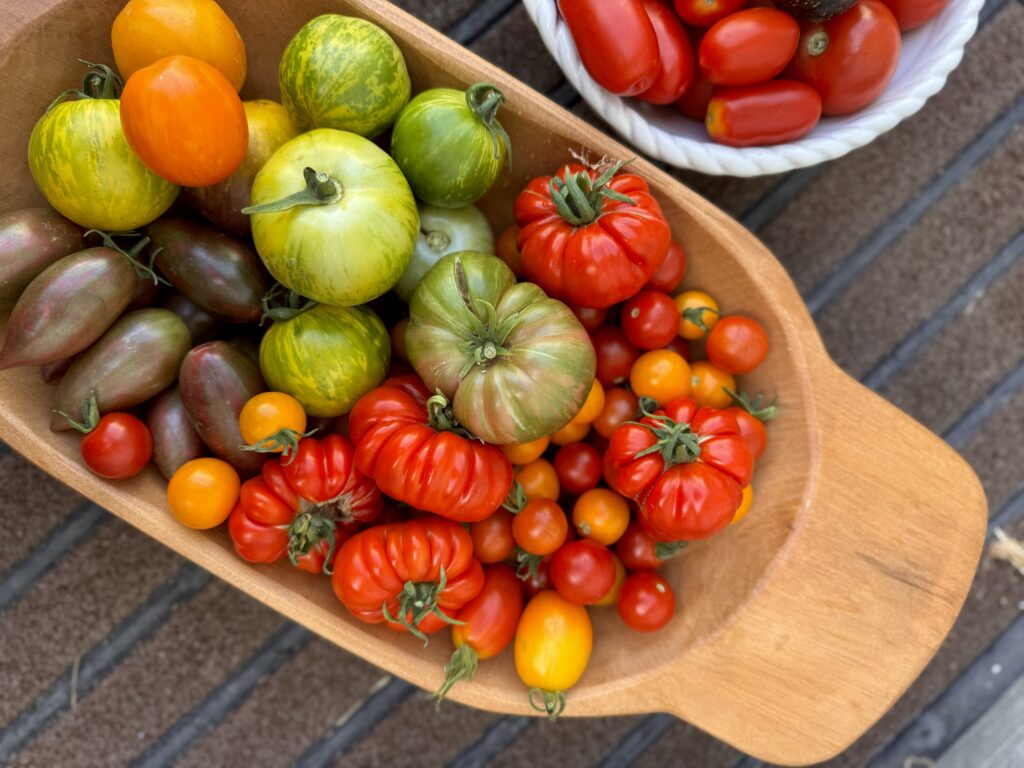
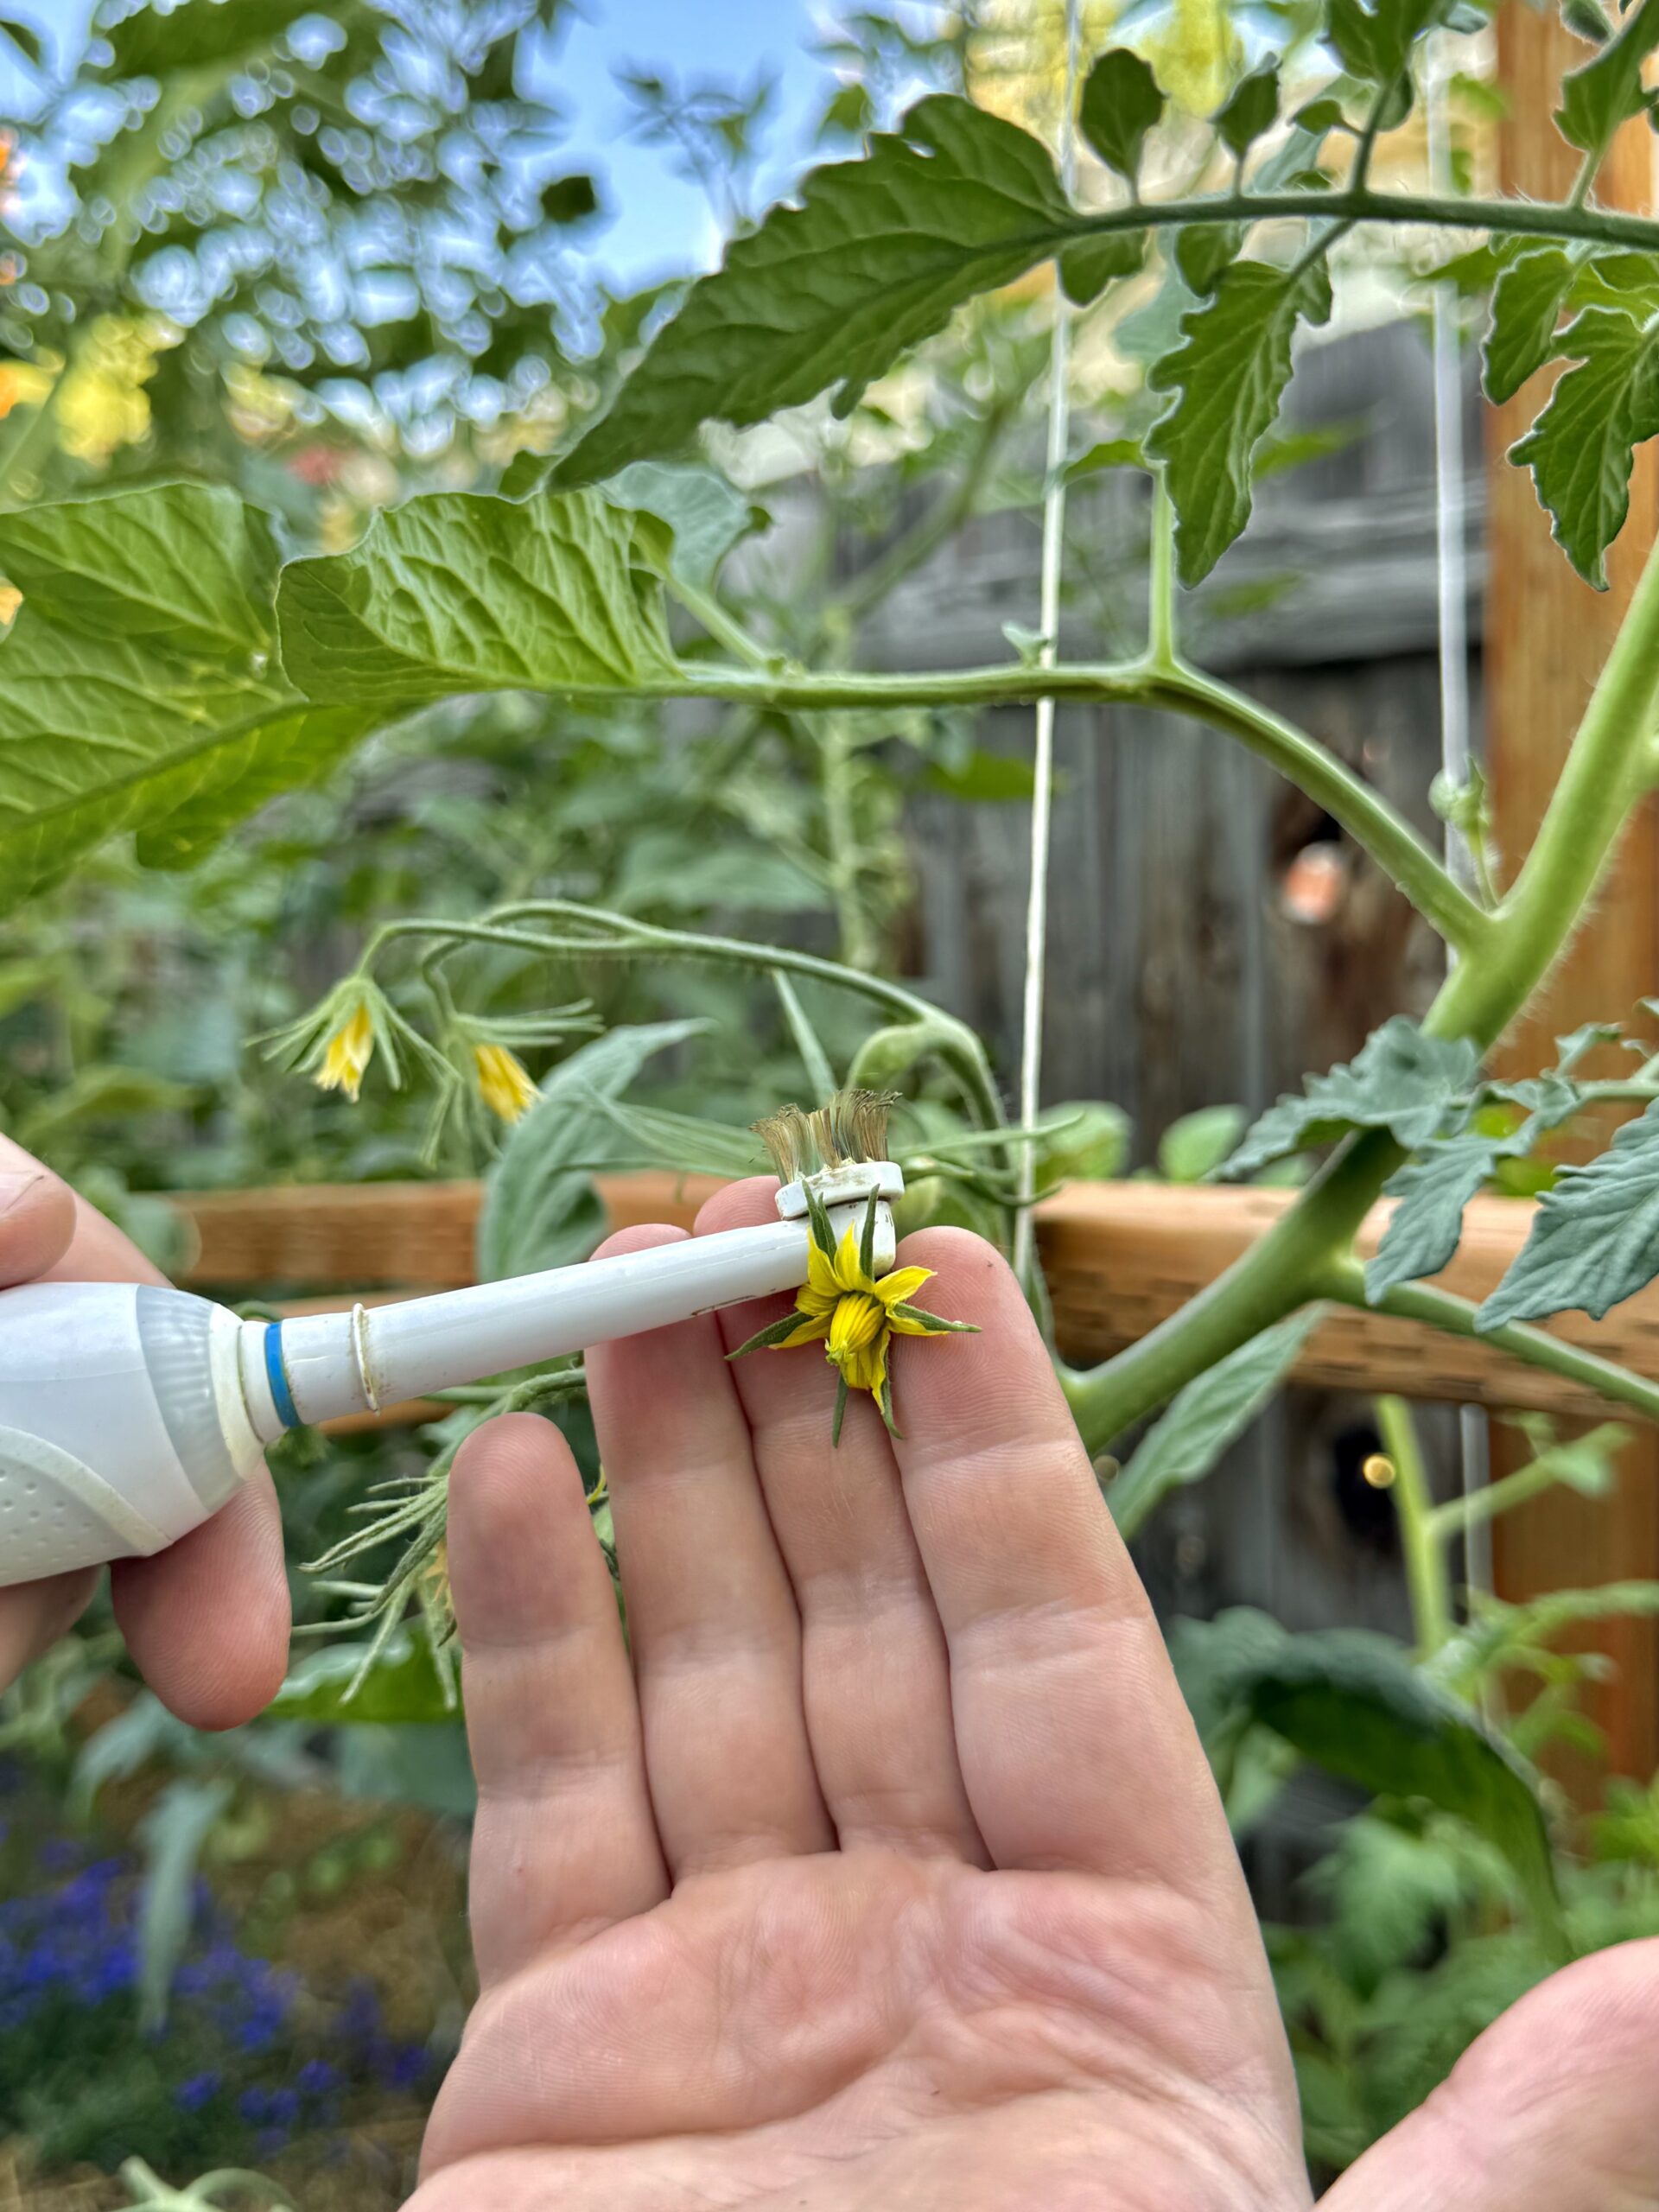
- Tomatoes: Yes, but fermenting improves germination. Let pulp sit in water 2-3 days, then rinse and plant. (more information at the bottom of blog post)
- Peppers: Often viable straight from ripe fruit.
- Cucumbers & Squash: Must be overripe to have viable seeds. Store cucumbers are usually harvested too early.
Seeds Best Dried Before Planting:
- Melons & Watermelons: Dry seeds a few days to avoid rot.
- Beans, Lentils, Peas: Use dried (uncooked) versions. Canned beans will not sprout.
Seeds That Usually Won’t Work:
- Apples, Citrus, Grapes, etc.: Often immature, irradiated, or need cold stratification. Fun to try, but results are uncertain and slow-growing.
Tips:
- Choose organic produce when possible.
- Label your seeds and track dates.
- Have fun experimenting — it’s a great learning process!
4. Local Resources: Gardening Groups & Extension Services
Where to Look:
- County extension offices
- Master Gardener programs
- Community gardens and urban farms
- Food banks with garden support programs
Many offer seasonal starter kits or free seeds.
5. Save Your Own Seeds Directly From the Fruit/Flower/Vegetable (Seed Saving)
Best for Beginners:
- Beans
- Peas
- Lettuce
- Tomatoes
- Marigolds
- Sunflowers
Tips:
- Use open-pollinated (not hybrid) varieties.
- Store in cool, dry conditions, labeled by type and date.
- Saved seeds can adapt to your local environment!


Hi Farmer Jeff! That’s so fun you stopped into Magna Library! Please feel free to stop by Riverton Library next spring! I run the seed library there and we stocked about 120 varieties of gardening seeds this year and we also have a native seed library with about 25 native wildflowers. We just got approved for the Utah Pollinator Habitat Program and will be putting in a pollinator garden this September. Hope to see you next spring!
Wow we would love to come check it out!! Thanks for the invite Julia 🙂 I will make sure Jeff sees your comment
I’m so surprised there is a seed library near me! What a wonderful thing.
I found a seed library in my town because of this! Never knew they existed.