Hey all! Real Farmer Jeff here.
Homemade fruit leather is surprisingly simple to make. And they’re one of my favorite things to snack on! With a basic fruit base, gentle heat, and a little patience, you can turn everyday ingredients into a chewy, naturally sweet snack.
Making your own fruit leather lets you control exactly what goes into it, with no artificial colors, flavors, or preservatives. It’s also a great way to use extra fruit and create a customizable snack using tools you already have.
Plus, if you have any fruit from the growing season that you’ve preserved or would like to use up, this is the perfect way to do so.
Let’s get started!
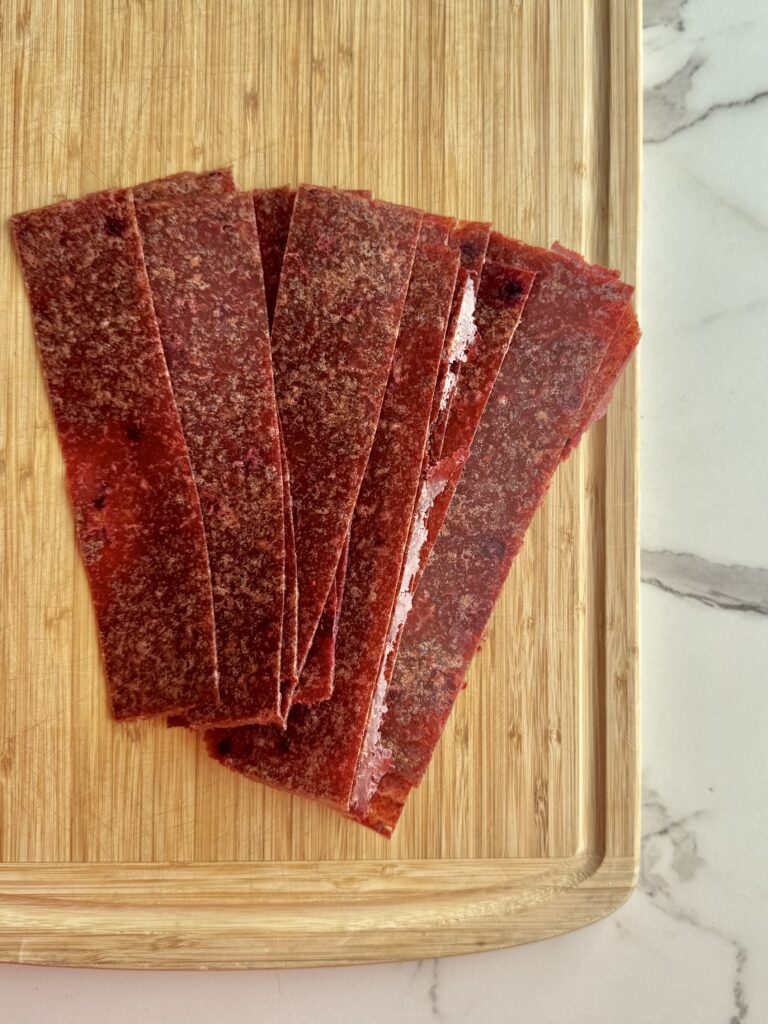
Table of Contents
- My Favorite Fruit Leather Base
- Other Good Bases
- Flavoring Options
- How to Make Fruit Leather
- Storage Tips
My Favorite Fruit Leather Base
A good fruit leather starts with a strong base. Specifically one that blends smoothly, sets evenly, and dries into a flexible, not brittle, sheet.
The base provides structure and balance, helping the fruit leather hold together while allowing added fruits or flavors to shine. Choosing the right base makes the process more reliable and ensures consistent texture from batch to batch.
I’ve found that apple sauce is one of the easiest and most reliable bases for fruit leather.
What to look for:
- Unsweetened apple sauce
- No added flavors or cinnamon
- As few ingredients as possible, ideally just apples and water
- Smooth, not chunky
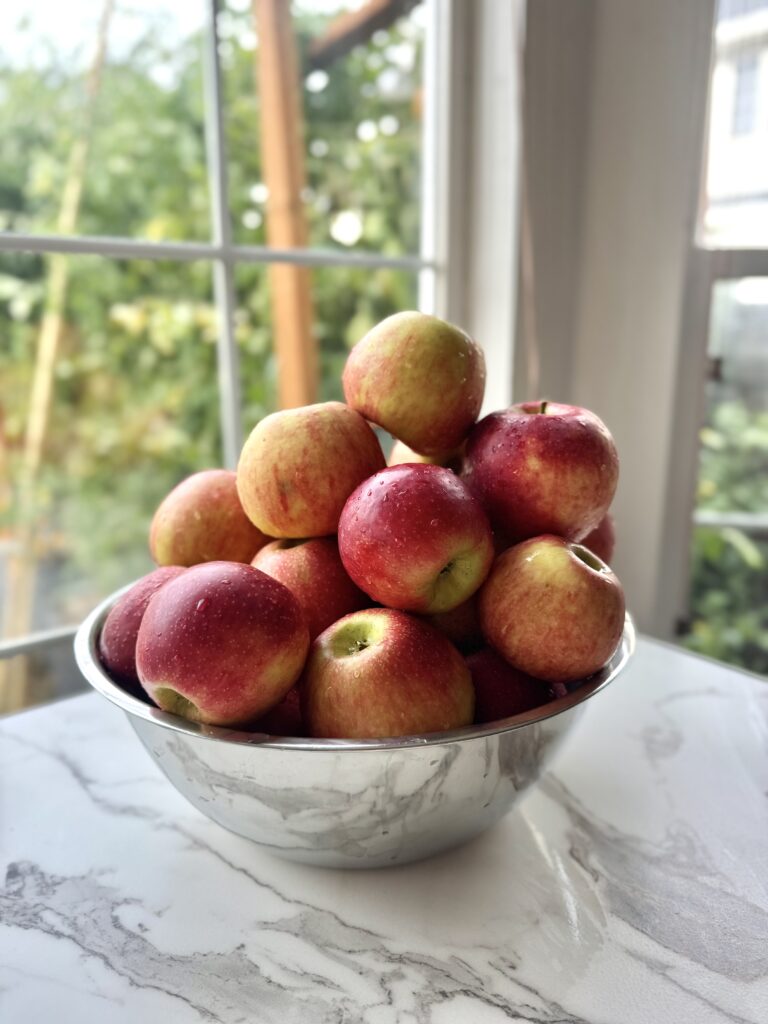
Apples naturally contain pectin (a natural fiber found in fruit that helps mixtures gel and hold their shape), which helps fruit leather set into a flexible, cohesive sheet as it dries. Using plain apple sauce keeps the flavor neutral so other fruits can shine, while a smooth texture ensures even spreading and consistent drying. Cinnamon-flavored or chunky apple sauce can lead to overpowering flavors and uneven results.
Other Good Bases
While apple sauce is the classic choice, it’s not the only option.
- Pear sauce: Very similar to apple sauce, mild and naturally sweet
- Banana: Adds body and sweetness, but darkens in color. Use ripe bananas and puree them thoroughly until smooth. Because bananas are thick, you may need to add a small amount of water or apple sauce to achieve a spreadable consistency for even drying.
- Pumpkin or squash purée: Mild flavor, pairs well with spices
- Mango purée: Naturally thick and sweet, great on its own
- Greek yogurt (for fruit-yogurt leather): Adds protein but requires longer drying
Each base affects texture, sweetness, and drying time. Because of this, I recommend doing small test batches! It’s super helpful.
Flavoring Options
There are many ways to flavor fruit leather, depending on what you have available. It’s fun to play around with the variety of options to create different flavors. Here’s a list of some that I recommend:
Freeze-Dried Fruit Powder
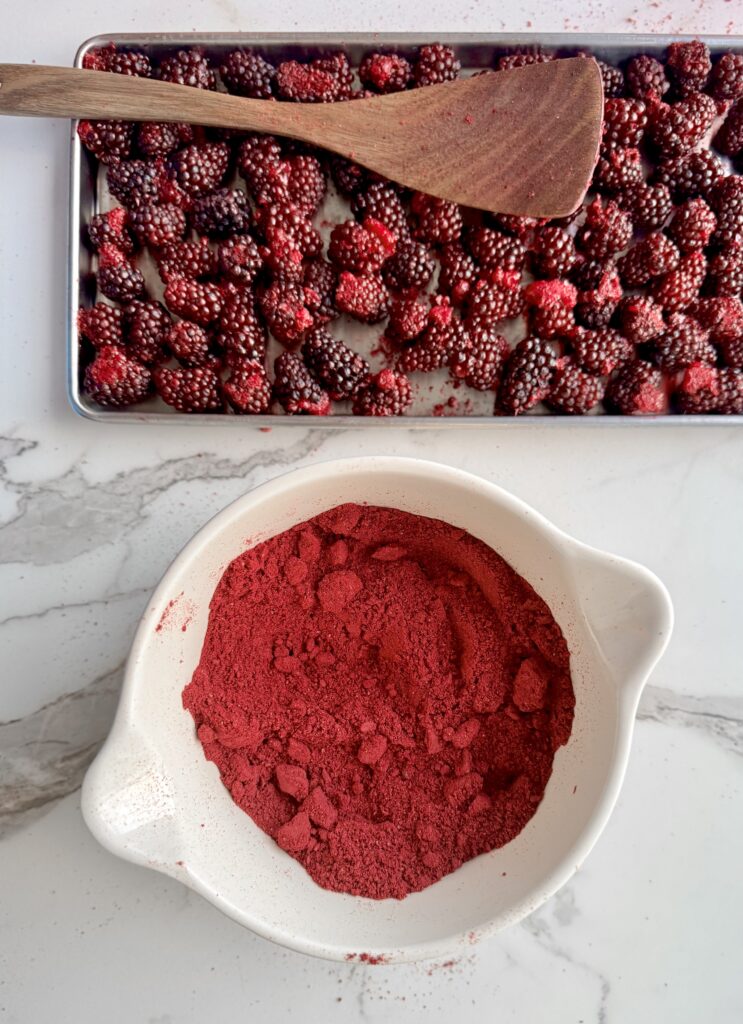
When I tried using freeze-dried fruit powder, I didn’t expect it to turn out as amazing as it did. It far exceeded my expectations. Freeze-dried fruit powder is highly concentrated, so a small amount delivers bold flavor without adding excess moisture. However, there are many other good options for flavoring fruit leather.
When I tested this version, I freeze-dried my own blackberries and blended them into a powder, but store-bought freeze-dried fruit works just as well.
Fresh or Frozen Fruit
- Berries, peaches, mango, pears, cherries, or apples
- Blend until completely smooth
- Simmer briefly if the fruit is very watery to thicken before drying
Aim for a consistency similar to apple sauce or a thick smoothie. If it’s too thin, it will dry unevenly; if too thick, it may crack or take much longer to dry.
Store-Bought Fruit Purees
- Baby food fruit purées (single-ingredient varieties)
- Unsweetened fruit cups blended smooth
These usually have the right thickness. If runny, add a small amount of apple sauce or banana.
Juice Concentrates
- 100% fruit juice concentrates with no added sugar
- Use sparingly as a flavor boost, mixed into a thicker base to avoid thinning too much
Natural Add-Ins
- Lemon or lime juice for brightness
- Cinnamon, ginger, or vanilla
- Honey or maple syrup (optional, minimal)
How to Make Fruit Leather
Note that these steps apply to any base and flavor combination.
Dehydrator Method
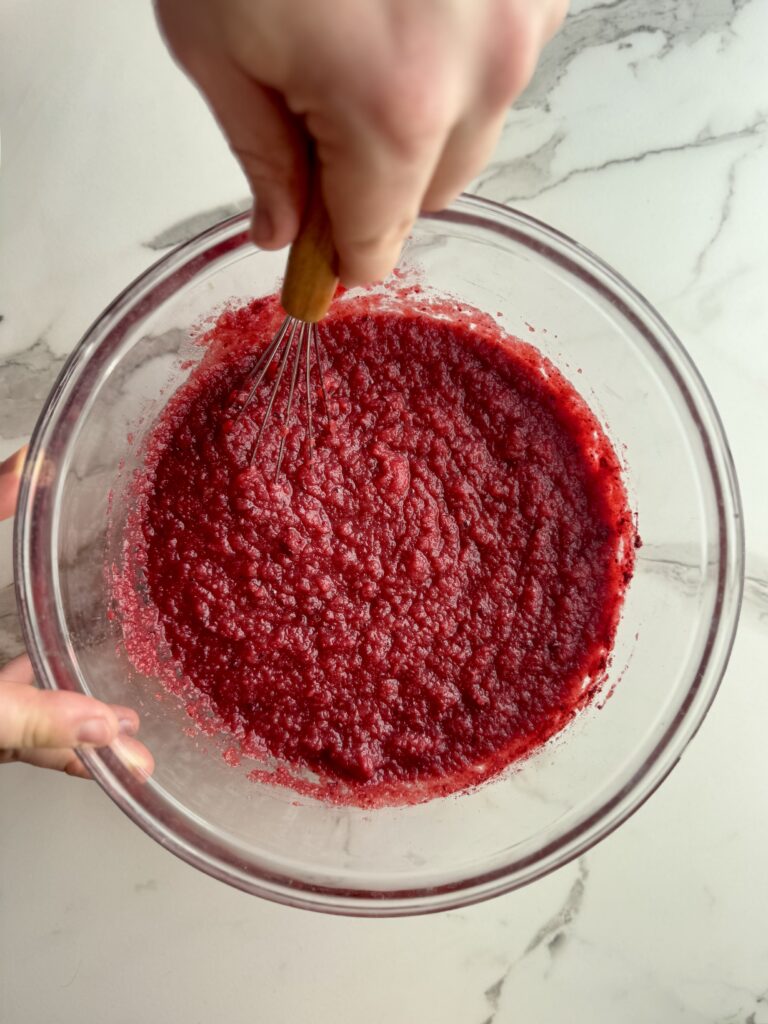
- Mix your chosen base and flavoring until smooth.
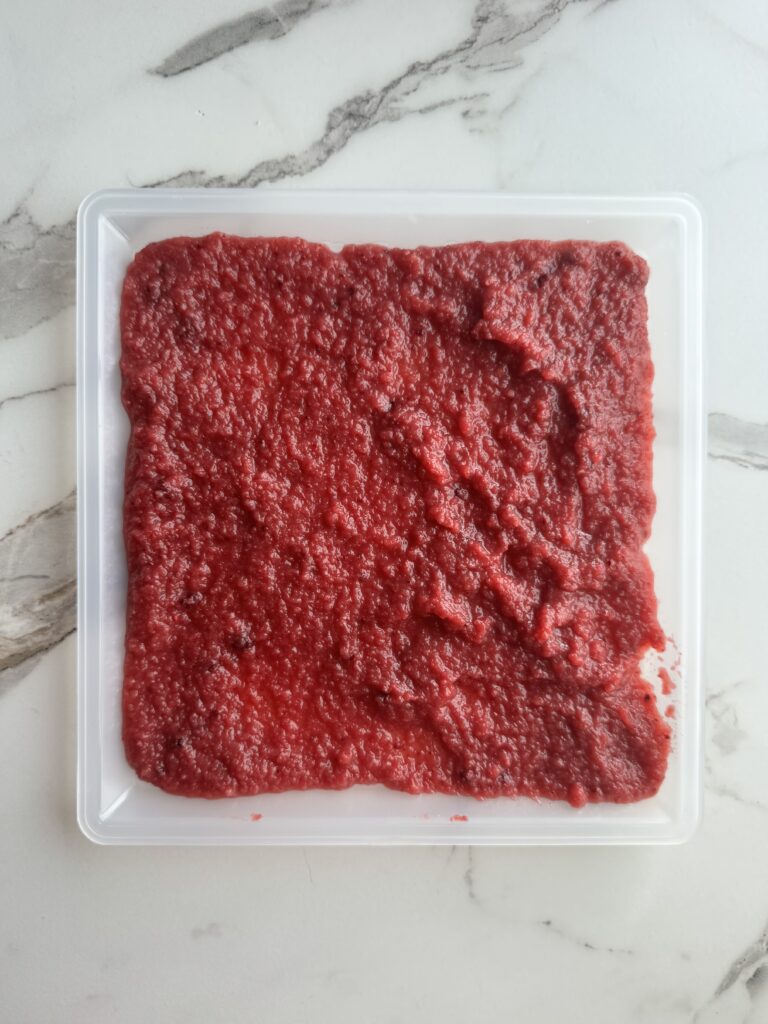
- Spread evenly onto dehydrator trays lined with fruit leather sheets or parchment, about 1/8 – 1/4 inch thick.
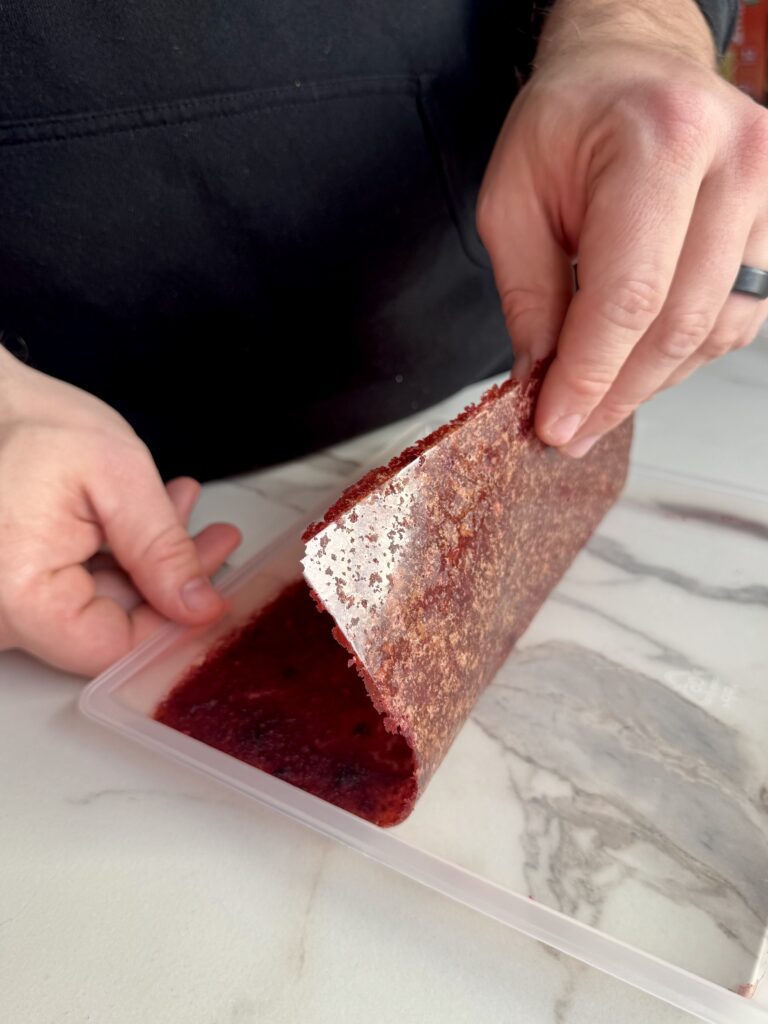
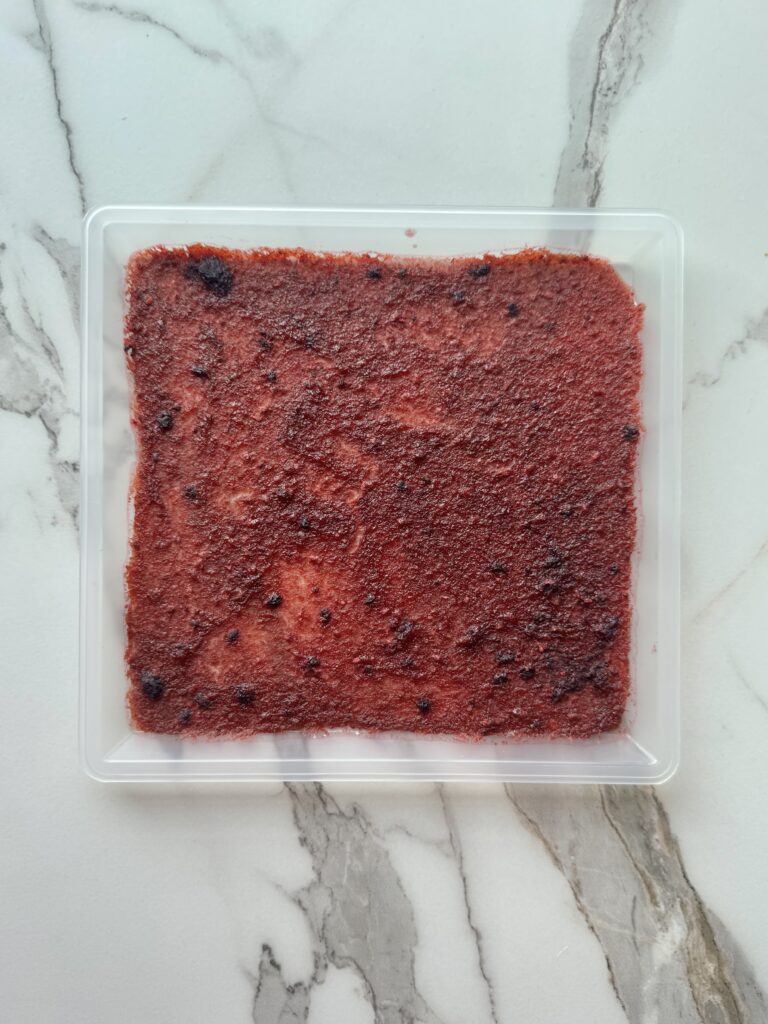
- Dry at 135°F until the surface is no longer sticky and the leather peels away easily (6 – 10 hours depending on thickness and humidity).
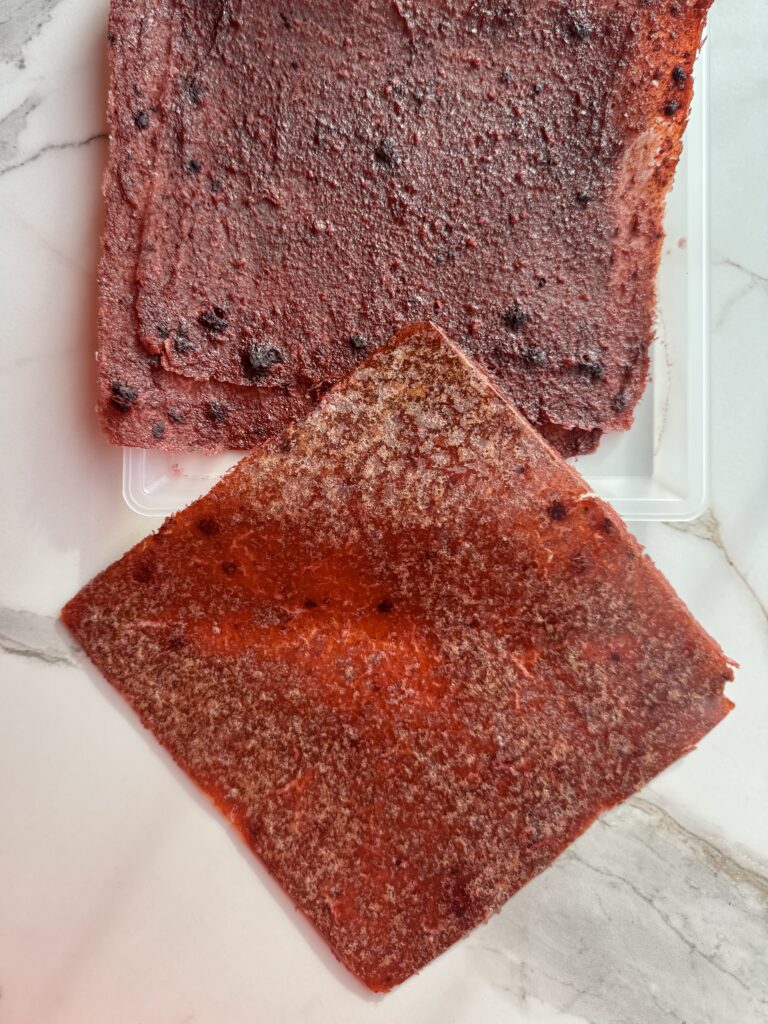
- Cool completely, then cut into strips. Rolling is optional and can be done for easier storage or presentation.
Oven Method
- Line a baking sheet with parchment paper or a silicone mat.
- Spread the mixture evenly, about 1/8 – 1/4 inch thick.
- Set the oven to its lowest temperature (usually 170 – 200°F) and crack the door slightly to lower temp.
- Dry for 4 – 8 hours, checking occasionally.
- Leather is done when dry to the touch but still flexible.
Storage Tips
- Let fruit leather cool completely before storing
- Store rolled strips in airtight containers
- Optional: add an oxygen absorber to reduce oxidation and extend shelf life
- For longer storage, vacuum seal or keep in the freezer
Thanks for reading along, guys! If you enjoyed this, check out my other gardening blog posts:
- How to Start a Garden on a Budget for Under $100
- 4 Reasons Why Tomatoes Are the Best Vegetable to Grow
- My Garden Setup: 3 Best Garden Containers for Every Gardener
- When to Plant Indoors vs. Outdoors: A Seasonal Guide for Gardeners
- Essential and Nice-to-Have Garden Products for Your Perfect Setup
- Starting Seeds vs. Buying Transplants: How to Decide for Your Garden


0 Comments