Saving seeds from your garden is one of the most rewarding ways to bring gardening full circle. It allows you to preserve your favorite varieties, save money, and grow plants that are better adapted to your local growing conditions.

That being said, saving your own tomatoes seeds present a unique challenge:
They’re surrounded by a gelatinous outer coating that contains natural germination inhibitors.
This coating is nature’s way of making sure the seed doesn’t sprout inside the fruit. In the wild, it breaks down only after the tomato rots and soil microbes do their work. This post will describe two relatively easy methods that you can use to save your tomatoes seeds.
Two Method Overview:
If you simply scoop out fresh tomato seeds and just let them dry, you may end up with low germination rates. To get around this, gardeners use two main methods:
- Fermentation: The traditional way that mimics nature by letting microbes dissolve the coating.
- Strainer + Hose Cleaning: A niche hack that can save you time (and spare you from the NASTY smell of fermented tomato water).
Important note on heirlooms: Only heirloom tomato varieties will grow “true to seed.” Hybrid tomatoes won’t reliably produce the same fruit as the parent plant, so stick with heirlooms if you want predictable results.
Method 1: Fermenting Tomato Seeds
This is the most popular method. Fermentation is the gold standard among seed savers and the method recommended by seed-saving organizations.
Steps:
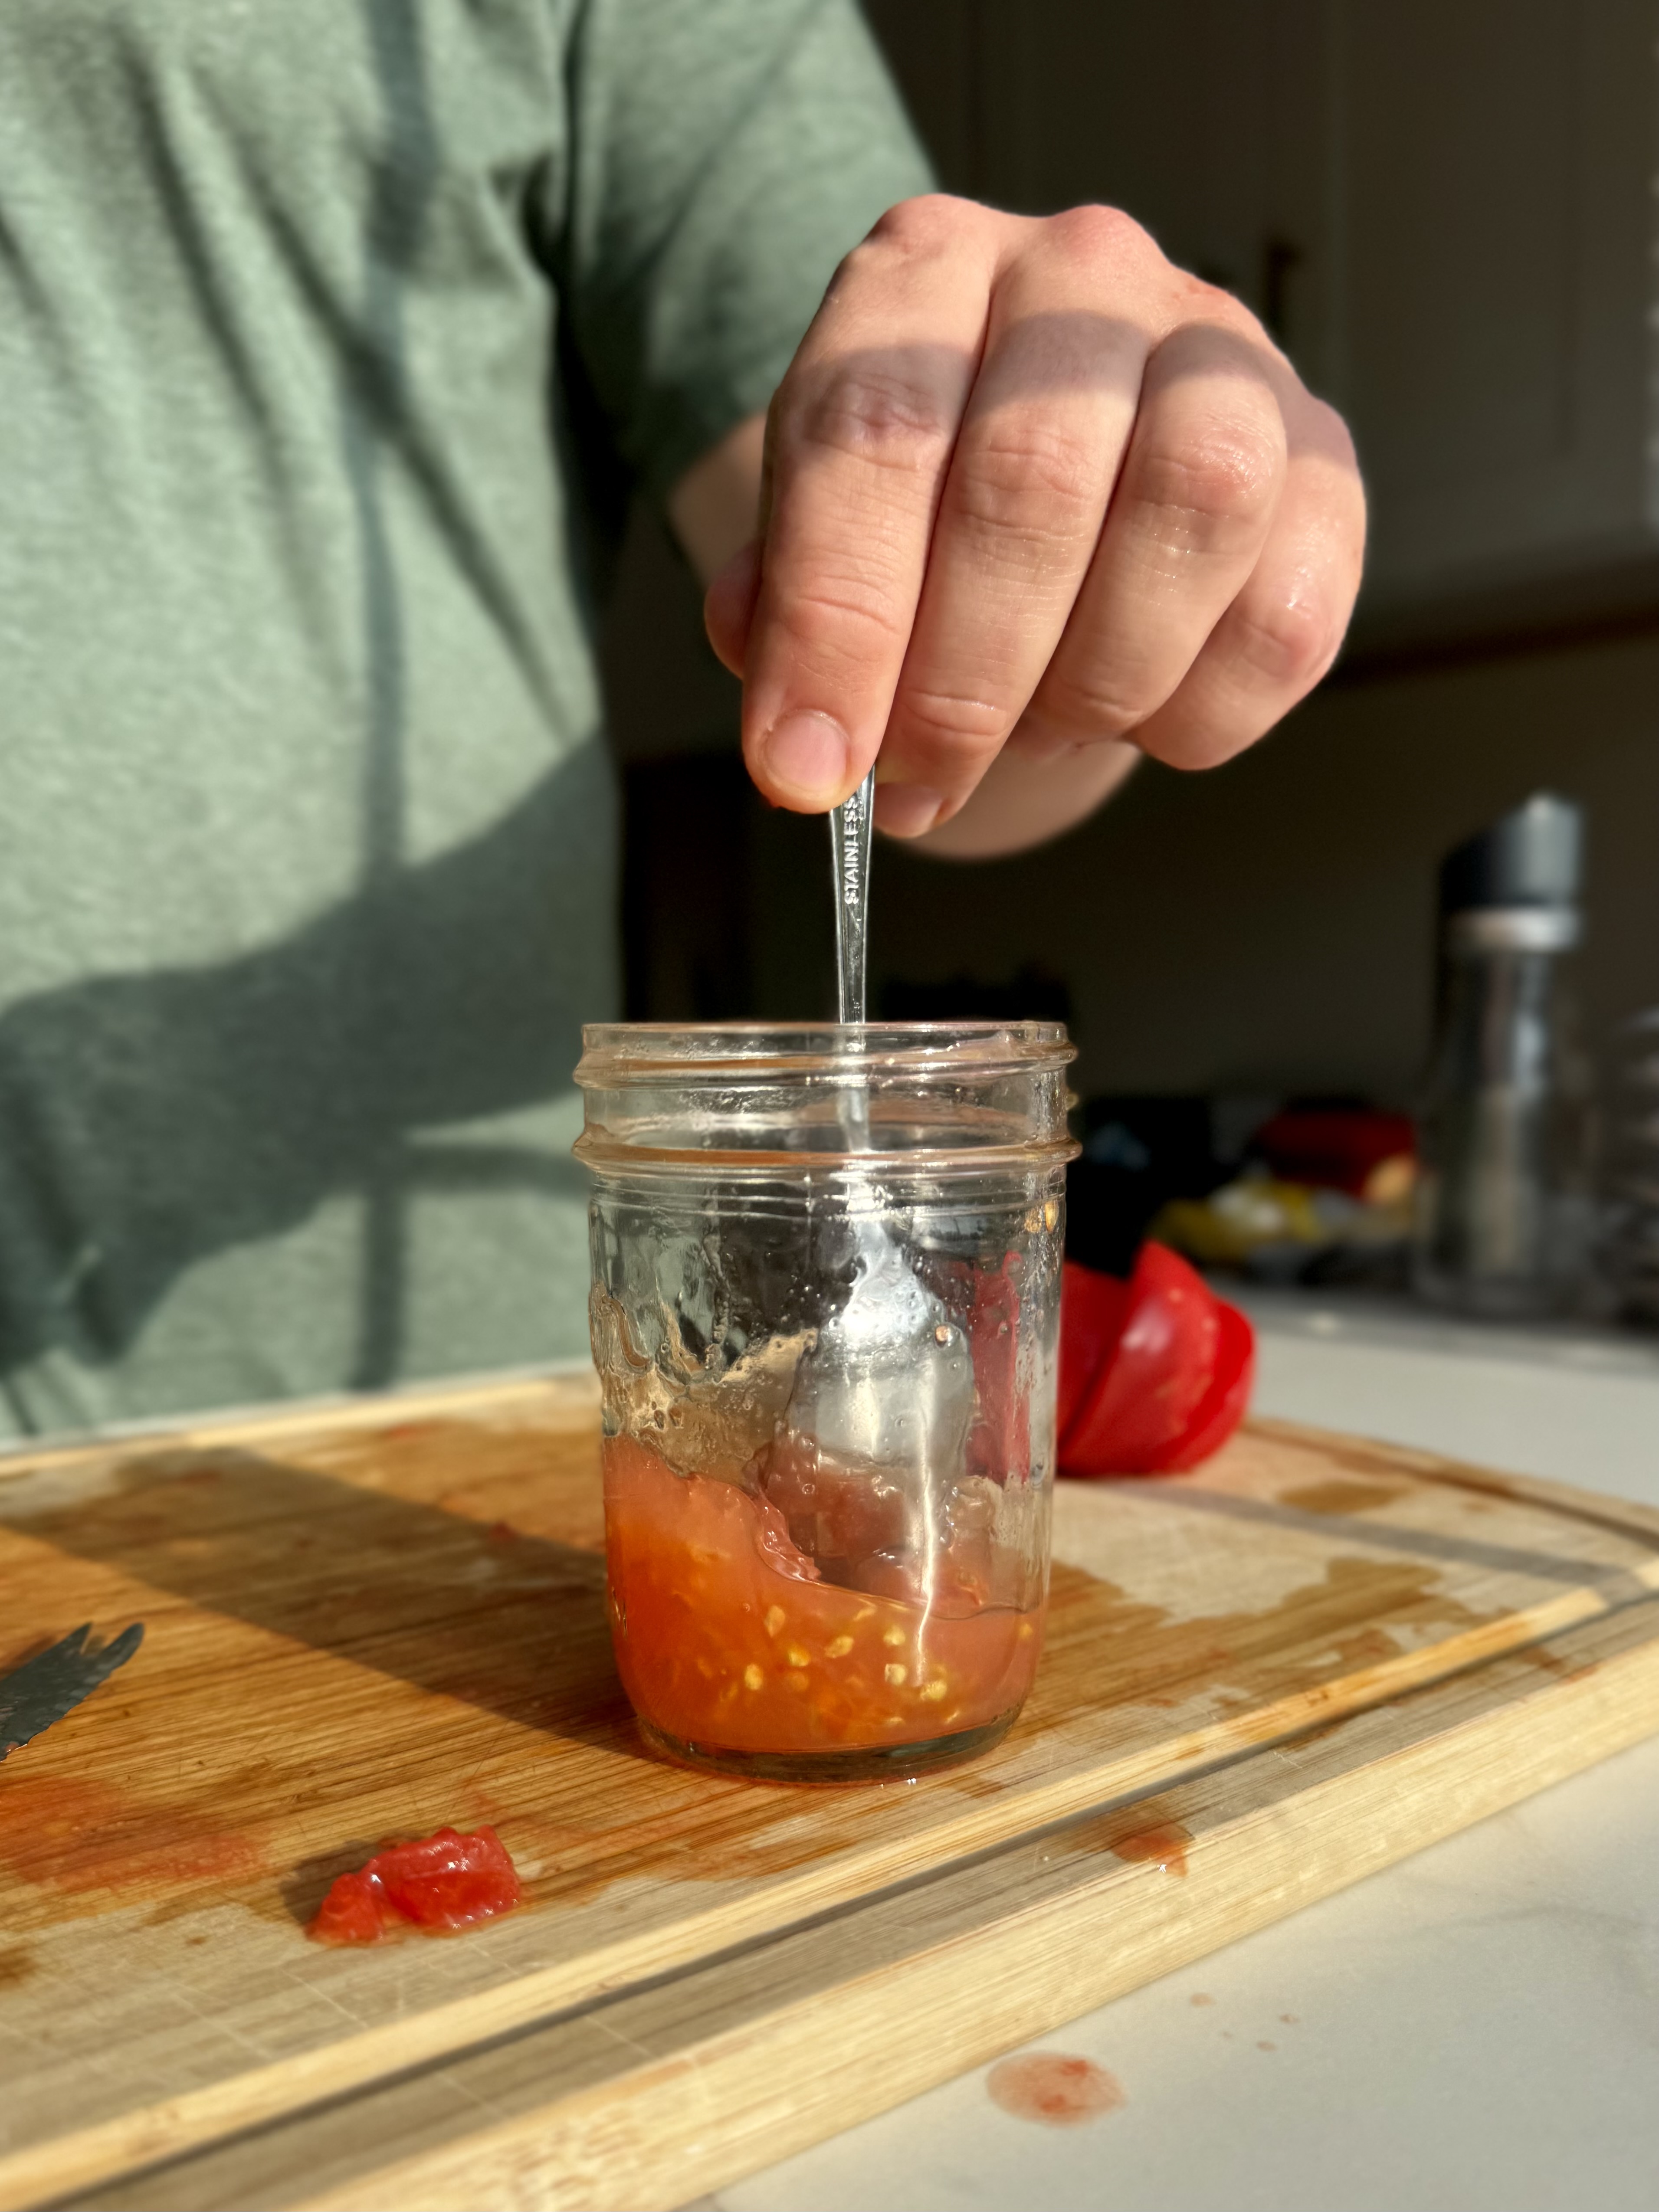
- Scoop the seeds, along with the surrounding gel, into a small jar or cup.
- Add water until the mixture is about half full.
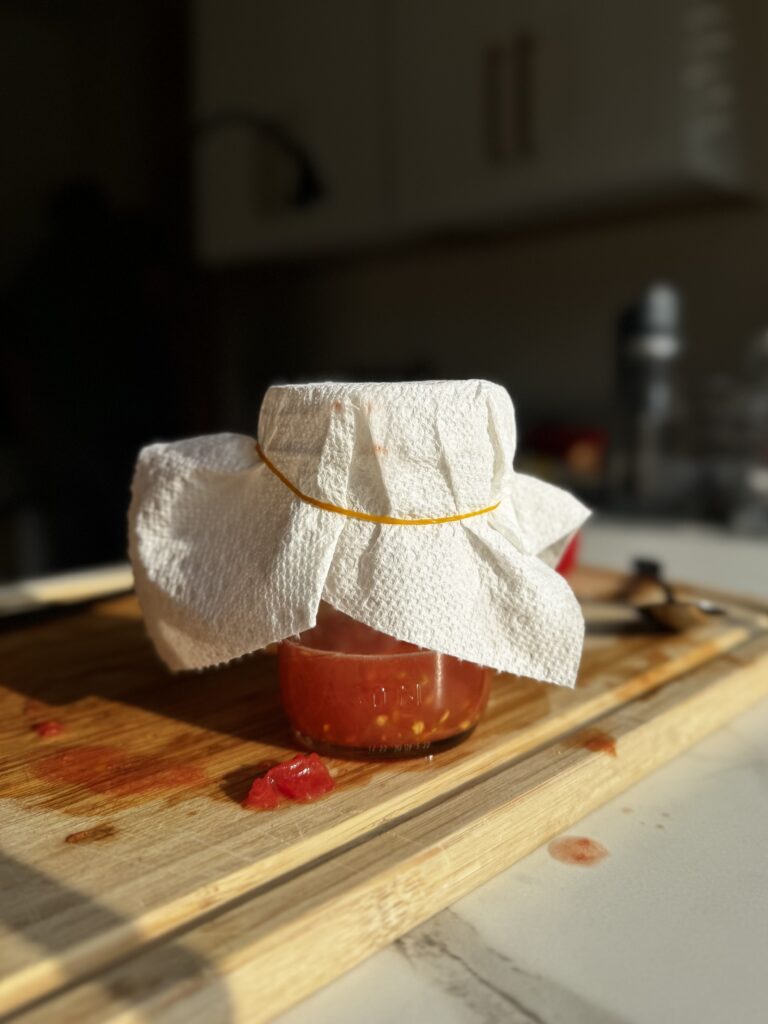
- Cover loosely with a paper towel or lid (don’t seal tightly).
- Leave in a warm spot (65–80°F) for 2–4 days. A layer of mold will form on top – this is normal.
- Check daily and swirl gently to mix.
- Rinse thoroughly through a fine mesh strainer once the gel has dissolved and viable seeds sink to the bottom.
- Spread to dry on a non-stick surface (like a ceramic plate or coffee filter) for 1–2 weeks until completely dry.

| Pros | Cons |
|---|---|
| Mimics nature: Just like what happens when a tomato rots in the wild. | Smelly and messier: Fermented tomato water develops a foul odor. |
| Disease control: Reduces risk of seed-borne diseases. | Requires attention: Over-fermenting can damage seeds. |
| Reliable: Breaks down coating fully for strong germination. |
Signs You’ve Over-Fermented Tomato Seeds:
- Seeds start sprouting in the jar: The biggest red flag. If you see tiny roots emerging, the fermentation has gone on too long and those seeds won’t store well.
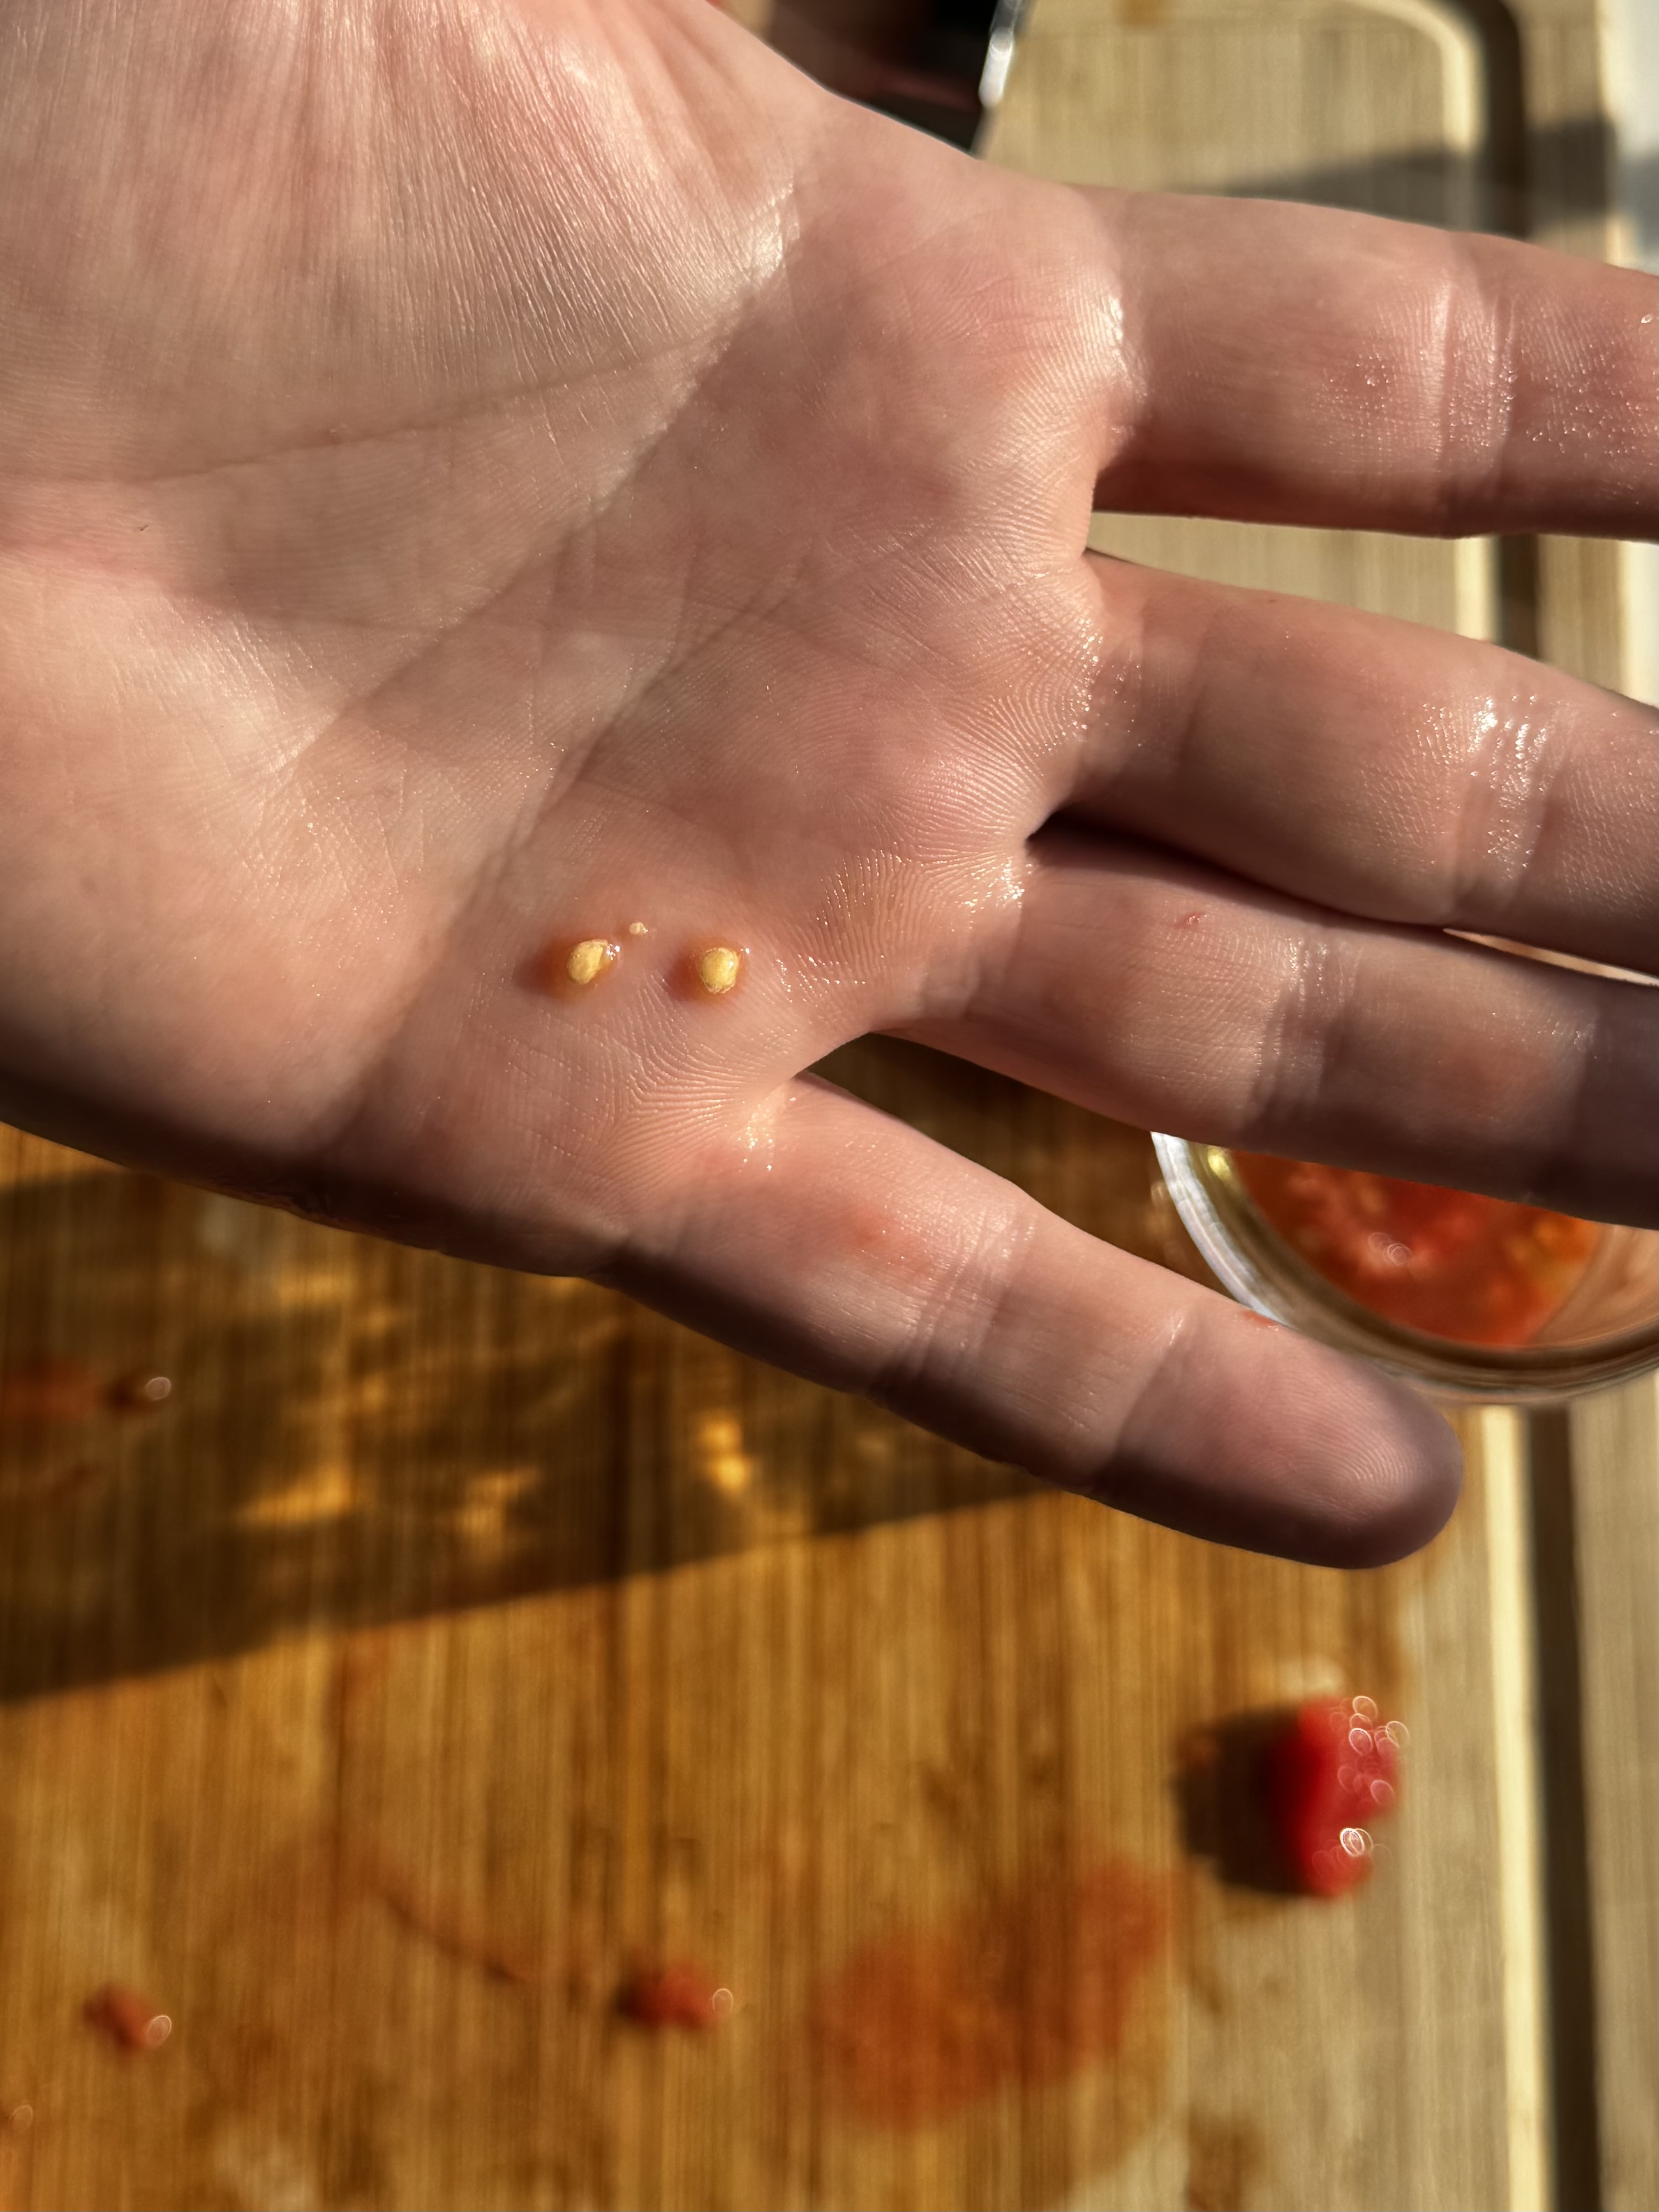
- Seeds look dark or mushy: Healthy seeds should be plump and cream-colored once cleaned. If they’re brown, slimy, or look like they’re disintegrating, they’re no good.
- Strong rotten odor (beyond the normal funk): Fermenting seeds smell unpleasant, but if it turns into a truly putrid or “rotten egg” smell, it usually means the seeds have broken down.
- Heavy mold mat covering everything: A thin layer of mold is normal and part of the process. But if the whole surface is buried under thick, fuzzy mold, it likely went too far.
Method 2: Strainer + Hose Method
For gardeners who don’t want mold in their kitchen, this shortcut skips fermentation. It’s potentially less thorough, but it’s quick, clean, and avoids the bad smell. I’m not 100% sure on the germination rate difference, but I will be testing that in the spring.
Steps:
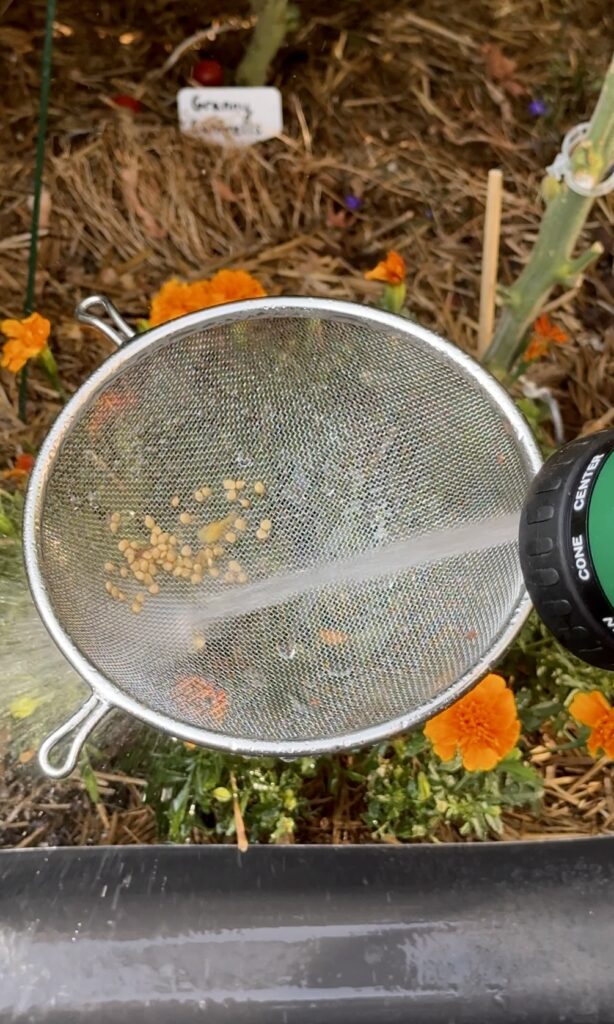
- Scoop fresh seeds into a fine mesh strainer.
- Turn on a hose (or use a strong faucet spray).
- Blast the seeds with short bursts of water, shaking gently to loosen the gel coating.
- Rinse thoroughly until as much of the slime as possible is gone.
- Spread to dry in a thin layer on a plate, paper towel, or coffee filter for 1-2 weeks.

| Pros | Cons |
|---|---|
| Fast: Clean seeds in minutes instead of days. | Less effective: Some gel may remain, which can reduce germination rates. |
| No stink: Avoids the foul smell of fermentation. | No disease control: Pathogens aren’t eliminated. |
| Less mess: No jars of moldy liquid to babysit. | Niche method: Not widely used; considered a shortcut rather than a best practice. |
| Beginner-friendly: Easy to try with small batches. |
Quick Comparison: Fermentation vs. Strainer + Hose
| Feature | Fermentation (Gold Standard) | Strainer + Hose (Hack) |
| Time Required | 2–4 days | 5–10 minutes |
| Mess/Smell | Moldy, unpleasant odor | Minimal, no smell |
| Effectiveness | Breaks down coating fully, great germination | Some coating may remain, germination slightly less reliable |
| Disease Control | Yes, reduces pathogens | No |
| Ease of Use | Requires monitoring | Very simple |
| Popularity | Widely used, recommended | Niche but growing among home gardeners |
| Best For | Long-term, reliable storage | Quick batches, gardeners who value convenience |
While fermentation is the most thorough and time-tested method, the strainer + hose method has huge appeal for its speed, ease, and lack of mess. If germination rates are similar for you, this shortcut can easily become your go-to.
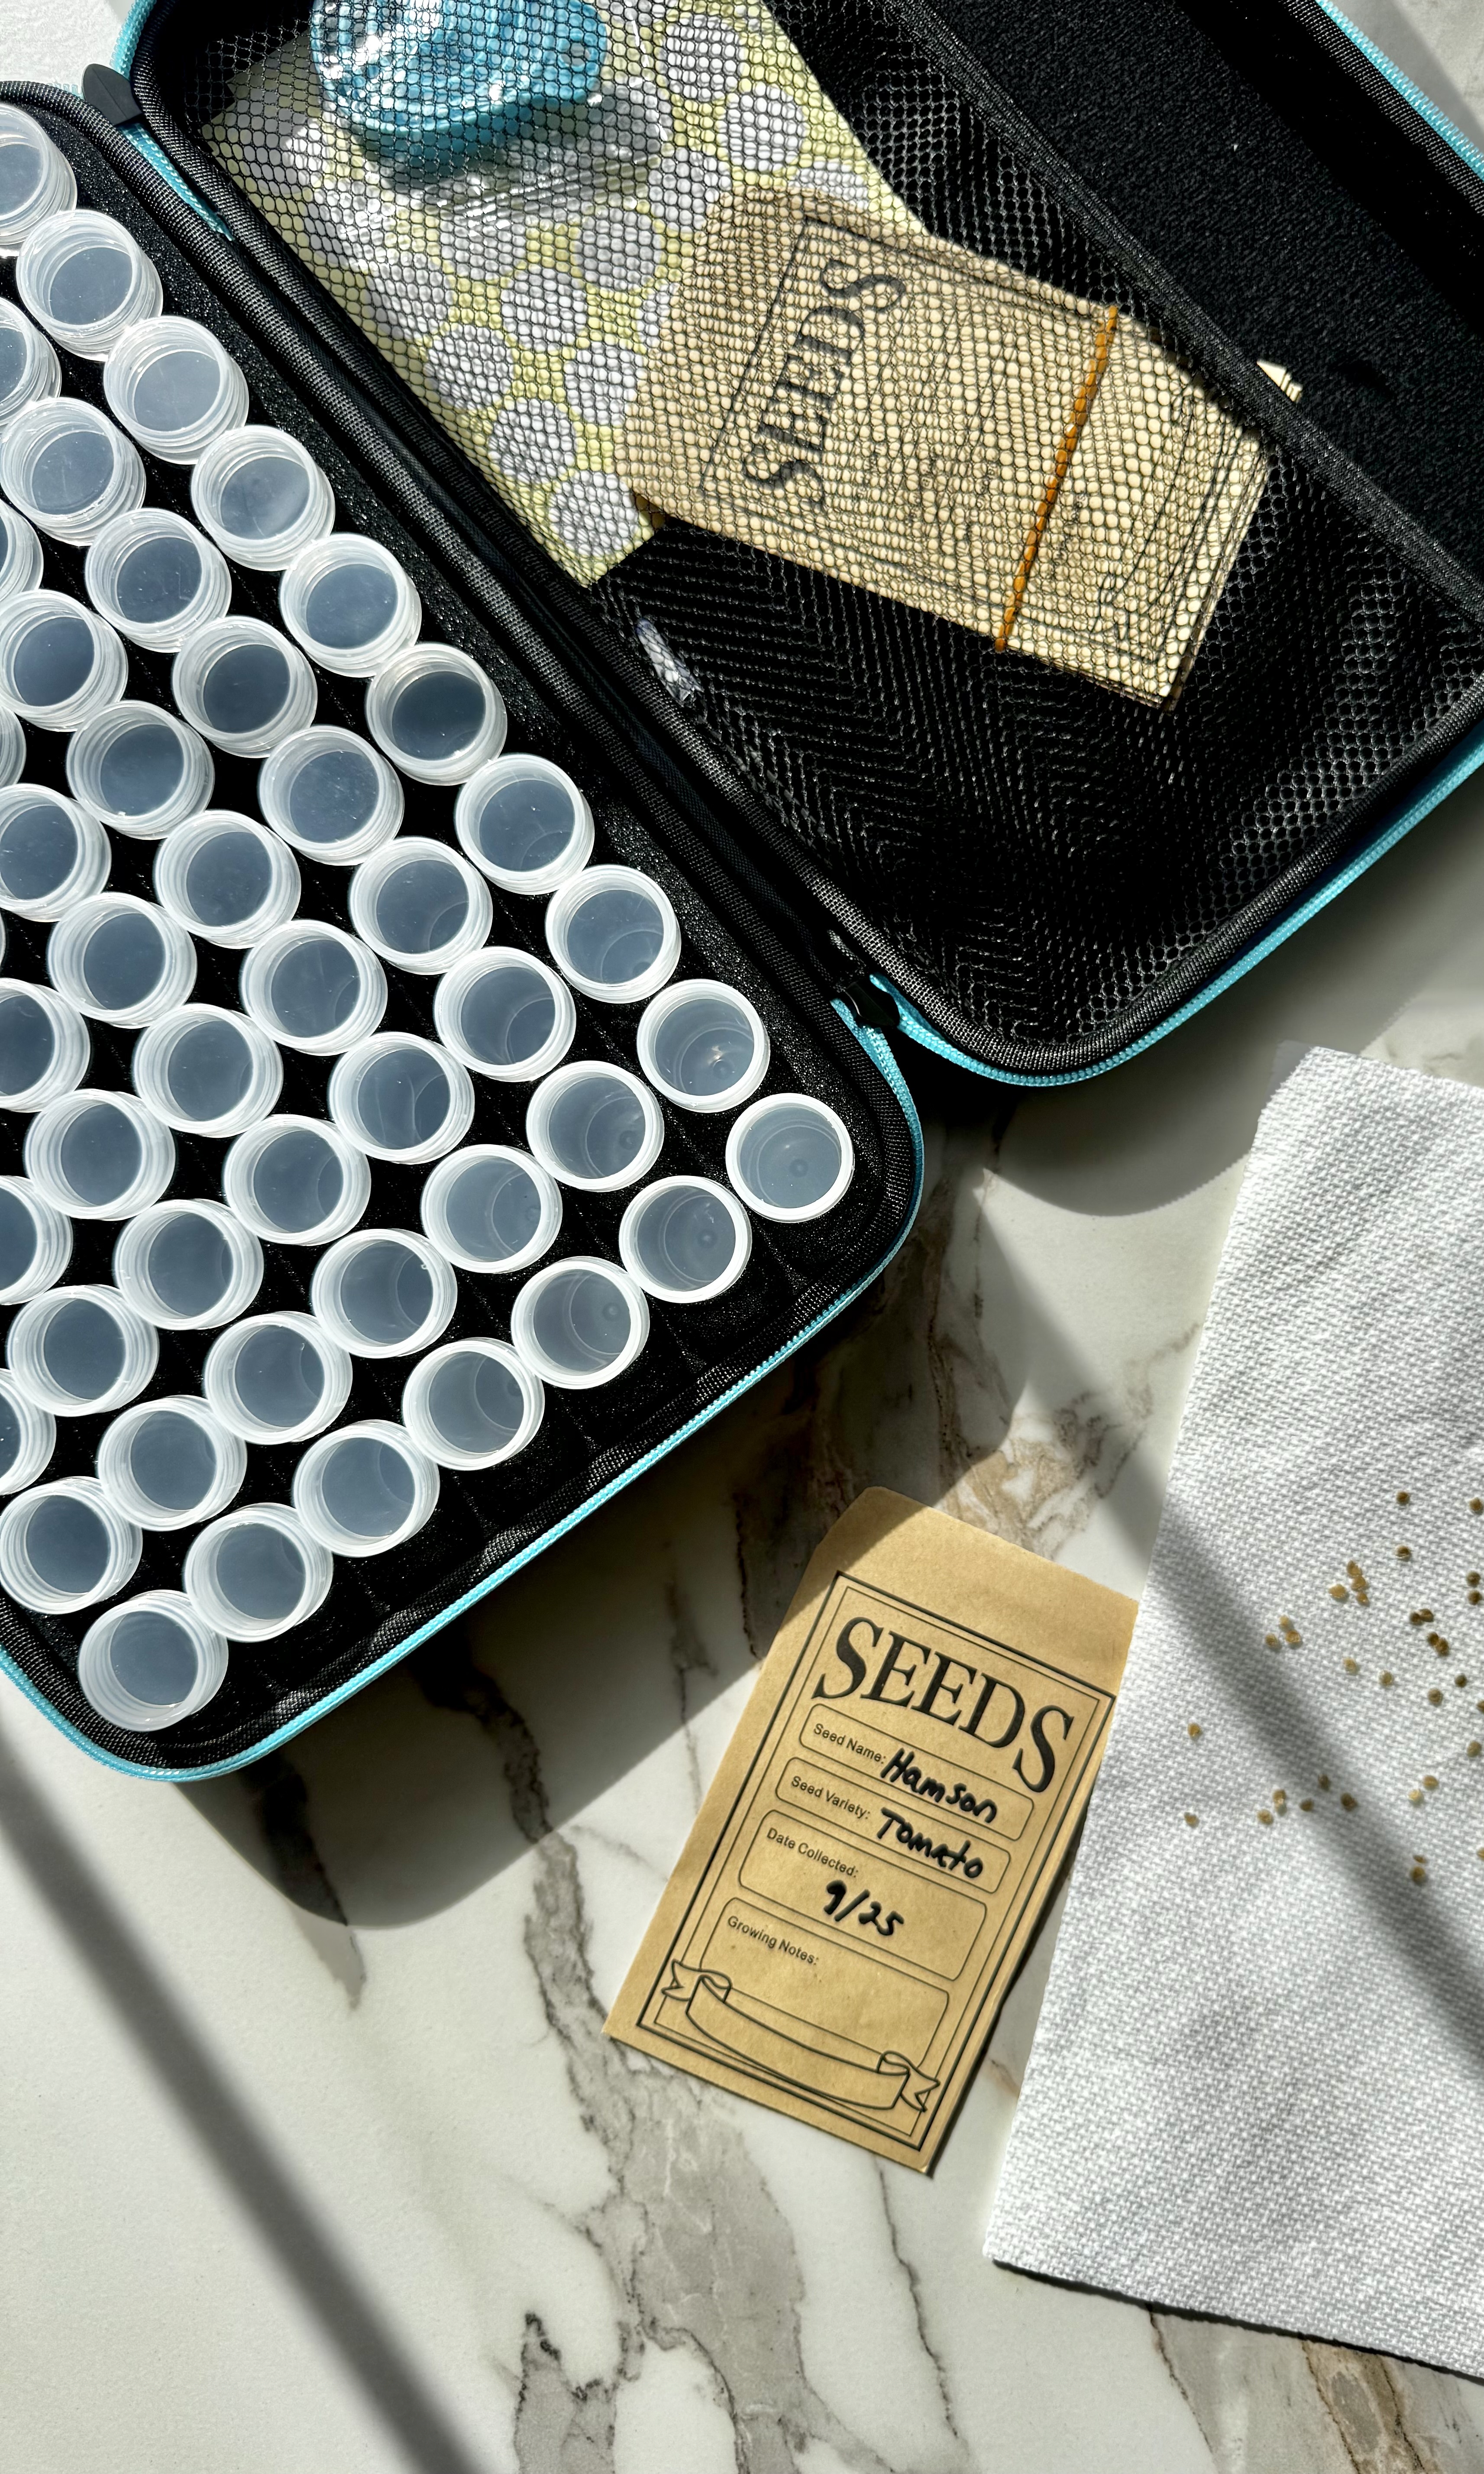
Tip: Saving seeds in paper bag is an excellent option. If there’s any lingering moisture, the bag absorbs it and helps prevent mold during storage.
Other Seeds That Are Tricky to Save
While many garden seeds are simple to dry and store (like beans, peas, or peppers), a few others present challenges similar to tomatoes:
- Cucumbers: Seeds also have a gelatinous coating that benefits from fermentation.
- Squash & Pumpkins: Thick seed coats require full ripening before saving.
- Eggplant: Seeds are embedded deep in the flesh and hard to separate.
- Melons: Slimy seeds that benefit from rinsing or fermenting.
- Peaches, Plums, and Apricots (stone fruits): Seeds are inside pits and require stratification (cold treatment) to sprout.
Saving tomato seeds might take a little more effort than saving other seeds, but it’s far from difficult. Once you learn the process, it will become extremely easy for you. You’ll save money, preserve your favorite varieties, and gain independence from seed catalogs.
Just remember: if you want fruit that’s true to the parent plant, always save seeds from heirloom tomatoes.
I’m curious to know if there are any other methods that you prefer. Let me know in the comments!
Thanks for reading along, guys!
If you enjoyed this blog post, be sure to check out my other gardening blog posts:
- How to Start a Garden on a Budget for Under $100
- Essential and Nice-to-Have Garden Products for Your Perfect Setup
- My Garden Setup: 3 Best Garden Containers for Every Gardener
- Understanding Garden Light and Shade: A Simple Guide
- How to Build a Homemade Trellis Using Cattle Panel
Be sure to follow me on social media for daily content and instructional videos about gardening!


0 Comments