Hey all! Real Farmer Jeff here.
I often hear from my family and friends that gardening can overwhelm them because of one of the very first steps: their seeds fail to germinate properly. As a result, they struggle to enjoy gardening as a whole and miss out on the rewards of a thriving harvest.
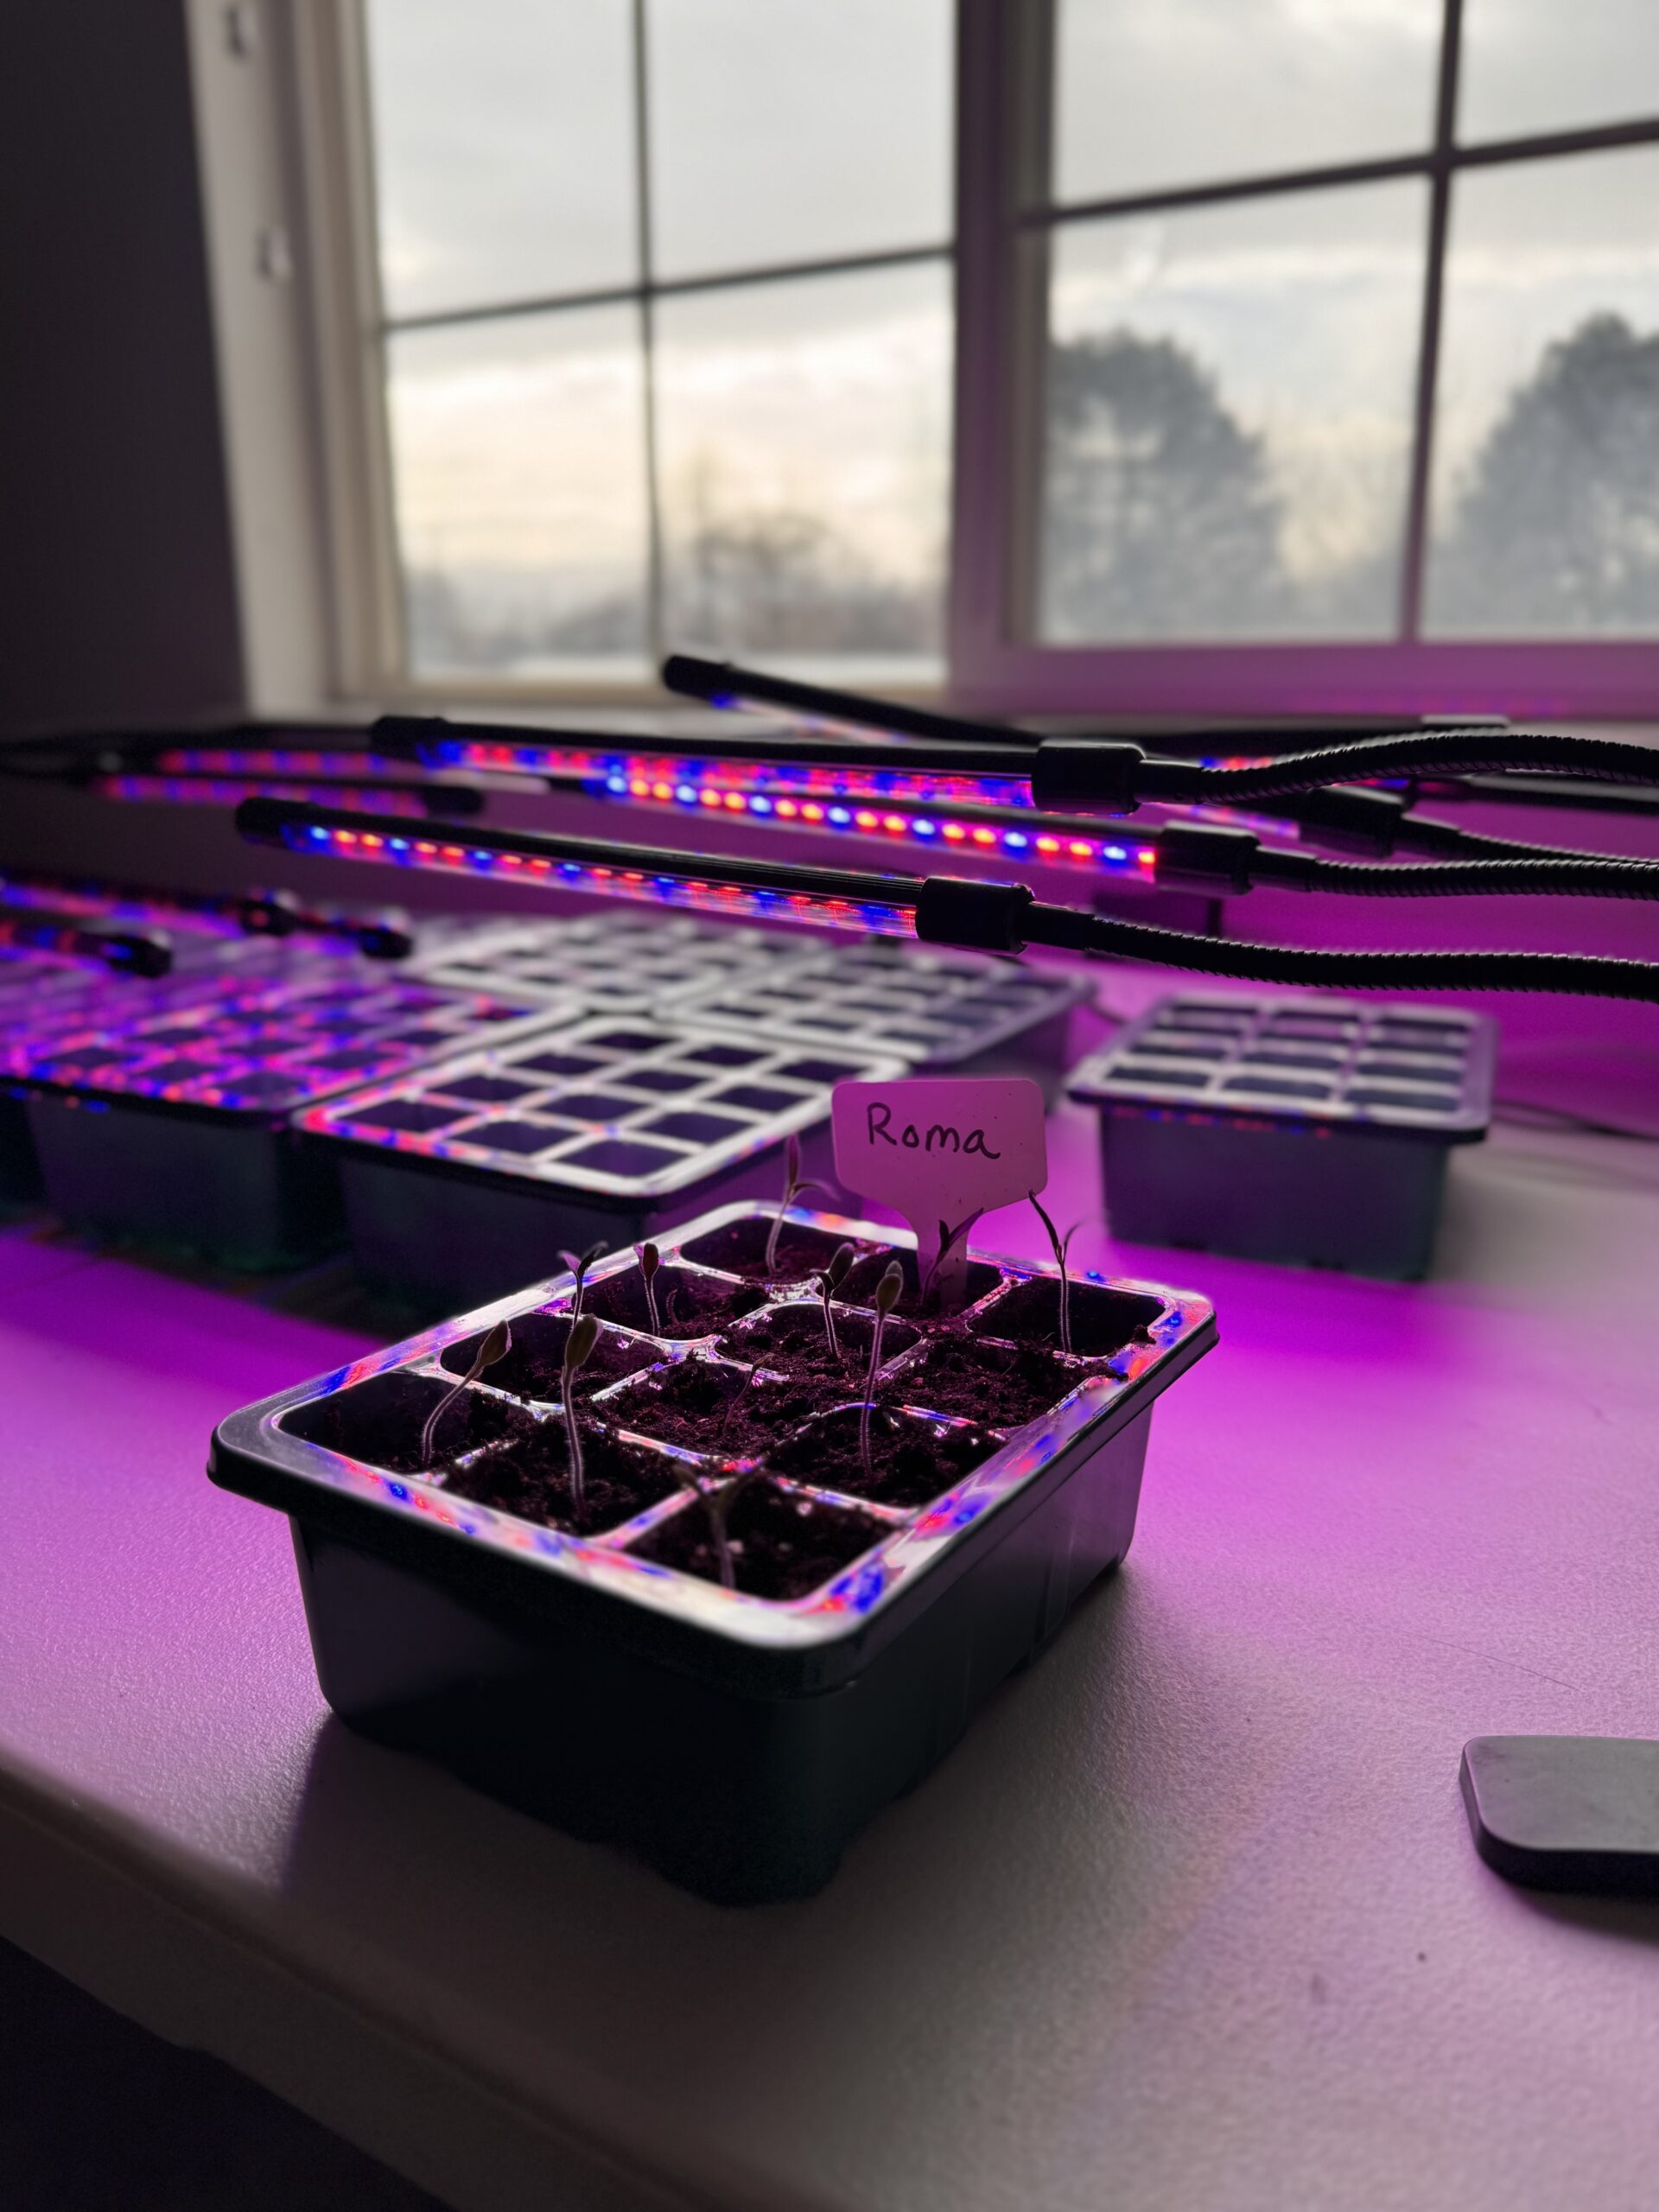
How you start your seeds can be the most critical step in gardening. It is what sets the stage for strong, healthy plants. Planting at the right depth, maintaining proper moisture levels, and using the correct soil all play a vital role in successful germination.
Plant too deep, and your seeds may struggle to sprout. Too shallow, and they risk drying out. With the right foundation, your seedlings will grow stronger, leading to a more productive and thriving garden.
So, how do you start seeds properly? Let’s dive into it below!
7 Tips for Planting Seeds at the Right Depth
1. Follow the Seed Packet Instructions
Most packets provide specific planting depths for each vegetable. Always check for guidance specific to the variety you’re planting.
2. General Rule of Thumb: Plant Seeds 2-3x Their Diameter Deep
If you’re unsure how deep to go, it’s better to plant slightly shallower rather than too deep. I recommend marking the right depth on a pen, pencil, or stick to create an imprint that is the exact same depth each time. I create each cavity and then sprinkle a little soil on top so I don’t push the seed too deep.
Pro Tip: Add two seeds to each hole if you want 100% germination. After the seeds sprout you can cut the seedling that looks weaker.
3. Adjust for Soil Type
If your soil is a proper seed starting mix without rocks or twigs and with proper aeration and water retention, you can plant exactly at the recommended depth.
For heavy, compact soil (clay), plant slightly shallower to help seedlings break through.
For loose, sandy soil, plant slightly deeper to ensure good moisture retention.
4. Ensure Good Seed-to-Soil Contact
After planting, gently press the soil over the seeds to remove air pockets and help with moisture absorption.
5. Water Gently After Planting
Use a spray bottle or gentle watering can to moisten the soil without washing seeds away. Keep the soil consistently damp but not soggy.
6. Consider Environmental Factors
- Hot Weather: Seeds may need to be planted slightly deeper to access moisture.
- Cool Weather: Shallower planting allows warmth to reach the seeds more easily.
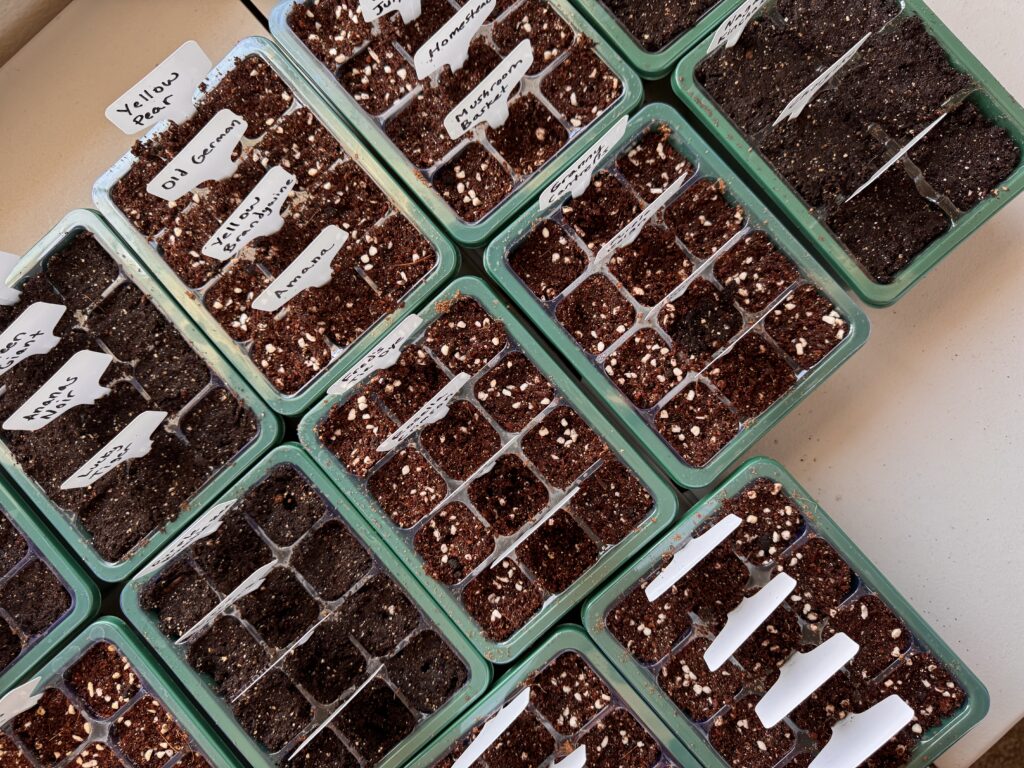
7. Use Markers to Keep Track of Planting
If you plant outdoors, label rows or containers to track where you planted. This will help prevent disturbance or over-planting.
Below is a planting guide I created for common vegetables that can help you determine how to plant your vegetables!

Planting Seeds with the Ideal Moisture Level
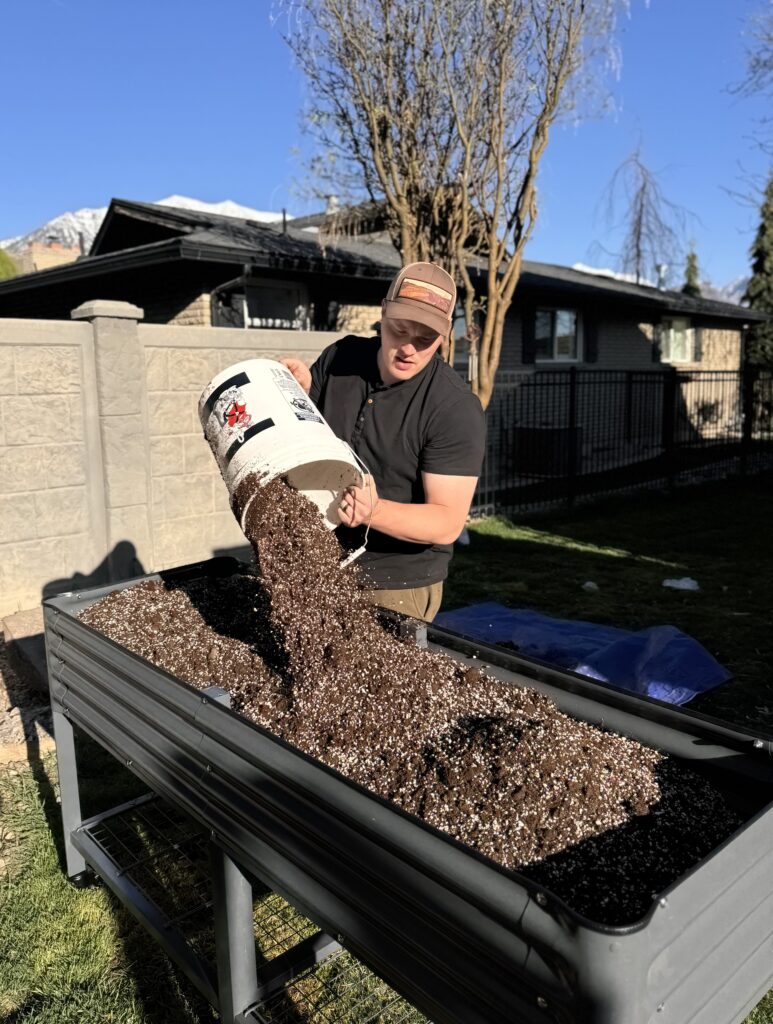
The ideal moisture level for soil before planting seeds should be moist but not soggy. For best results, I recommend moistening your soil before adding your seeds.
I usually moisten soil in a bucket that I can later move into my seed starting trays. If I’m planting outdoors, I give the soil a good watering before planting. Here’s how to determine the right moisture level:
1. The “Squeeze Test”: Take a handful of soil and squeeze it gently in your hand. The soil should hold its shape but crumble slightly when you touch it. It should feel damp, like a wrung-out sponge.
- Too dry: The soil falls apart immediately and feels dusty: add water and mix.
- Too wet: Water drips out when squeezed, or the soil feels muddy: let it dry out before planting.
2. Check with Your Fingers: Insert your finger about 1-2 inches into the soil. It should feel damp but not sticky or muddy.
3. Watering Before Planting: If the soil is too dry, lightly water it an hour before planting (if you have the time) to allow moisture to absorb evenly.
4. Create the Ideal Soil for Seed Starting:
- Perlite: If your soil is like clay, add perlite to increase the drainage and aeration.
- Vermiculite: Has great water retention while still maintaining some aeration. Add it if your soil is not retaining enough water. It also has antifungal properties that are helpful for young seedlings.
Check out my blog post here on other soil amendments I recommend.
How to Achieve Ideal Soil Texture for Perfect Aeration and Drainage
Best Seed-Starting Mediums
1. Pre-Made Seed-Starting Mix (Best All-Around Choice)
- Lightweight, well-draining, and sterile.
- Typically contains peat moss (or coco coir), perlite, and vermiculite.
- Holds moisture well without compacting.
- Low in nutrients to prevent seedling burn (nutrients can be added later).
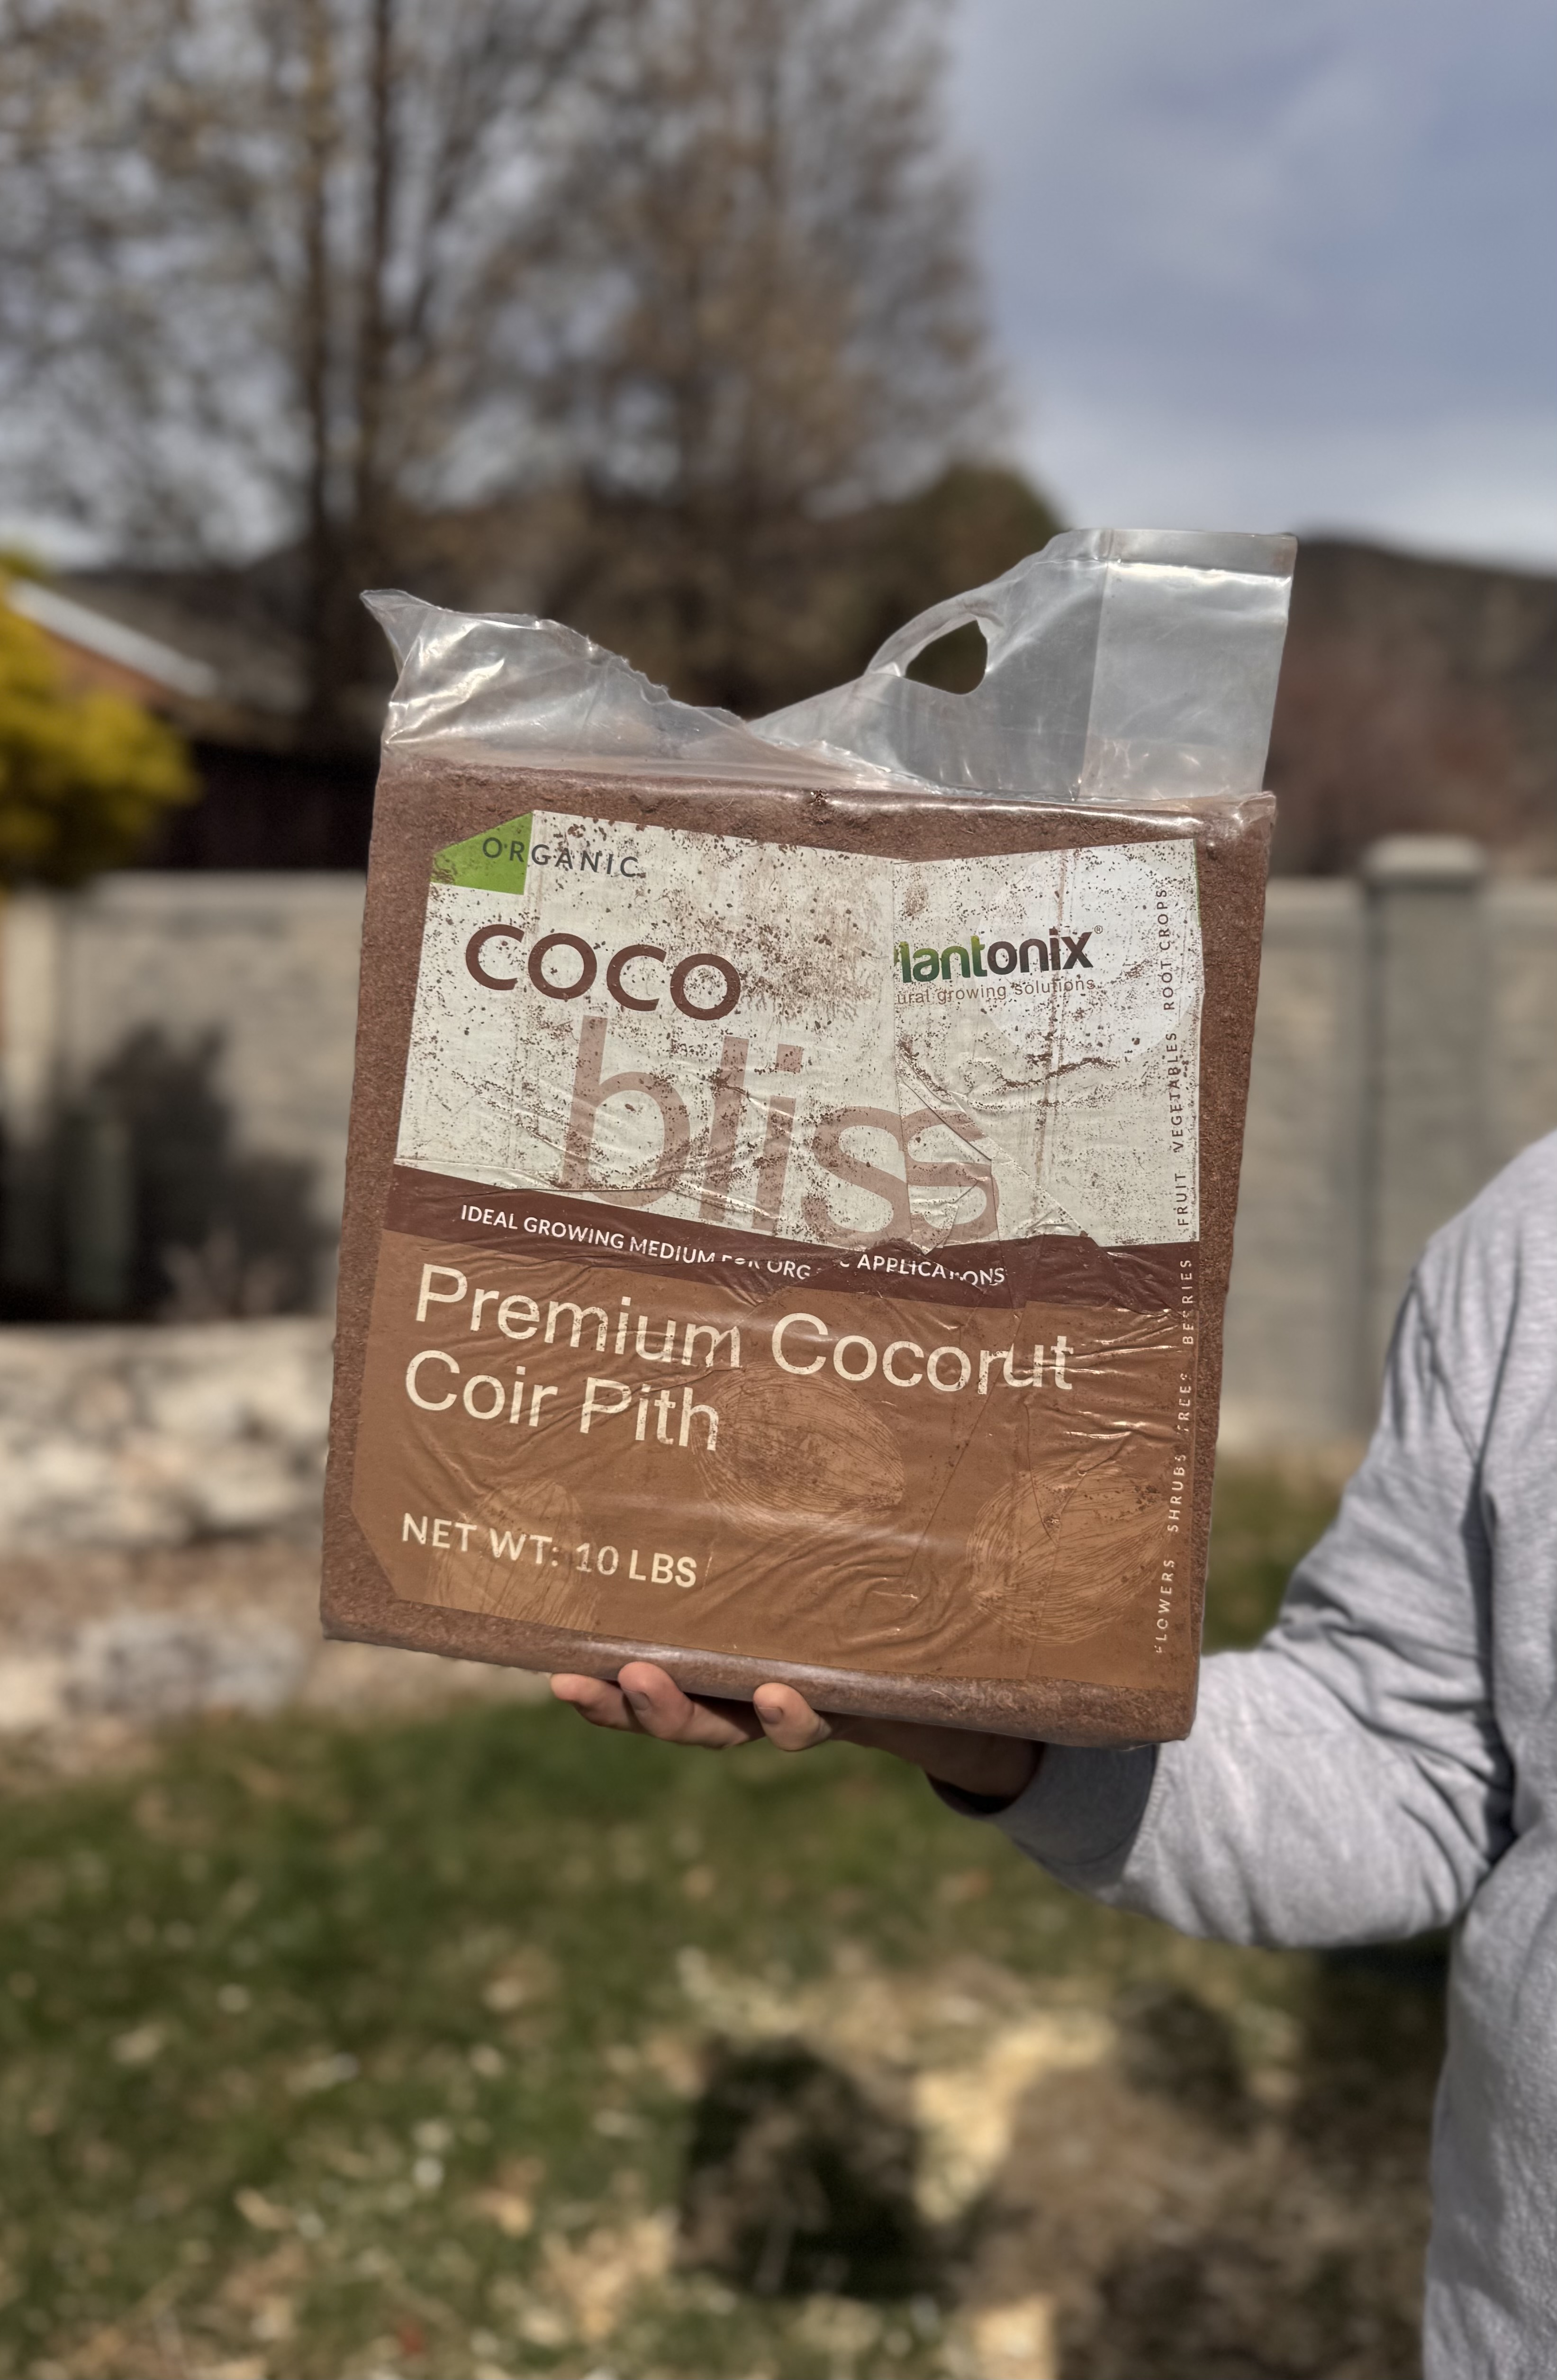
2. Coco Coir (Sustainable Alternative to Peat Moss)
- Eco-friendly, retains moisture well.
- Made from coconut husks, it’s a great renewable option.
- Neutral pH (unlike peat moss, which is acidic).
- Works well when mixed with perlite or vermiculite for aeration.
3. Vermiculite and Perlite
- Great for drainage & moisture retention, and prevents soil compaction while improving aeration.
- Vermiculite retains moisture well and helps distribute water evenly.
- Perlite improves drainage, preventing overwatering and root rot.

4. Compost-Based Mix (Organic Option)
- Nutrient-rich but heavier than standard mixes.
- Compost provides natural nutrients but should be mixed with other lightweight materials like coco coir or perlite.
- Ensure it’s fully decomposed and free of pathogens.
5. DIY Seed-Starting Mix (Custom Blend)
- Customizable and cost-effective.
- Basic recipe:
- 1 part compost or worm castings (for nutrients)
- 2 parts peat moss or coco coir (for moisture retention)
- 1 part perlite or vermiculite (for aeration)
What to Avoid:
- Regular garden soil: Too dense, may contain pests and diseases.
- Potting soil: Often too heavy and rich for delicate seedlings.
- Manure-heavy mixes: Can burn young seedlings.
Thanks for reading along! I hope you’re able to start your seeds successfully for a thriving garden. Best of luck with your harvest this year!
If you enjoyed this blog post, be sure to check out my other gardening blog posts:


I swear I always start seeds too deep so this is good to know!
This made me realize I was planting way too deep. My germination rates have been spotty.