Hey all! Real Farmer Jeff here.
If you’ve ever struggled to get a good tomato harvest (especially during hot, dry summers) hand-pollination might be the secret weapon you’ve been missing.
Even though hand-pollination goes above and beyond what the average gardener does, I would recommend it to anyone. The results are so impressive that I guarantee you’ll be hooked.
I started hand-pollinating my tomatoes because the very hot Utah summers hurt tomato pollination. With hand-pollination, I can have close to 100% pollination before the heat hits and will essentially be guaranteed a great crop.
In this post, I’ll explain hand-pollination and flower structure in more detail as well as share why you should use an electric toothbrush to boost tomato yields, and how.
Table of Contents

How Temperature, Wind, and Flower Structure Impact Pollination
Tomatoes are self-pollinating, which means a single plant can pollinate itself (I’ll touch more on this below).
However, they still need the right conditions for pollen to transfer from the anther to the stigma. Unfortunately, hot weather can seriously interfere with this natural process.
When temperatures climb above 90°F (32°C) – especially during the day or if nighttime temps stay above 70°F (21°C) – tomato pollen becomes dry, sticky, and far less viable.
Instead of being light and powdery (ideal for wind or vibration to move it), the pollen tends to clump together, making it harder for the plant to fertilize itself.
This results in:
- Flowers dropping without setting fruit
- Fewer tomatoes per cluster
- Less effective pollination from wind or natural movement
In addition, a lack of wind or bees for even a couple days can decrease the number of flowers that turn into tomatoes. After all the effort I put into starting my tomatoes, I want to make sure that every viable flower sets a tomato.
Plants organize their male and female parts (pollen and ovules) in different ways, which directly affects how pollination happens. Hand pollination is especially effective with tomatoes because each flower contains both male and female parts, making them well-suited for self-pollination.
Understanding the difference between what’s known as perfect and imperfect flowers is key when it comes to pollination, as it determines whether a single flower can pollinate itself or relies on other flowers (or even other plants) for reproduction.
- Perfect Flowers: These flowers contain both the pollen-producing stamens (male parts) and the pistils (female parts that catch pollen) within the same bloom. This setup often allows the flower to pollinate itself without needing outside help.
- Examples: Tomatoes, peas, peppers
- Examples: Tomatoes, peas, peppers
- Imperfect Flowers: Plants with imperfect flowers produce distinct male flowers (which release pollen) and female flowers (which receive pollen). These flowers are on the same individual plant in most cases. For successful pollination, pollen must be transferred from the male flowers to the female flowers, but this transfer can happen within the same plant.
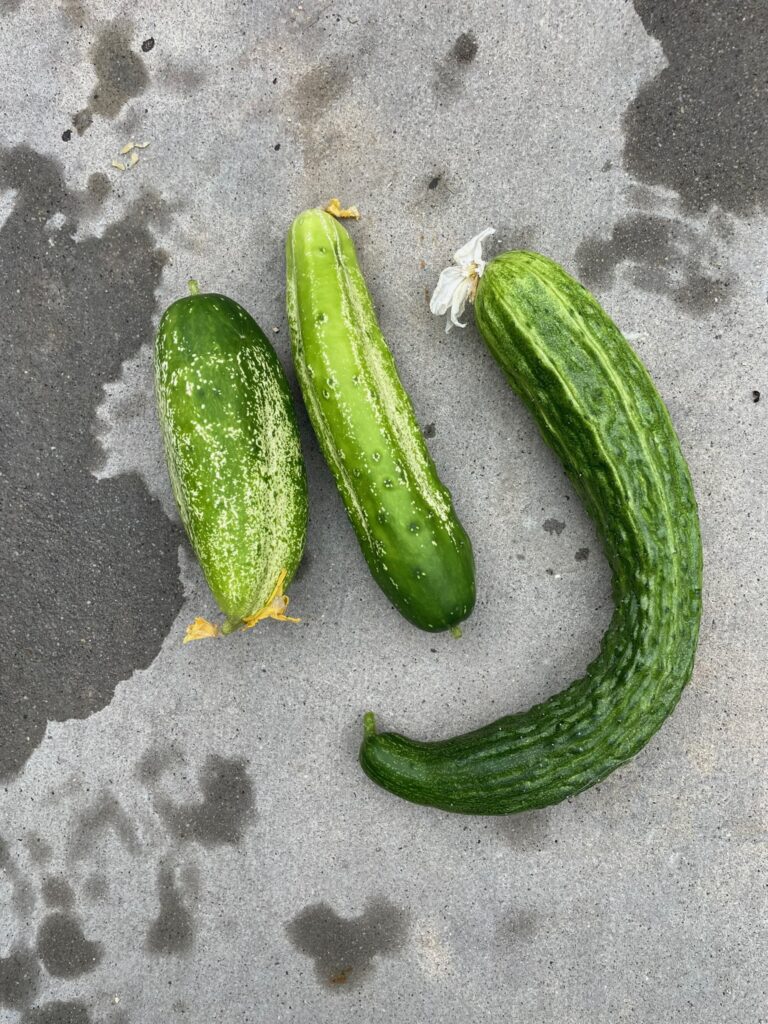
- Examples: Cucumbers, squash, corn, pumpkins
Common Self-Pollinating Garden Plants
| Rank | Plant Type | Examples | Commonly Self-Pollinated? |
| 1 | Perfect-Flowered Plants | Tomatoes, peas, beans, peppers, snapdragons | Very common (easy to do) |
| 2 | Imperfect-Flowered Plants | Cucumbers, squash, pumpkins, corn | Common (requires pollen transfer) |

Tips for Transferring Pollen with Imperfect Flowers
With imperfect flowers, success depends on transferring pollen from male to female flowers. For cucumbers, squash, pumpkins, and corn, gently shake the plant or tap male flowers near female flowers to help pollen fall. Some gardeners also use a small brush or cotton swab to move pollen directly. When you gently shake a squash plant here’s how pollen transfer works:
- The male flowers produce and release pollen. When you gently shake or tap the plant, pollen from these male flowers loosens and falls onto nearby surfaces.
- Since female flowers are on the same plant and often close by, some of that loosened pollen will land on the female flowers’ sticky stigma (the part that catches pollen).
- The shaking mimics natural movement caused by wind or pollinators like bees, helping pollen move from male to female flowers.
However, because pollen doesn’t always fall directly onto the female flower’s stigma just by shaking, some gardeners prefer to use a small brush or cotton swab to manually transfer pollen from male to female flowers for more reliable pollination.
Special Case: Tomatoes and Buzz Pollination
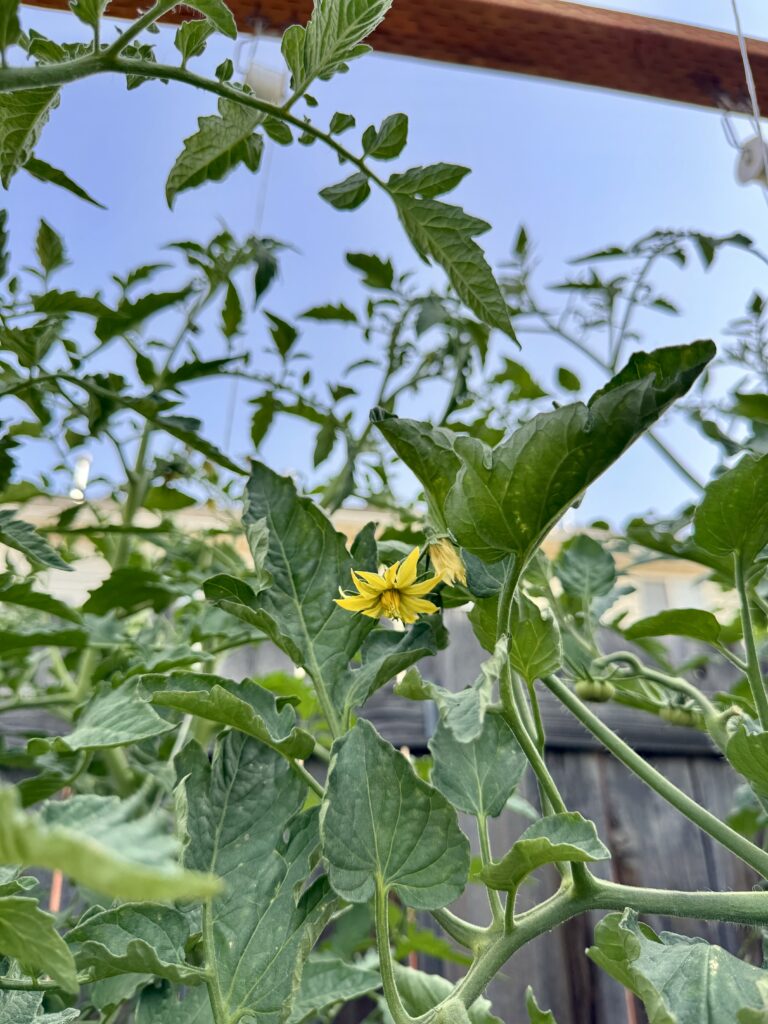
Tomatoes have perfect flowers that require vibration to release pollen, a process called buzz pollination.
When vibrated, tomato flowers visibly shoot out pollen in small puffs, making it very clear that pollination is happening. This unique trait makes tomatoes especially responsive to techniques like the electric toothbrush trick.
Why Buzz Pollination Works
Certain plants hide their pollen inside special structures called poricidal anthers. Instead of releasing pollen freely, these anthers have tiny pores or slits at the tip. The pollen stays locked inside until it’s shaken loose by vibration.
In nature, only certain bees – like bumblebees and carpenter bees – can perform sonication, gripping the flower and vibrating their flight muscles rapidly (without flapping their wings) to release the pollen. This produces vibrations in the range of 200 to 400 Hz, which is exactly the frequency needed to open the pollen pores.
Coincidentally, electric toothbrushes (which are a common hack to mimic buzz pollution – I will touch on this more down below) vibrate in a very similar frequency range (200–400 Hz), making them an excellent stand-in for buzz-pollinating bees.
Other Plants That Can Be Buzz Pollinated
While tomatoes are the best-known plants for buzz pollination, other crops also rely on this process, though their pollen release is usually less dramatic:
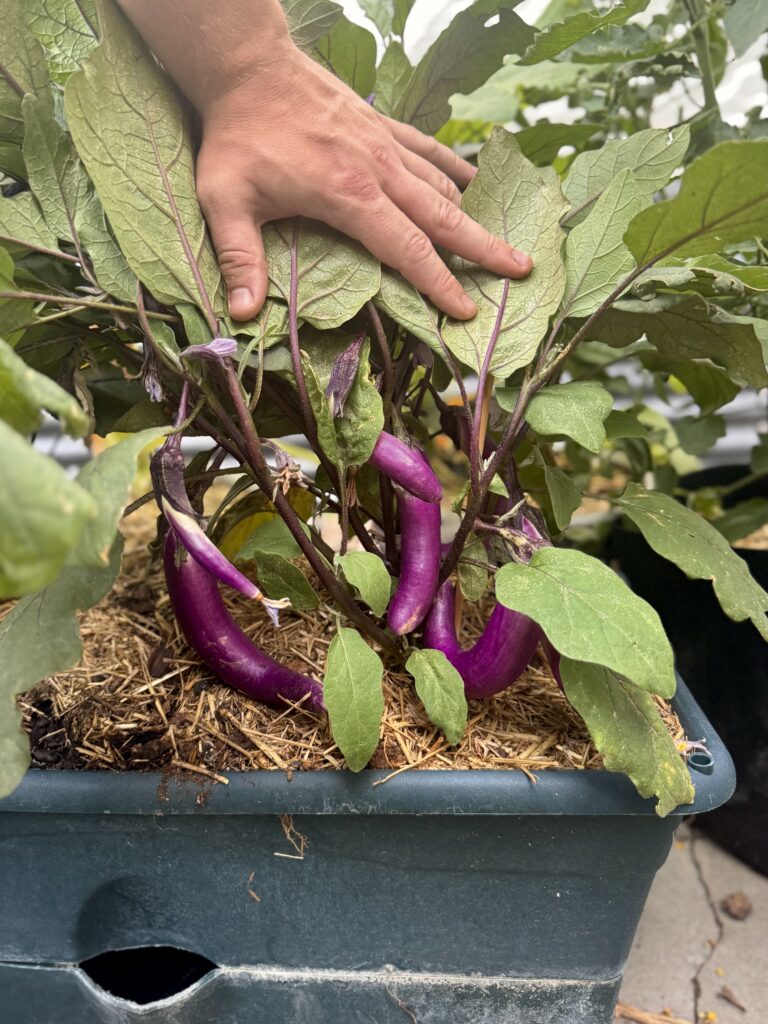
- Eggplants
- Potatoes
- Some peppers
- Blueberries
- Cranberries
- Other members of the Solanaceae family
In these plants, vibration loosens and releases pollen but without the visible “puff” effect seen in tomatoes
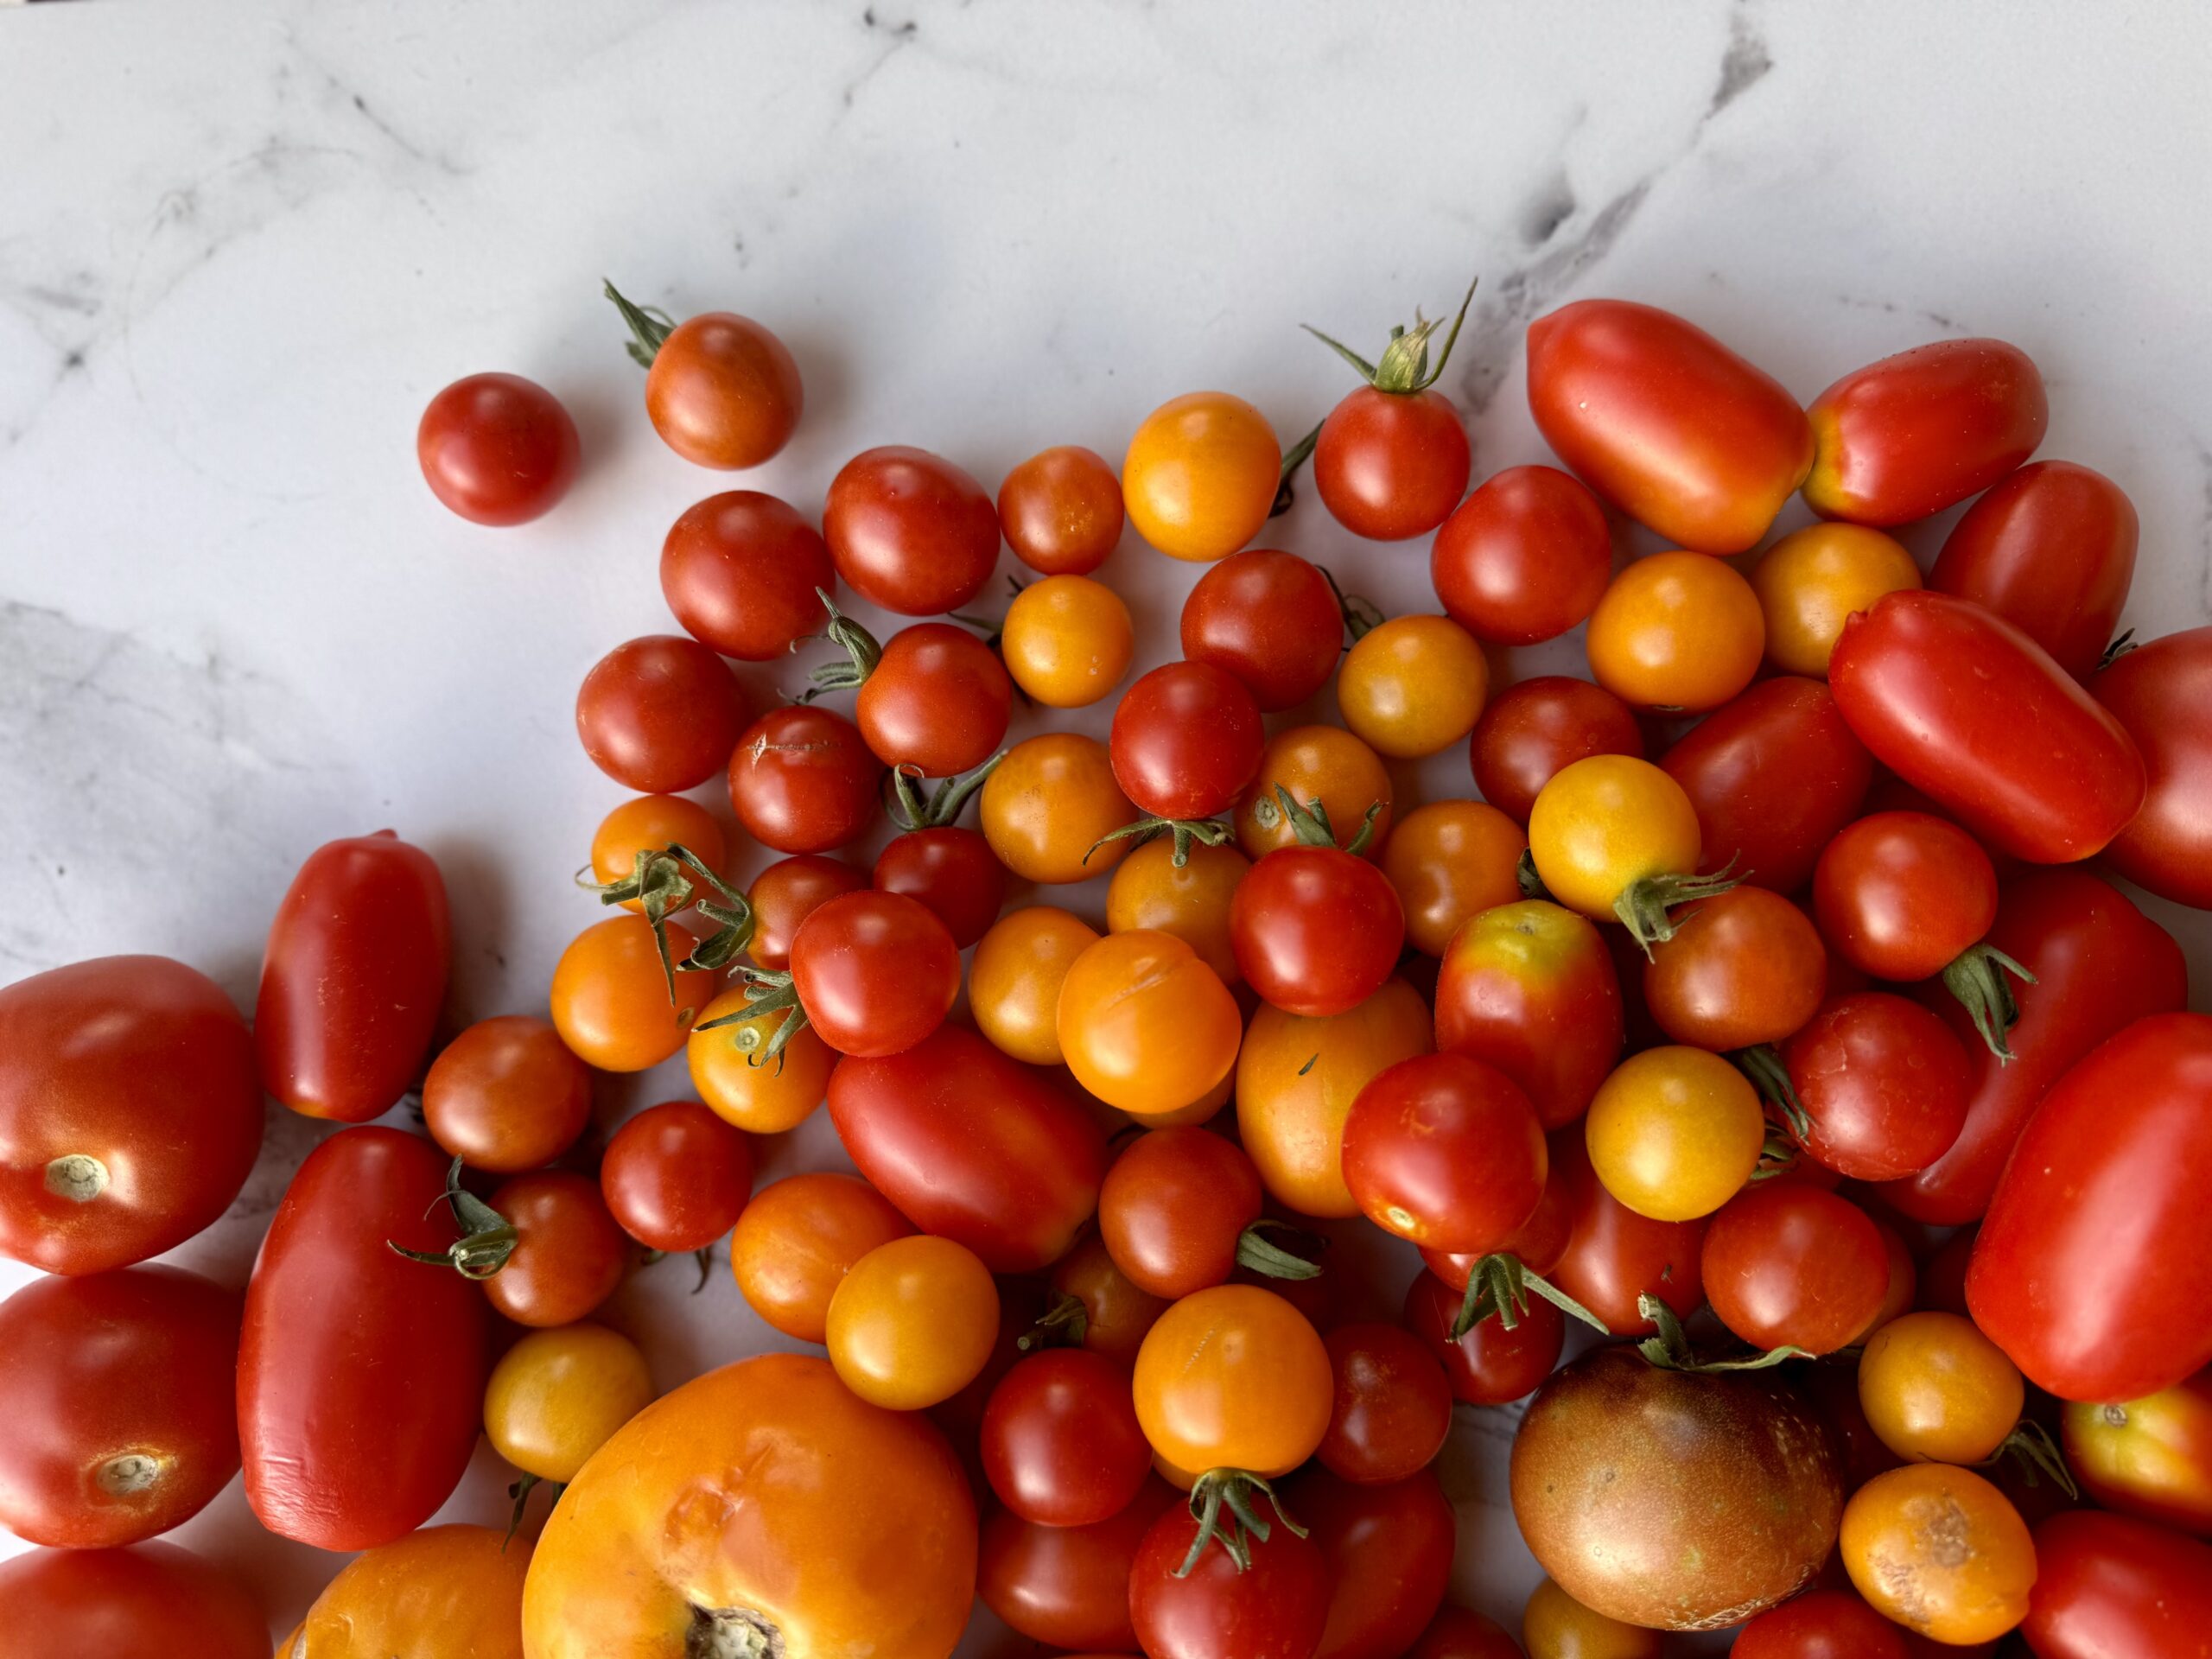
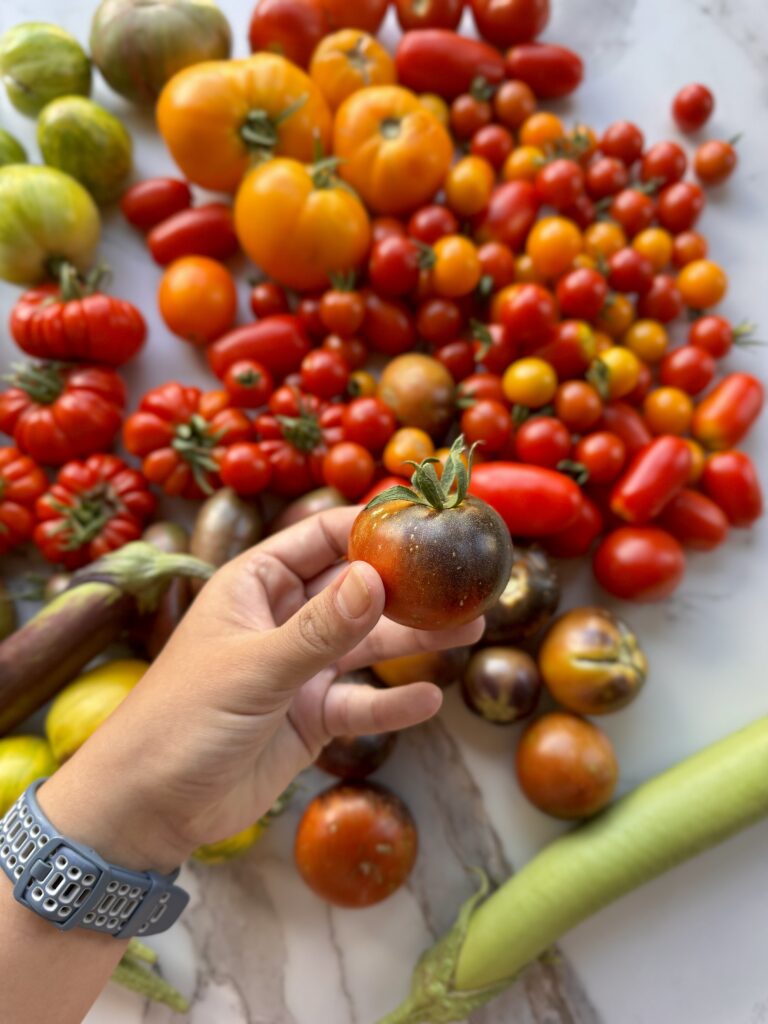
Note on Pollinating Cherry Tomatoes vs. Large Tomatoes
If you’ve noticed that cherry tomatoes seem to pollinate and produce more easily, you’re not wrong. Their flowers are generally smaller, more self-fertile, and have a shorter distance between the anthers and stigma, allowing pollen to transfer with very little assistance from wind, movement, or insects.
In contrast, larger tomato varieties (beefsteaks, slicers, and paste tomatoes) have larger, more open flower structures with a greater distance between the male and female parts. This makes them more reliant on vibration or manual pollination to achieve full pollination and avoid issues like misshapen fruit or blossom drop.
Buzz pollination benefits all tomatoes, but it’s especially worth your time on larger varieties, where natural pollination is less reliable. Cherry tomatoes often do just fine on their own, but larger types see a much bigger improvement from buzz pollination.
Pollination Techniques
Here’s a breakdown of common traditional techniques and which plant types they work best for:
- Hand shaking or tapping flowers: Works well for perfect-flowered plants (tomatoes, peas, beans) and monoecious plants (cucumbers, squash). Shaking helps pollen fall or transfer naturally.
- Using a small brush or cotton swab: Effective for plants where you can manually transfer pollen from male to female parts.
- Blowing on flowers: An old-school method mostly useful for perfect-flowered plants but less reliable overall.
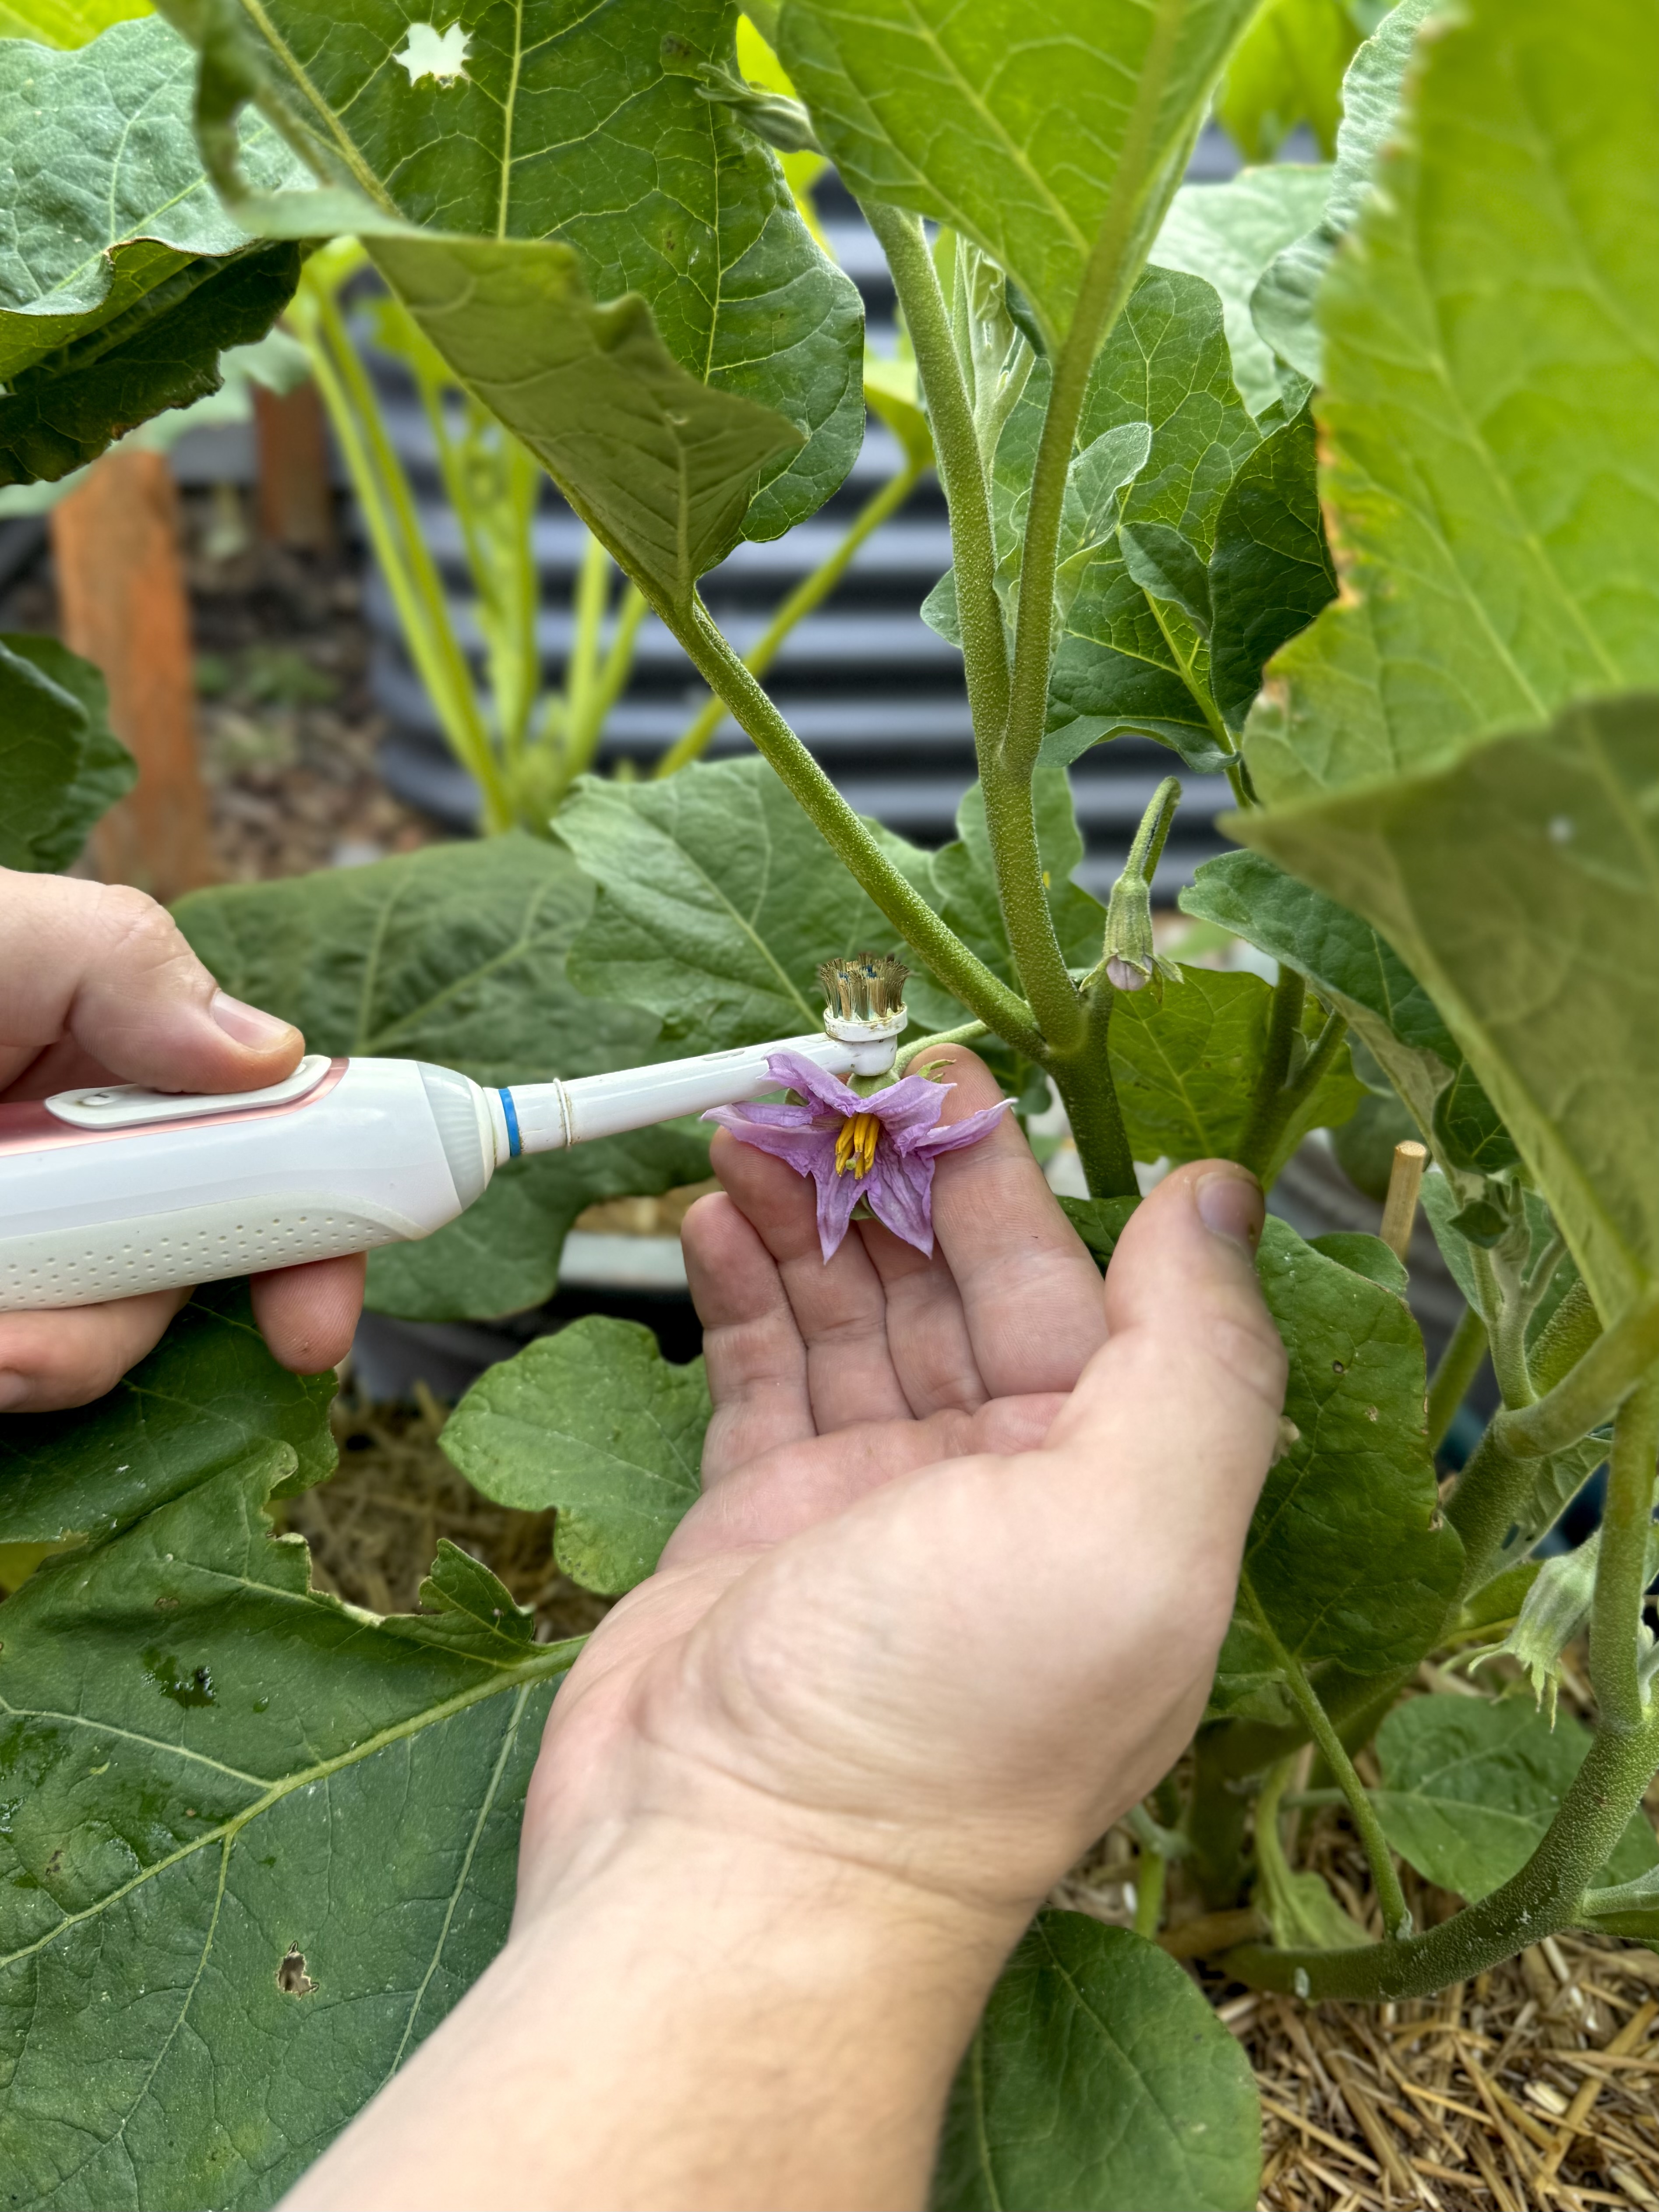
My Go-To Trick: Electric Toothbrush Pollination
To get ahead of the heat and lack of wind (especially in the area I live in, Utah, which is a desert), I use an electric toothbrush to mimic the vibration of a buzzing bee (a technique called “buzz pollination” or “hand pollination”).
In reality, most tomato pollination happens from wind and not bees, but the buzzing of a toothbrush really does remind me of a bee. Here’s why the electric toothbrush method works so well for me:
- Immediate feedback: I often see a little cloud of pollen puff out from the flower – proof that it’s working!
- Set fruit early: By pollinating flowers in the cooler part of the season, I get fruit developing before summer stress kicks in. Even though the heat will affect the pollination, once the tomatoes set, I haven’t had problems with their development.
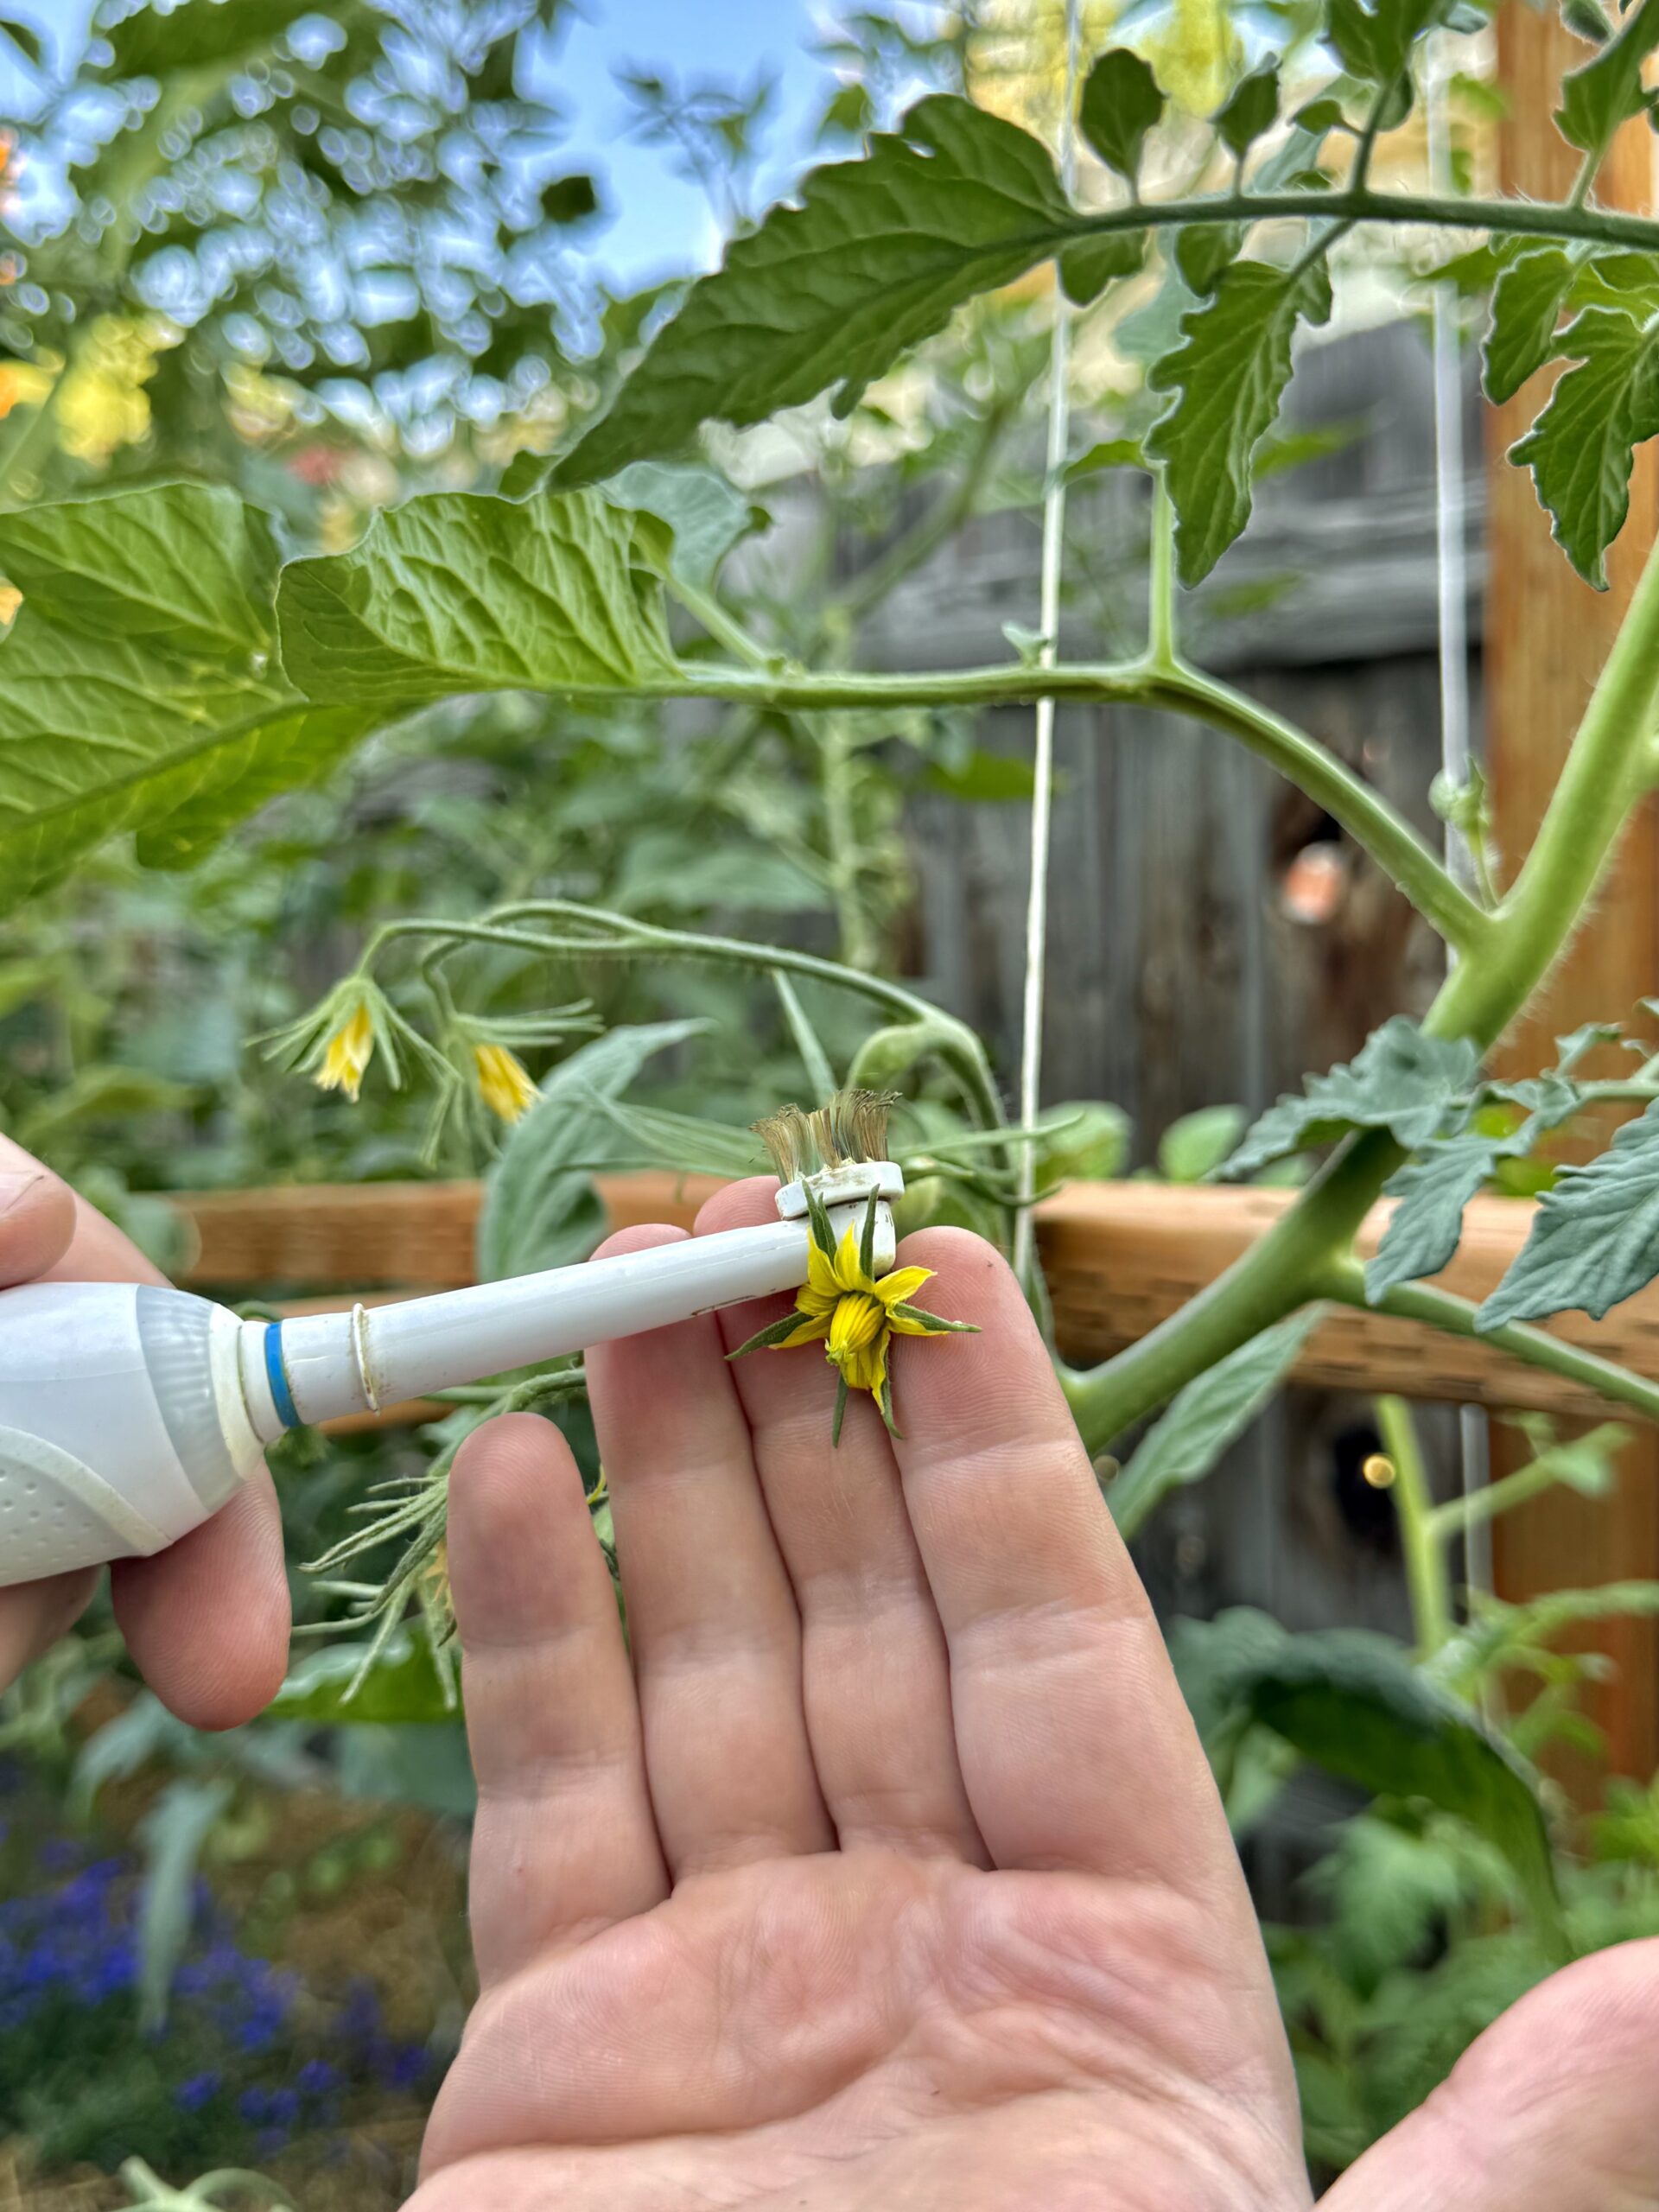
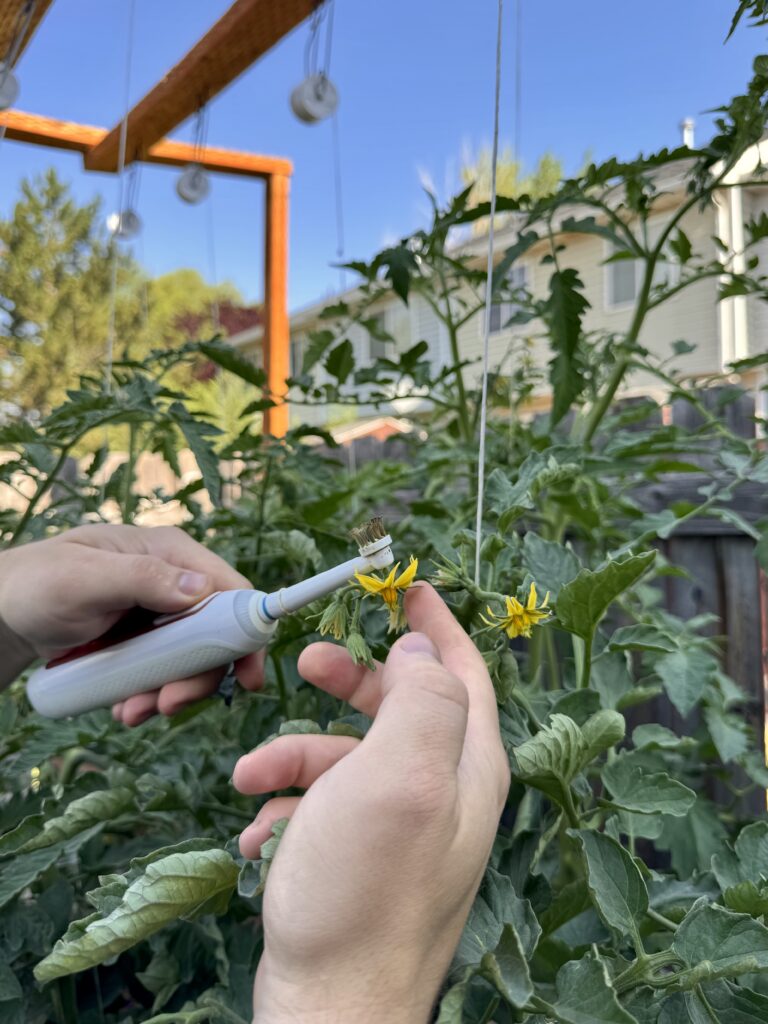
How to Hand-Pollinate with an Electric Toothbrush
*Ideally hand pollinate in the morning before noon because that is when the pollen is most viable.
- Choose the Right Toothbrush: A basic electric toothbrush works perfectly. You won’t use the bristle side – avoid it to prevent damaging the flower.
- Set the Vibration Level: Turn the toothbrush to its highest vibration setting. This best mimics the frequency bumblebees use in nature.
- Find the Right Spot on the Flower: Look for the calyx (the green, bell-shaped part at the back of the flower, opposite the petals). Avoid the petals and the flower’s face, where the delicate reproductive parts are.
- Stabilize the Flower (Optional): Hold the flower gently with one hand or pull it slightly toward you to stabilize the flower.
- Apply the Toothbrush: Press the back end (non-bristle side) of the toothbrush softly against the calyx. You should feel the vibration transfer without crushing or bending the flower.
- Buzz the Flower: Vibrate for 1 – 2 seconds per flower. That’s typically plenty to release pollen. Buzzing in one spot is enough. The vibration travels through the flower structure to reach the anthers.
- Repeat as Needed: Buzz each open flower in a cluster. Repeat every 1 -2 days while the plant is blooming to maximize fruit set.
How Long Are Tomato Flowers Viable?
A tomato flower is typically viable for about 2 – 4 days after it fully opens. During this time, the pollen is still active, and the stigma (the female part) remains receptive.
Hot weather (above 90°F / 32°C) can shorten viability to as little as 1 day. Heat can dry out the stigma and reduce pollen fertility. High humidity makes pollen sticky and harder to release or transfer. Mild, dry weather can extend viability up to 3 – 4 days.
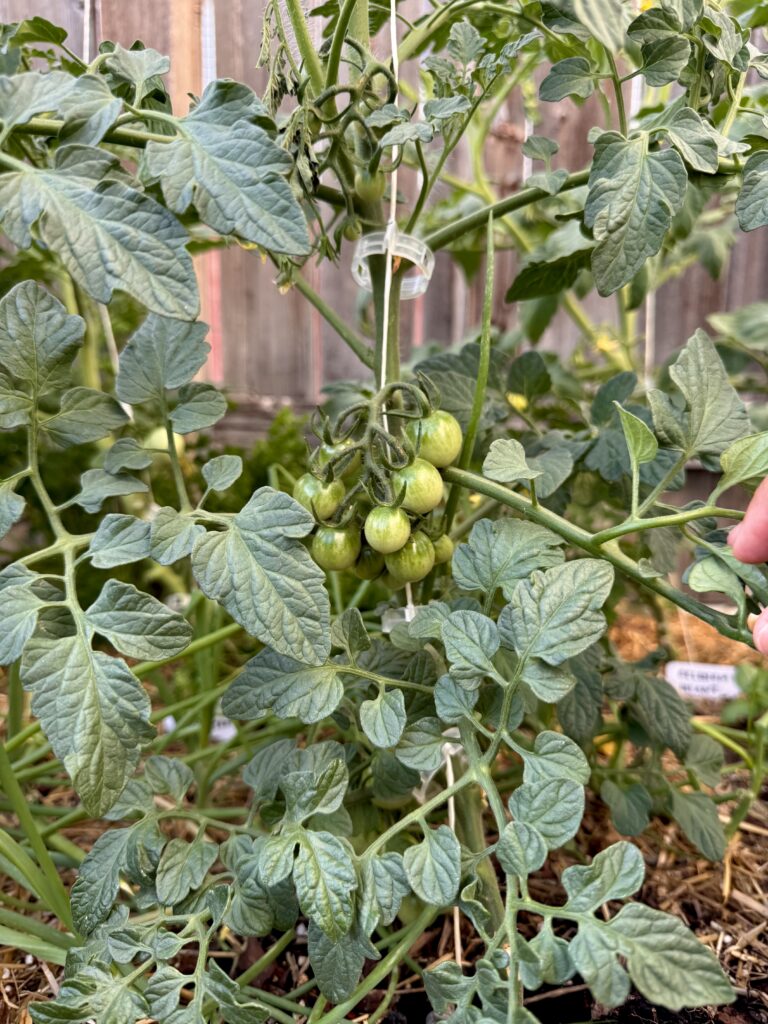
How to Know If a Flower Has Been Pollinated
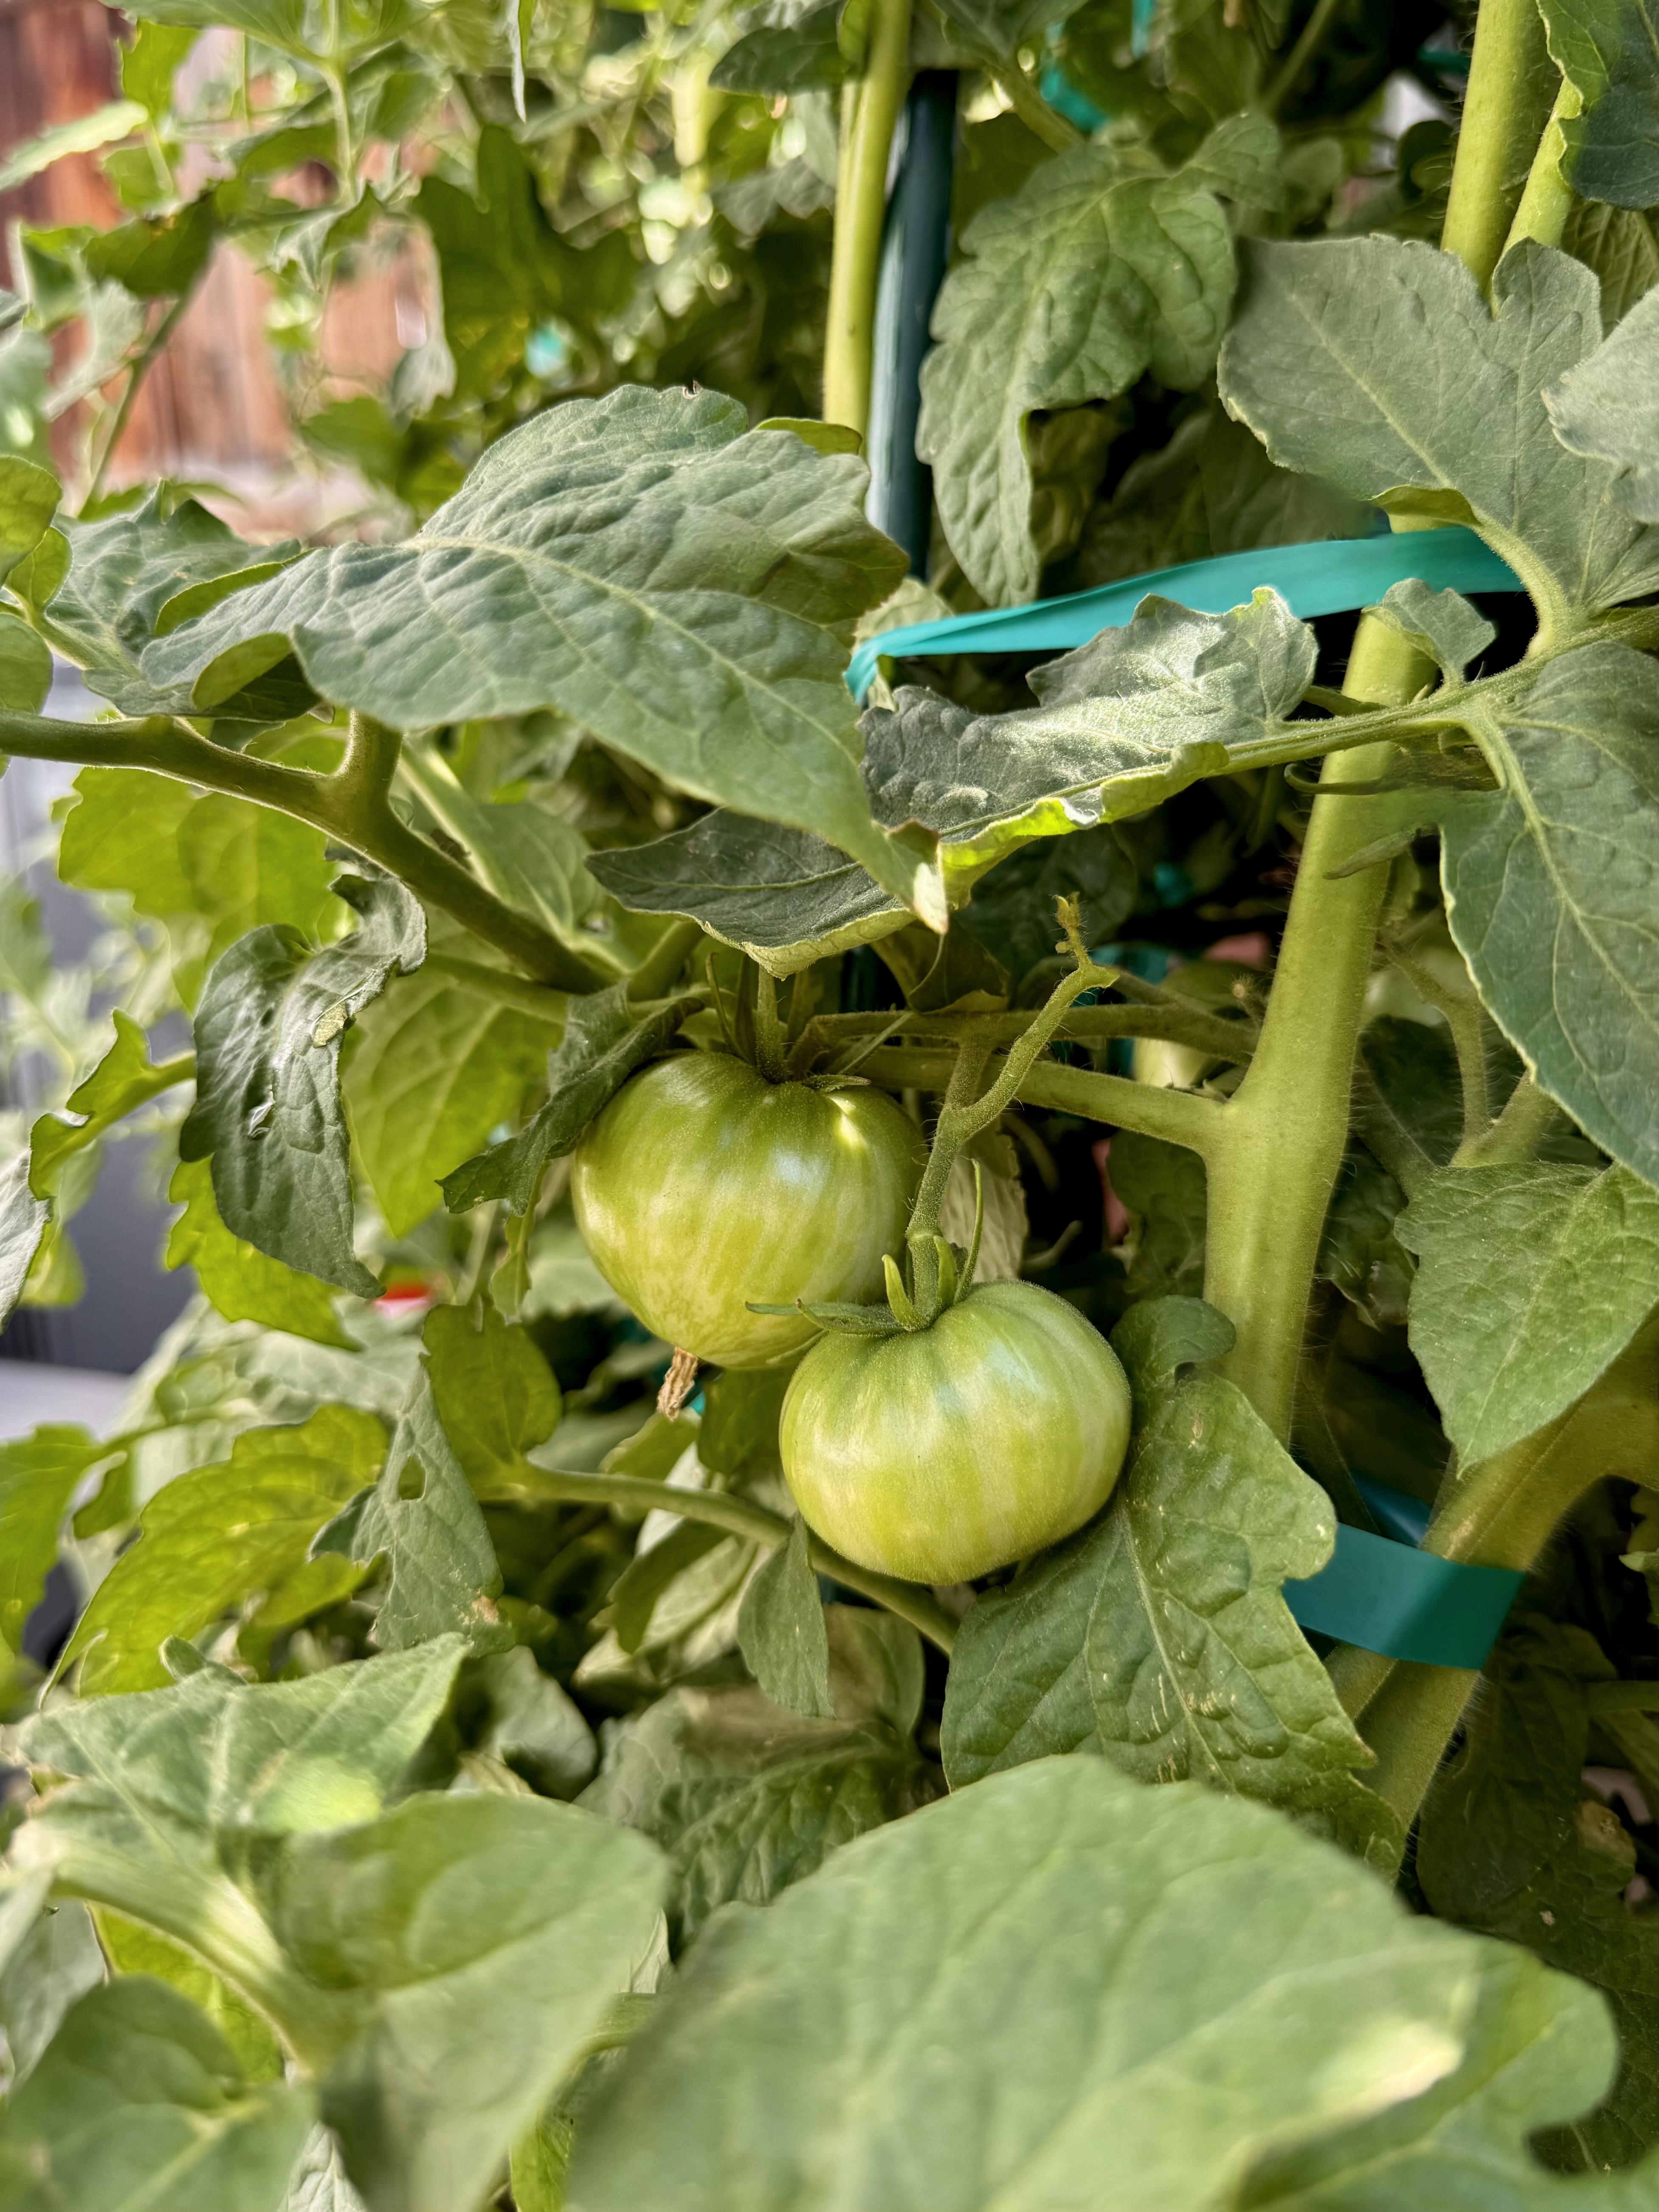
After successful pollination, tomato flowers show some physical changes:
- The base of the flower (the ovary, located just behind the petals) will enlarge or swell, indicating the beginning of fruit development.
- The sepals (the green leafy parts at the back of the flower) often reflex backwards – bending sharply away from the flower. This is a common early sign that fertilization has occurred.
- The flower petals begin to wilt, fade, and drop off a day or two after successful pollination. Within several days, you should see a tomato forming where the flower once was.
If a flower does not pollinate successfully:
- The petals may dry and drop, but the flower base stays small and does not swell.
- The sepals stay in their normal upright position rather than bending back.
- The flower stem may yellow and eventually drop off entirely.
Do Bigger Tomato Clusters Make Fruits Smaller?
While it’s a common concern among gardeners and may hinder gardeners from hand-pollinating, fruit size often depends more on the plant’s overall health, variety, and growing conditions than cluster size alone. Thus, bigger tomato clusters don’t necessarily mean smaller fruits! People may worry that too many fruits competing for nutrients will stunt growth, but with proper care, large clusters can produce full-sized, flavorful tomatoes.
Very large flower clusters can sometimes mean more fruits competing for limited resources, which might slightly reduce fruit size if the plant isn’t vigorous or well-fertilized. However, many tomato varieties produce large clusters without any noticeable reduction in fruit size, especially when grown in healthy, well-watered soil.
Additional Factors:
- Plant Vigor and Pruning: Proper pruning and nutrient management help the plant support larger fruits, regardless of cluster size.
- Time to Maturity: Lower fruits usually have a longer period to grow before harvest, contributing to their larger size.
Thanks for reading along, guys! If you enjoyed this blog post, check out my other gardening blog posts:
- How to Start a Garden on a Budget for Under $100
- Essential and Nice-to-Have Garden Products for Your Perfect Setup
- My Garden Setup: 3 Best Garden Containers for Every Gardener
- Understanding Garden Light and Shade: A Simple Guide
- How to Build a Homemade Trellis Using Cattle Panel
Follow me on social media for daily content and instructional videos about gardening!


This hack is GENIUS! I would love an in-depth guide with pictures. Just to make sure I’m doing it right.
Using an electric toothbrush actually worked. I saw better fruit set right away! And so convenient because I already had a toothbrush laying around