Hey all! Real Farmer Jeff here.
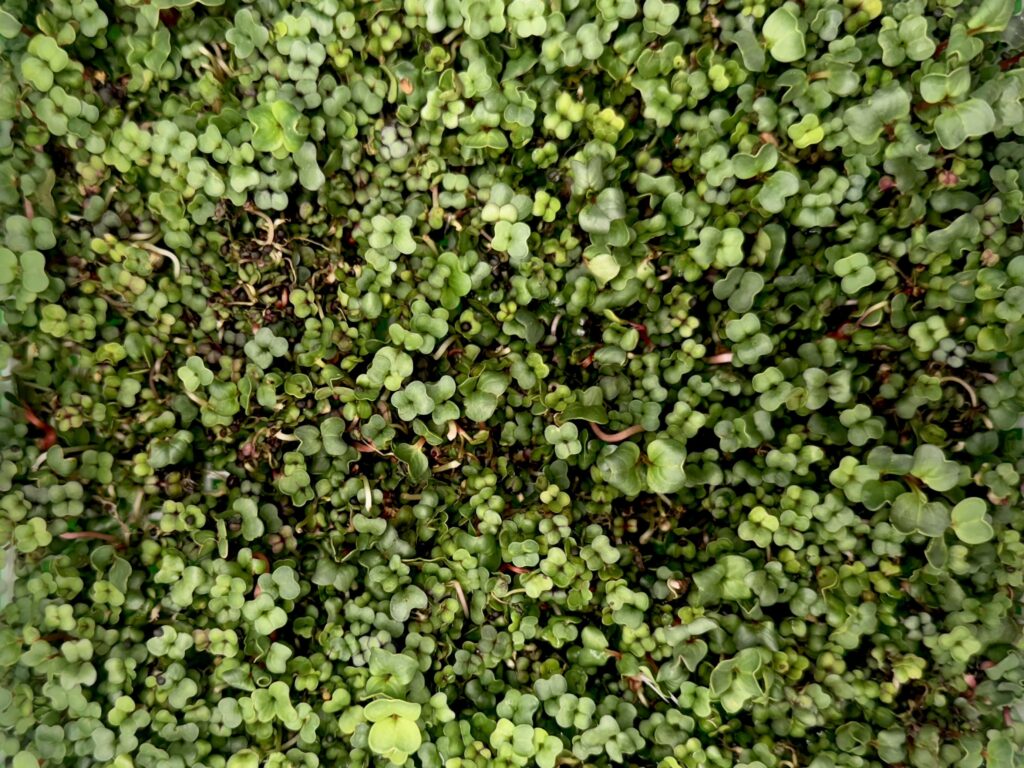
Microgreens are young vegetable or herb seedlings harvested just after their first true leaves appear, usually around 1 – 3 inches tall. They’re grown densely, harvested quickly, and pack intense flavor and nutrients into small, tender greens.
Microgreens are one of the easiest – and most rewarding – ways to grow fresh food at home. They don’t require a garden, special equipment, or even much time, yet they pack far more flavor and nutrients than their full-grown counterparts.
Let’s get started!
Why Grow Microgreens?
The appeal comes from how fast, flavorful, nutritious, and space-efficient they are. Even a small countertop can produce dozens of servings with minimal supplies, making them perfect for beginners, home cooks, and apartment growers.
You can also easily grow microgreens year-round and use them as a way to eat healthier.
Microgreens pack more nutrients per gram than mature vegetables because they are harvested very early in their growth.
- Seed stores nutrients: The seed contains concentrated vitamins, minerals, and proteins to fuel the young plant.
- Rapid growth requires protection: As seedlings sprout, they produce antioxidants and other protective compounds.
- Small size = concentrated nutrition: Most of the microgreen is nutrient-rich seed leaves, not bulky, water-heavy mature leaves.
Result: Microgreens can have 3–40× more vitamins and antioxidants per gram than fully grown vegetables.
Top Microgreens to Grow
Easiest Microgreens:
- Radish: Fast germination, very forgiving for beginners.
- Broccoli: Hardy and grows reliably in most conditions.
- Sunflower: Large seeds, thick stems, easy to sprout.
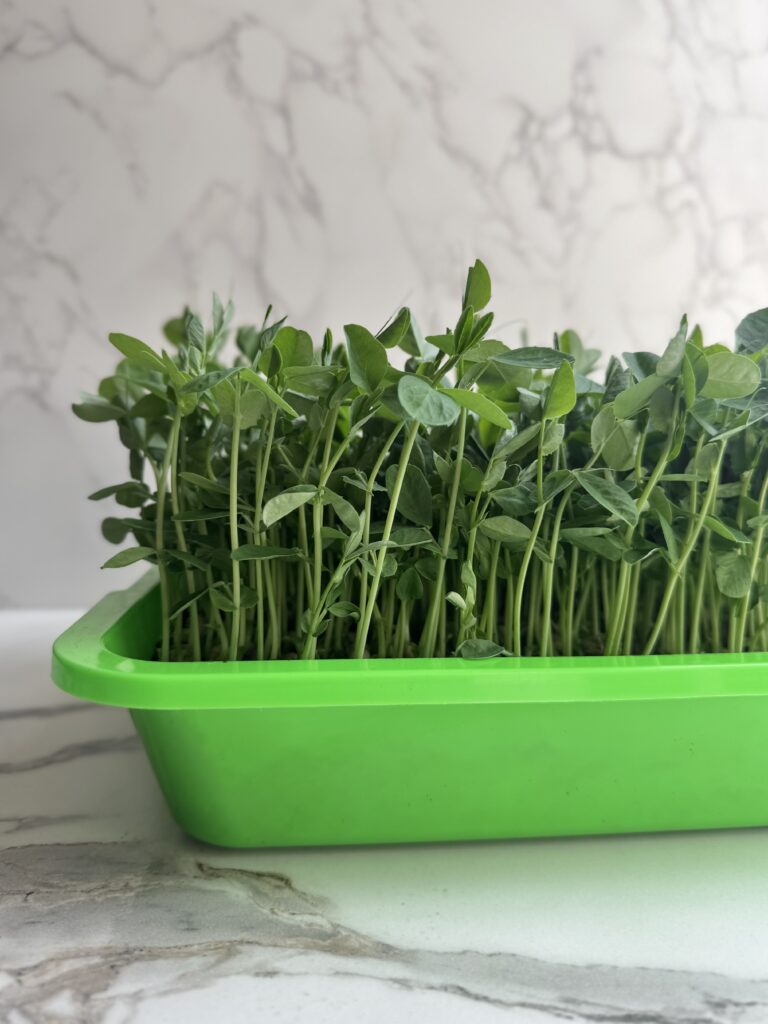
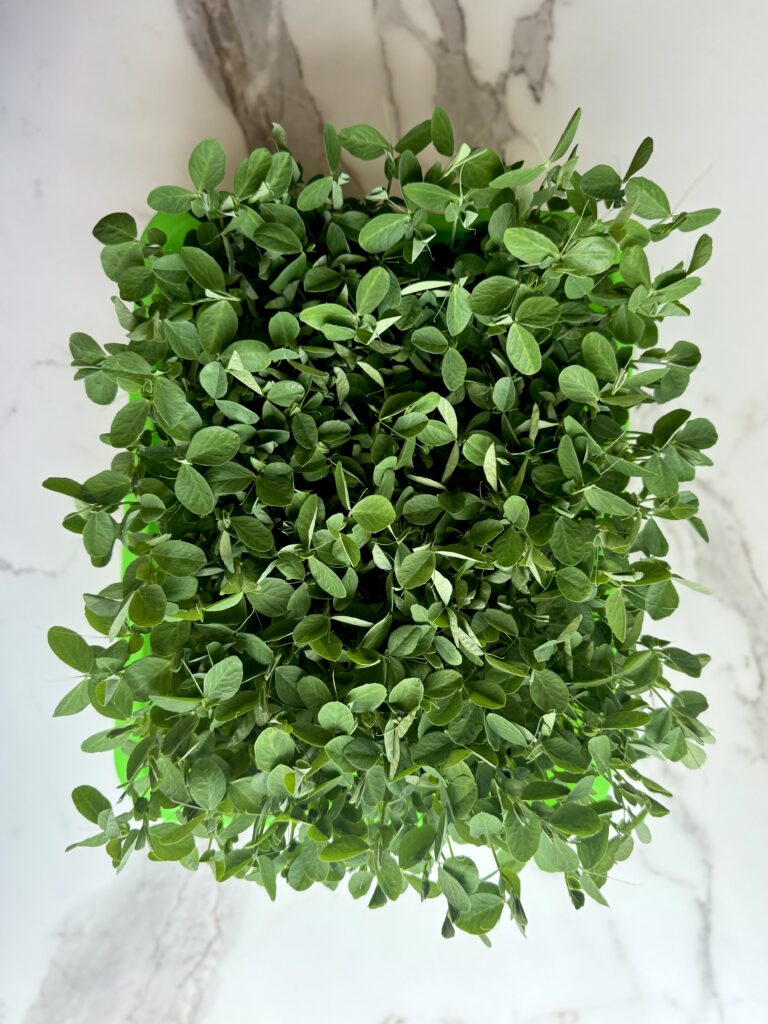
- Pea Shoots: Vigorous and sweet, grows well even in lower light.
- Kale: Resilient and consistent, ideal for novice growers.
Best-Tasting Microgreens:
- Cilantro: True fresh flavor, perfect for many cuisines.
- Radish: Spicy and zesty, adds a punch to salads.
- Basil: Sweet, aromatic, great raw or in dishes.
- Pea Shoots: Sweet, crunchy, fresh garden flavor.
- Arugula: Bold and peppery, adds a bite to salads and plates.
Most Nutrient-Dense Microgreens:
- Broccoli: High in sulforaphane, a potent antioxidant.
- Red Cabbage: Rich in vitamins C, K, and anthocyanins.
- Kale: Packed with vitamins A, C, K, carotenoids, and minerals.
- Swiss Chard: Vitamins A, C, E, plus betalains for antioxidant support.
- Mustard: Spicy and loaded with glucosinolates for health benefits.
Soil vs. Hydroponic Trays: Pros & Cons
Microgreens can be grown in soil or hydroponic trays, each with distinct advantages.
| Soil-Based Growing | Details |
|---|---|
| Pros | – Better yields and flavor due to soil nutrients. – More forgiving for beginners thanks to moisture retention. – Ideal for large seeds like peas, sunflower, and beets; strong root support. |
| Cons | – Messier and requires disposal or composting afterward. – Slightly higher risk of pests (fungus gnats, mold). – Easier to overwater; requires attention. |
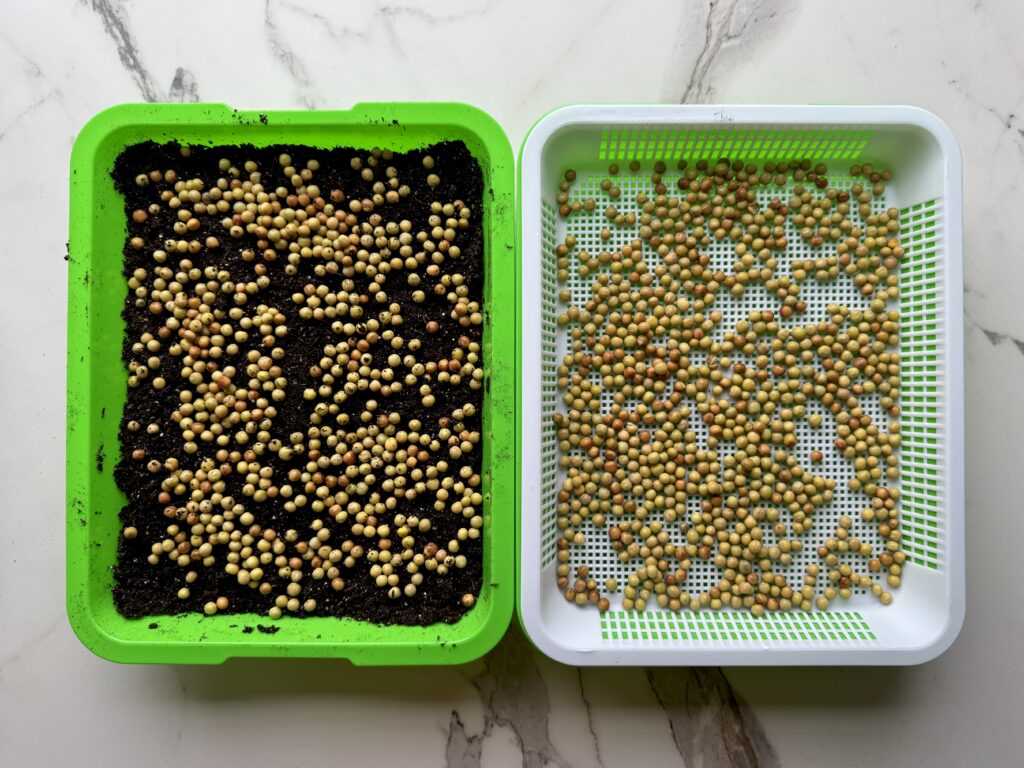
Tip: Use fine potting soil with drainage; cover seeds for germination, uncover once sprouts appear.
| Hydroponic Tray | Details |
|---|---|
| Pros | – Clean, low-maintenance, fast cleanup. – Consistent moisture reduces over/under-watering. – Lower risk of soil-borne pests. |
| Cons | – Milder flavor compared to soil-grown. – Seeds may require extra misting for good germination. – Plants rely solely on nutrients stored in the seed. |
Ideal Harvest Height
Seeds contain enough stored energy to grow 1-3 inches with only water and light. Large seeds like peas and sunflower may reach 4–6 inches, but eventually stall without added nutrients.
- Most varieties: 1-3 inches, right after true leaves form
- Sunflower: 3-4 inches
- Pea shoots: 5-7 inches
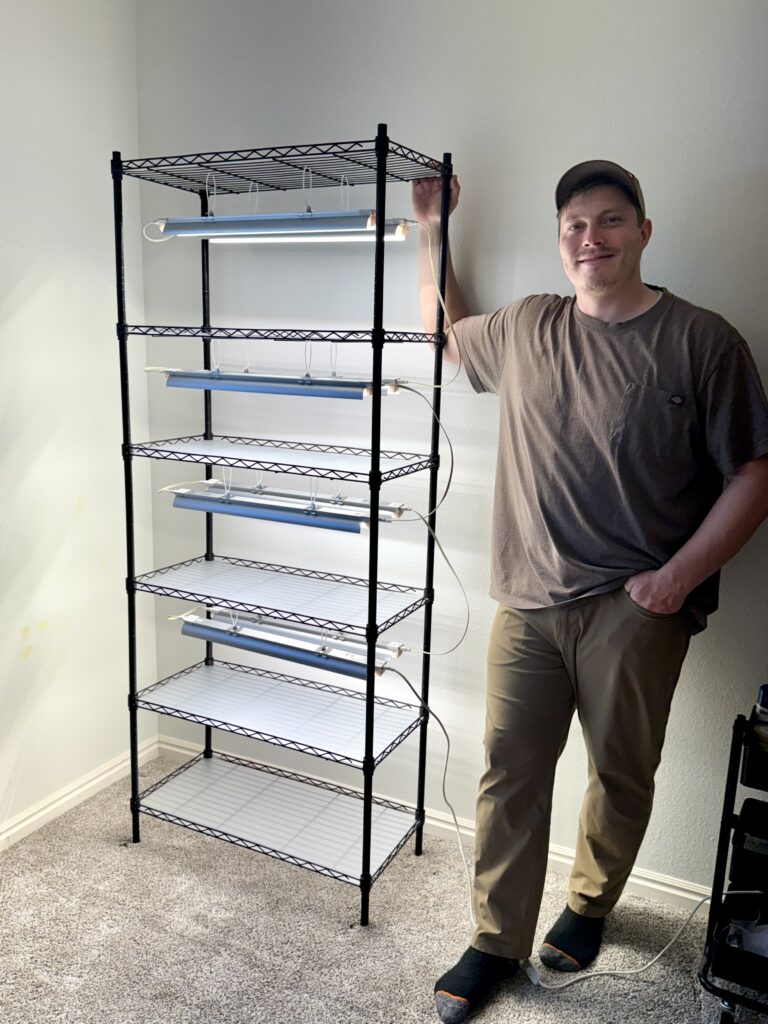
Do You Need a Grow Light for Microgreens?
You can grow microgreens in a bright window, but a grow light gives much more reliable results. Indoor sunlight is often inconsistent, causing pale, leggy, or uneven growth.
A simple LED grow light placed 6 – 12 inches above the tray produces thicker stems, deeper color, faster growth, and higher yields.
Bottom line:
- Window Light: Can work well for radish, peas, sunflower.
- Grow Lights: Best for uniform, high-quality microgreens and for all delicate or colorful varieties.
General Timeline (Planting to Harvest)
Day 0: Prep tray, sow seeds densely, mist well, and cover with a blackout lid/weight.
Days 1–3: Germination. Keep covered and mist lightly.
Days 3–5: Remove cover once seedlings push up; move under light.
Days 7–14: Harvest when true leaves appear.
Most brassicas are ready by Day 8–10; peas and sunflower by Day 10–14.
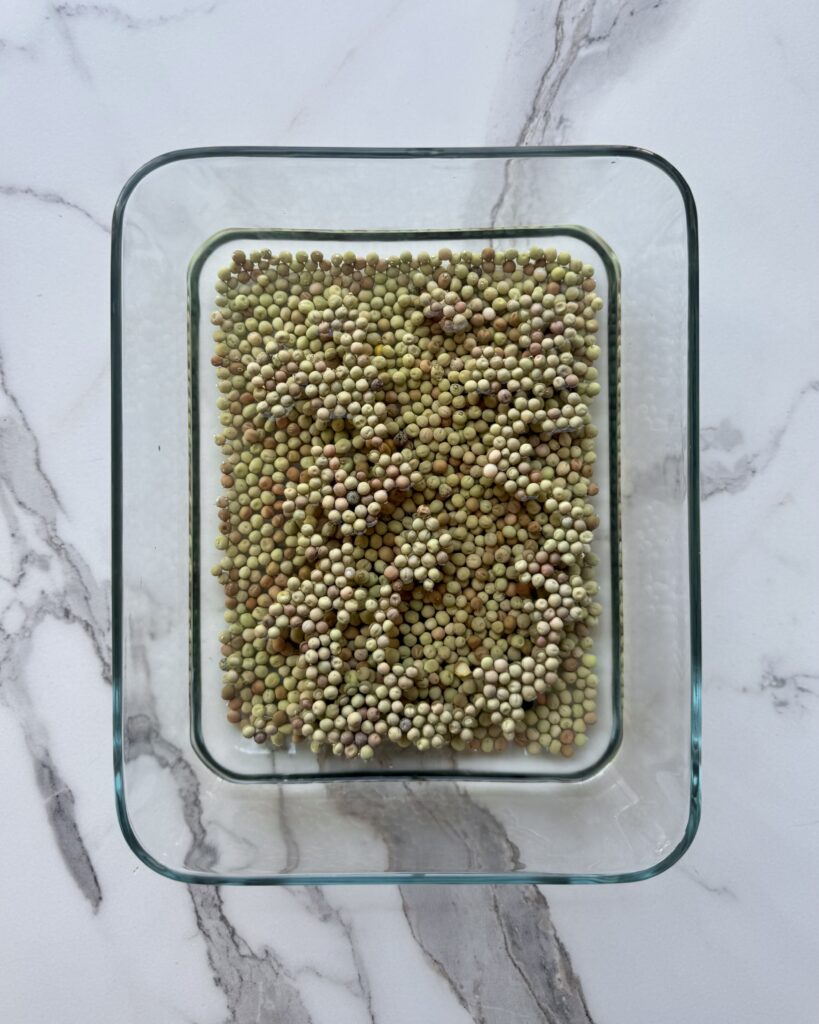
Which Seeds Need Soaking?
Soak 6 – 12 hours:
- Peas
- Sunflower
- Cilantro (optional but helpful)
- Beet & Chard (optional but improves germination)
Do NOT soak:
- Broccoli, kale, mustard, radish, cabbage, basil, arugula, most herbs.
Which Seeds Need Soaking?
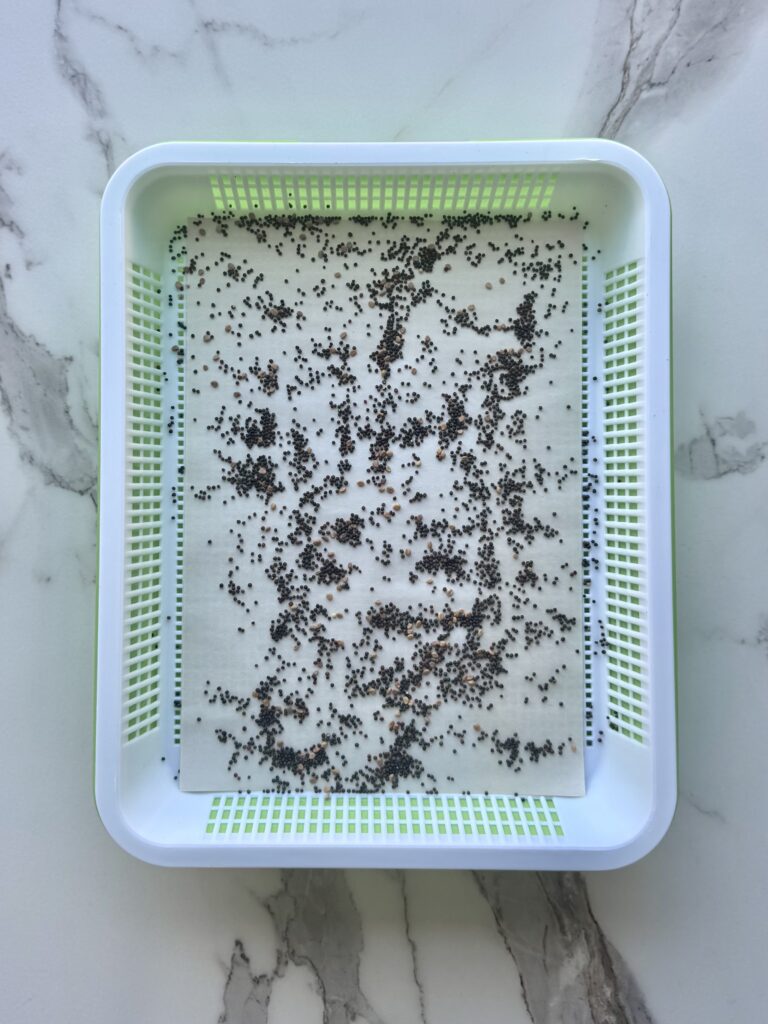
Microgreens are planted very densely since they’re harvested young.
- Small seeds (broccoli, kale, basil): 0.5 – 1 oz per 10×20 tray
- Medium seeds (cilantro, arugula, chard): 1 – 1.5 oz per tray
- Large seeds (sunflower, peas): 3 – 5 oz per tray
General rule: The tray should look evenly covered, shoulder-to-shoulder but not stacked.
Thanks for reading along, guys! If you enjoyed this, check out my other gardening blog posts:
- How to Start a Garden on a Budget for Under $100
- 4 Reasons Why Tomatoes Are the Best Vegetable to Grow
- My Garden Setup: 3 Best Garden Containers for Every Gardener
- When to Plant Indoors vs. Outdoors: A Seasonal Guide for Gardeners
- Essential and Nice-to-Have Garden Products for Your Perfect Setup
- Starting Seeds vs. Buying Transplants: How to Decide for Your Garden


0 Comments