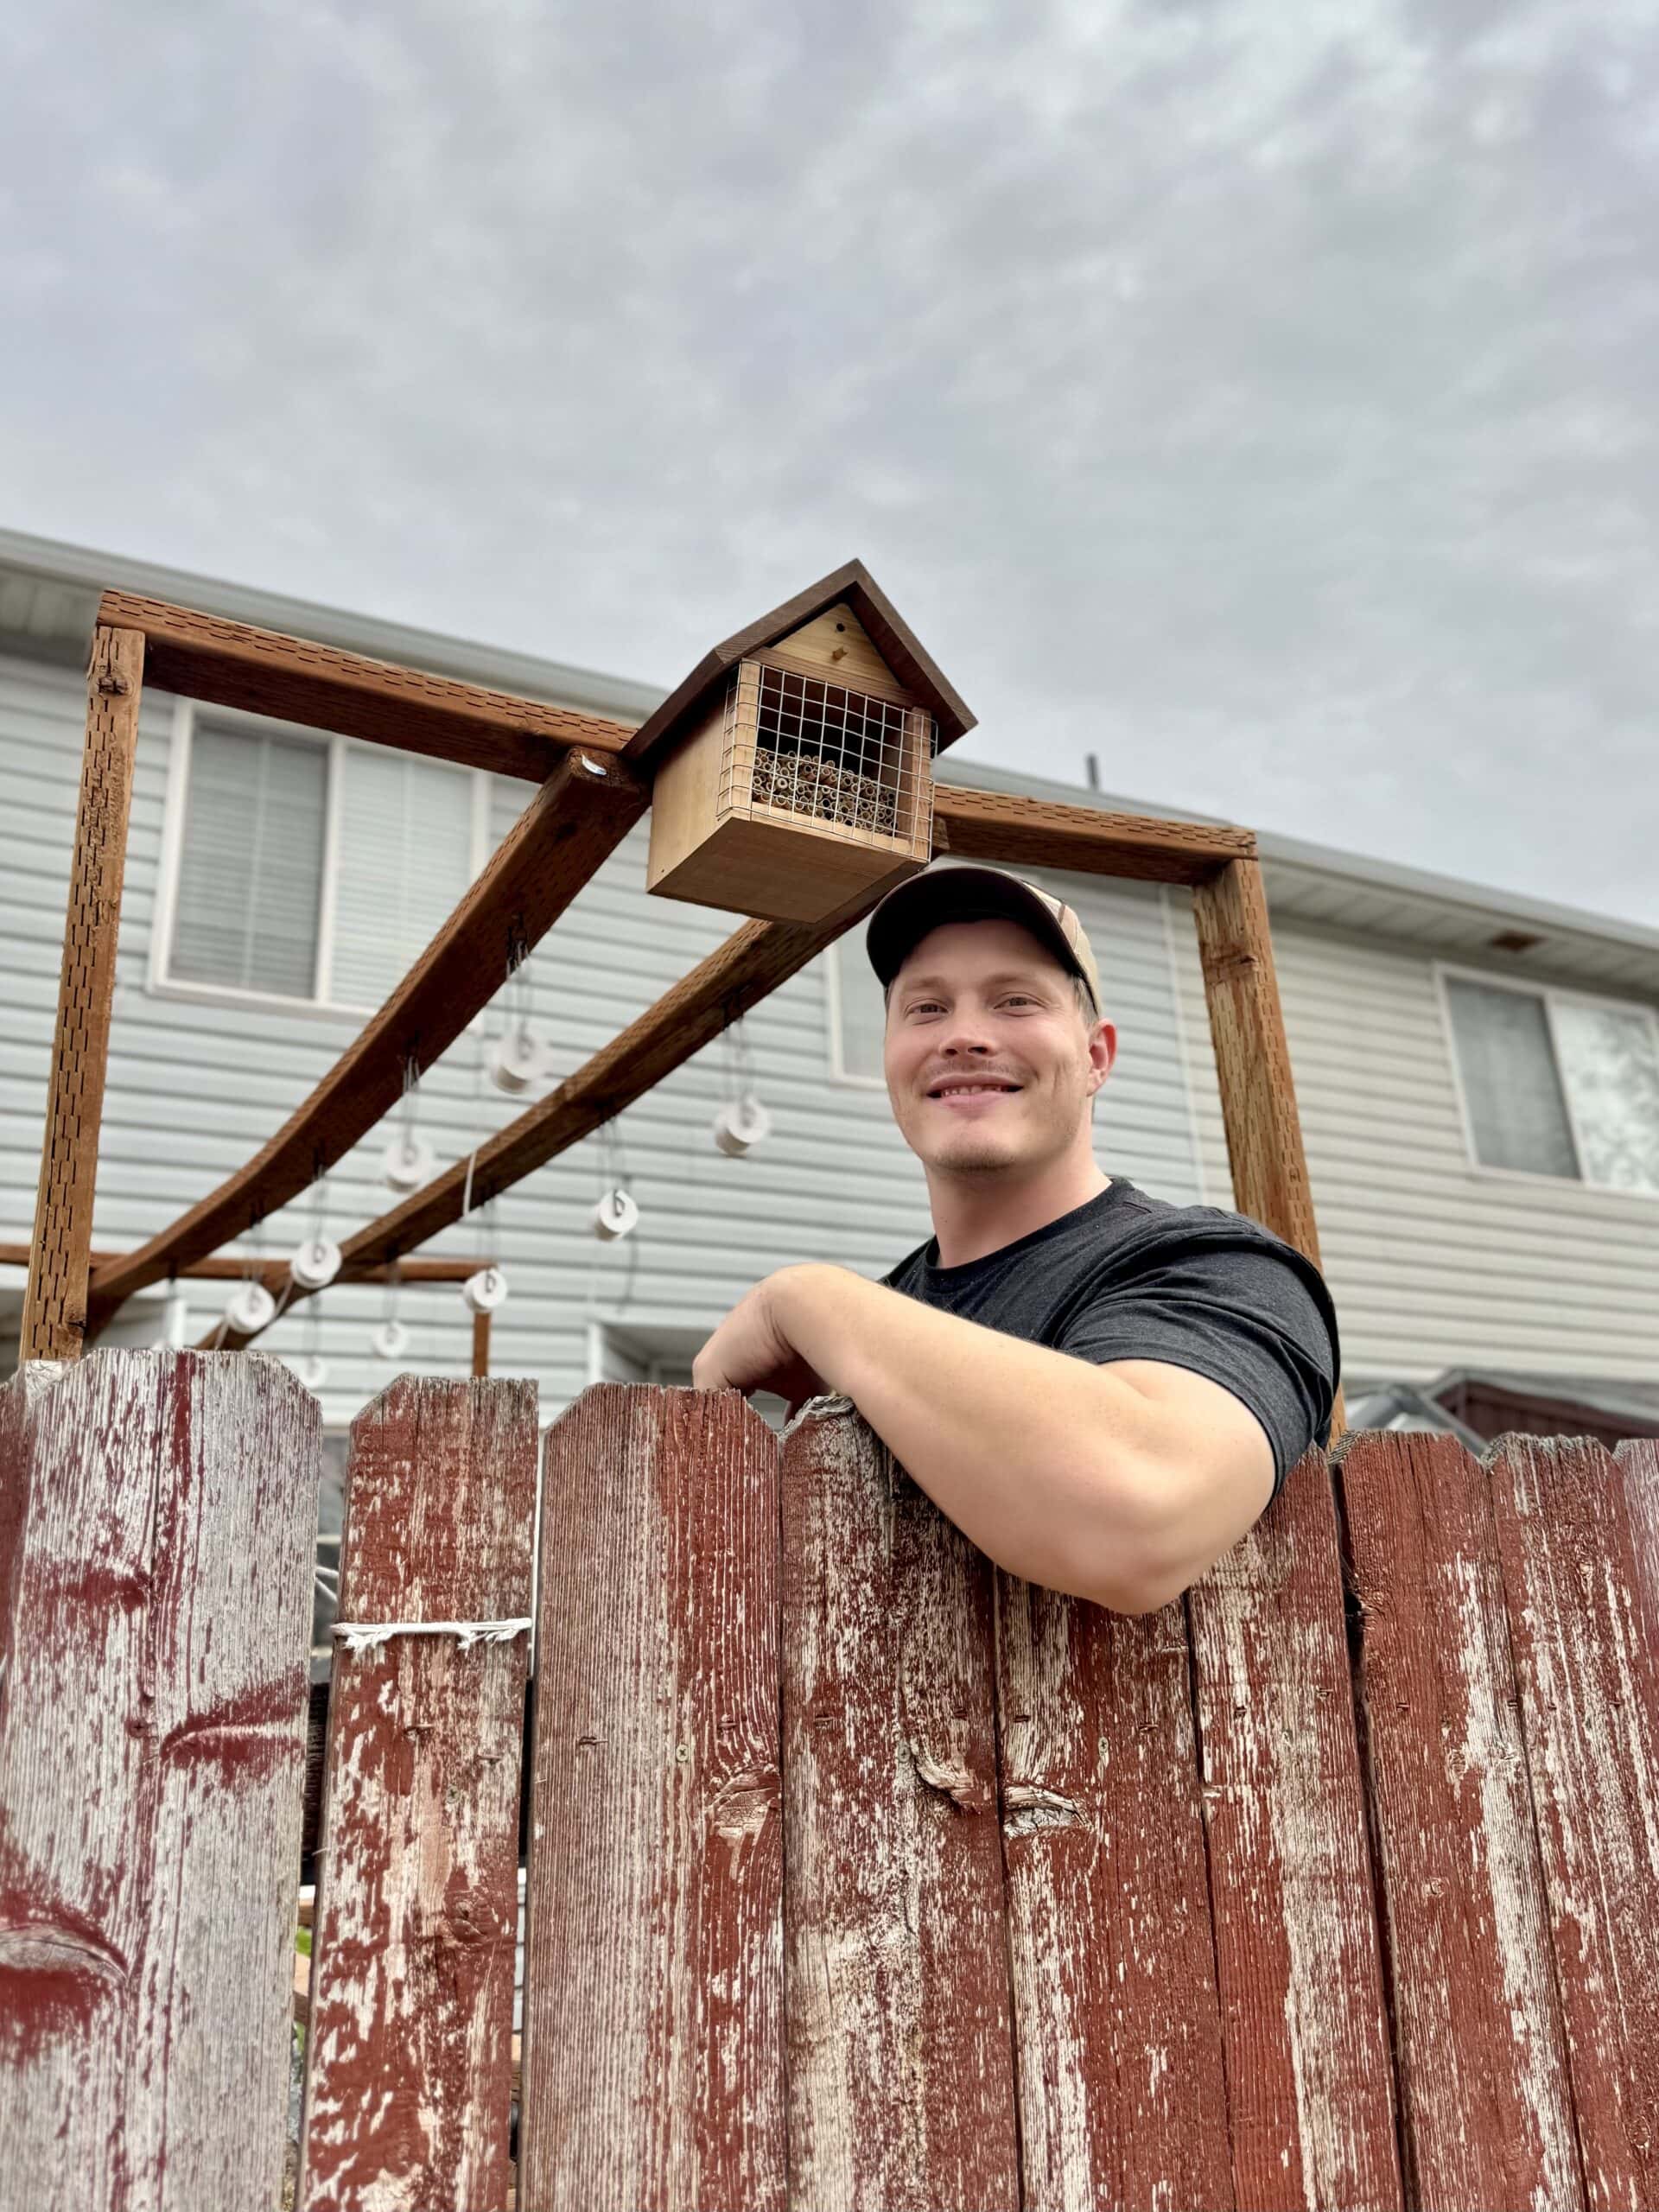
Hey all! Real Farmer Jeff here.
Starting seeds indoors offers several advantages, especially for gardeners who want a head start on the growing season. It allows plants to develop strong roots and sturdy stems before being transplanted outdoors. Since I live in Utah, where the cold winters can be harsh enough to kill my plants, I always start my seeds indoors.
By controlling the environment, you can ensure optimal conditions for germination. Germination occurs when a seed absorbs water and begins to sprout, developing into a seedling with roots.
So when do you transplant the seedlings outdoors? Check out my blog post here about when to plant indoors vs. outdoors.
By the time seedlings are ready to move into the garden, they are stronger and better equipped to handle outdoor conditions.
Depending on your space, it may be tricky to find the ideal spot indoors to start seeds. Below are a few tips that have helped me!

How Much, If Any, Direct Sunlight Do My Plants Need?
Assuming you don’t have an industrial level grow light, you will ideally want your seed starting trays to be in an area with as much direct sunlight as possible.
Indirect sunlight is better than nothing. However, while it may keep plants alive, it often leads to weak growth. Direct sunlight is strongly preferable because it will better condition your plants to eventually be moved outside with less stress.
Exposure to direct sunlight better mimics outdoor conditions, reducing transplant shock and making the transition outside smoother. Transplant shock is the stress plants experience due to changes in environment.
Even with direct sunlight, however I still recommend using some artificial light in most cases. The goal is to come as close as possible to the amount of sunlight a plant would get outside.

Keep in mind that direct sunlight will usually be much more powerful than the average grow light that most gardeners would buy, which is why it is ideal to have some direct sunlight on your seedlings.
However, don’t worry if you don’t have any natural light! You can still start seeds by only using one (or multiple, depending on how many seed starting trays you have) average powered grow lights.
With no direct sunlight, you will eventually need to give your seedlings a longer hardening-off period. A “hardening-off period” is when the plant gradually acclimates to being outdoors and exposed to direct sunlight.

Grow Light Cost and How to Use Them
Grow lights come in a range of prices and intensities, with higher-intensity options generally costing more.
Luckily, however, my recommended grow lights are on the less expensive end, and don’t require sunglasses. Check them out here! You can buy a grow light with four heads for about $20 (pictured).
High-intensity grow lights, often favored by gardening experts, can cost hundreds of dollars. They’re best suited for a private room, unused area in your home, or unfinished basement due to their extreme brightness. In fact, prolonged exposure may strain the eyes. Sometimes these strong grow lights can even require sunglasses for eye protection.
For this reason, nicer grow lights also require more space in addition to cost. Keep in mind that the average grow lights ($20-$40), such as the one I recommended, are not powerful enough to hurt your eyes and can be in a common room. One day, I’d love to have a greenhouse or a private room that has high-powered grow lights on seed starting racks.

Because the average grow light is not very powerful, I usually put mine about an inch above the plants. With my recommended grow lights, it’s not possible to sunburn your plants if you put the light too close. In fact, I usually leave my lights on 24/7, because they are not very powerful.
If you happen to have a very powerful grow light, you might want to turn it off for a few hours during the day so as to not put stress on the plants.
For the record, I use about one grow light for every three 12-cell seed trays (pictured) that I’m using. I’ve linked my recommended 12-cell seed trays here.
Depending on the grow light you buy, it may have different light color options. These various colors are beneficial at different times in the seedling’s growth. In my case, I have always left my grow lights’ red and blue lights on to generate more energy for my seedlings.
One Last Final Tip
Since I live in a small townhome, the best are for me to start seeds is in our office, which, unfortunately, is a carpeted room. Unfortunate, because it can get dirt on it more easily. For that reason, I’ve always put a cheap mat covering under the table to protect the carpet. However, if you’re careful, it’s not a big deal. But with tile or wood, dirt is easier to wipe off and thus ideal for starting seeds (although not necessary).
Your seed starting trays will likely be set up indoors for about two months. That is, if you live in a climate similar to mine (I live in Utah, where we have a pretty typical four-season climate). Hopefully you can find a spot that does not impose too much on your space. It can certainly be a hassle to start your own seeds, but it is so gratifying to grow such unique varieties of plants.
Seed starting is not my favorite part of gardening, but it is a natural evil that I look forward to so that I can have the best harvest possible! Plus, it’s so fun to witness your plants’ growth from seed to harvest!
Thanks for reading along, guys! If you enjoyed this, check out my other gardening blog posts:
- How to Start a Garden on a Budget for Under $100
- 4 Reasons Why Tomatoes Are the Best Vegetable to Grow
- My Garden Setup: 3 Best Garden Containers for Every Gardener
- When to Plant Indoors vs. Outdoors: A Seasonal Guide for Gardeners
- Essential and Nice-to-Have Garden Products for Your Perfect Setup
- Starting Seeds vs. Buying Transplants: How to Decide for Your Garden


I’m definitely getting an official growing rack next year. I’ve found the cheap grow lights don’t produce enough energy.
Just like doing seeds outdoors it’s nice to have a location that is as close as possible! The short trips add up