Hey all! Real Farmer Jeff here.
If you’ve ever thought about turning your kitchen scraps into garden gold, vermicomposting is a fun option. Not only is it a sustainable way to reduce waste, but it also produces one of the most nutrient-rich soil amendments available: worm castings.
I recently tried out the “The Wormlet” Worm Composting Kit from Utah Worm Company and would highly recommend it to anyone! It was extremely easy to set up and it can be shipped to every state in the United States besides Hawaii.
This article will include my full review on Utah Worm Company’s composting kit, as well as a general guide on vermicomposting for beginners, and what exactly it is.
Let’s get started!
Why Vermicomposting, and What Is It?
Vermicomposting: The process of using composting worms to break down organic waste into a rich, earthy substance called worm castings.
Worm castings are one of my favorite garden amendments! Here are some of its main benefits:
- Improves soil structure
- Helps with water retention
- Improves plant health
Beyond its practical benefits, vermicomposting is super fun. I didn’t expect to enjoy it as much as I do, but watching the worms turn food scraps into castings is so fascinating.
Vermicomposting is also a great way to teach kids about the circle of life or how to be more conscious of the environment.
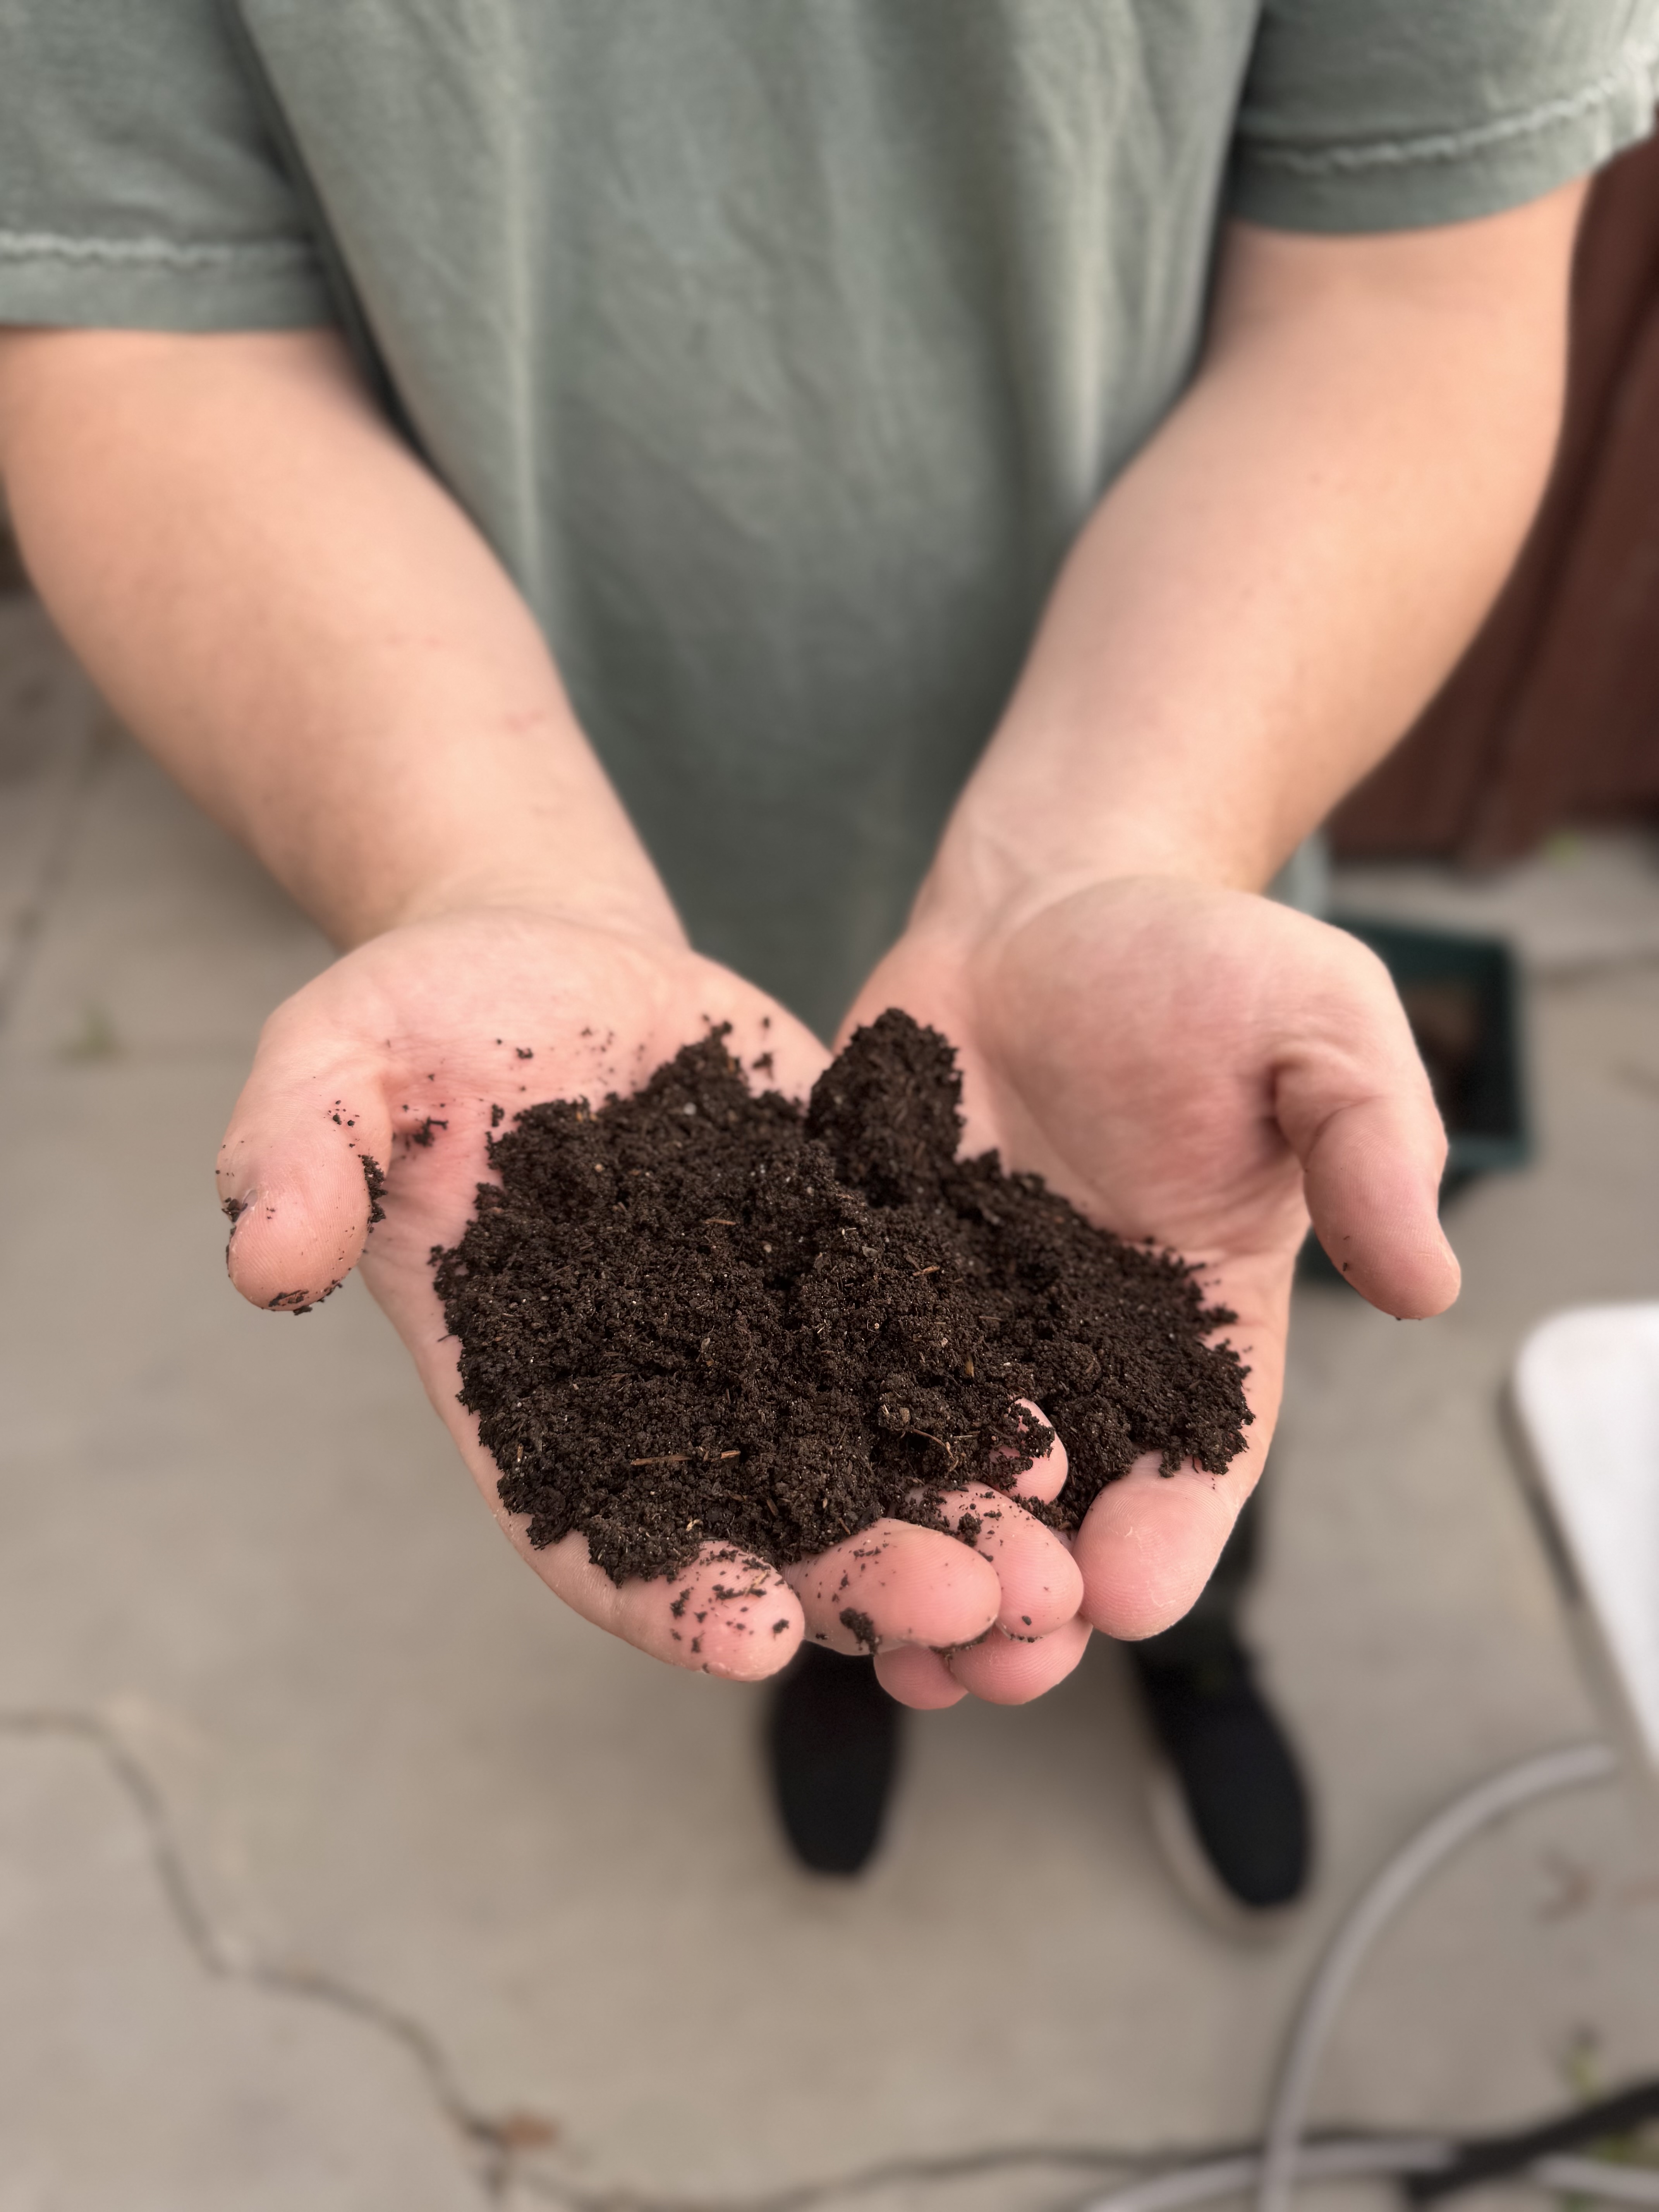
Worm Castings
Worm castings – the end product of vermicomposting – are a potent, organic fertilizer. Rich in beneficial microbes, enzymes, and nutrients, they enhance soil health naturally and effectively.
With vermicomposting, you can make your own worm castings at home and use them directly in your garden, potted plants, or lawn. Just sprinkle them around the base of your plants, mix them into potting soil, or brew them into a compost tea to apply to your plants.
Since I already love using worm castings in my garden, it was an easy sell for me to learn how to make my own!
My Review of Utah Worm Company
Utah Worm Company, is a top-notch company! When I realized that there was a local worm company, I reached out to see if I could try their products out and review them.
In short, not only have I been impressed by the high-quality of their products but they really treat customers like family. Additionally, their ratings are amazing and I’m confident anyone would have a good experience with their products.
Now let’s dive into how their product “The Wormlet” composting kit works!
“The Wormlet” Composting Kit
I used Utah Worm Company’s “The Wormlet” kit. It seemed like the perfect entry point into the world of vermicomposting. Luckily, I was right. It’s easy to set up, and comes with everything you need to get started right away.
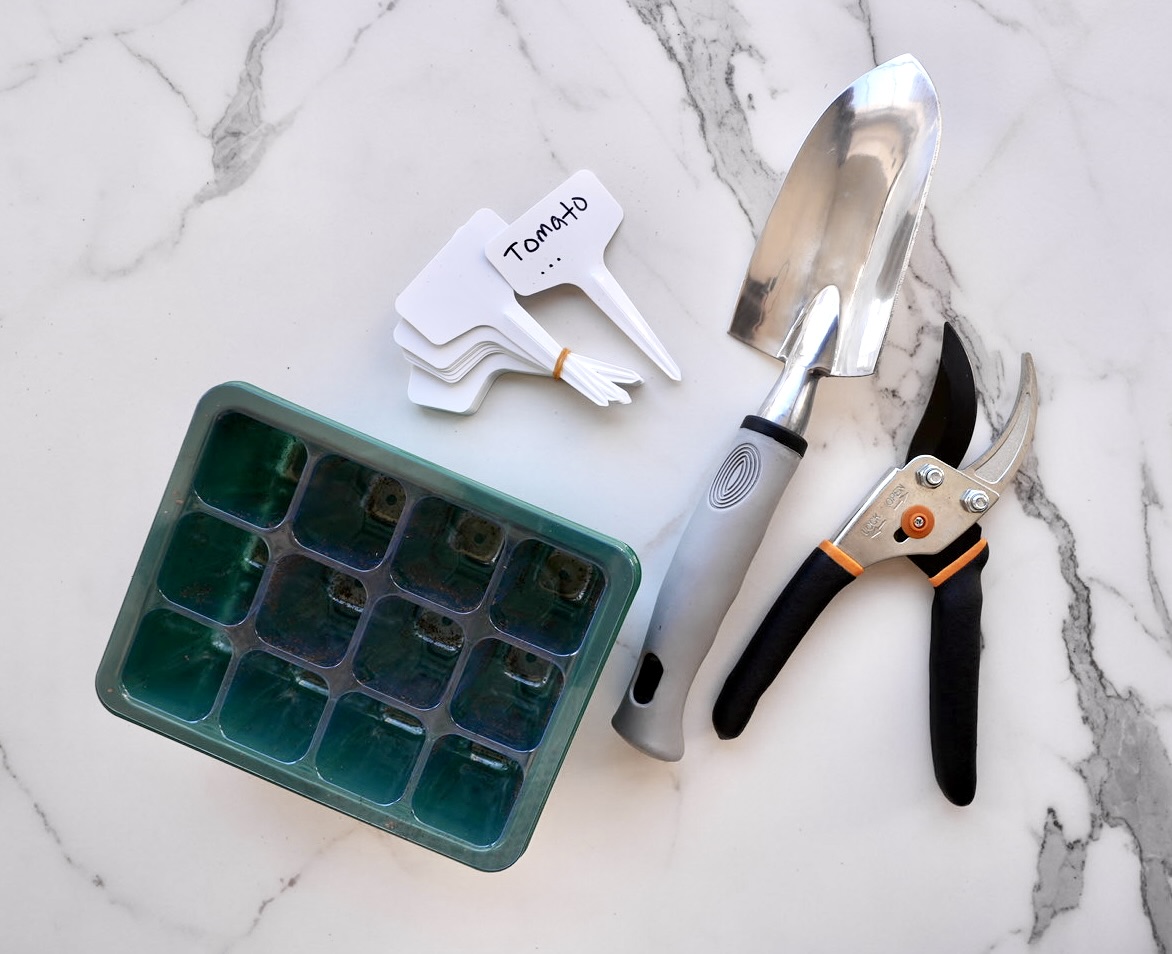
What’s in the Wormlet Kit?
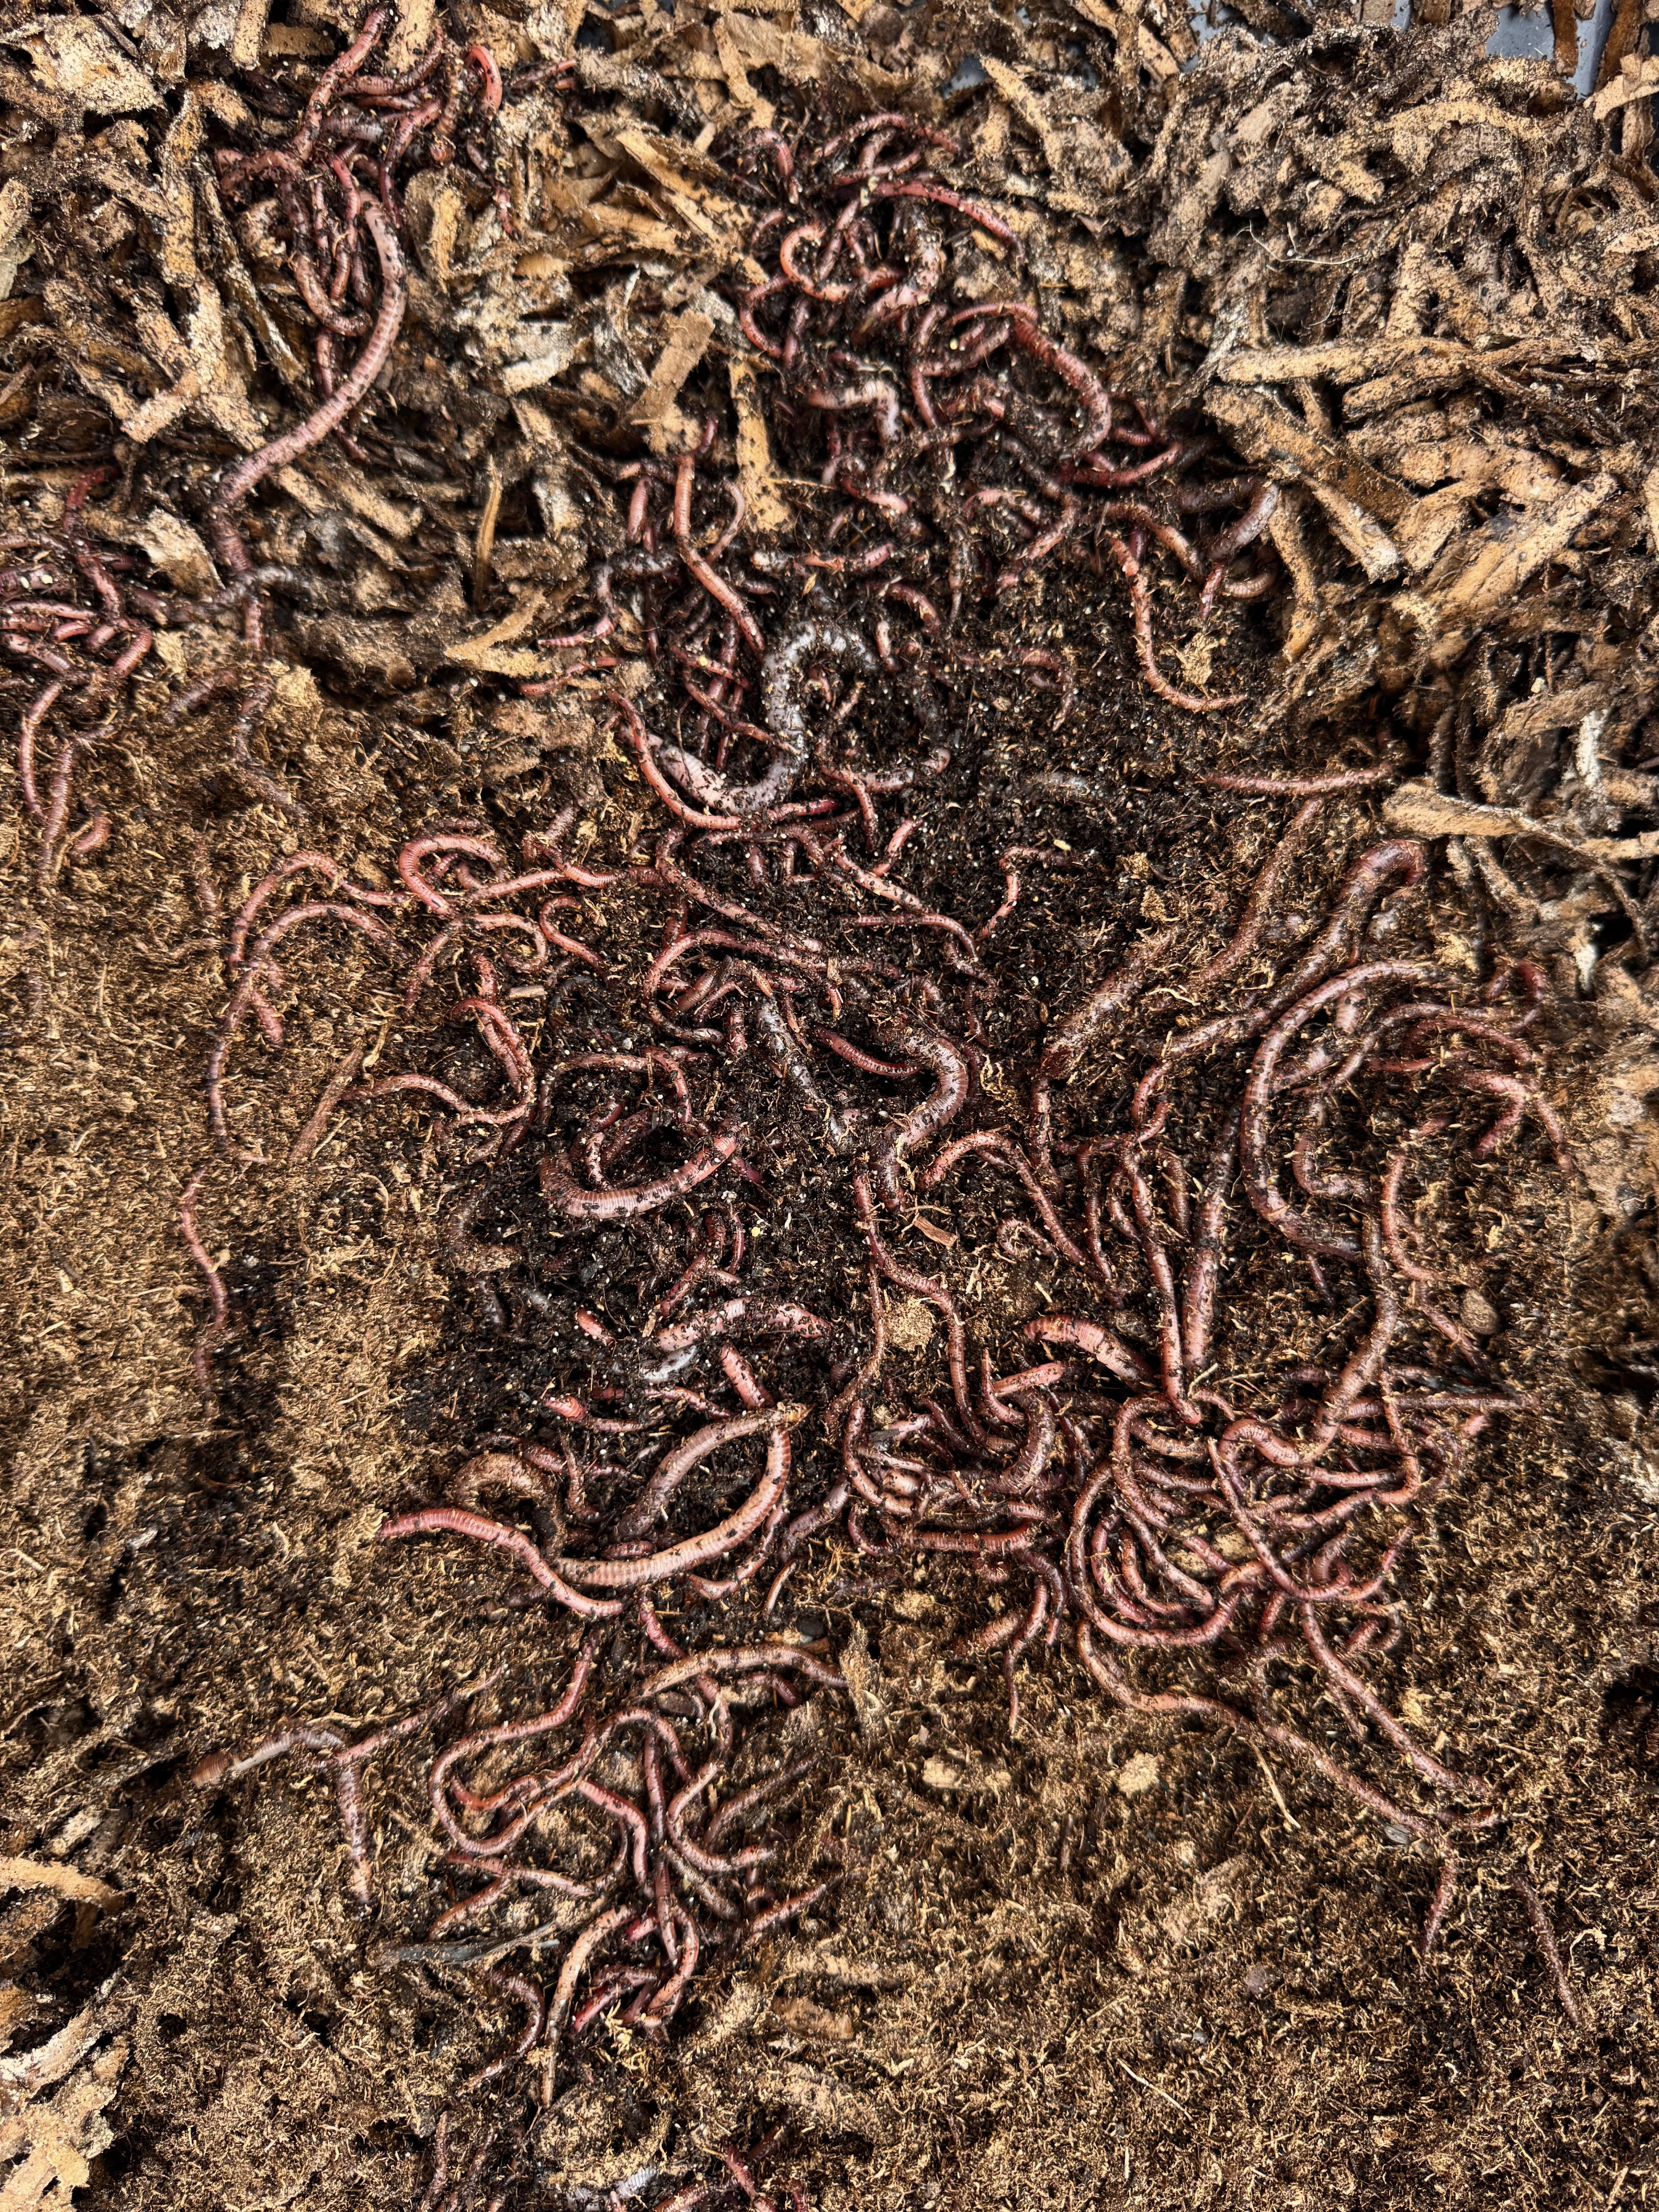
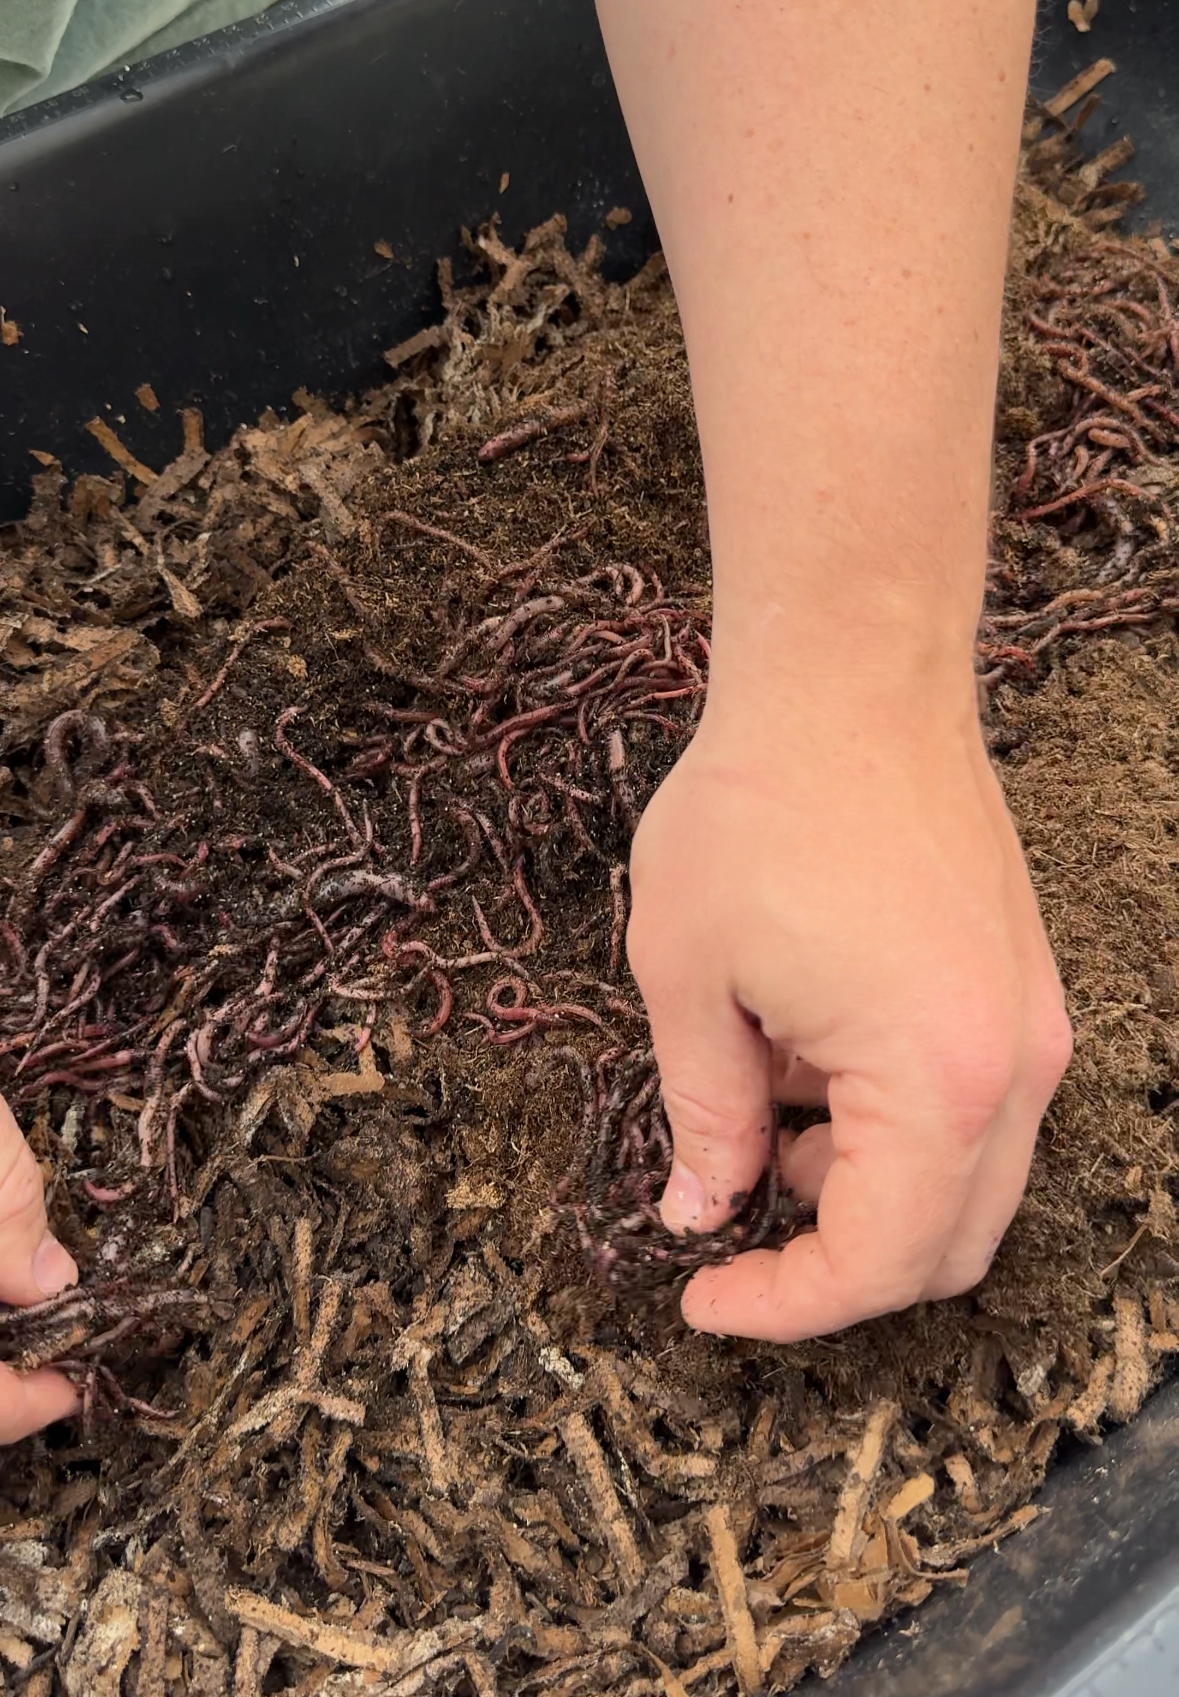
- 1000 Composting Worms: Primarily Red Wigglers, the industry gold standard for vermicomposting.
- Durable Worm House: Provides ideal conditions for your worm colony.
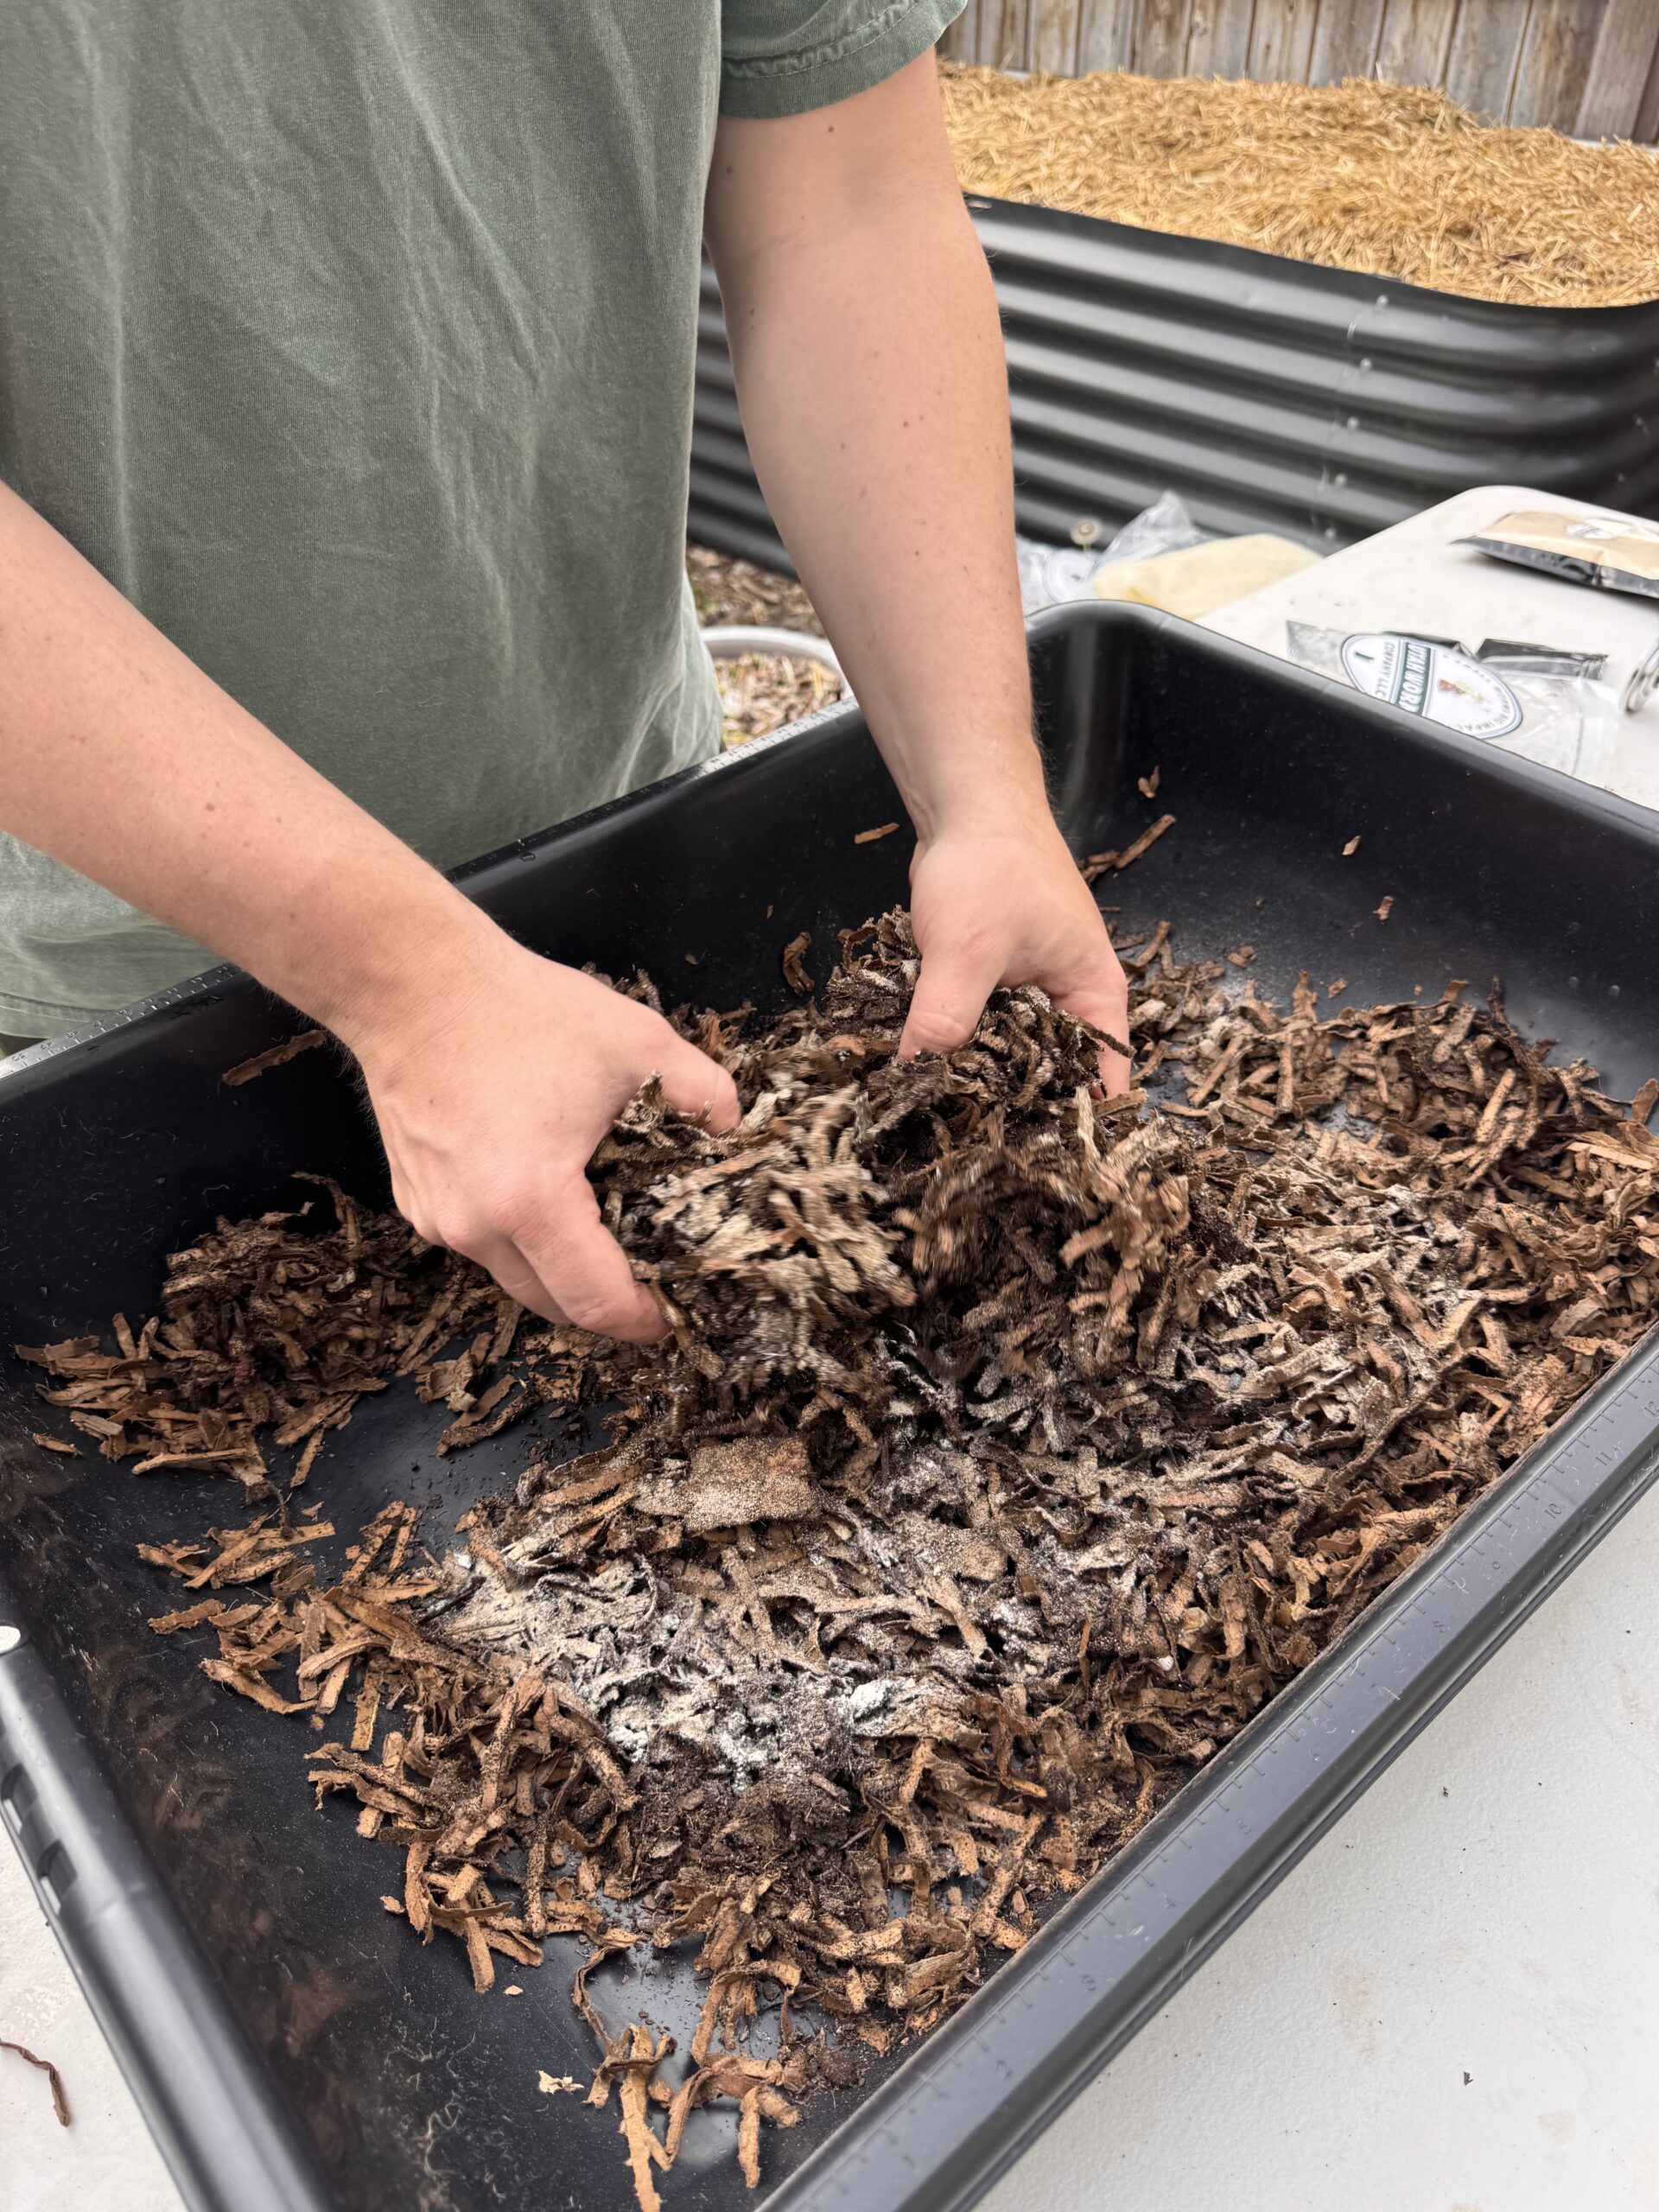
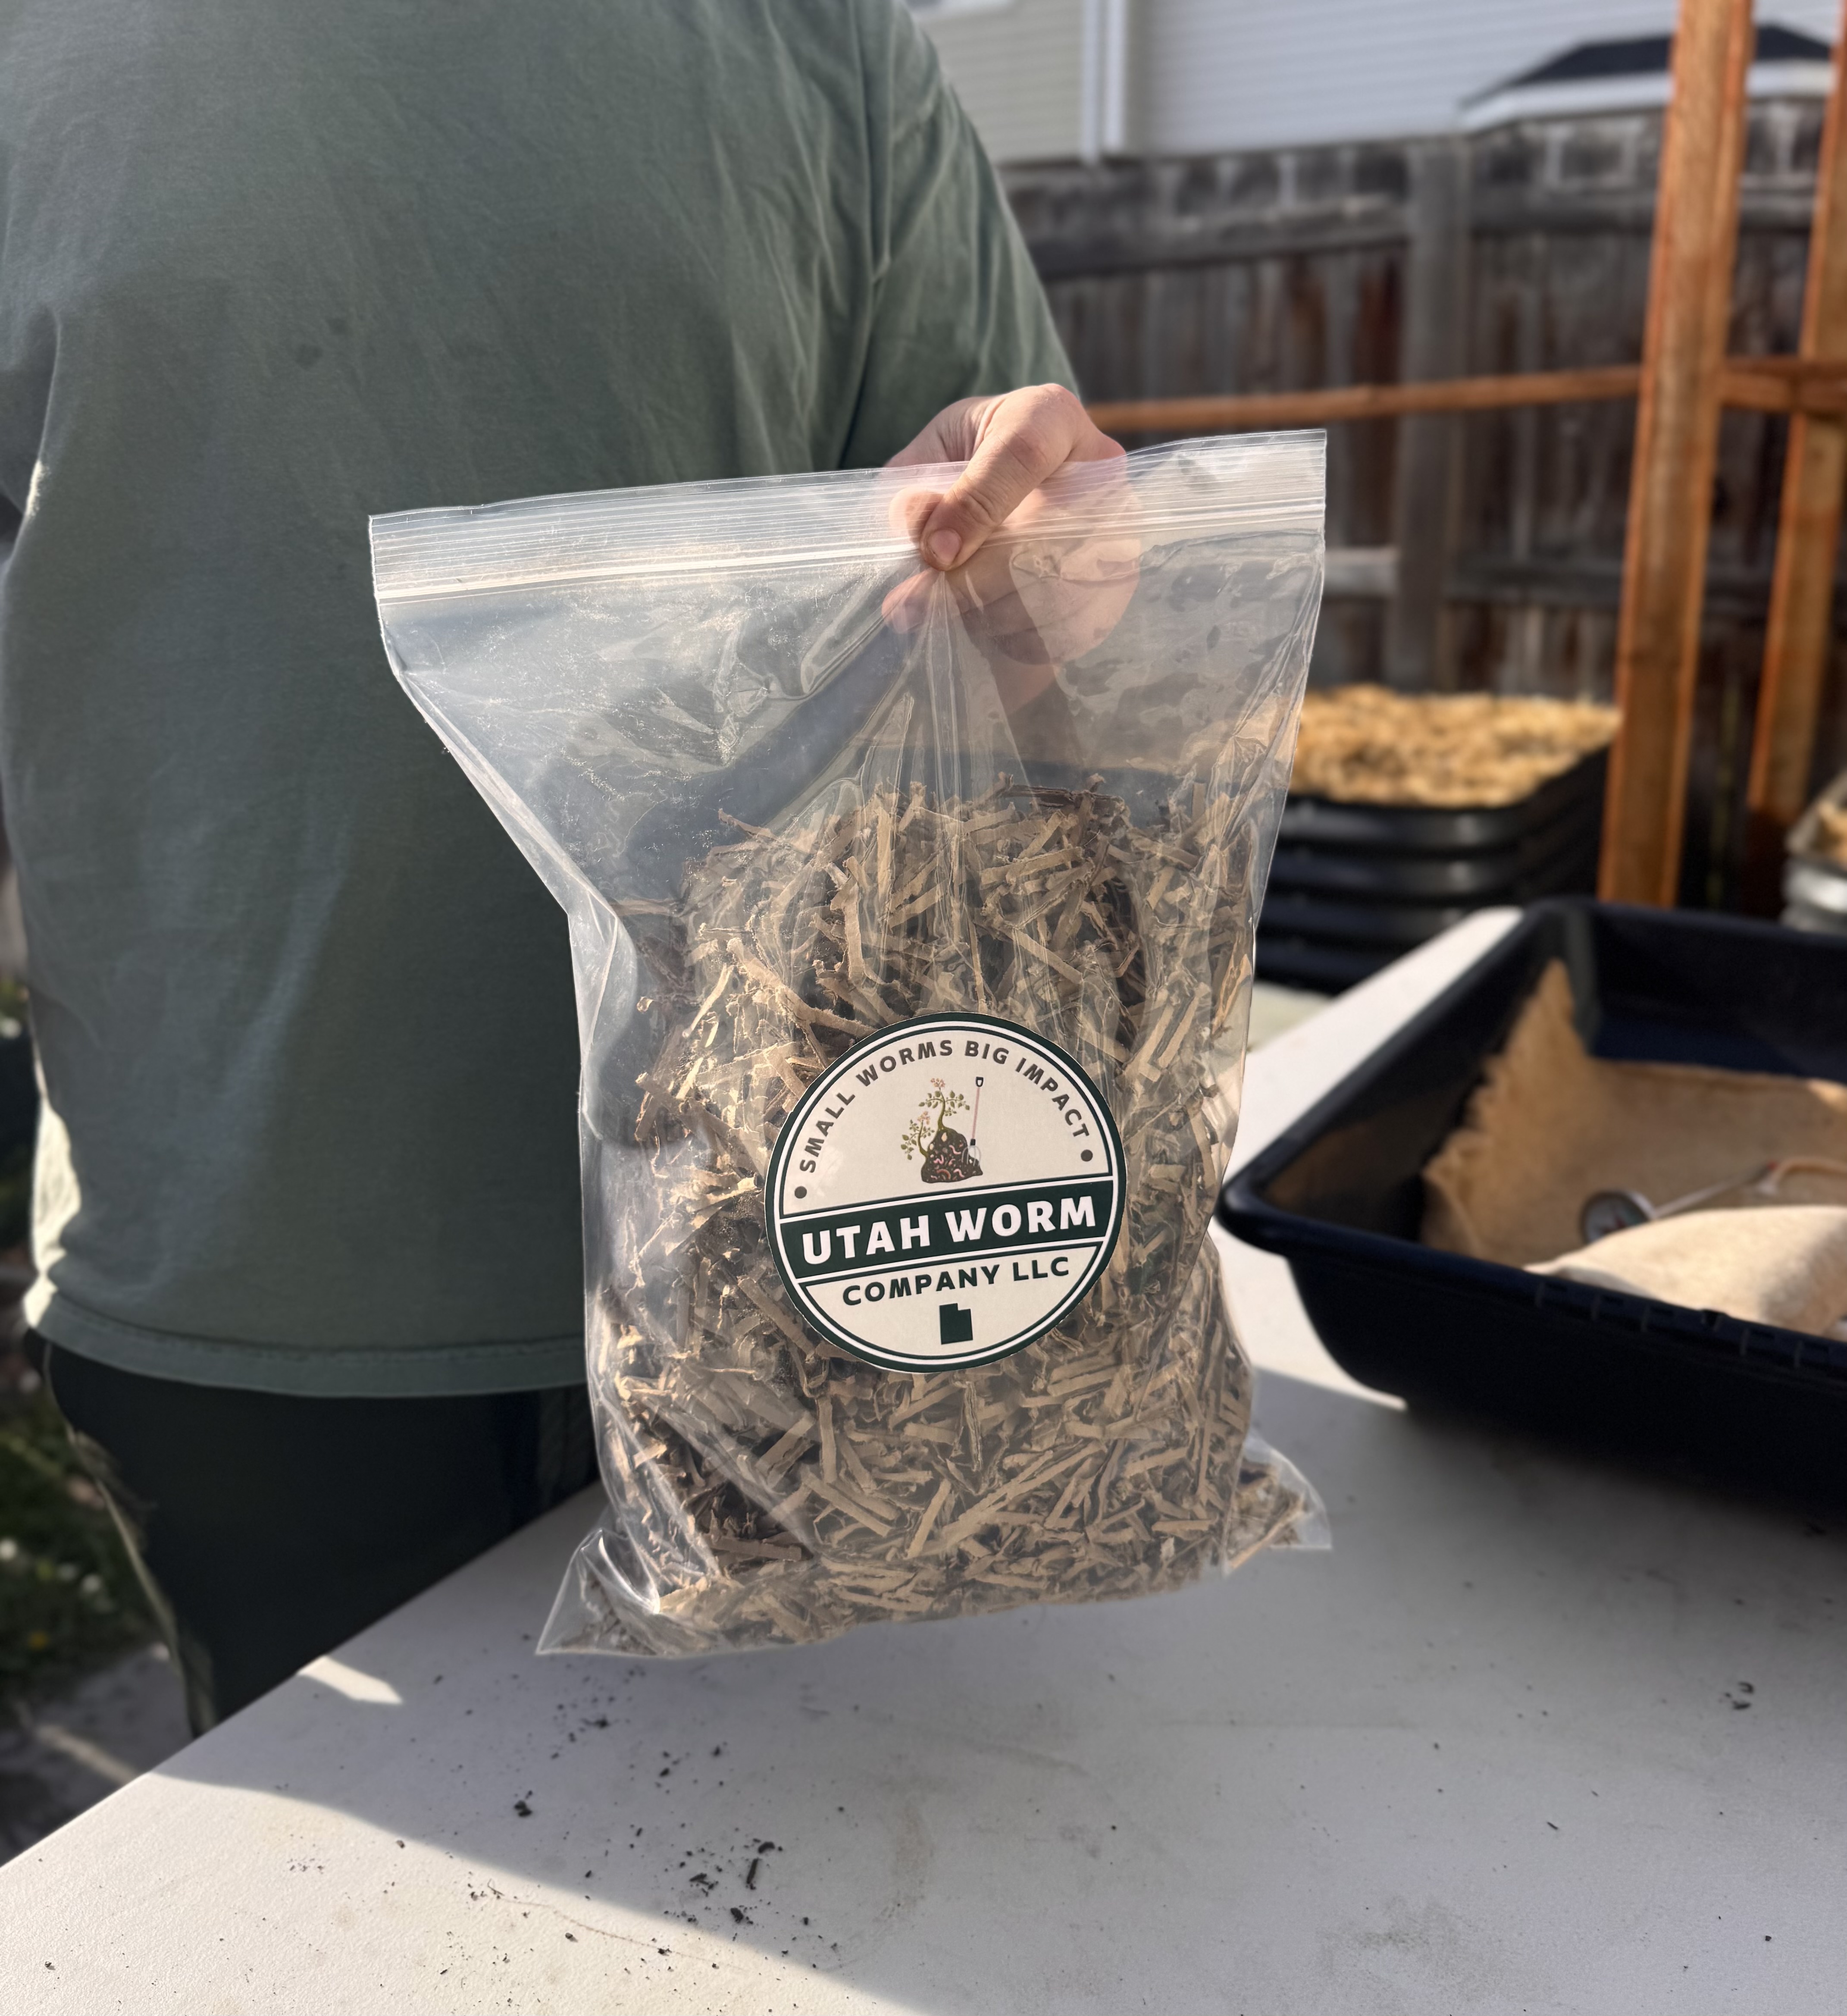
- Premium Worm Bedding: Moisture-retaining, pH-balanced, and microbe-rich.
- Agricultural Lime: Keeps the pH neutral and the worms happy.
- Big J’s Worm Chow: Nutritionally balanced feed.
- Powdered Eggshell: Adds grit to aid worm digestion.
- Thermometer: Ensures your bin stays in the optimal temperature range.
- Worm Blanket: Retains moisture and keeps the worms comfortable.
- Bonus: Customer Support. Direct call, text, or email assistance from the experts

How to Set Up the Wormlet Kit
Setting up the Wormlet Kit took me in total about 20 minutes. Within 4 – 6 weeks the worms should be able to turn all the initial bedding and added food into worm castings! Here’s how to do it:
- Choose a Spot: Keep it out of direct sunlight and in a temperature-stable area (55°F – 77°F).
- Add Bedding: Moisten until it feels like a wrung-out sponge, then spread it evenly.
- Mix in Lime and Eggshell (grit): These keep the pH balanced and aid digestion. Worms have gizzards and so grit is necessary to break down food.
- Add Your Worms: Let them settle into their new home. It’s recommended you leave the worms in light for the first few hours so that they go down and accept their new bedding. From that point on, the worms should be in darkness.
- Start Feeding: Begin with a bit of Big J’s Worm Chow, then transition to veggie scraps. Blending old fruit and veggie scraps is the most quickly processed by worms. It’s recommended that you only add about 2-3 days of food at a time.
- Place the Worm Blanket: This keeps the bin moist and dark.
- Monitor Temperature and Moisture: Use the thermometer and touch-test the bedding to make sure the temp and moisture are within the healthy range.

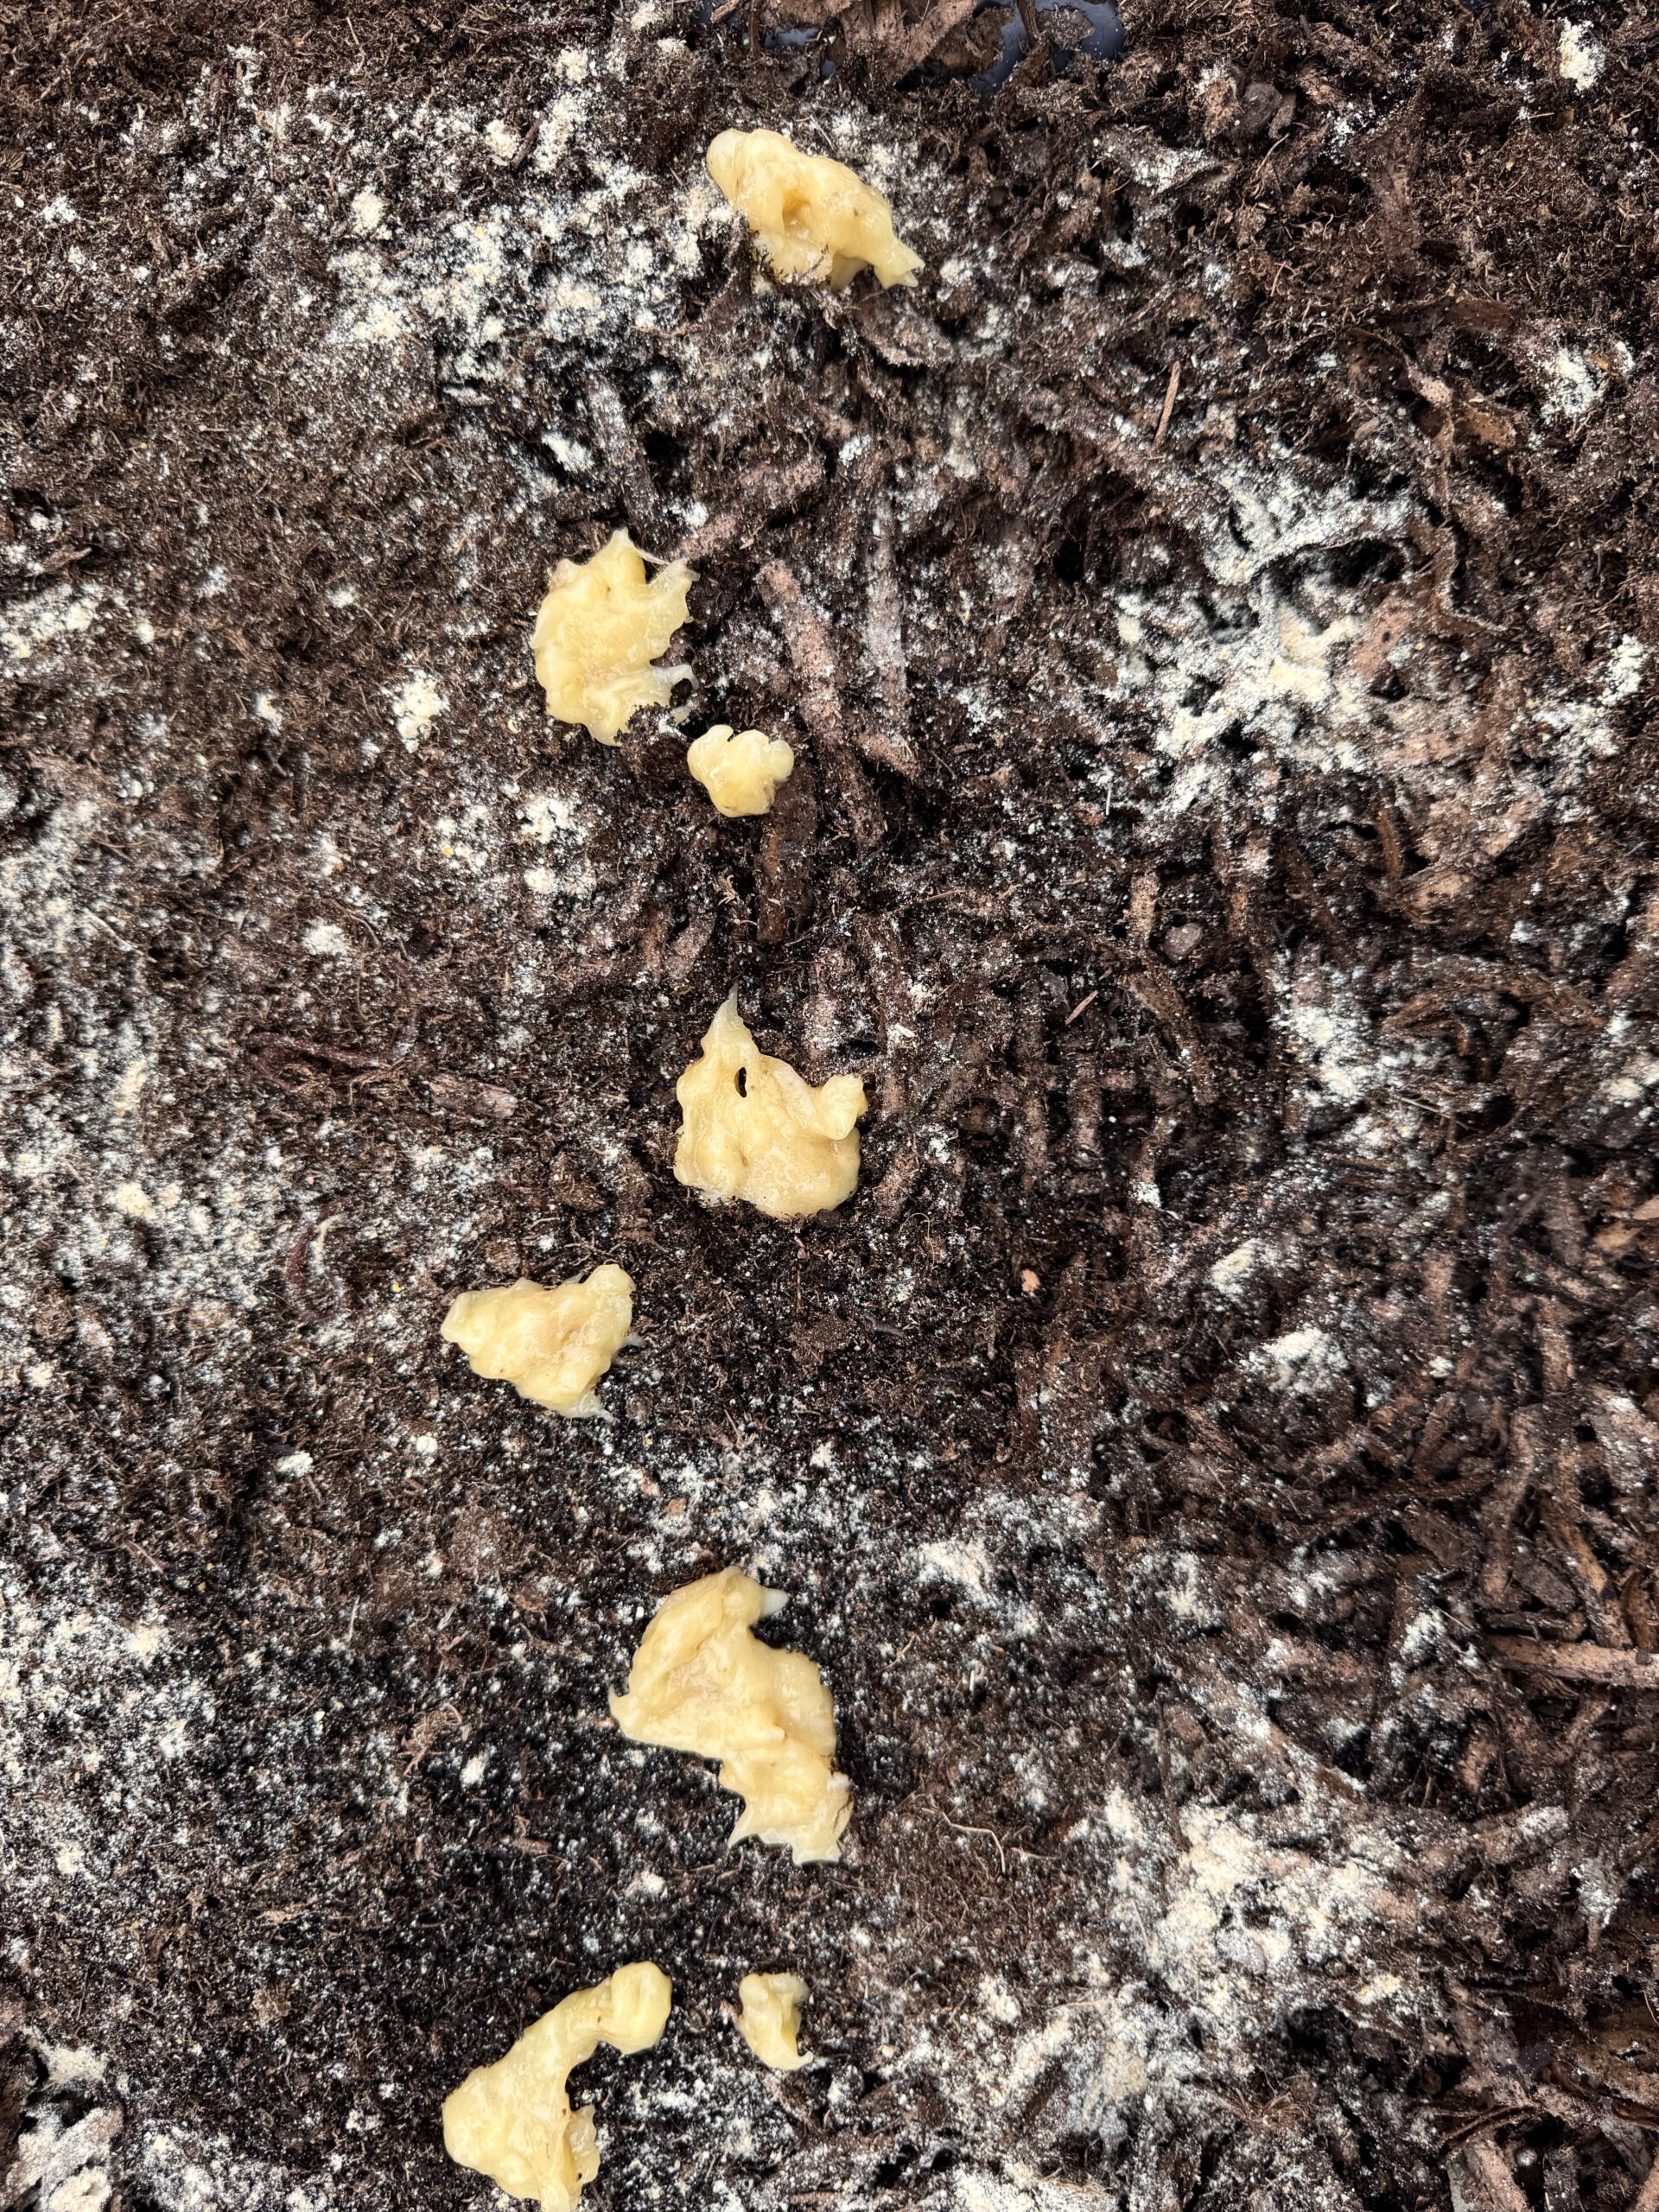
What to Feed Your Worms
Great options include:
- Fruit and vegetable scraps (no citrus or onions)
- Coffee grounds and filters
- Tea bags (plastic-free)
- Crushed eggshells
Avoid:
- Meat and dairy
- Oily foods
- Citrus and spicy foods
- Processed items with preservatives
Red Wiggler Worms
“The Wormlet” vermicomposting kit includes Red Wigglers (Eisenia fetida), which is the best species for composting.
These worms are fast breeders, thrive in confined spaces, and can consume up to half their weight in organic matter each day.
Utah Worm Company also offers worm mixes like their Red Worm Trio, which combines species for maximum composting efficiency.
Adding Cardboard to Your Worm Bin
Cardboard is a fantastic addition to any worm bin. Shredded, uncoated cardboard serves as a carbon-rich bedding material that balances out nitrogen-rich food scraps. It helps improve aeration and structure within the bin, prevents excess moisture buildup, and gives worms additional surface area to move through and hide in.
I keep a box of torn-up cardboard handy. It’s easy to add in, and the worms love to crawl through it. Be sure to use plain brown cardboard (without glossy coatings or colored ink) and tear it into small pieces for quicker breakdown.
It is helpful to soak it before adding it in, so you don’t dry out your bin. Cardboard also serves as a slow-release food source, especially helpful if you’re going away or feeding less frequently.

Whether you’re a homesteader, a gardening enthusiast, or just someone trying to reduce food waste, The Wormlet by Utah Worm Company is the perfect tool to get started. It’s affordable, easy to use, and backed by an amazing company that truly cares.
Thanks for reading along, guys!
If you enjoyed this blog post, be sure to check out my other gardening blog posts:
- How to Start a Garden on a Budget for Under $100
- Essential and Nice-to-Have Garden Products for Your Perfect Setup
- My Garden Setup: 3 Best Garden Containers for Every Gardener
- Understanding Garden Light and Shade: A Simple Guide
- How to Build a Homemade Trellis Using Cattle Panel
Be sure to follow me on social media for daily content and instructional videos about gardening!


Great breakdown! I want to get a vermicomposting setup that I can put into my beds.
This was my first time trying worm composting, and your tips made it easy and low stress.