
Hey all! Real Farmer Jeff here.
Two of my favorite things to grow are garlic and onions – they’re so easy to grow and store. Plus they often last me all the way until the next gardening season. Also… who doesn’t love garlic and onions?! My wife, Kyrié, cooks with them all the time.
And did you know that garlic and onions belong to the allium family?
This is a group of vegetables grown for their flavorful bulbs, stems, or leaves. Because of this, they’re cured and stored similar. Learning how to do so properly will help you to store them for many months instead of just weeks!
In this blog post, I’ll explain how garlic and onions are harvested and cured. Let’s get started!
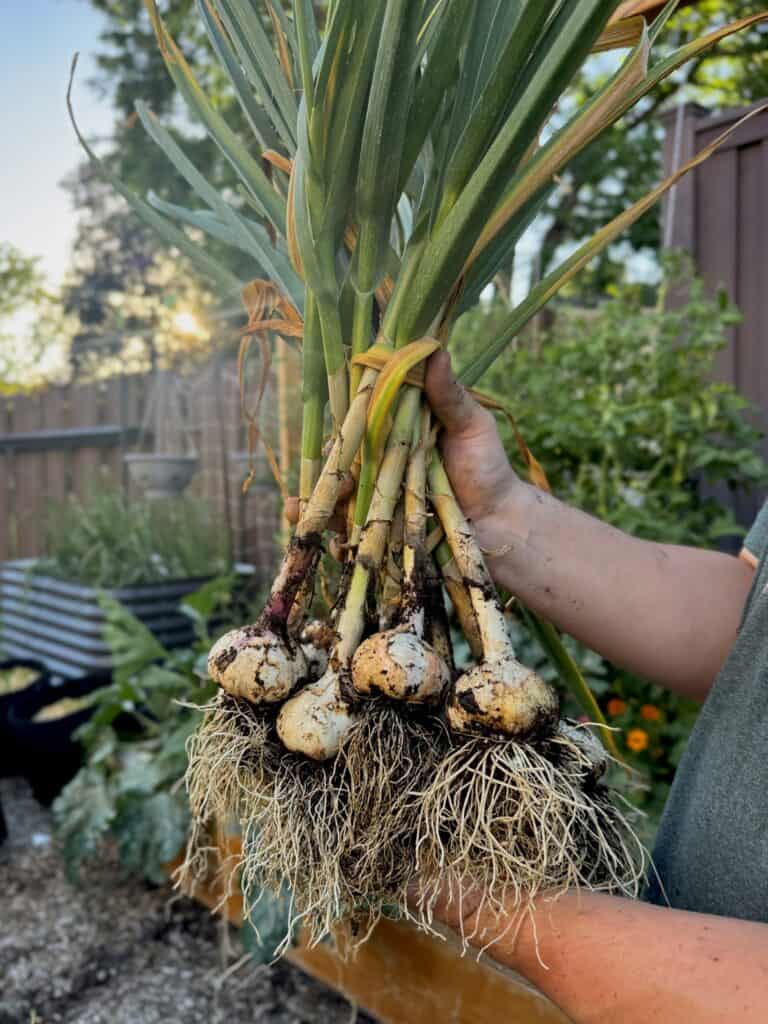
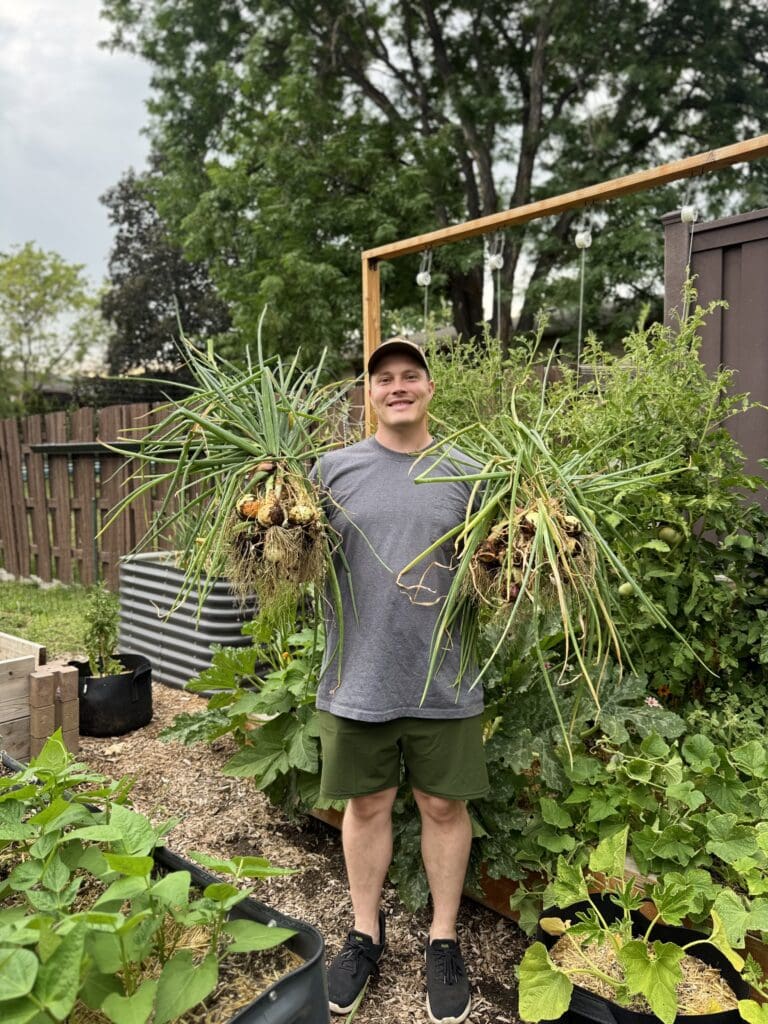
Table of Contents:
– Why Curing Matters
– How to Harvest and Cure Garlic
– How to Harvest and Cure Onions
– Garlic vs. Onion: What’s Different
– How Long Do They Store?
– What About Other Alliums?
– Quick Tips
Why Curing Matters
Now what is curing exactly?
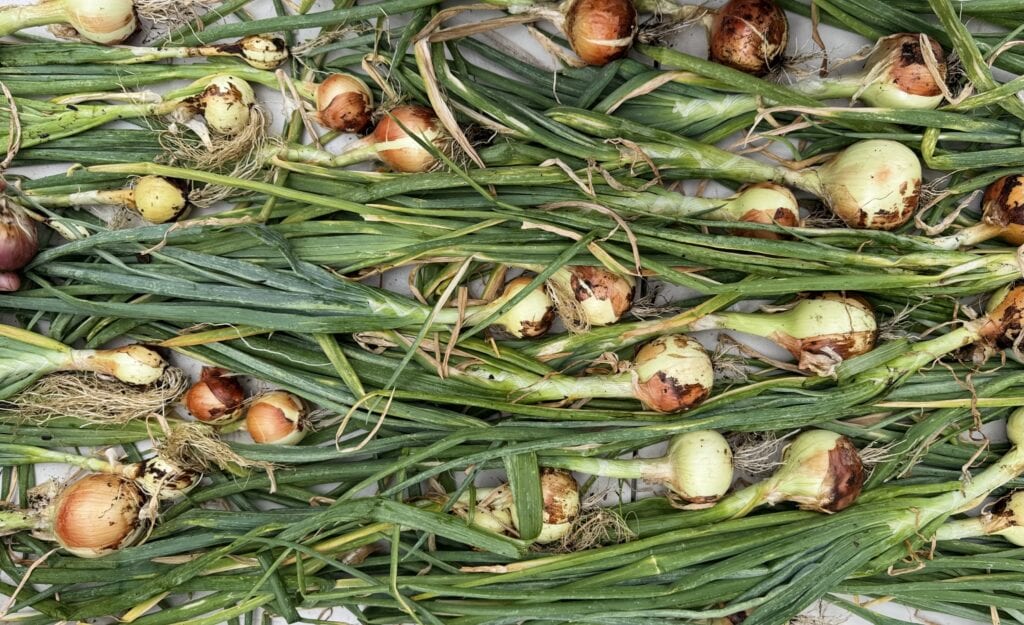
Curing = the process of drying garlic and onions (right after harvesting) so they develop a dry outer layer that protects the bulb and helps it store for much longer.
After you harvest, the bulbs still contain a lot of moisture. During curing, you leave them in a warm, dry, well-ventilated area for several weeks. The outer layers gradually dry and become papery, while the neck and roots also dry out. This reduces the chance of bacteria and fungi entering the bulb. Those papery layers act as a natural protection that helps the bulbs stay fresh for months in storage.
How to Harvest and Cure Garlic
Step 1: Harvest Carefully
Gently loosen the soil if needed, then lift each bulb from the ground. Avoid pulling hard on the stems – they can separate from the bulb.
Shake or brush away as much loose dirt as possible. Don’t wash the bulbs! Garlic’s outer wrappers hold moisture, and washing can slow the curing process and increase the chance of mold before the bulbs have fully dried.
Step 2: Leave the Leaves Attached
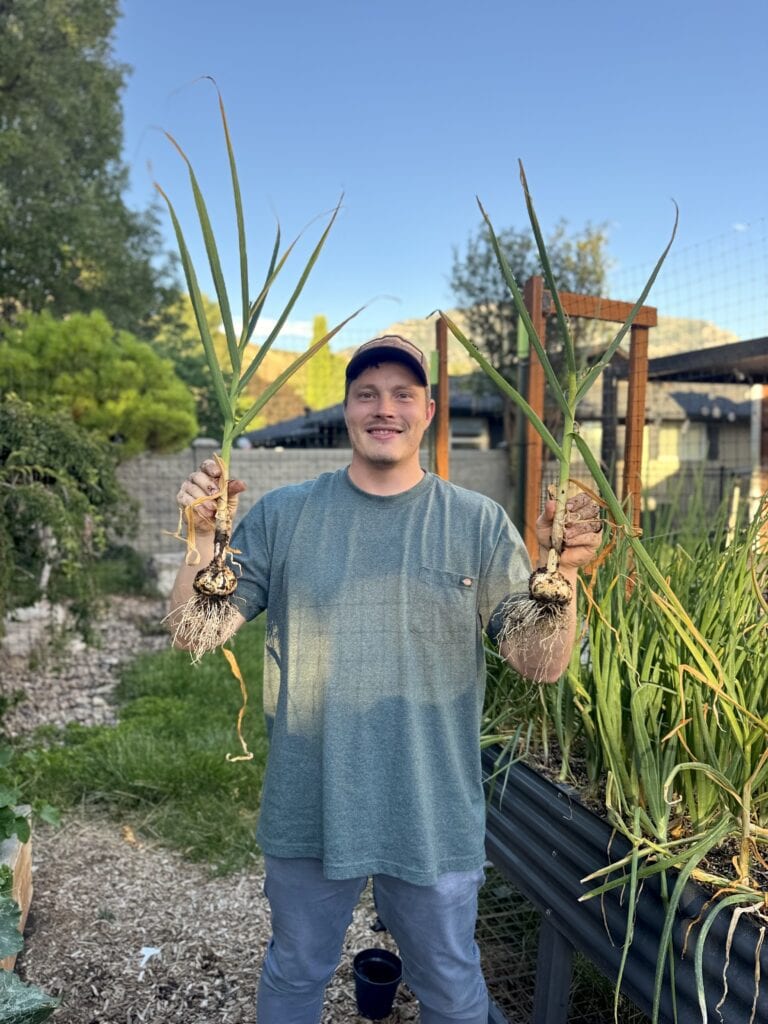
Resist the urge to trim anything.
The leaves and stem continue drawing moisture away from the bulb while it cures. Cutting them too early can reduce storage life.
Step 3: Cure!
Lay the garlic in a single layer so the bulbs aren’t overlapping, or bundle and hang them if you have a larger harvest.
Choose a location that is:
– Warm (around 70–80°F)
– Dry
– Well ventilated
– Out of direct sunlight
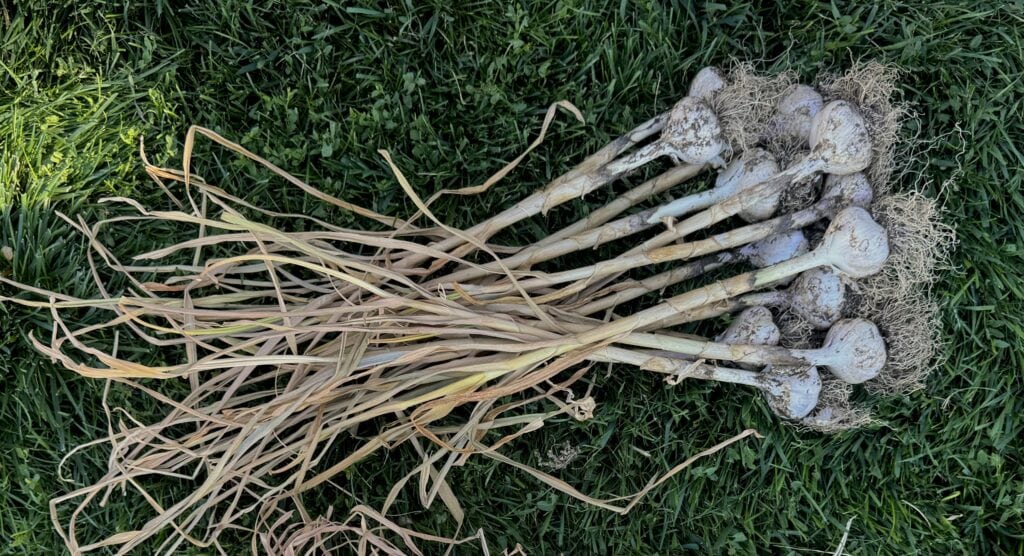
Warm temperatures help remove moisture, while good airflow allows the bulbs to dry evenly and discourages mold. Keep the bulbs in the shade! Direct sunlight can overheat them and shorten their storage life!
Most garlic finishes curing in about 2 – 4 weeks, but the bulbs will ultimately tell you when they’re ready.
Garlic is fully cured when:
– The neck is completely dry.
– The roots are brittle.
– The outer wrappers are papery.
– The cloves feel firm.
Step 4: Trim and Clean
Once cured:
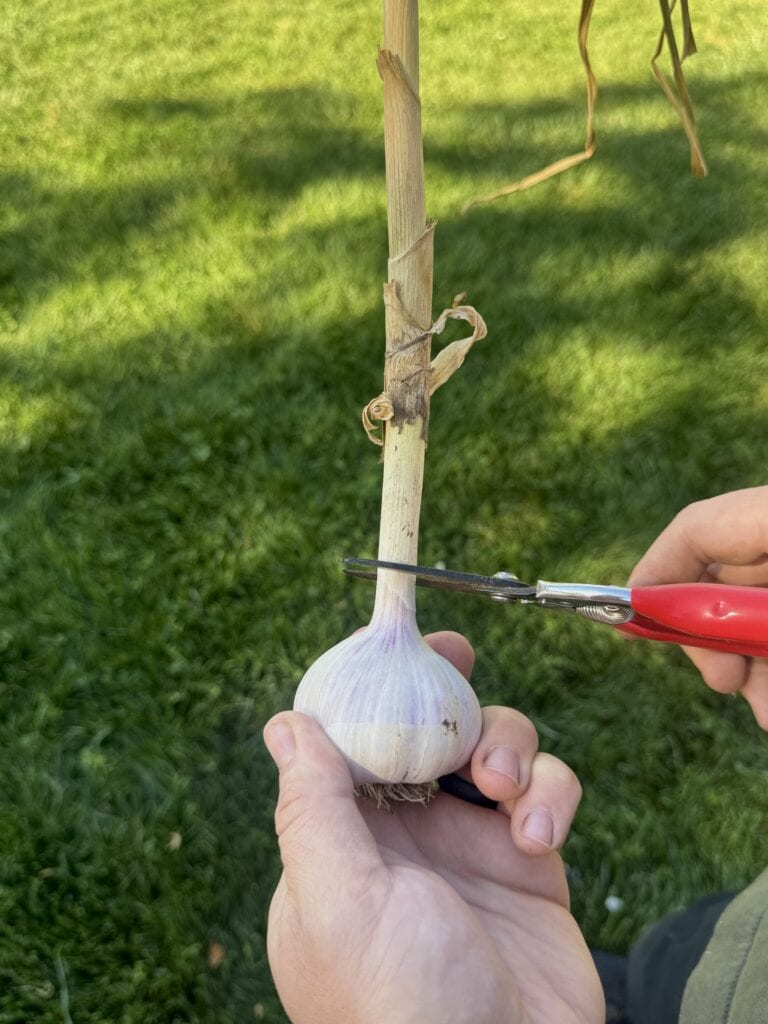
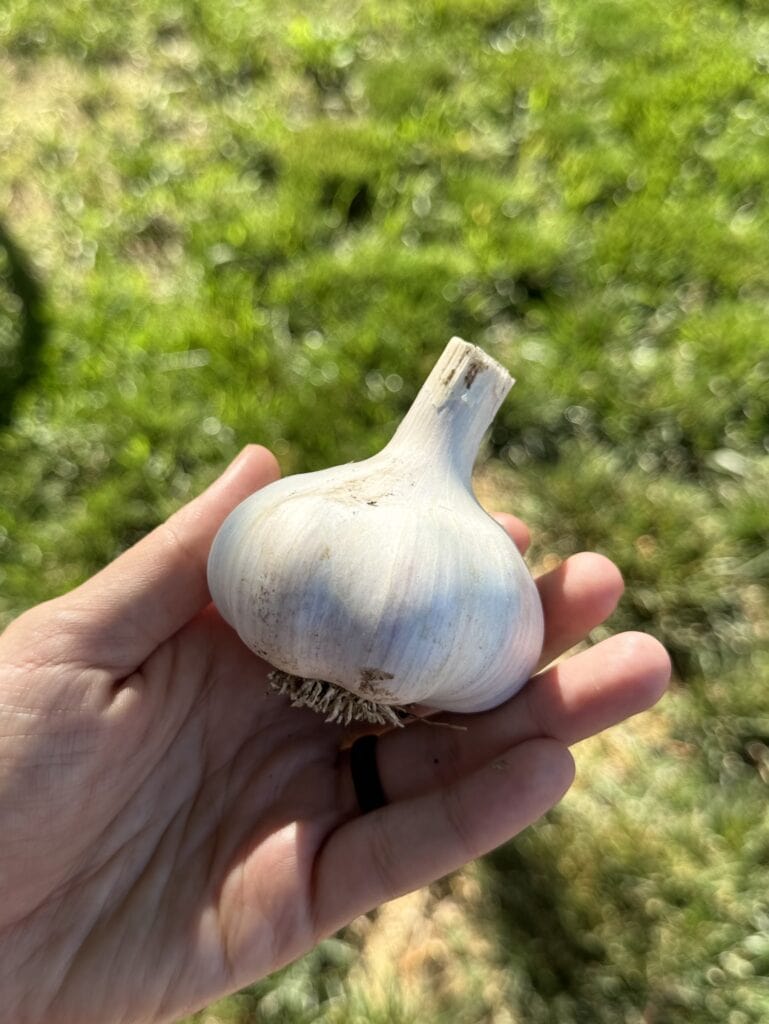
– Trim the roots close to the base.
– Cut the stem, leaving about 1 – 2 inches attached.
– Remove only the dirtiest outer wrapper: avoid peeling away too many layers because those papery skins help protect the cloves during storage.
Step 5: Store Properly
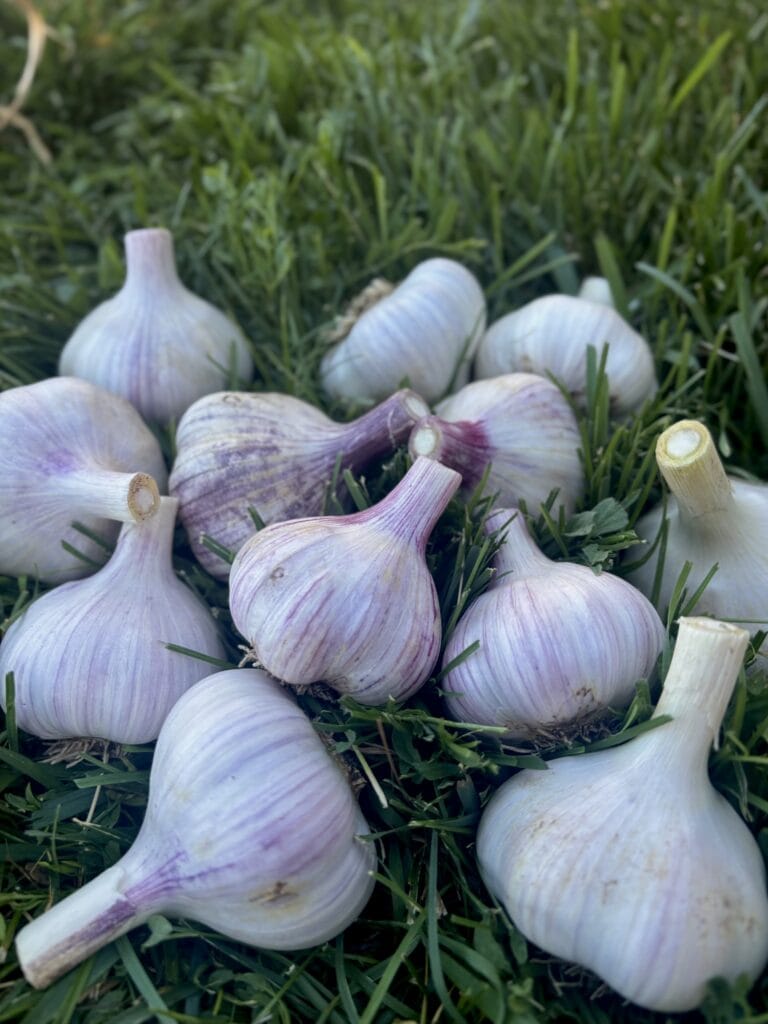
Store garlic somewhere that is:
– Cool
– Dry
– Dark
– Well ventilated
Mesh bags, baskets, and paper bags all work well. I don’t recommend storing whole garlic bulbs in the refrigerator! Cold temps encourage sprouting once they’re brought back to room temperature.
How to Harvest and Cure Onions
The process is very similar to garlic, but there are a few important differences.
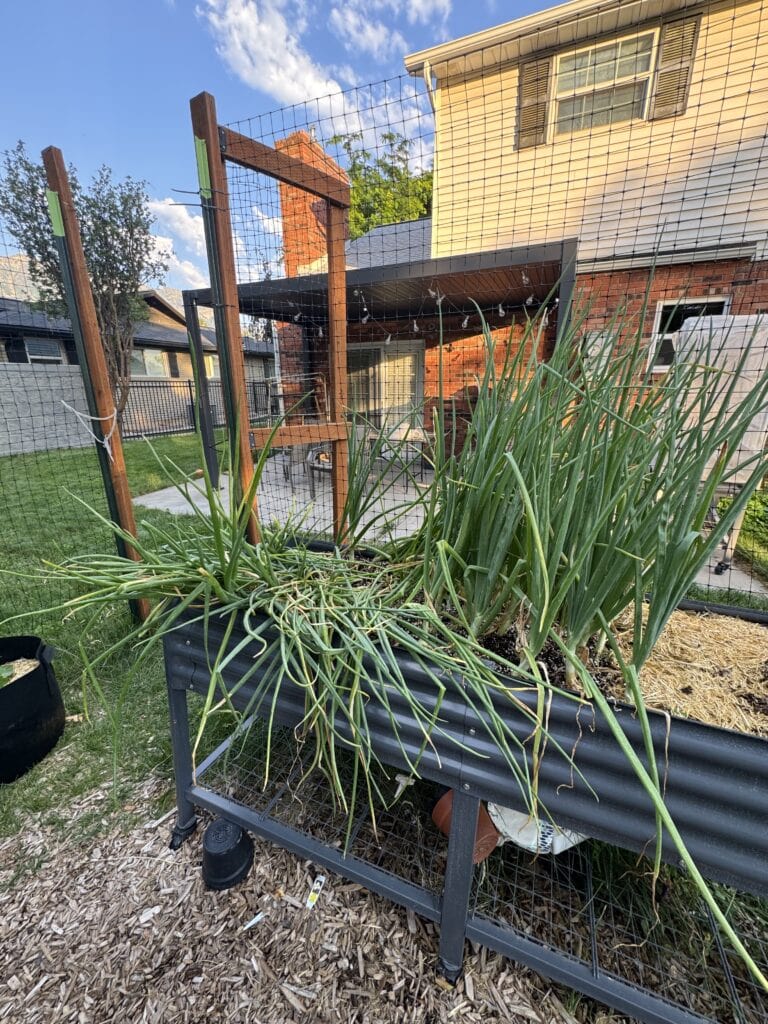
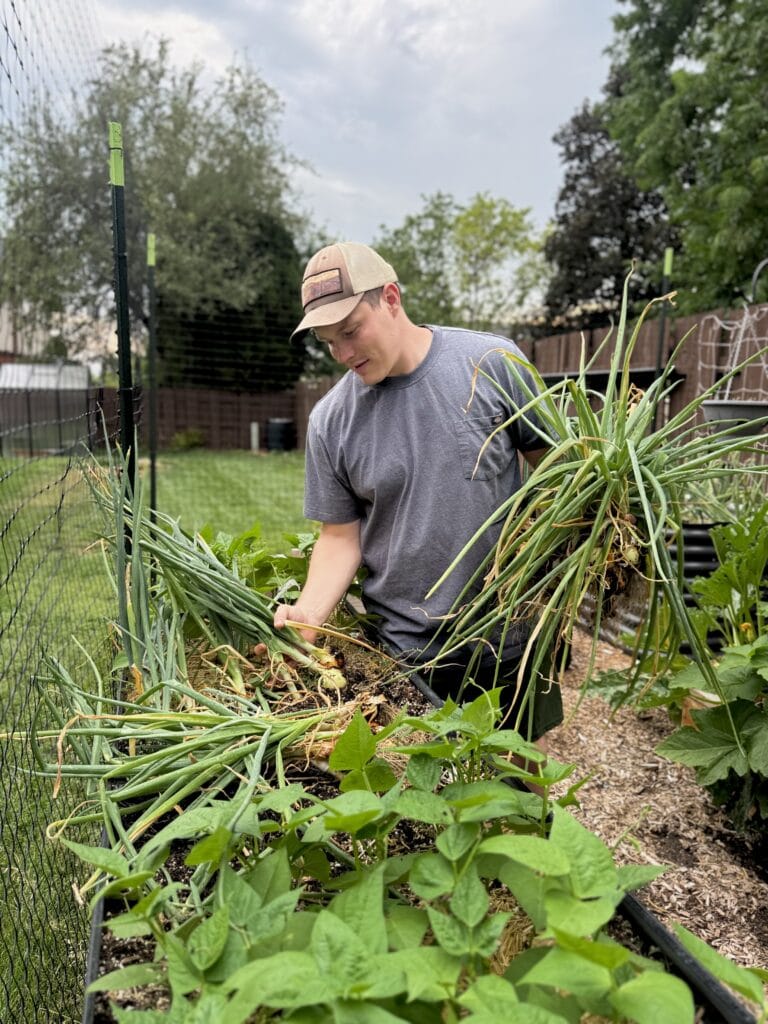
Step 1: Harvest
Lift the bulbs gently and remove excess dirt.
If your onions are especially muddy, it’s generally fine to rinse them briefly with a hose (provided you dry them immediately afterward). Otherwise, just brushing the dirt off is usually the better option – less added moisture means faster curing!
Any bruised, cut, or damaged bulbs should be used first since they won’t store nearly as long.
Step 2: Cure the Onions
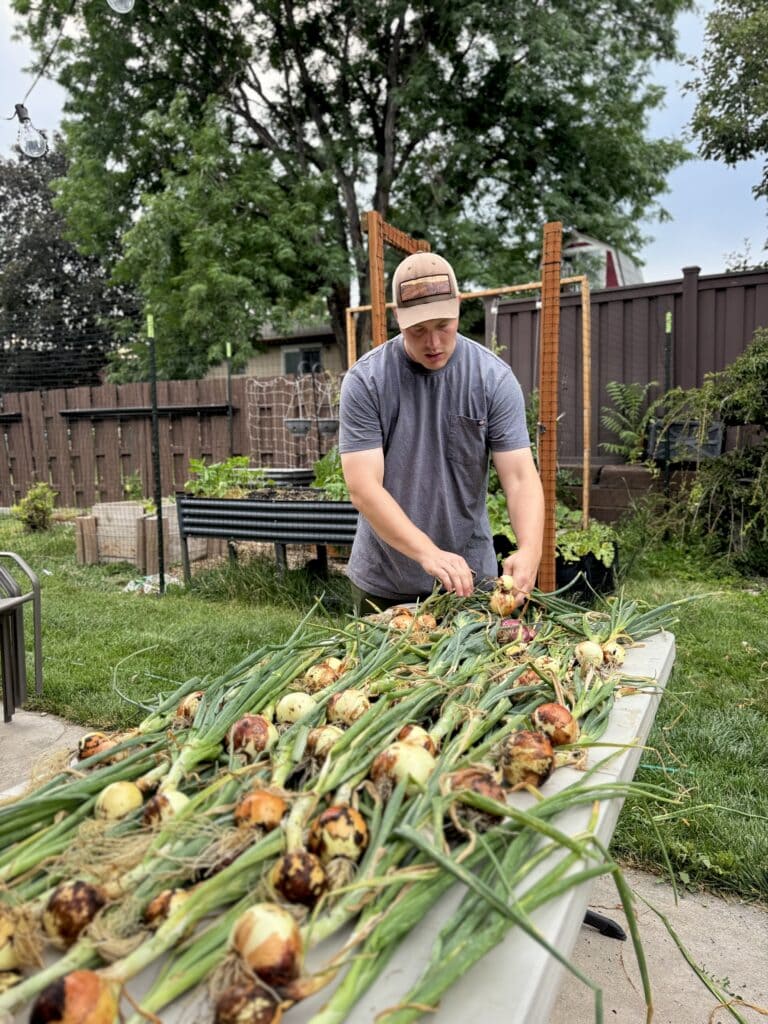
Lay onions in a single layer with plenty of airflow.
Just like garlic, cure them somewhere warm, dry, and shaded. Most onions cure in about 2 – 3 weeks, but large bulbs or humid conditions can extend the process to 4ish.
If you have a really large harvest, onions can also be hung in mesh bags or braided (if the tops are left intact).
Step 3: Know When They’re Ready
The neck is the last part of the onion to dry – don’t rush this step!
Properly cured onions have:
– A completely dry neck
– Tight, papery outer skins
– Dry roots
– Firm bulbs
If the neck still feels soft or green, continue curing. Again, don’t rush it!
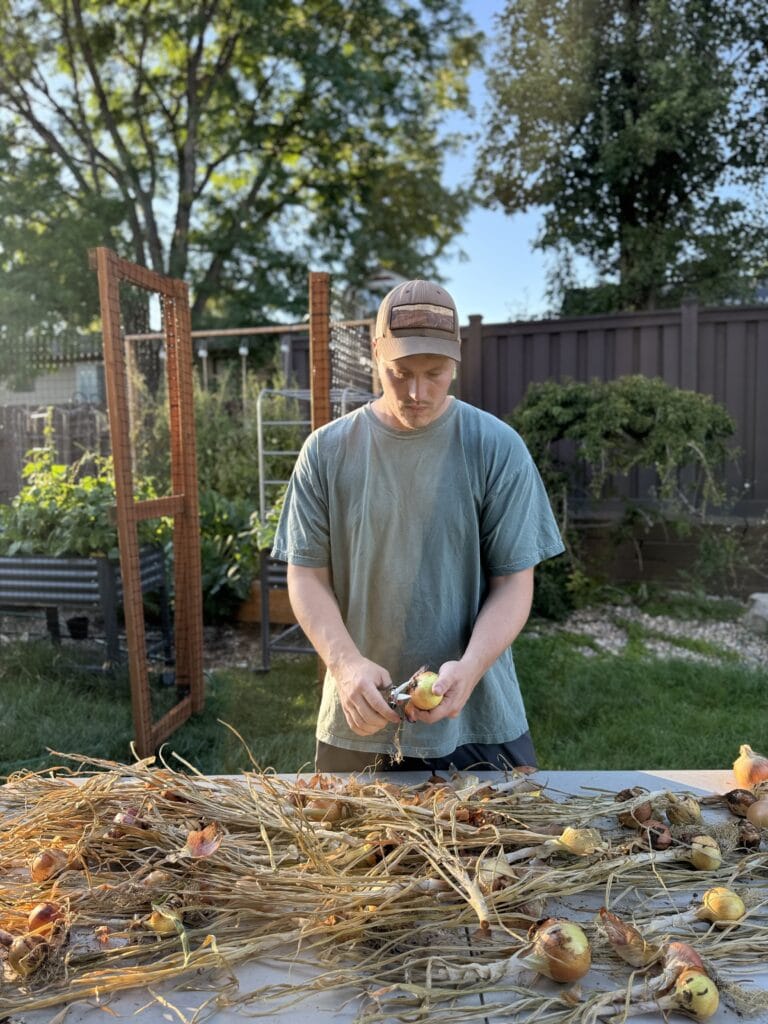
Step 4: Trim
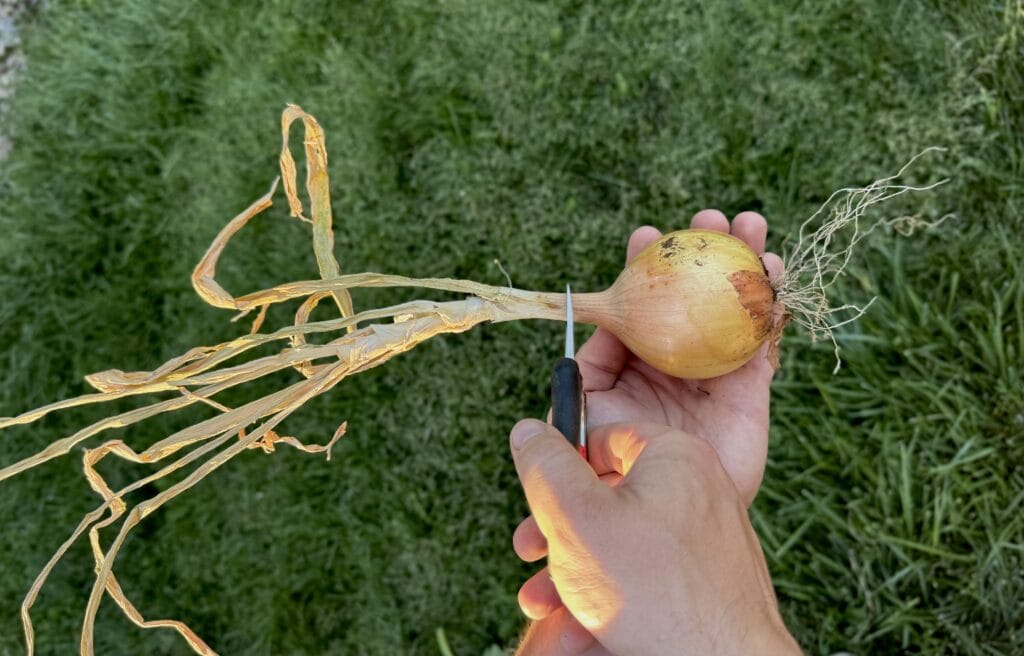
Once fully cured:
– Trim the roots
– Leave about 1 – 2 inches of stem
– Remove only loose or dirty outer skins
Step 5: Store
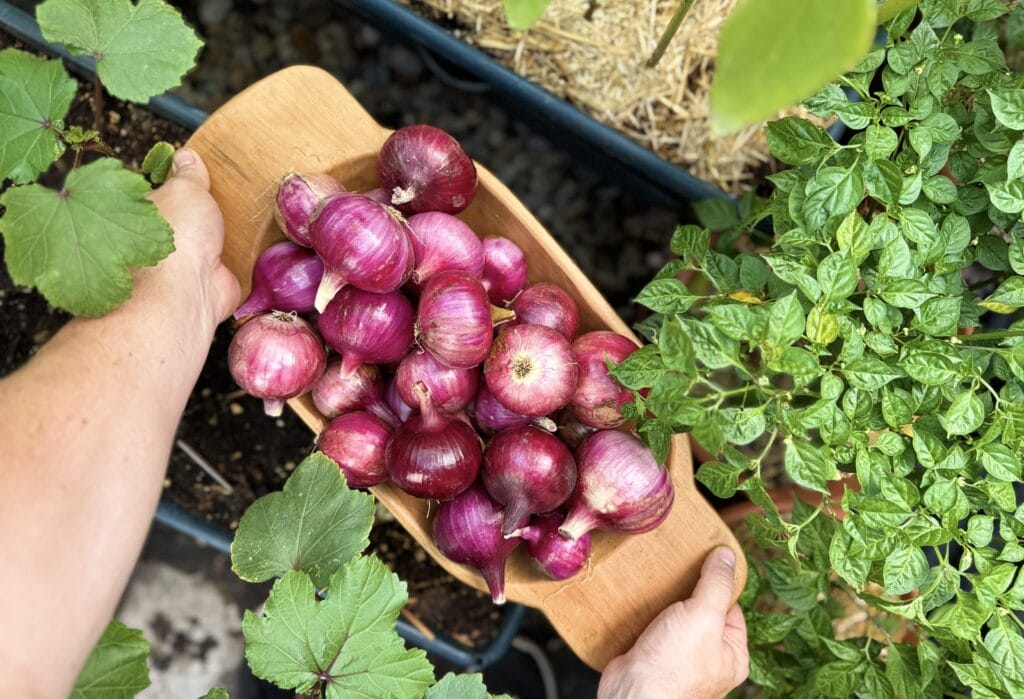
Store onions in the same conditions as garlic: cool, dry, dark, and well ventilated.
Avoid storing onions in plastic bags. Moisture can become trapped in here which isn’t good for the onions.
It’s also best not to store onions next to potatoes. Potatoes release moisture and gases that can shorten the storage life of both crops.
Garlic vs. Onion: What’s Different?
| Garlic | Onions |
| Don’t wash after harvesting! | Can be rinsed if necessary, but dry immediately afterward! |
| Cure for about 2 – 4 weeks | Cure for about 2 – 3 weeks, sometimes longer |
| Softneck varieties can be braided | Some onions can also be braided if the tops remain attached |
| Hardneck varieties generally store for less time | Storage life depends largely on the variety grown |
How Long Do They Store?
| Crop | Typical Storage Life |
| Hardneck garlic | 3 – 6 months |
| Softneck garlic | 6 – 12 months |
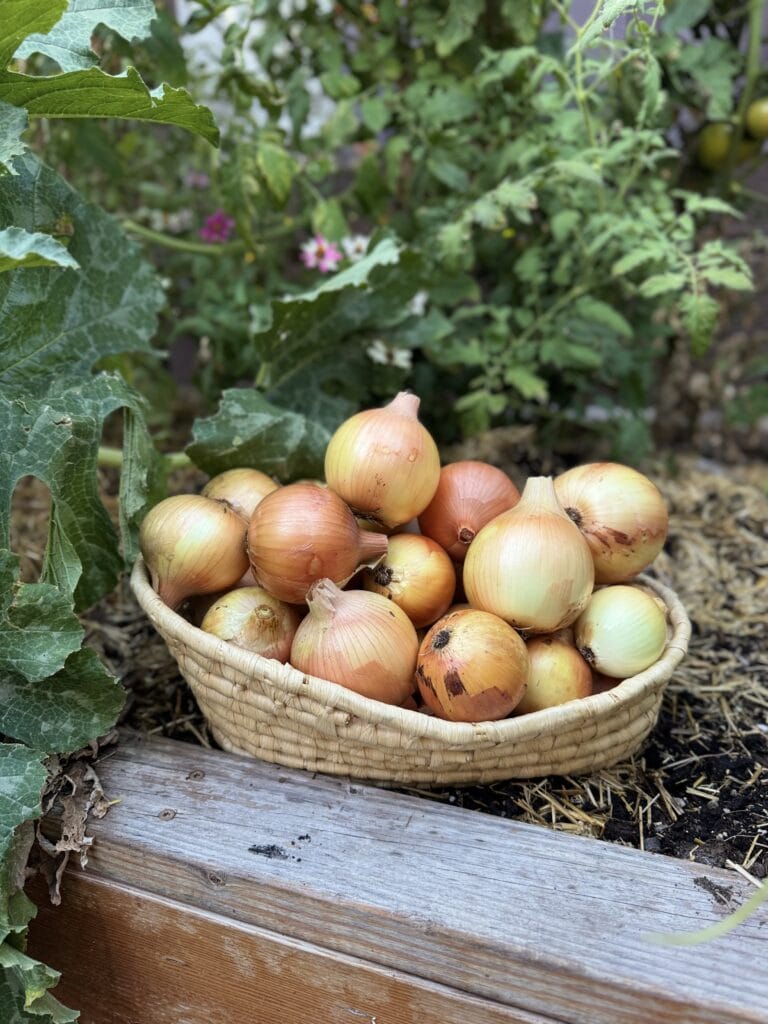
| Yellow storage onions | 6 – 10 months |
| White onions | 3 – 6 months |
| Red onions | 3 – 6 months |
| Sweet onions (Vidalia, Walla Walla, etc.) | 1 – 3 months |
What About Other Alliums?
As I mentioned, garlic and onions both belong to the same allium family. Most bulb-forming alliums follow these same curing principles:
– Shallots: Cure just like onions and often store for 6 – 8 months
– Elephant garlic: Despite being more closely related to leeks, it’s cured and stored just like garlic
– Multiplier (potato) onions: Cure and store like regular storage onions
– Leeks: Don’t require curing. Harvest and refrigerate them fresh
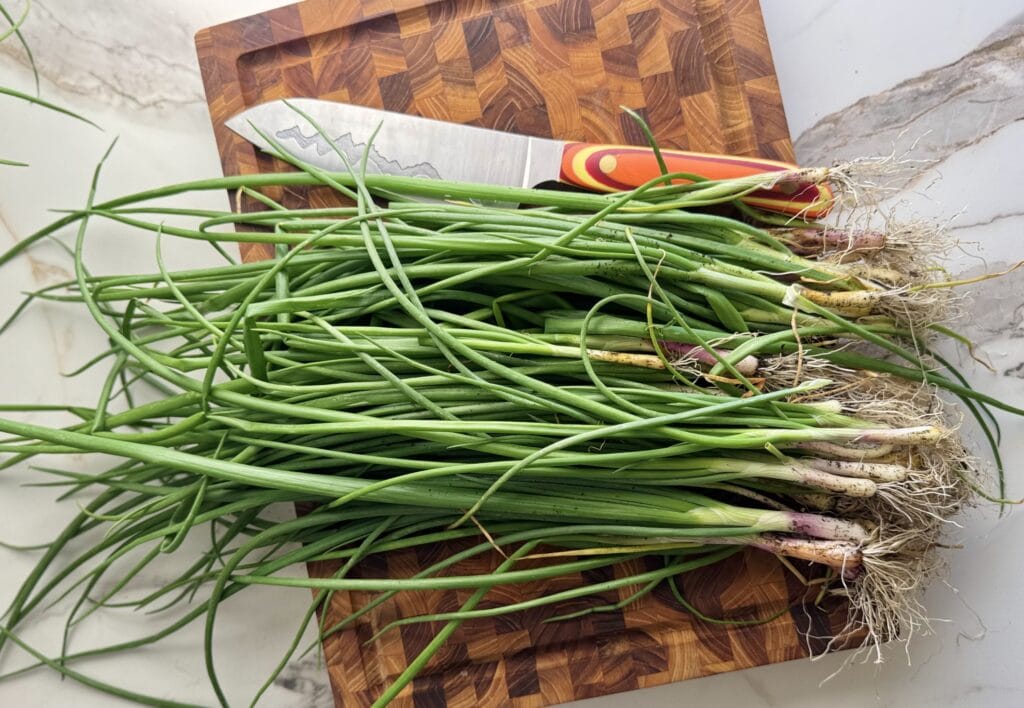
– Scallions (green onions): Also don’t require curing and are best enjoyed fresh
– Chives: Harvest as needed and refrigerate or freeze for longer storage
A simple rule to remember: if you’re growing an allium for its mature bulb, it will benefit from curing. If you’re growing it for its leaves or stems, I recommend storing it fresh instead!
Quick Tips:
– Harvest during dry weather. If possible, stop watering about a week before harvest. Drier soil makes the bulbs easier to harvest and can help them cure quicker.
– Cure bulbs in the shade – never in direct sunlight!
– Spread bulbs out so they have plenty of airflow
– Wait until the necks are completely dry before trimming – don’t rush it!
– Set aside damaged bulbs and use them first
– Store only healthy, fully cured bulbs for long-term storage
With just a little patience after harvest, properly cured garlic and onions can stay fresh for months, giving you homegrown flavor long after the growing season has ended. Best of luck, guys!



0 Comments